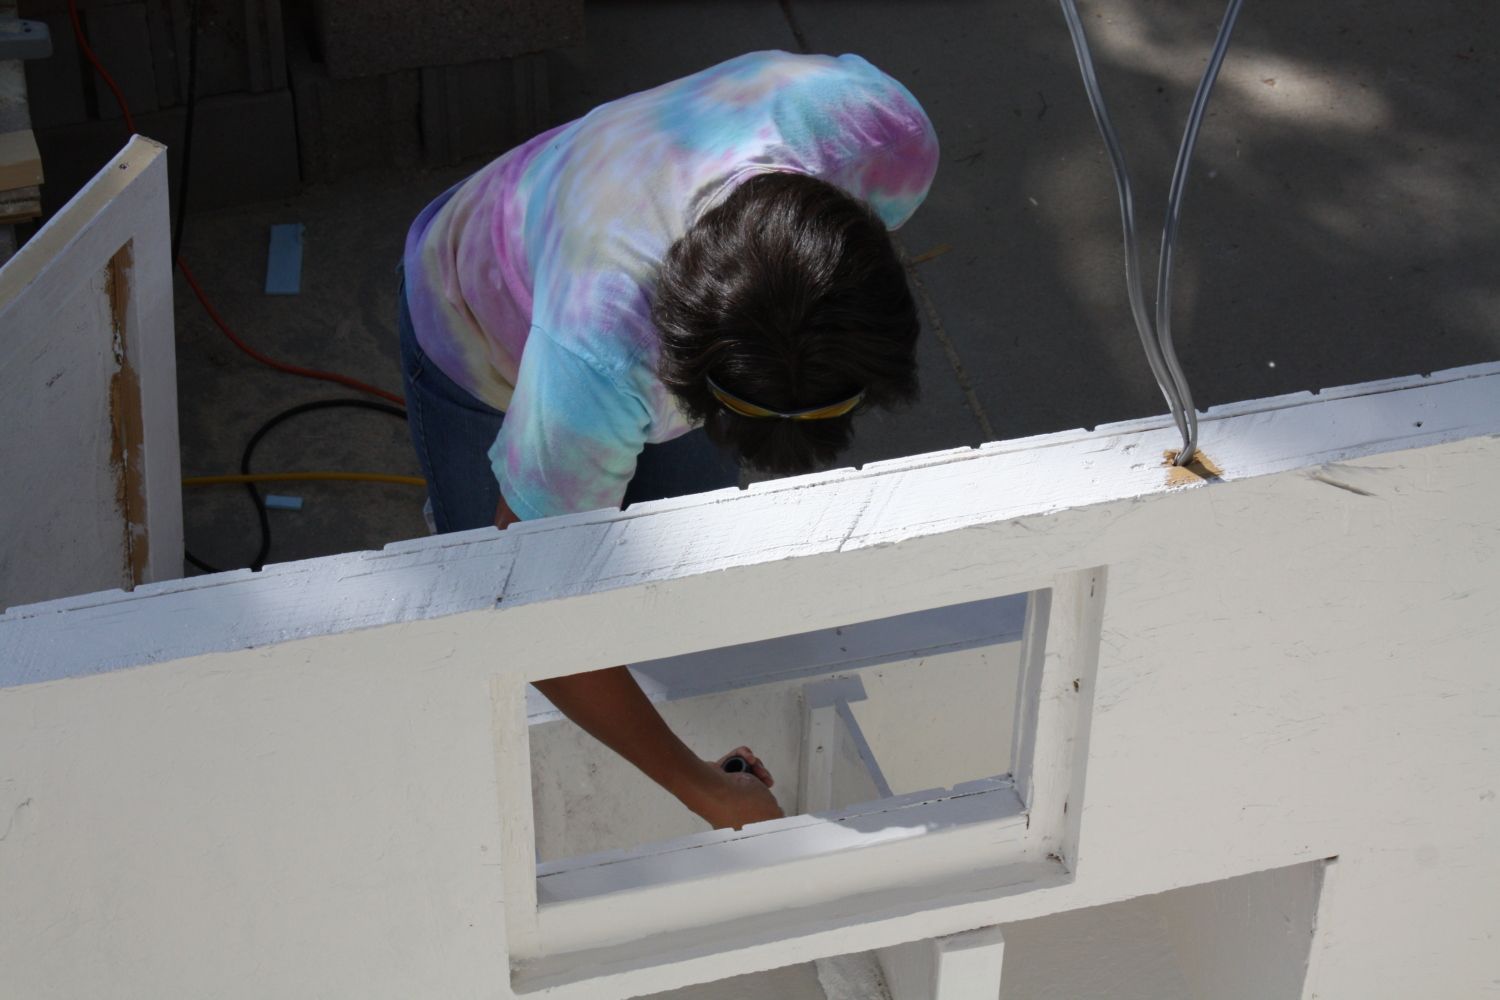
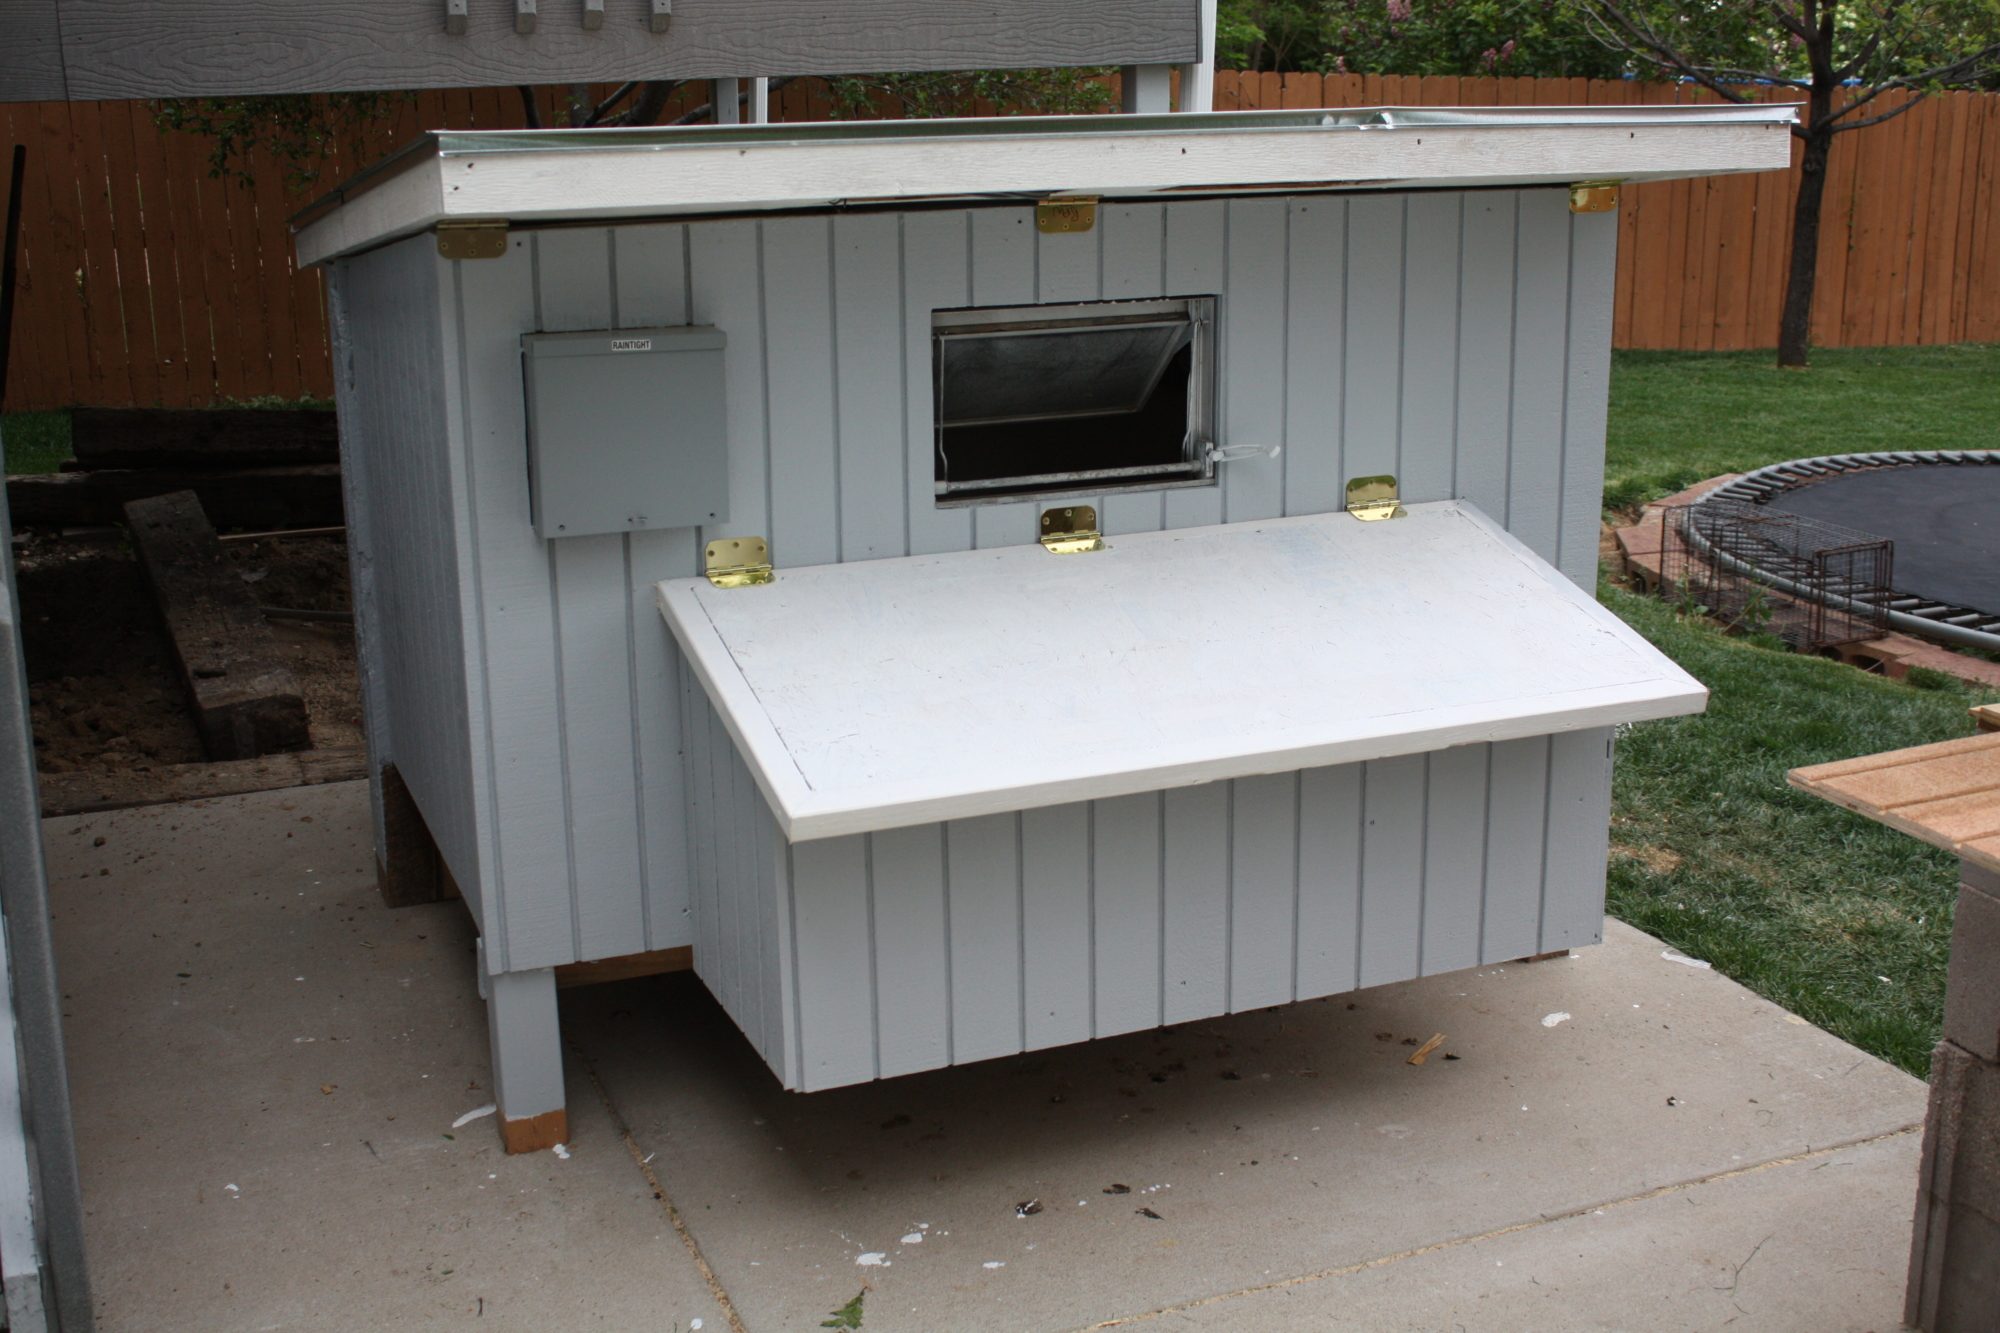
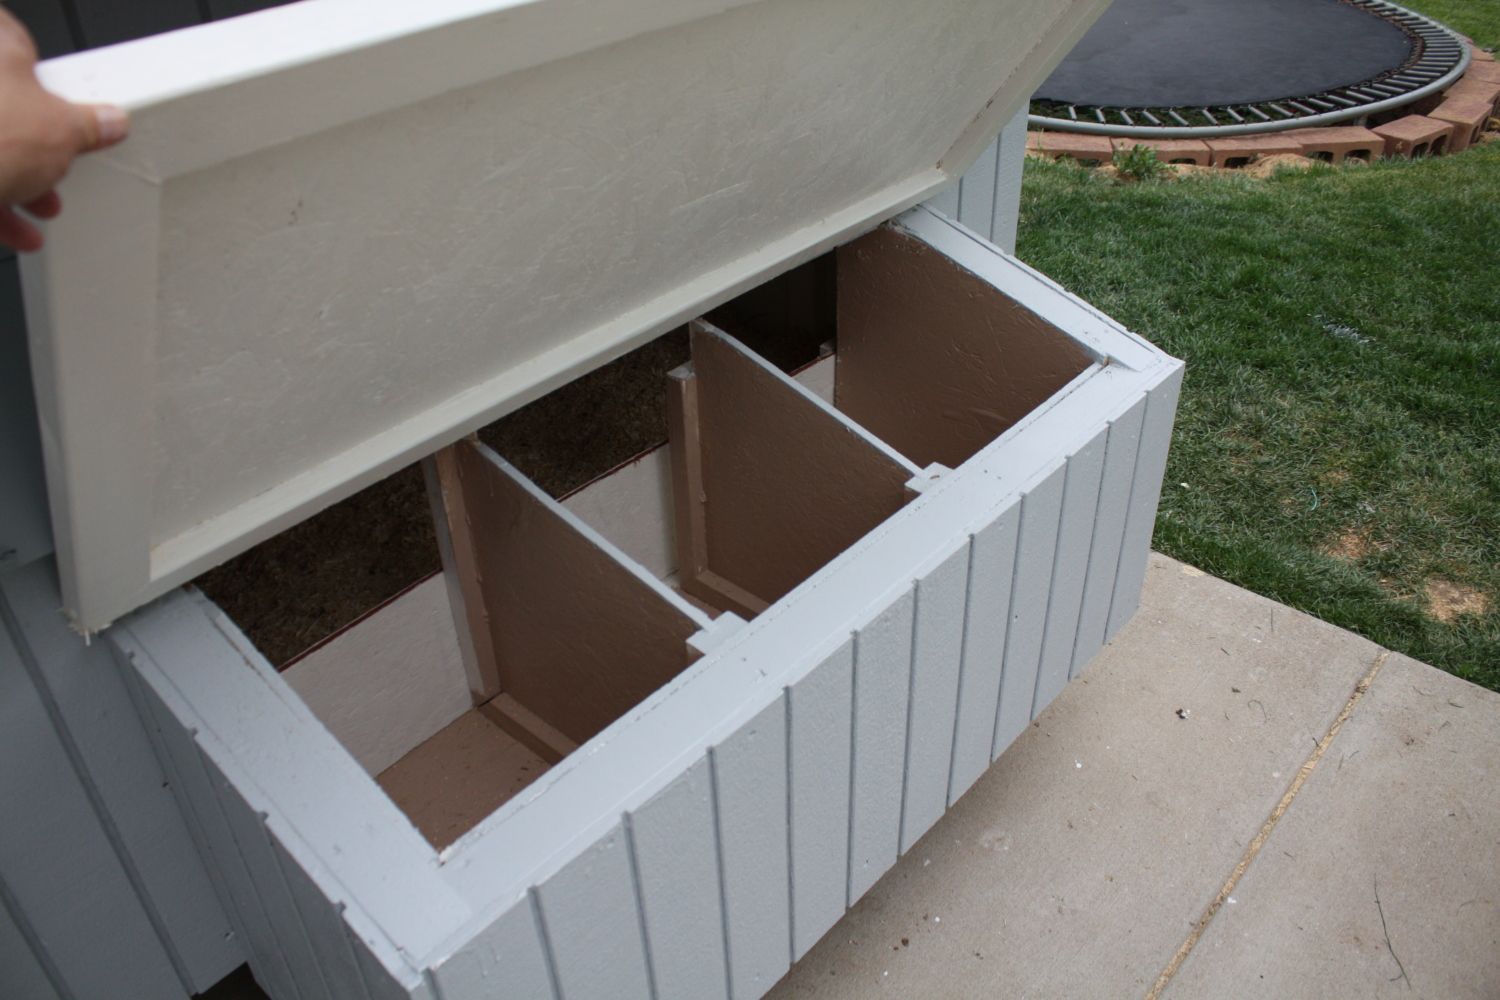
The outside of the coop was painted Cement Grey. The inside was painted Aspen White. Once all the paint dried, the roof was attached to the coop and the lid of the egg box was cut to fit the angle to the side of the coop. Both were attached using door hinges.
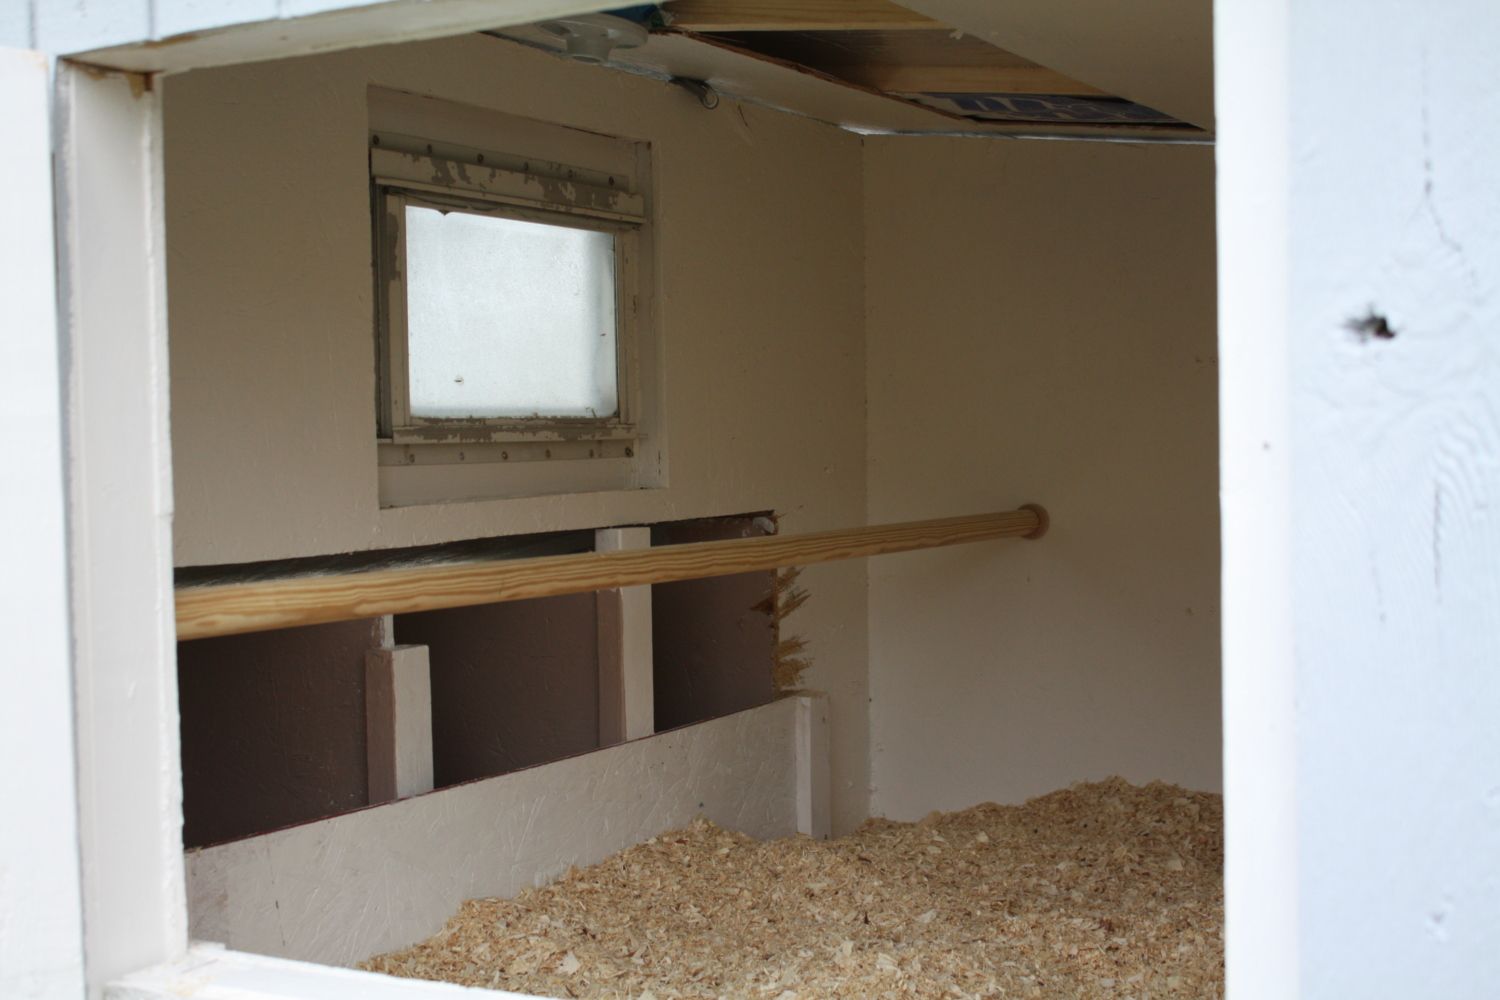
The window is an old salvage window from a mobile home. It is mounted in backwards, so that it can be opened from outside the coop. The handle of the window folds over so that it won't interfere when the lid of the egg box is opened. The window still needs a screen, so the chickens don't use it as an exit when the window is opened.
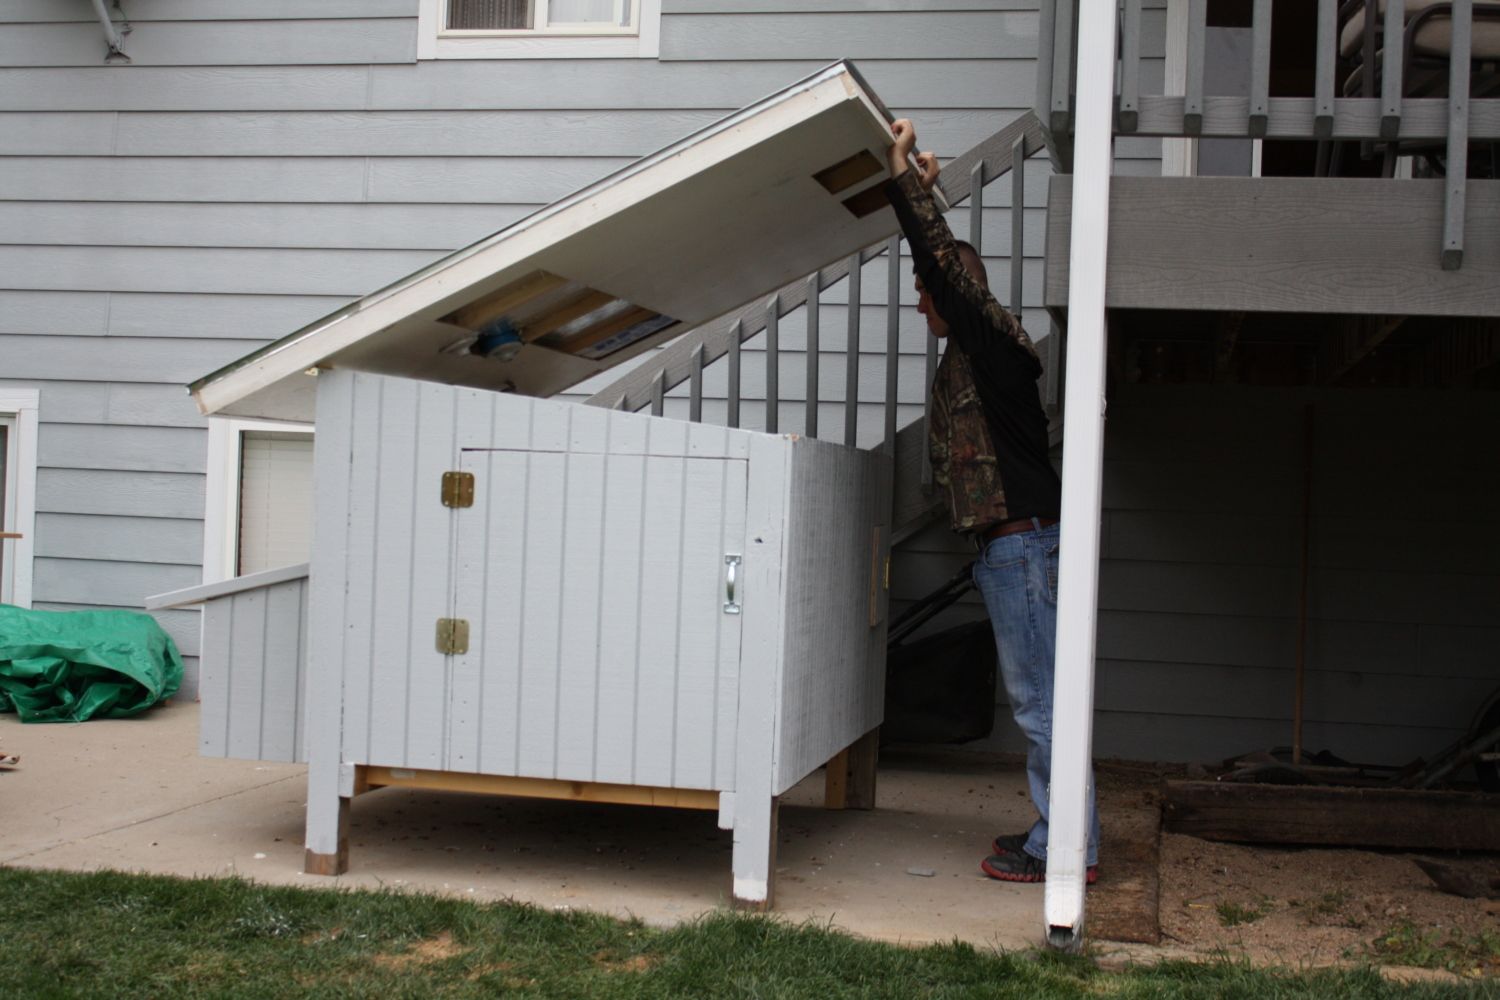
The roof of the coop is hinged to become a lid. This will allow better access to the inside of the coop if I need to make any major repairs or complete work in the coop. The roost can be removed and used a prop to hold the roof open so that work can be completed.
The vent openings under the eves can be seen. The area between the joists are now vent ducts to allow air exchange with the inside of the coop. I still have 2 smaller vents to install, these final vents will allow bertter air exchange, I'll get the small vents installed later, they are part of the small items list of things to be completed. The big screens under the eves have not been installed as yet, but they will once the weather is better.
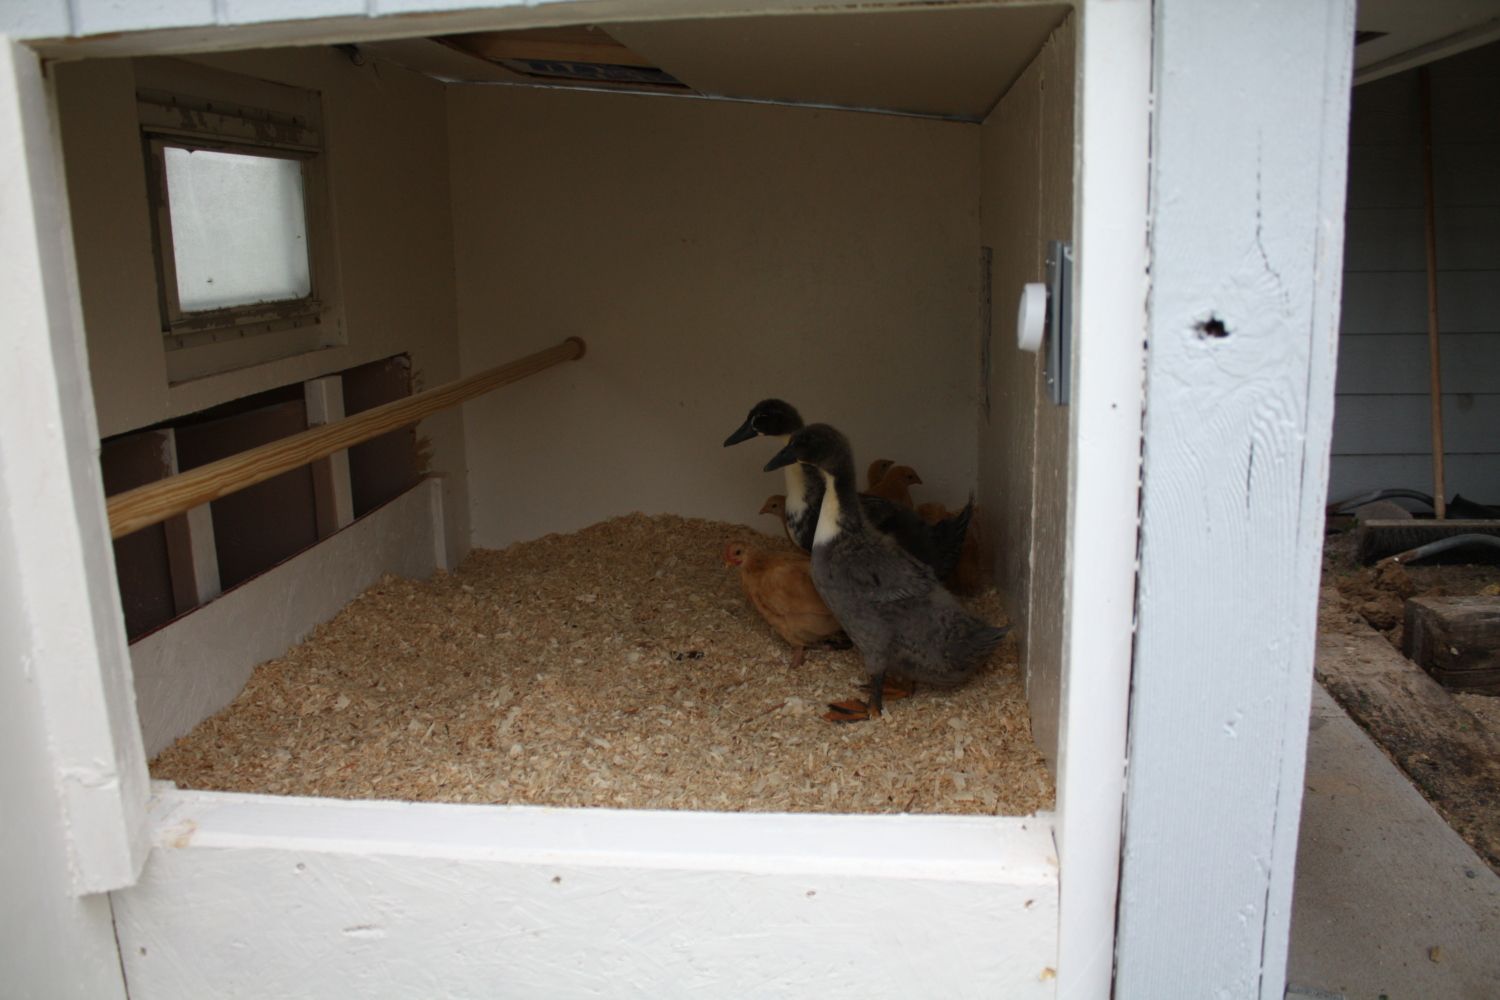
Also the inside light mounts can be seen. The location of the lights were moved closer to the access door so that I can change the lights or replace a heat lamp from the access door.
I want to enter the coop as little as possible. Coops can be such dirty dusty places.
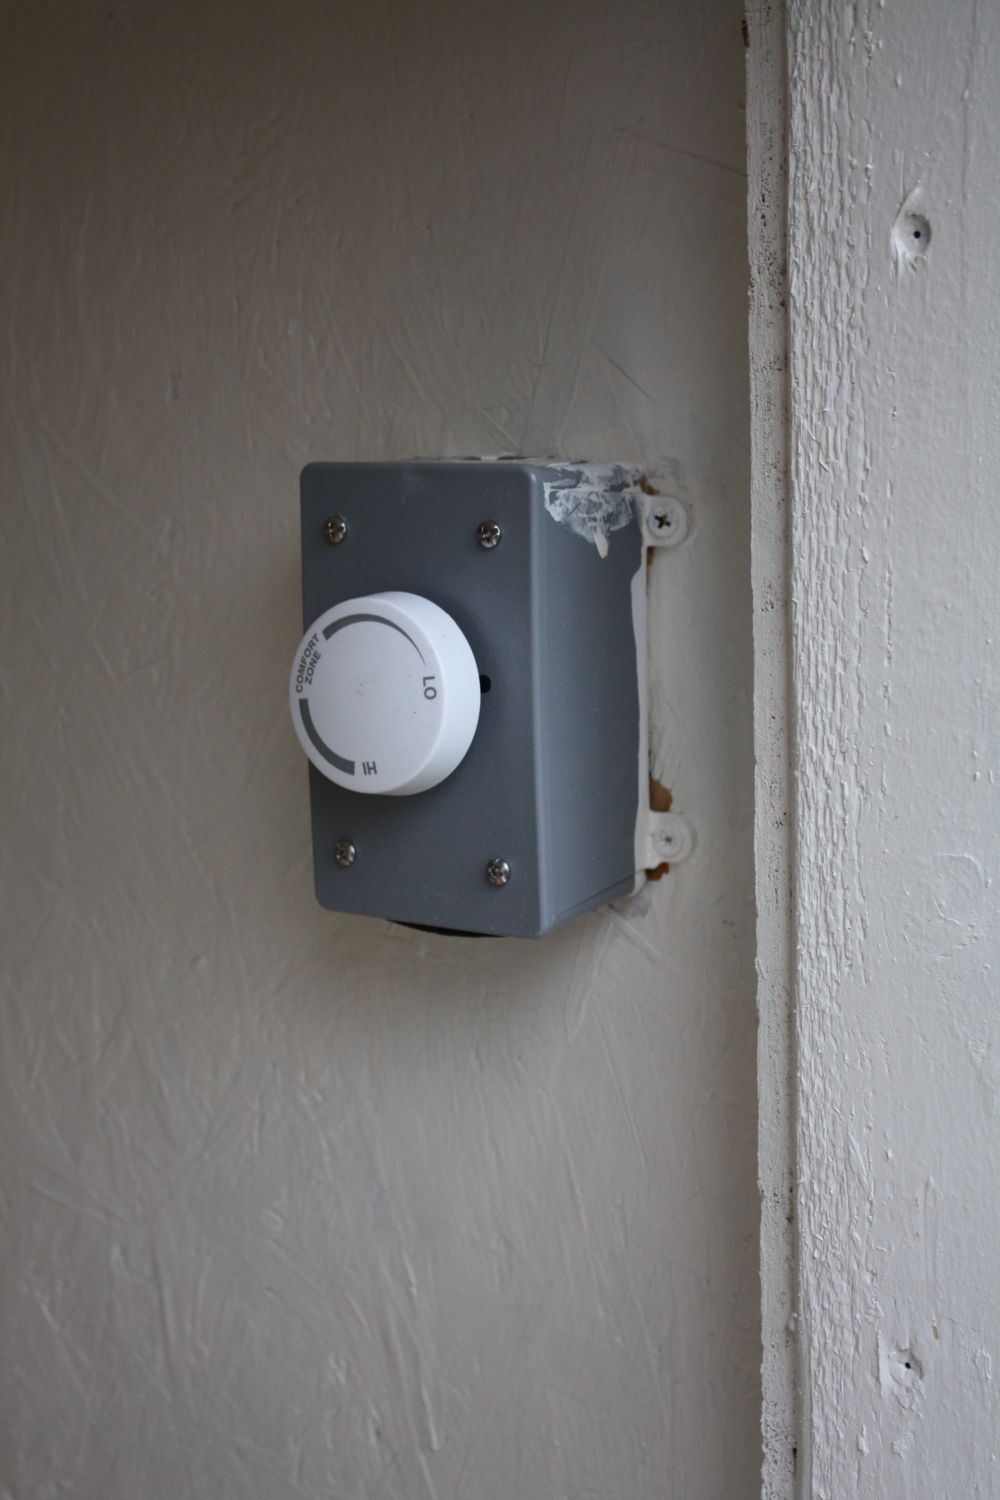
I wired the thermostat and set it for its lowest setting of 40 degrees. With this setting, the heat lamps will only kick on if the inside temperature of the coop drops below 40 degrees and will kick off when the temperature is raised to 45 degrees. Paint job is not the best...but how can I complain, I didn't have to paint it.
The inside of the egg boxes were painted a chocolate brown color. This will make the egg boxes appear a little darker and shadowy, serving to better induce the chickens to want to lay in the egg boxes.
From inside the coop the egg boxes appear to be darker and shadowy...just the place that a hen is looking for to lay her eggs.
The roost serves double duty as a prop to hold the roof open, if I need a better access point to the inside of the coop. The coop is situated so that evening light will enter through the window, making the egg boxes appear even darker later in the day.
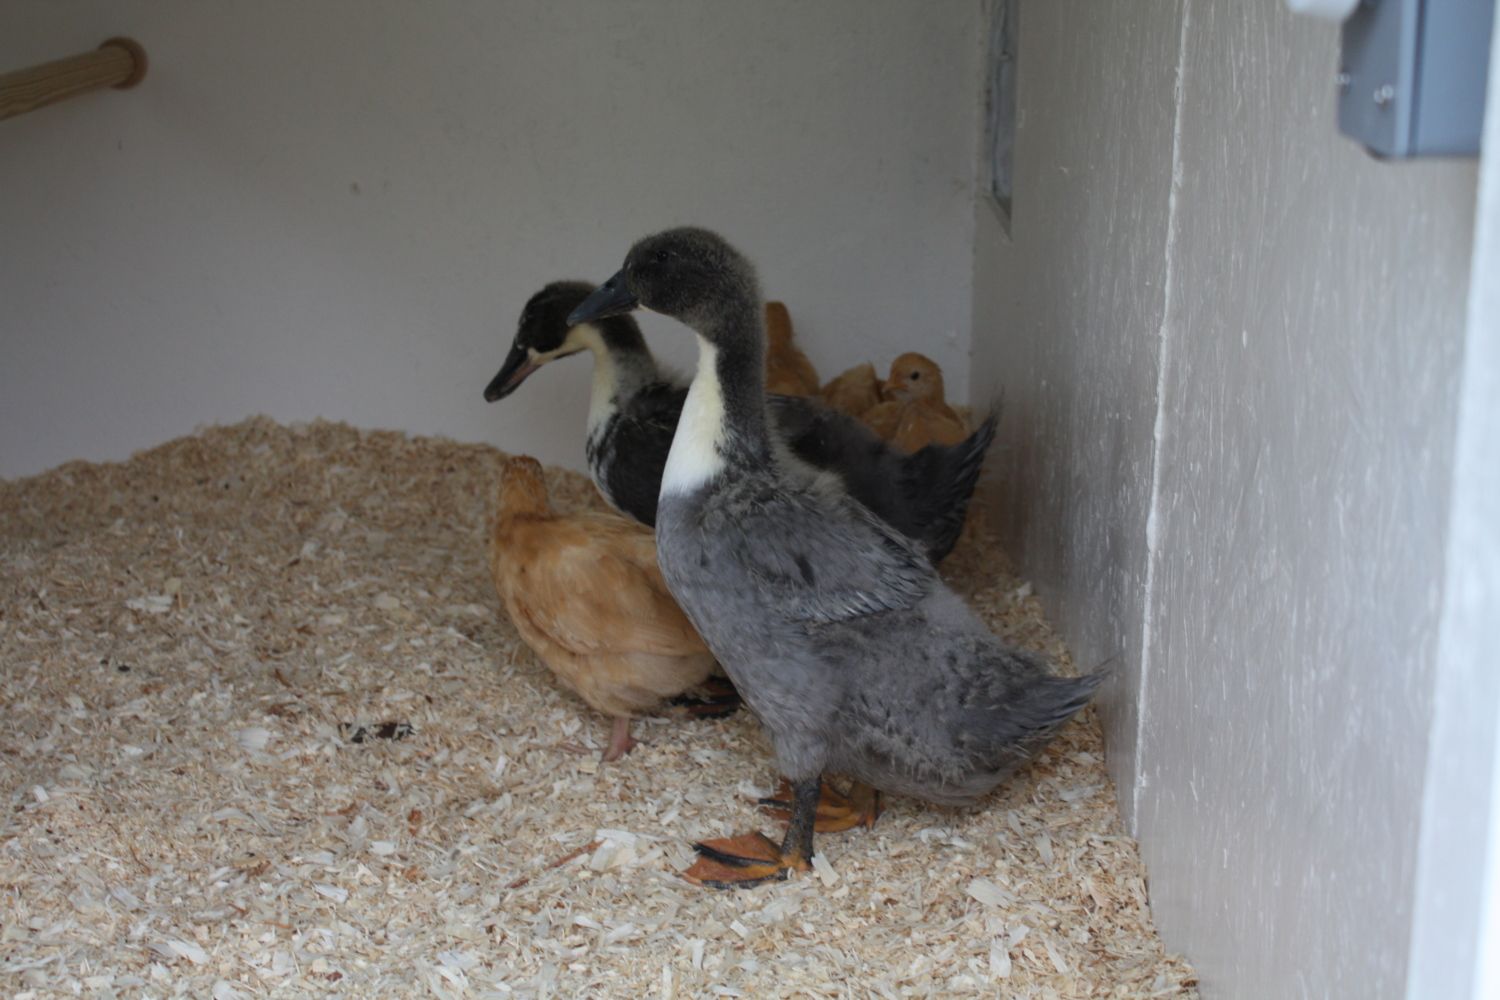
There is currently only about 2 inches of litter in the coop, by fall I should have the litter built up to closer to 8 or 9 inches. This depth of litter will function as a deep litter system and will aid in keeping odors down and composting the litter during the winter months for direct use in the garden during spring cleaning.
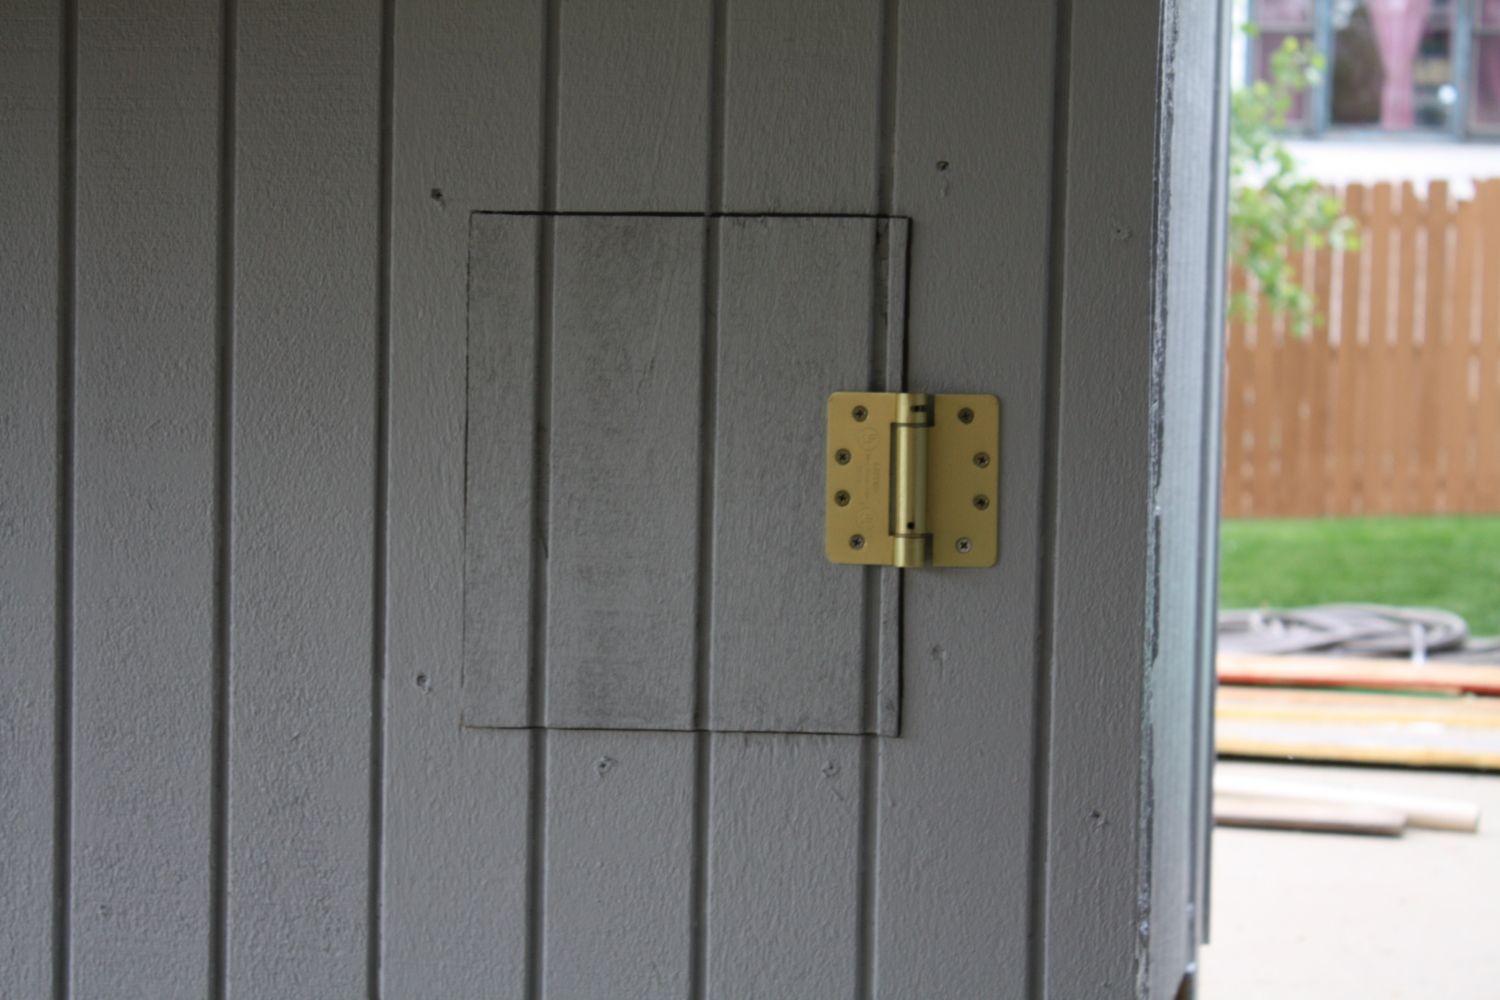
The hinge for the pop-out door is spring loaded. The tension of the spring will keep it closed at night. I'll have a pull cord from the outside of the coop to open the pop-out door in the morning, then I'll clip it to the wire of the run. In the evenings I'll release the clip and the tension of the spring will close the door for the night. I just have to train the chickens to go inside at night.
I have a short list of things that still need to be completed. But the next major step is to level the run area and set one more railroad tie. Once that is completed I can then move the coop into its final position and begin assembling the run fencing.