Suburban Bachelor Condo

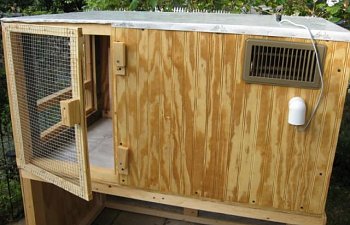
Bantam bachelor condo made to stand beneath a tinted polycarbonate pen roof. The bachelor pad has vinyl floors, heated interior ceiling and a breezy sun porch! The sheltered area beneath has a vinyl floor and rear access doors.
Bantam bachelor condo made to stand beneath a tinted polycarbonate pen roof. The bachelor pad has vinyl floors, heated interior ceiling and a breezy sun porch! The sheltered area beneath has a vinyl floor and rear access doors.
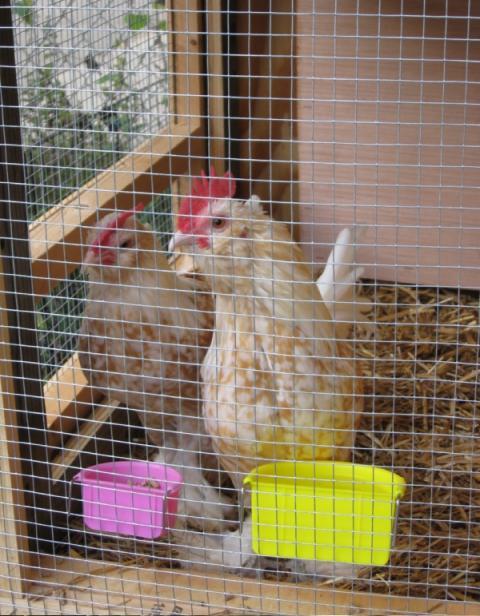
In early Fall 2010 we found we needed some extra space in a pinch for two bantam cockerels. We knew they would probably be here all winter, and both were "special needs" birds who were each blinded in one eye so I did not want them with my larger flock. We decided to create a modified version of the mini coop with slightly less interior space that would need to be heated, so the coop space we subtracted was made into a "sun porch" leading to the coop ramp. The porch would provide much-need ventilation next summer without the need to close the pop door.
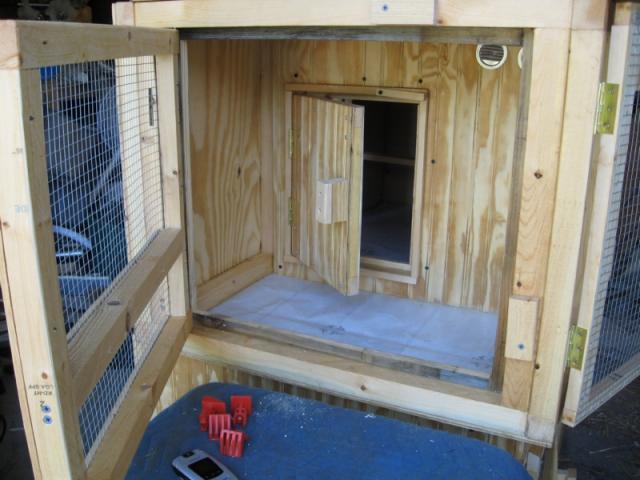
Like the mini coop, the bachelor condo would be 4' wide and 30" (2 feet, 6 inches) deep. The porch was around 18", leaving the coop space 30" x 30" - - quite sufficient for two bantam gentlemen to snuggle into for winter. Again like the mini coop, we used a 3-layer wall with an exterior of pine bead board, a layer of 1/2" foil-backed foam insulation, and more leftover boatmaker's veneer for the interior walls. The exterior bead board was treated with a layer of clear Thompson's Water Seal.
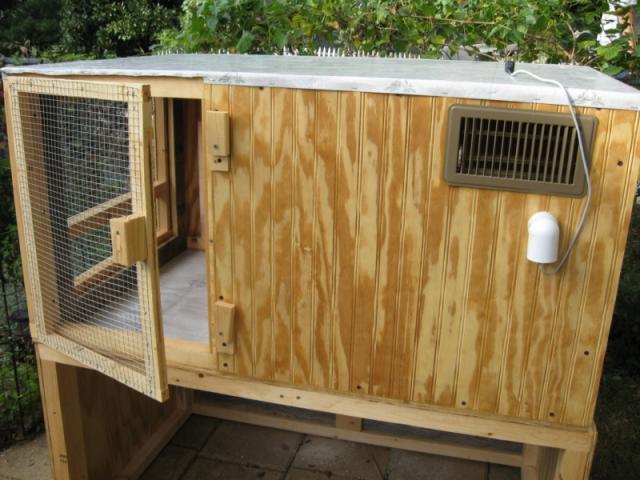
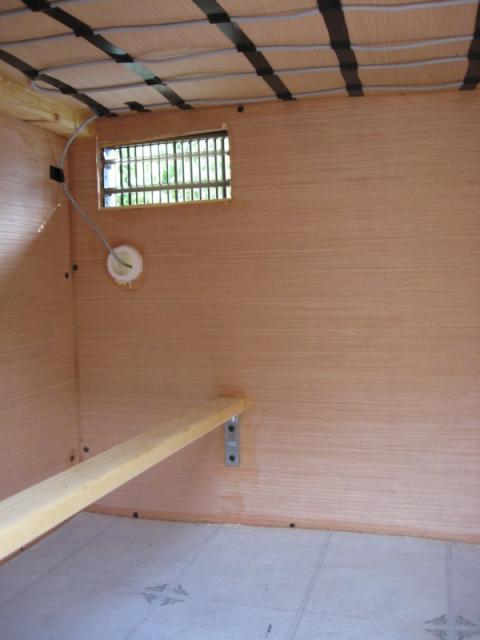
The coop has been created to stand beneath a tinted polycarbonate roof which also covers the 4 x 8 pen. There was no real need for a pitched roof, then, so I simply covered the pine board with a quick layer of vinyl flooring for water proofing and ease of cleaning on top. I sealed the edges with clear caulk to be on the safe side.
We used leftover vinyl flooring for the coop and porch floors as well, and I was careful to seal up all nooks and crannies with clear exterior-grade caulk. I can't stress this enough for preventing water leaks AND preventing the spread of poultry mites who love to live in cracks.
We used a small floor register as the vent cover on the covered pen (south) side of the coop near the ceiling. Cross ventilation is provided by two smaller round vents that open to the covered patio, again near the ceiling. Below is a view of the "sun porch" and pop door; you can see part of the round vents at the top right.
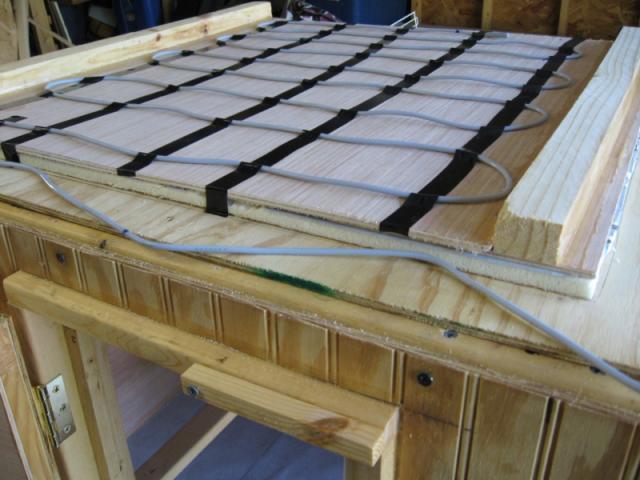
Because this small coop is near the patio and is easy to hook to electric, I chose to heat the coop ceiling with an 18' length of reptile heat rope from Big Apple Herp. When the ceiling piece was completed but not yet attached, we flipped it over and I used electrical tape to seal the heat rope to the ceiling.
The boys have now moved into their new condo, and they are safe and cozy in their new winter quarters. More pictures to come soon, since we have also finished the covered pen and the ramp.
Thanks for visiting!