Construction
I started this building process in mid September 2010. I vowed not to order chicks until the coop was completed. I really did not want to have the chicks in the house and I know my wife would not appreciate it. The process took a lot longer than I anticipated and guess what? I ordered the chicks before the coop was done for two reasons:
- Gives me a deadline to finish.
- I really wanted fresh eggs by spring time and the hatcheries stop deliving in Mid November.
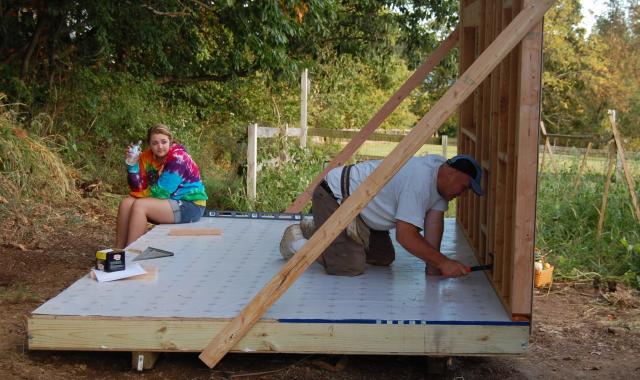
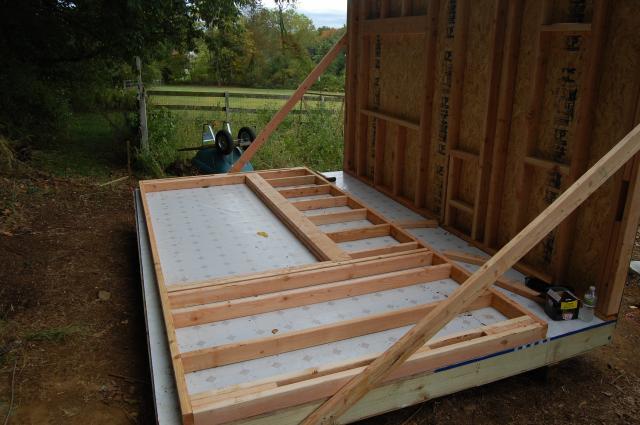
Floor with insulation:
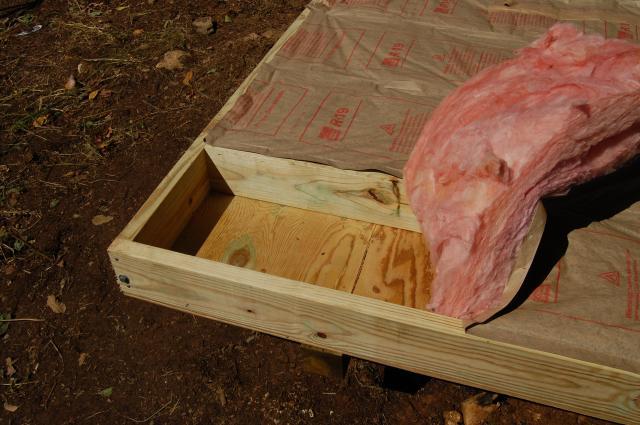
Pressure treated 2 x 6 frame. PT 5/8" plywood for the bottom sitting on two 4 x 4 sleepers. I almost got a hernia doing this. Put the frame together and then attached the bottom. Flipping that thing over was a real bear. Had to admit defeat and ask for help from my lovely wife. Even then it almost did not happen. Added 3/4" OSB over the insulation
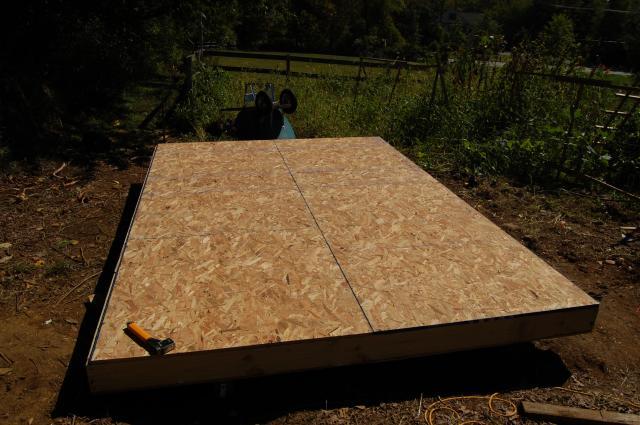
and then a layer of linoleum.
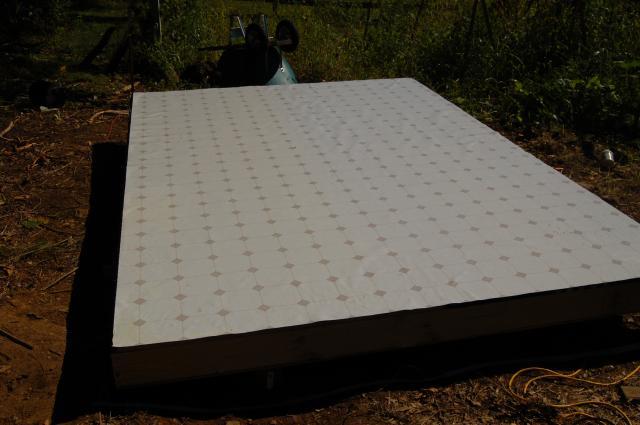
If I had to do this over again I do not think I would lay the linoleum down before framing. By the time the coop was finished I had several small tears in it from falling lumber and such. It is much easier to lay down now with free clearance all around though.
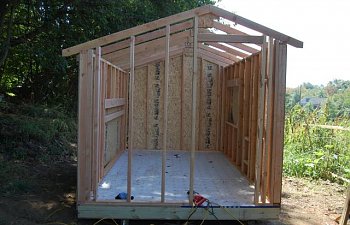
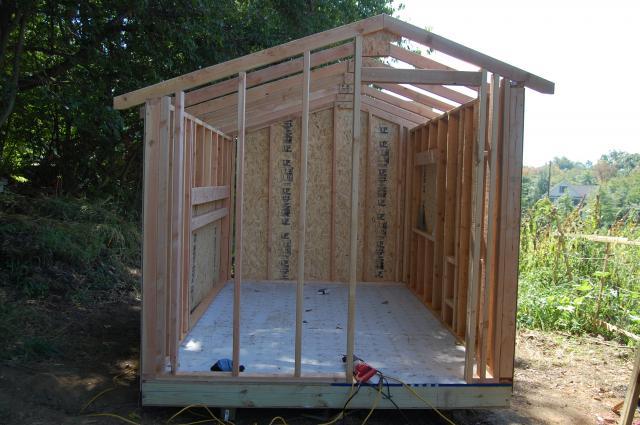
Framing
Front Wall:

Back Wall:
Roof Trusses:
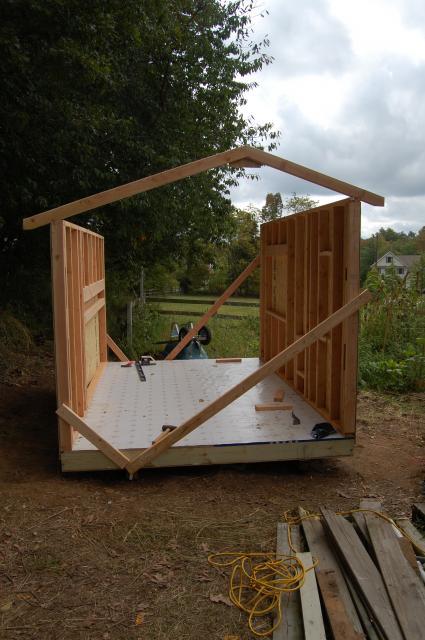
I have to say. I love google sketchup. I cut and built the trusses to the plan and they fit perfectly!
Side framing:
Click here to continue the contruction process <BROKEN
CORRECT LINK ADDED> https://www.backyardchickens.com/articles/construction2.52943/