The Epic Chicken Coop!
** Updated 2/27/2011 - see updated pics at the bottom. **
I believe it's time. Time to capture the epic adventure that is .... the Chicken Coop.
Really, I don't know what the hell we were thinking. It went something like this. "Hey, let's expand our chicken operation." "Yeah! We could build a 10x12 building from scratch!"
Uh, yeah. So we did. It took forever. It cost a decent amount of money. We did it during the hottest summer in a bajillion years, and it was hot as hell. It generated more than one argument. It required many, many trips to Home Depot. I learned new vocabulary and a lot about building, especially the fact that a 2x4 is not really 2" x 4" which is really annoying. But through it all, we survived and - dare I say? - are just about done.
We started with a concrete slab and put a drain in the middle. Took a chance on some guy who posted up on Craigslist that he did smaller concrete jobs (which is hard to find, by the way). He did really good work and was a nice man.
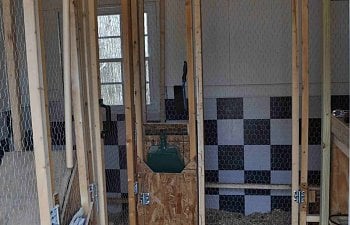
We then framed out the walls, then had a coop-raising party. Thank god for friends, is all I can say. Walls went up. Roof trusses were made. Shingles, insulation, drywall. Many, many screws. Thousands of them. Many ended up in the laundry. Trim. Interior panels, and chicken wire. Sharp chicken wire. Nest boxes and a roost, and trying to figure out how to make it all fit. But here it is.
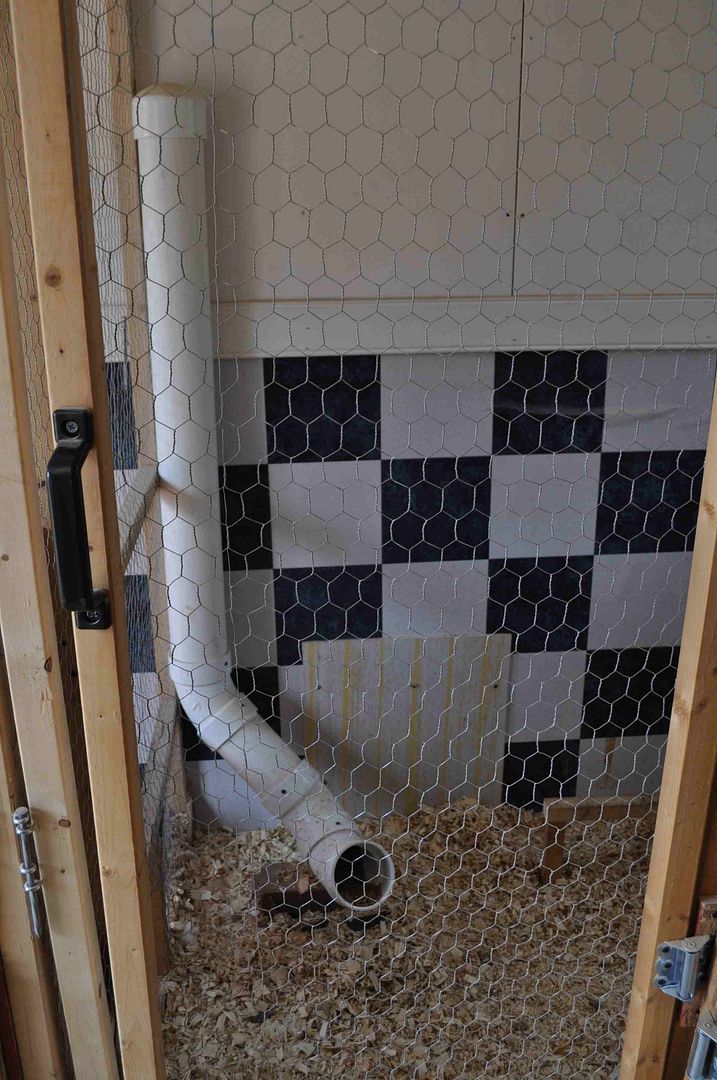
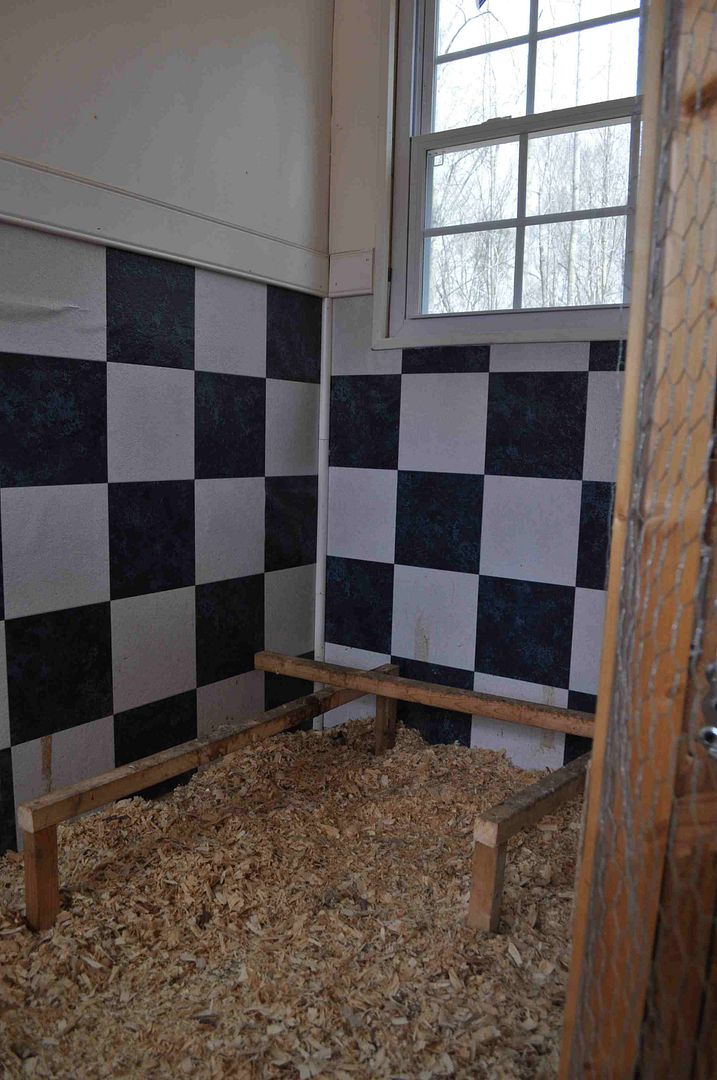
On the inside, we thought we'd install cheap linoleum vertically. It's not designed to go on that way, but hell, with a gallon of contact cement, it didn't have a choice but to stick to the wall. The idea is if I need to hose the whole thing out, just spray it with the hose and stuff can go down the drain and off into the woods.
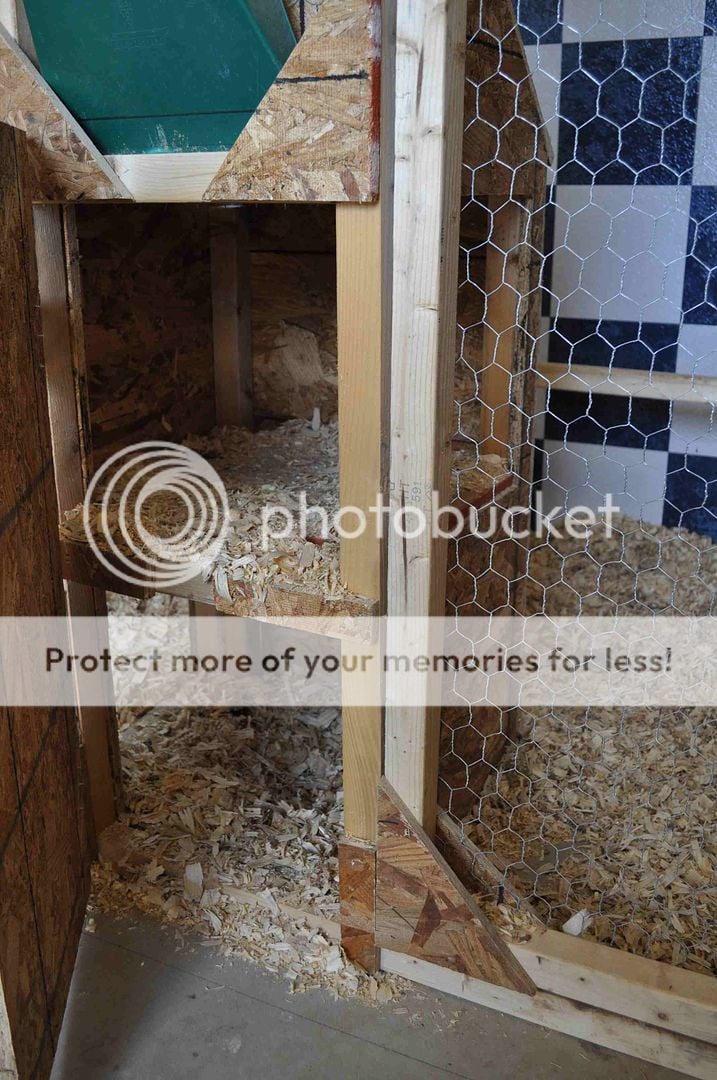
We also thought we'd divide the interior into three smaller areas, so *in theory* we could run different flocks of chickens or perhaps have a brooder area. There are nest boxes that aren't nailed down (on purpose, for easier clean-up), and some face one way, some face the other because it's technically in the other area. There are hinged doors on the nest boxes to make egg-gathering easy.
Trying our hand at building a PVC feeder. We have since tweaked the design just a tad - this wasn't angled enough to keep the feed flowing.

Silly chicken. All this for a hen who isn't laying yet. Oh, make that 17 chickens. The 14 new ones we just got are just a teeny bit young to start, and our veterans were molting. Now we're getting 1 egg a day. SLACKERS.
So we went from this:
The finished product. The orange doggie door is really weld curtain slats I got from scraps at work. On average, 10 out of 17 have figured out how to go in there at night. We are still training the remaining silly chickens. The fencing you see is a series of 10x10x6 dog kennels we purchased slowly over the past year or so. They are interconnected so we can have different areas be open or closed depending on our needs.

- Hardipanel is heavy and we probably should have just gone with plywood.
- Roost 1.0 was too steep and too narrow between rungs. It has since been removed and we put in a different one.
- We got our first chickens from a very nice man in the next town over. As we got to know him, we learned he's a deer hunter and offered to let him hunt our land. When we went to expand the chicken operation and told him we'd be buying 10 more, he said "Oh, I'll just give them to you." Sweet! He gave us 14 instead of the 10 we planned for. 14 didn't fit into that space, so we had to combine two of the three interior areas.
- PVC feeder 1.0 was not angled right and we came up with PVC feeder 2.0 (picture pending).
- Home Depot gives military veterans a 10% discount, you just have to ask.
- Power tools are SO worth it, especially when we borrowed a roofing nailer from a friend.
- That generator we bought a few years back - totally worth it.
- My husband is an awesome designer. He planned everything down to the last stick of lumber. I would just describe the features I wanted and voila!
It was a big project and took forever. I will never be the same!
========================================================
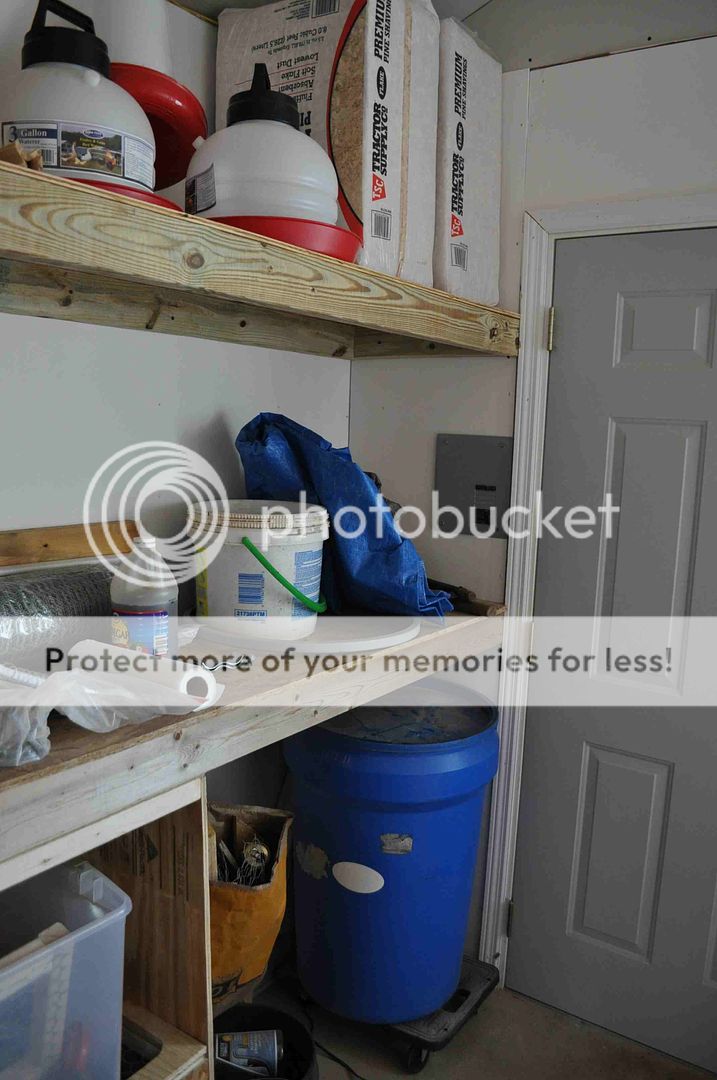
Interior shots now that we've finished inside! We've divided the interior into 4 areas - 3 areas for chickens, and 1 area for the humans. We can keep all 3 chicken areas separate, or we can open up a little gateway in between to combine them and allow the chickens to go from one to another. Our thought was if we were running different flocks/ages, we could keep them apart. We have double-decker nest boxes - it's set up so the ground floor box is accessible from one chicken area, and the top floor is accessible from the adjoining chicken area. There is a hinged door on the outside where I can just open the door to collect eggs from both nest boxes.

Now I need to figure out how to make some shade. A work in progress!