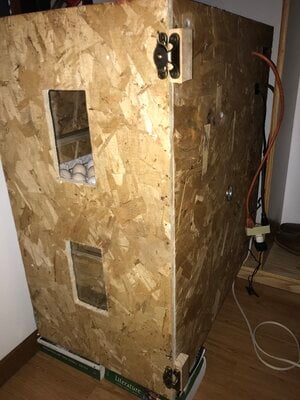
***Pictures below***
Materials needed:
1 - 4'x8' sheet of 1/2" plywood (or osb board like I used) $25 at Home Depot
1 - Inkbird 110 volt temperature controller, $16 on Amazon
1 - Arctic F8 80mm computer fans, pack of 5 for $22 on Amazon
1 - Fan power supply connector (to convert 110 volt to 12 volt for the fans) $7 on Amazon
1 PWN fan hub 1 to 5-way splitter, $7 on Amazon
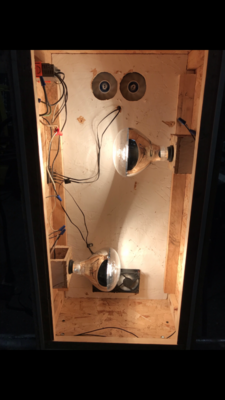
2 - light sockets, a couple $'s at local hardware store
2 - 125 watt heat lamp bulbs, a few more $'s each
2 - cabinet latches, a couple more $'s each from hardware store
2 - hinges (I got some off an old GQF door)
From here on its a bit more flexible...
some boards that you can strip down to about 1"x1.5"
some wiring, (I used some old power tool cords and extension cords), and 2 three-way splitters.
and some plexiglass for the windows.
Dimensions:
The side boards are 30 1/4 x 31 3/4.
Top and bottom boards are 16 x 30 1/4.
The back and door are 17 x 31 3/4.
The false back (that the fans attach to) is 16 x 30 3/4.
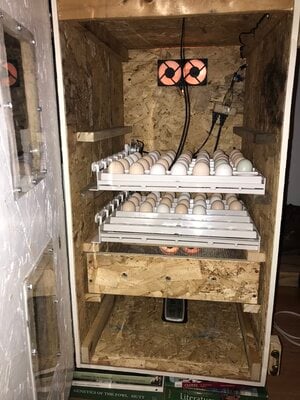
The false back is placed to give about an 8" space for the back compartment.
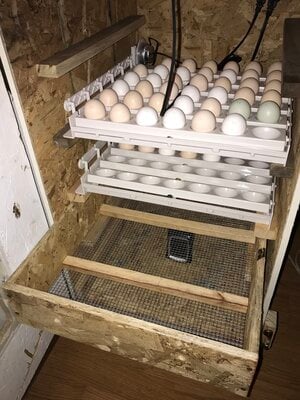
The egg turner racks are about 17 1/2 inches long.
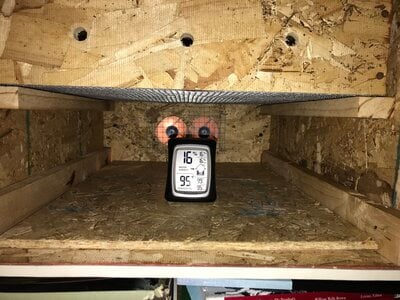
The fans on the top blow the air into the egg area and the fans on the bottom blow the air back into the heating compartment. All of the similar incubators that I have seen only had fans at the top and then an opening at the bottom, but I wanted to experiment with having fans on top and bottom to see if it helps keep more even temperature. It seems to work! My thermometer always shows 99 degrees at the very bottom of the incubator.
The temperature controller turns on at 99 degrees and off at 100. The lights will be on for about 1 min and 45 seconds and then off for the same about of time. I think this is a fairly short cycle that should be fine for the eggs. Remember that the temperature inside of the eggs changes much slower than the air temperature!
There is no water pan because I do dry incubation and only add water after day 18. So far I'm still just moving the eggs to a different incubator for hatching so I haven't needed water. I would probably just put the pan on the bottom of the incubator.
Hope this is helpful for somebody! If have any questions or need any more specifics just let me know.
To give credit where it's due: The main idea for using the Inkbird controller and Arctic fans came from Cotournix Corner on Youtube, he has a great video that is well worth checking out. I also got inspiration from an array of homemade incubators I saw online so if mine resembles yours take it as a compliment!
***UPDATE*** The Inkbird temperature controller quit working after only two weeks. I switched to a wafer thermostat which has been working well ever since. In my opinion, there is no reason for a small incubator to have a digital controller, wafers work great and are much more reliable in my experience.
***UPDATE*** March 2023, I now use this incubator solely as a hatcher and use an old GQF for the first 17 days. I built hatching trays with removable dividers so that they can be divided in half or in thirds for pedigree groups (see last thumbnail pic). I have been getting great results, last year I had a 91.78% hatch rate of total eggs set.
