What began as an empty nester's Mothers Day gift from my three adult children has turned into the most expensive yet peaceful time I've had since coming to know God!
While the cute little pre-fab coops seemed perfect for a small backyard and had all of the cuts and measurements already done.. little did I know of all the drawbacks of pre-fab coops.
But I'm learning as I go...

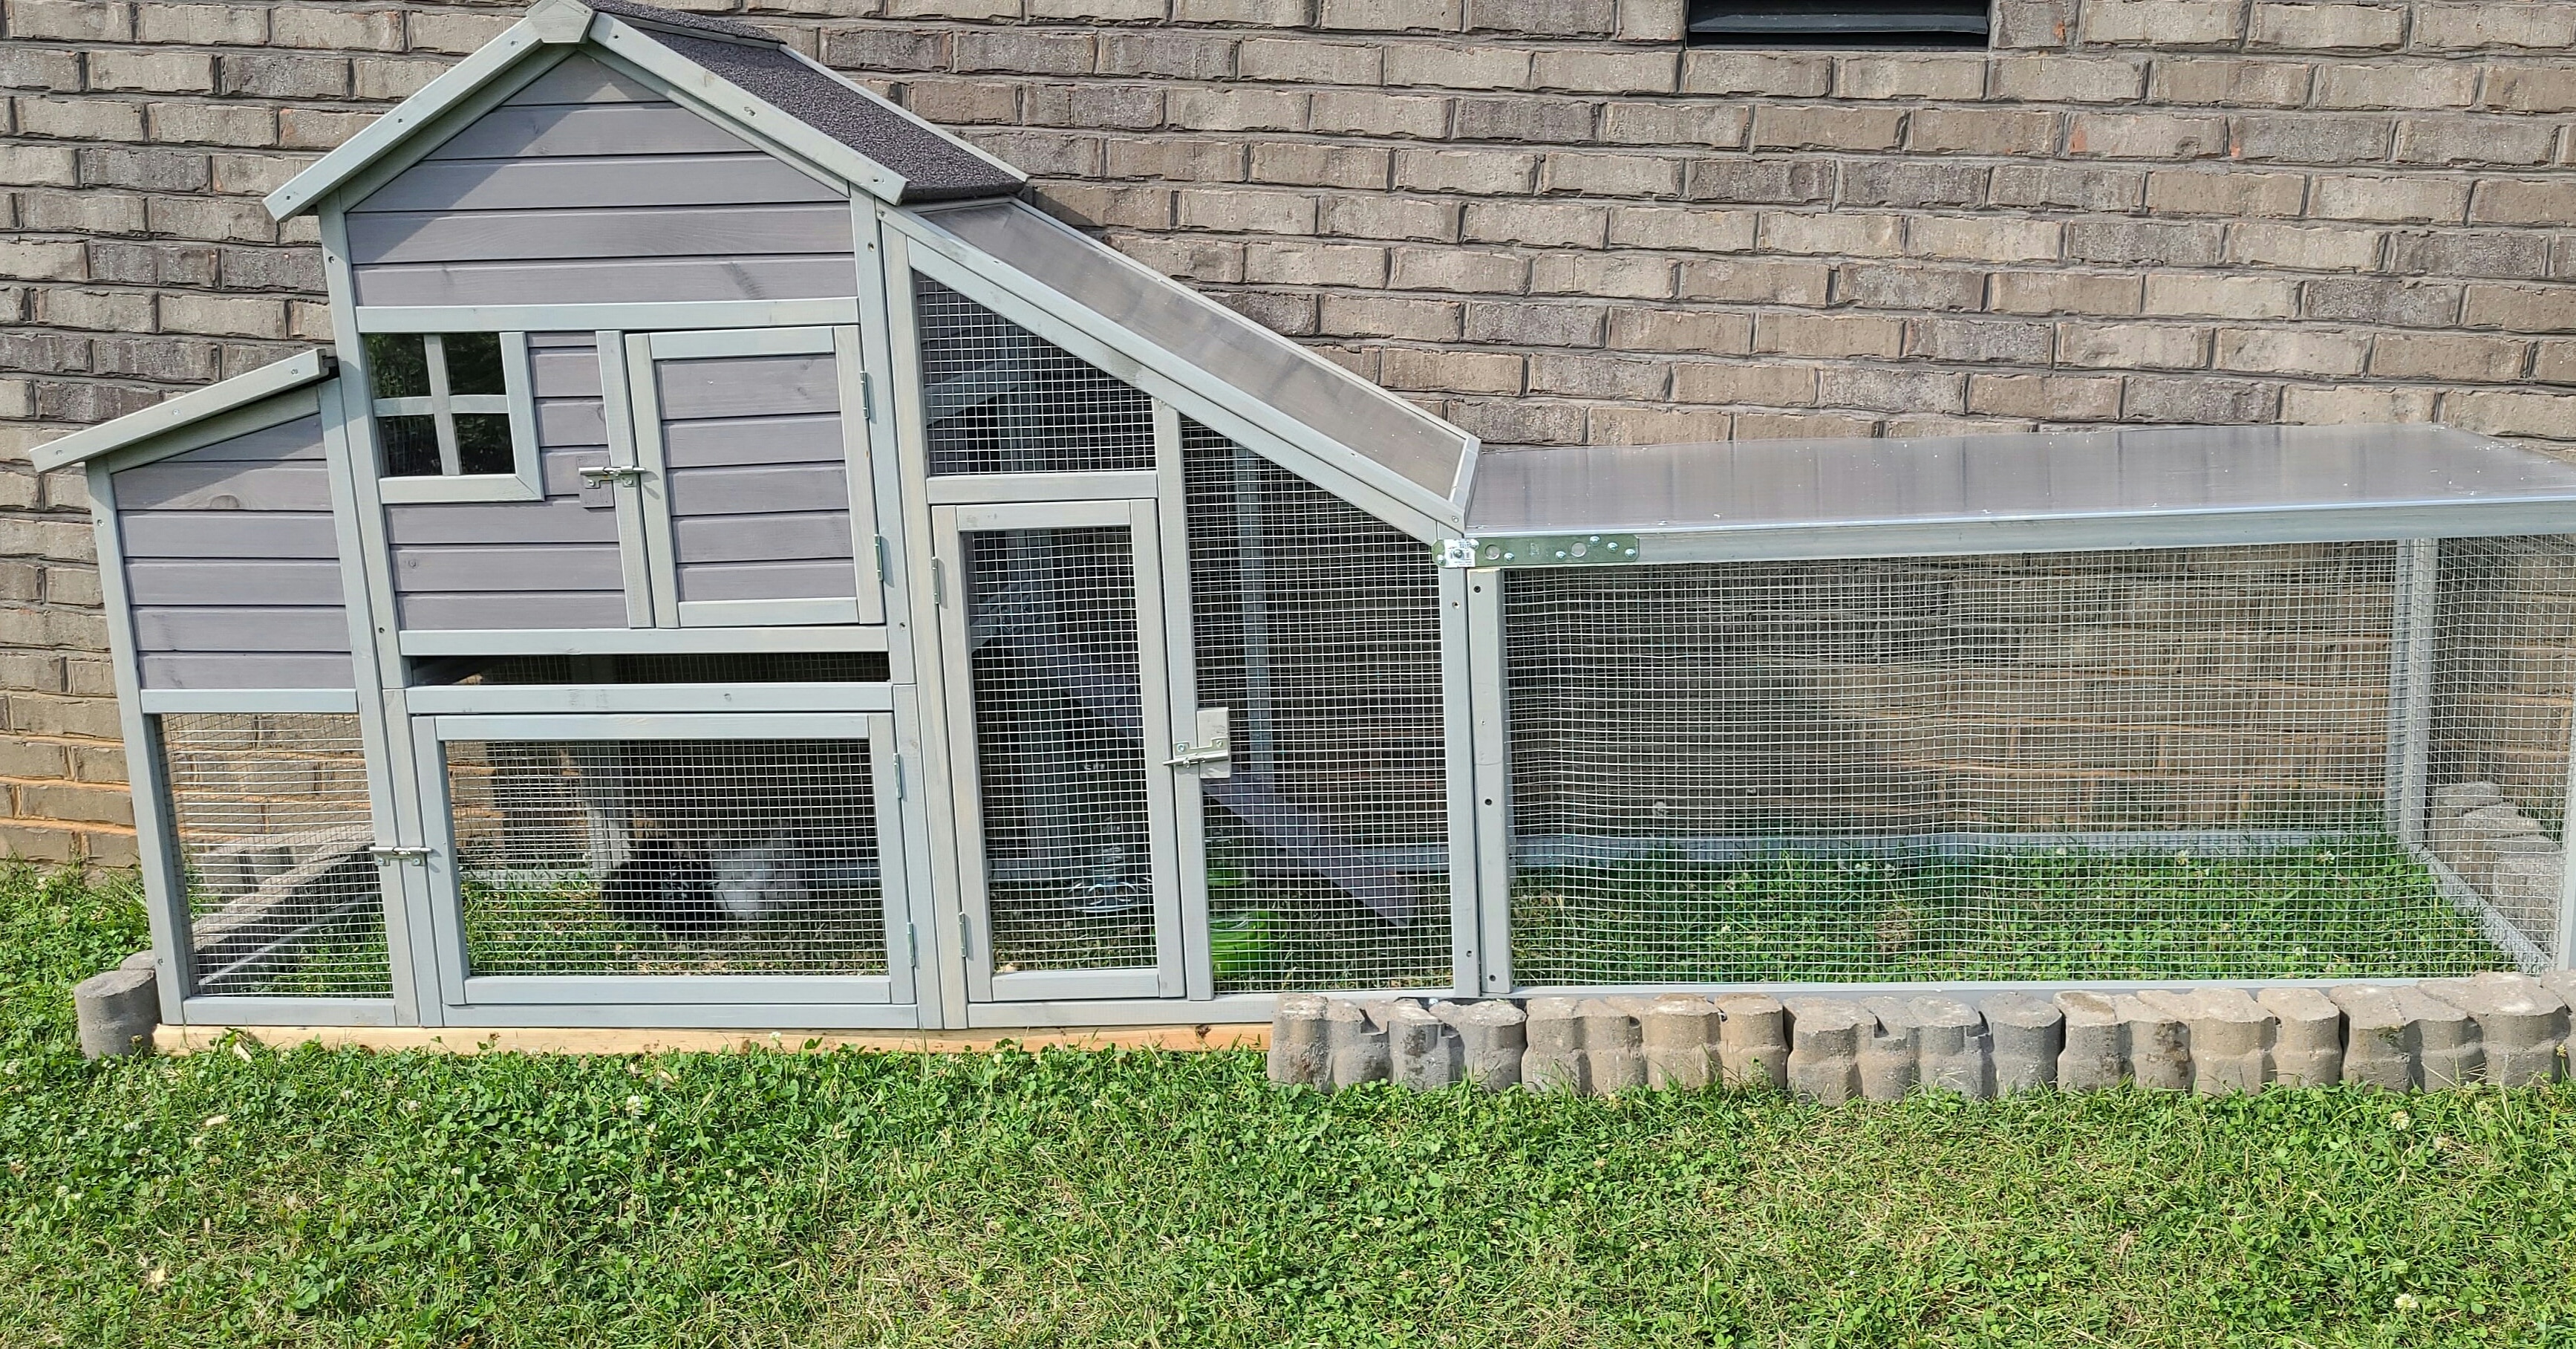
So a few months later my husband got tired of me asking, looking at every possible way (underneath the deck, kids playhouses, etc.) to do what needed to be done and he caved...sorta. He found me a 10x20 metal frame that we wrapped in hardware cloth...though still using the pre-fab coop inside the new run area.
Hubby insisted on using tarps to cover the 10x20 structure. He used T posts on each of the four corners to secure the structure into the ground a couple of feet. The entire structure is covered in hardware cloth with a predator apron as well.

This is a great run if it was leveled.
But because there is nothing diverting rainwater or runoff water and it is impossible to keep dry even with the tarps. And since I have silkies I need a dry run for the feathered feet.
I knew I definitely had to do differently before fall rain and winter set in since the pre-fab coop ventilation was next to zero and now that my 3 silkies were 8 months old and the run continued to have wet conditions.
After much research and homework, I convinced my husband to finally let me do a coop like I needed/wanted for silkies in our climate. And let's just say way too much $ and time later (3 months plus!)...yep - learning as I go!
Based on research here at BYC as well as online and my climate I needed an open-air coop but also a way to keep silkies from getting drenched in my existing unleveled run covered in tarps. The "monitor roof" is my design basis.
I began by going with the width of the run, thinking a new coop would be within the run. So width would be 9½' x 4' depth.

You can see the new coop construction on the far right at end of the run. Originally I planned for the new coop to be inside the run but decided it would be wasting valuable run space...so we cut the hardware cloth and drug it through the end to the outside of the run! This meant the dimensions were off some since the coop would be outside of run instead of inside the run. So son-in-law used extra 2x4s to sturdy it up from moving it and leveling it out to outside run ground area.
NOTE hubby didn't think the run needed to be level so yeah it was a major eyesore of the run not being level and the new coop being level...but slowly making progress with him!

This is a view from inside the run looking at the new coop construction all leveled...more on this later!
edited to update:
NOTE to self...and any other OCD stubborn people like me: Do not attempt to level the run! Appreciate what you have and enjoy ya babies!
After researching the pros/cons regarding building materials, we went with LP Smartside sheathing for the flooring and the walls using 2x4 framing.

The top area monitor roof (idea from @3KillerBs https://www.backyardchickens.com/articles/the-little-monitor-coop.76275/) ended up being much taller than I had envisioned but it is waterproof now.
We used Suntop Polycarbonate Roofing panels for the roof instead of metal roofing in hopes of decreasing summer heat within the coop and the mere fact that we had no way of cutting the metal roofing.
We did have to adjust the monitor roofing openings due to leaking when we tested it which meant I lost part of the openings on the front and back for ventilation. My son-in-law added the LP Smartside sheathing to help with leaking and that seemed to fix the problem. My son-in-law did an amazing job with this coop based on my limited ability to communicate what i needed much less my changes along the way. He is not a builder but took this on and made it work! We just had a slight miscommunication on the roof overhangs. ..but hey - learning as I go! Otherwise, I don't believe we would have had to add these triangle pieces losing precious ventilation.

We were desperate to beat the winter weather and move ever-growing chicks out of my house so spring modifications will need to be made to open up the side of the coop with the run as well as the original "open-air coop concept"...but for now the four satin silkie babies that are 6 wks old are DRY and Safe! I'm working on integration with my older 3 silkies day by day as they still use the pre-fab inside the run til fully integrated.
So come spring I'll add a page to include the modifications we've made.
Thanks to yalls advice and warm weather on Christmas Eve we got the door trimmed out and an additional hinge and latch attached. I still have more trim to add along with the corners of the coop as well as paint if the weather will be nice for a day or so as well as move the hardware cloth from the end of the run to around the coop so it is all secure and additional run coverage then underneath the coop too.
Here's praying the hubby will soon agree to leveling out the run and replacing the tarps with the same roofing as on the coop! But I ain't gonna push that for a while!
what would I do differently:
goals for the future:
I'm still learning as I go!
edited to updated:
While the cute little pre-fab coops seemed perfect for a small backyard and had all of the cuts and measurements already done.. little did I know of all the drawbacks of pre-fab coops.
No ventilation and No room
for the number of birds that can fit much less what they advertised
for the number of birds that can fit much less what they advertised
But I'm learning as I go...
So a few months later my husband got tired of me asking, looking at every possible way (underneath the deck, kids playhouses, etc.) to do what needed to be done and he caved...sorta. He found me a 10x20 metal frame that we wrapped in hardware cloth...though still using the pre-fab coop inside the new run area.
Hubby insisted on using tarps to cover the 10x20 structure. He used T posts on each of the four corners to secure the structure into the ground a couple of feet. The entire structure is covered in hardware cloth with a predator apron as well.
This is a great run if it was leveled.
But because there is nothing diverting rainwater or runoff water and it is impossible to keep dry even with the tarps. And since I have silkies I need a dry run for the feathered feet.
I knew I definitely had to do differently before fall rain and winter set in since the pre-fab coop ventilation was next to zero and now that my 3 silkies were 8 months old and the run continued to have wet conditions.
After much research and homework, I convinced my husband to finally let me do a coop like I needed/wanted for silkies in our climate. And let's just say way too much $ and time later (3 months plus!)...yep - learning as I go!
Based on research here at BYC as well as online and my climate I needed an open-air coop but also a way to keep silkies from getting drenched in my existing unleveled run covered in tarps. The "monitor roof" is my design basis.
I began by going with the width of the run, thinking a new coop would be within the run. So width would be 9½' x 4' depth.
You can see the new coop construction on the far right at end of the run. Originally I planned for the new coop to be inside the run but decided it would be wasting valuable run space...so we cut the hardware cloth and drug it through the end to the outside of the run! This meant the dimensions were off some since the coop would be outside of run instead of inside the run. So son-in-law used extra 2x4s to sturdy it up from moving it and leveling it out to outside run ground area.
NOTE hubby didn't think the run needed to be level so yeah it was a major eyesore of the run not being level and the new coop being level...but slowly making progress with him!
This is a view from inside the run looking at the new coop construction all leveled...more on this later!
edited to update:
NOTE to self...and any other OCD stubborn people like me: Do not attempt to level the run! Appreciate what you have and enjoy ya babies!
Post in thread 'Gamma's Bearded Babies Adventure' https://www.backyardchickens.com/threads/gammas-bearded-babies-adventure.1506450/post-25385619
After researching the pros/cons regarding building materials, we went with LP Smartside sheathing for the flooring and the walls using 2x4 framing.

The top area monitor roof (idea from @3KillerBs https://www.backyardchickens.com/articles/the-little-monitor-coop.76275/) ended up being much taller than I had envisioned but it is waterproof now.
We used Suntop Polycarbonate Roofing panels for the roof instead of metal roofing in hopes of decreasing summer heat within the coop and the mere fact that we had no way of cutting the metal roofing.
We did have to adjust the monitor roofing openings due to leaking when we tested it which meant I lost part of the openings on the front and back for ventilation. My son-in-law added the LP Smartside sheathing to help with leaking and that seemed to fix the problem. My son-in-law did an amazing job with this coop based on my limited ability to communicate what i needed much less my changes along the way. He is not a builder but took this on and made it work! We just had a slight miscommunication on the roof overhangs. ..but hey - learning as I go! Otherwise, I don't believe we would have had to add these triangle pieces losing precious ventilation.
We were desperate to beat the winter weather and move ever-growing chicks out of my house so spring modifications will need to be made to open up the side of the coop with the run as well as the original "open-air coop concept"...but for now the four satin silkie babies that are 6 wks old are DRY and Safe! I'm working on integration with my older 3 silkies day by day as they still use the pre-fab inside the run til fully integrated.
So come spring I'll add a page to include the modifications we've made.
Thanks to yalls advice and warm weather on Christmas Eve we got the door trimmed out and an additional hinge and latch attached. I still have more trim to add along with the corners of the coop as well as paint if the weather will be nice for a day or so as well as move the hardware cloth from the end of the run to around the coop so it is all secure and additional run coverage then underneath the coop too.
Here's praying the hubby will soon agree to leveling out the run and replacing the tarps with the same roofing as on the coop! But I ain't gonna push that for a while!
what would I do differently:
do homework FIRST! chickens are addictive and adorable! But everyday necessities overrule all that!
Use an actual plan rather than winging it based on my drawings and No construction knowledge whatsoever.
Use someone to build with actual construction skills (son-in-law did amazing considering and I know I'm less than helpful when it comes to explaining what I want/need but probably added strain/stress to our relationship).
I don't think I would have used the LP Smartside sheathing or I would have painted both sides instead of just the inside. It is warping pretty badly and quickly. And hard to get it painted this time of the year due to the weather.
goals for the future:
Rainwater collection to help with the runoff in the run.
Remove tarps and extend roofing from the coop to include the entire run.
Enjoy my babies in their new area!!!
Thank all of yall here at BYC (especially @3KillerBs and @aart ) for all yall's help, advice, and feedback along this journey...thus far - cause well -I'm still learning as I go!
edited to updated:
don't take for granted what ya got...
enjoy it...
as it is!
See the post in thread 'Gamma's Bearded Babies Adventure' https://www.backyardchickens.com/threads/gammas-bearded-babies-adventure.1506450/post-25385619
Thankful to my sweet Husband who fixed my mess!!!enjoy it...
as it is!
See the post in thread 'Gamma's Bearded Babies Adventure' https://www.backyardchickens.com/threads/gammas-bearded-babies-adventure.1506450/post-25385619
When in doubt...hire it out!


Always learning as I go!