BackYard Chickens › BYC Forum › Raising BackYard Chickens › Coop & Run - Design, Construction, & Maintenance › DIY Thread - Let's see your "Inventions".
New Posts  All Forums:Forum Nav:

DIY Thread - Let's see your "Inventions".

post #1 of 656
Thread Starter 

I keep Saltwater Reef tanks. I belong to several "Reefer" forums...(Don't Google it. You'll get the wrong idea.)

Each one of those forums has a DIY section, where people can share ideas and plans for things

that they make to help them in the hobby. There are a million ways to do things, everyone has a

different way. Depending on your skill level, someone may have a way of doing something that

fits your skill level.


I don't really know where to put this, but this seemed to be the best place.


Okay, Let's see them.


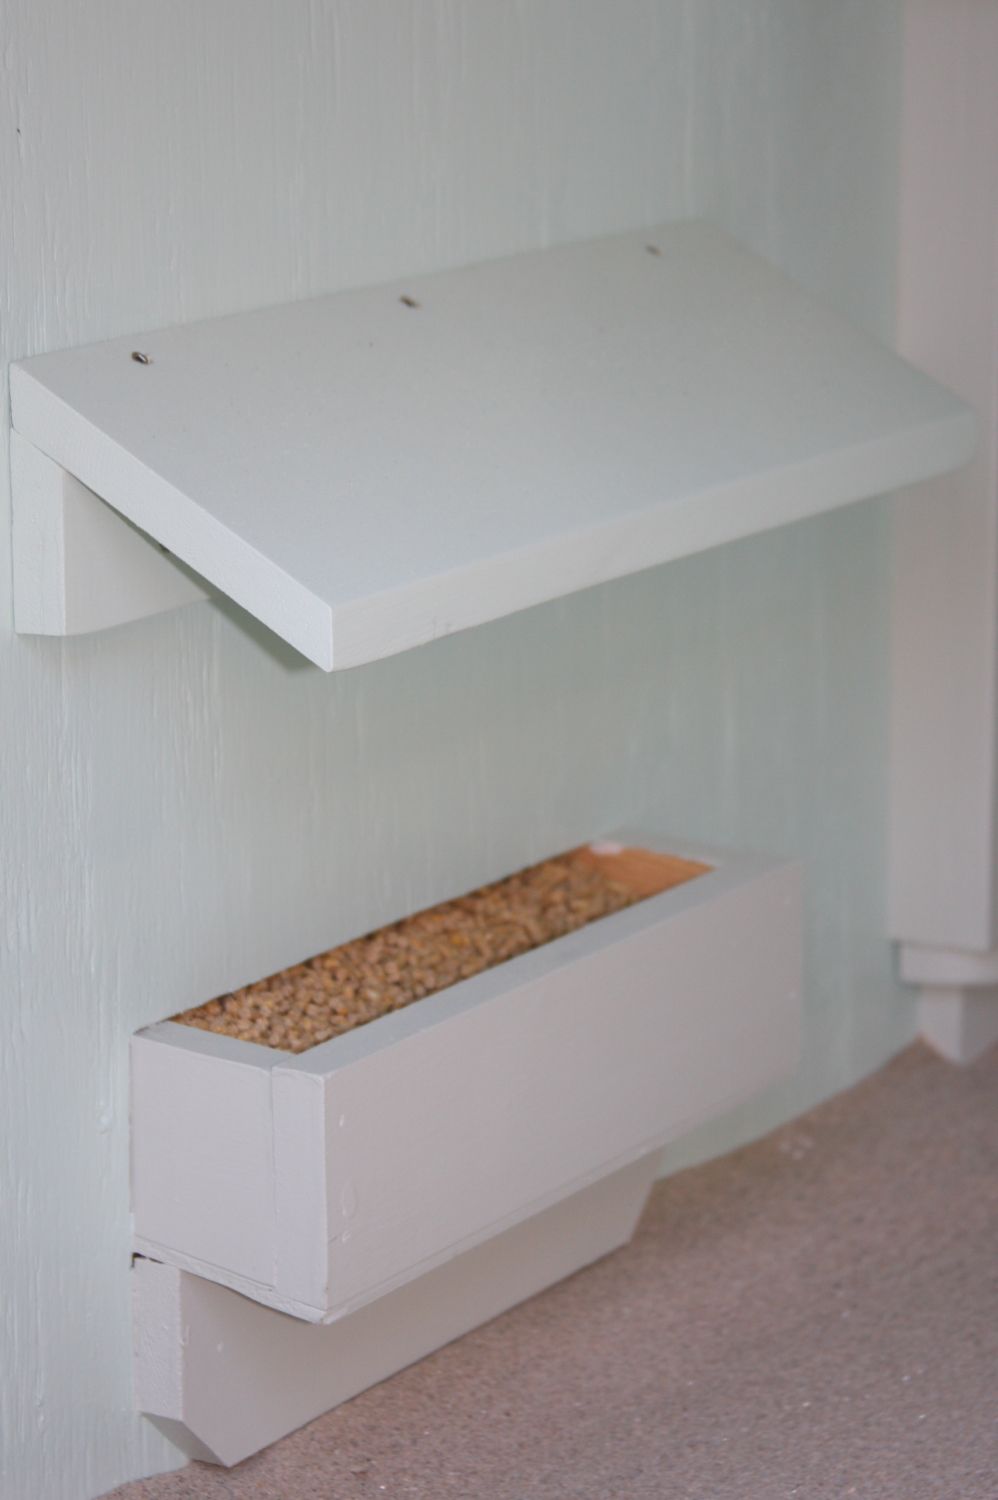
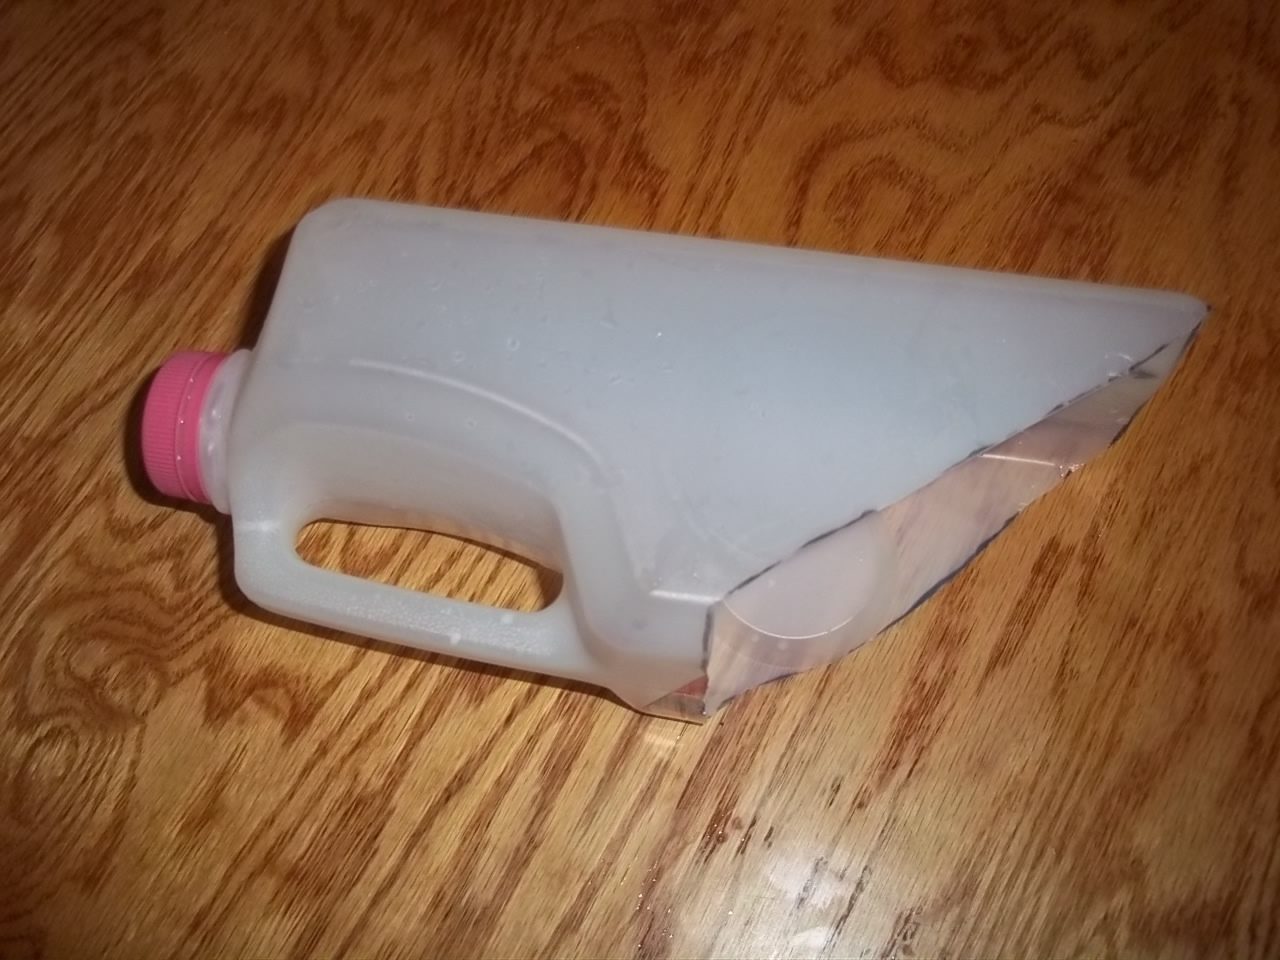
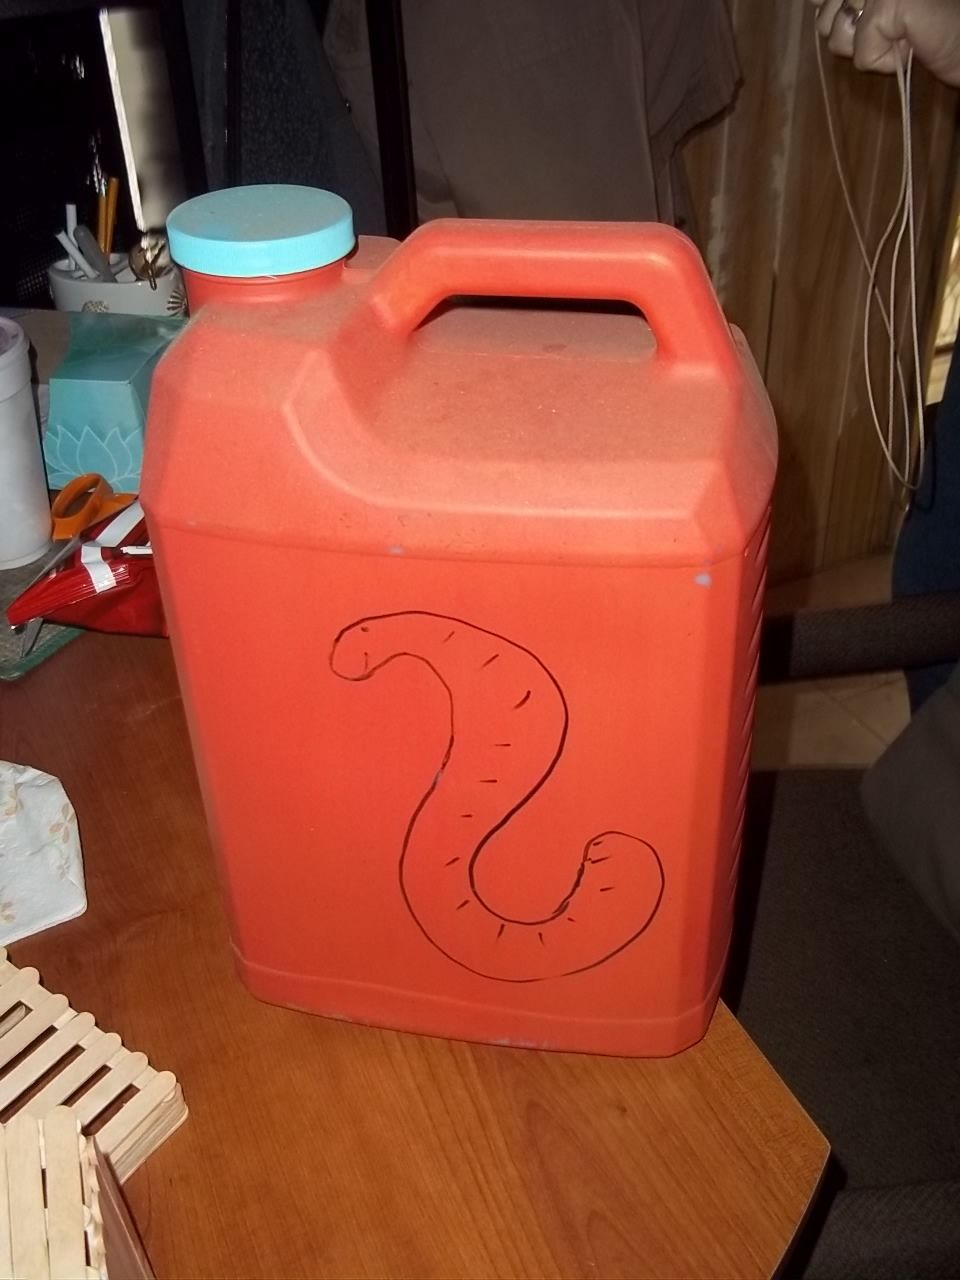
My daughter just made a feed scoop out of a 1/2 gal milk jug. She said she would post pictures later.

post #2 of 656

Cool idea, can't wait to see what all the creative people on this forum have come up with!

Dennis

Gentleman City Chicken Farmer

The Mother Cluckers - 2 Buff Orps, 2 Barred Rock, 1 Gold Laced Wyandotte

Central Oregon Coast
Academic Technology Sales


Reply

Dennis

Gentleman City Chicken Farmer

The Mother Cluckers - 2 Buff Orps, 2 Barred Rock, 1 Gold Laced Wyandotte

Central Oregon Coast
Academic Technology Sales


Reply
post #3 of 656

I know this isnt very original but our 16 foot long coop's floor is split into 4 sections to slide out for easy cleaning

post #4 of 656

Here.


This is our homemade scoop!

100_7153.JPG


This is a little roost I made.

100_7166.JPG


This is a little coop I made for our little chicks.

(The back was not on for the picture)

100_7162.JPG


This will be a mealworm farm.

(Or plain worms, idk yet)

100_7163.JPG


This is a little "Chick's Chick Feeder". tongue.png

(I'm going to try to sell them.)

100_7168.JPG

(Sorry for bad quality on that last one, our dog needed me, so I took it when I was walking)

The other day my mom asked if I got her e-mail, I said "no, not yet" she looked disappointed, and said "Oh! I get it, you're too busy on 'backward chickens!" Ha Ha Ha Ha Ha!!!

Reply

The other day my mom asked if I got her e-mail, I said "no, not yet" she looked disappointed, and said "Oh! I get it, you're too busy on 'backward chickens!" Ha Ha Ha Ha Ha!!!

Reply
post #5 of 656

Automatic waterer

1.JPG

2.JPG

And an important step... toad proof the toilet valve.

3.jpg


If a man speaks in the forest and there is no woman there to hear him,....Is he still wrong??
Reply


If a man speaks in the forest and there is no woman there to hear him,....Is he still wrong??
Reply
post #6 of 656
Thread Starter 

Perfect example KDK1...


The key to a good DIY is pictures and an explanation of how you did something.


Okay Debs55...Let's see your floors. :)

post #7 of 656
Great work everyone! thumbsup.gif

NPIP Certified-150 Chickens (50 chicks), 13 Geese (6 gosling), 19 BR Turkeys (20 poults), 7 Rabbits, 60 Muscovy Duck, 29 Guineas, 9 Peafowl, 8 Sheep, 1 Goat and pea, turkey and guinea eggs cooking in the incubator.
 

Reply

NPIP Certified-150 Chickens (50 chicks), 13 Geese (6 gosling), 19 BR Turkeys (20 poults), 7 Rabbits, 60 Muscovy Duck, 29 Guineas, 9 Peafowl, 8 Sheep, 1 Goat and pea, turkey and guinea eggs cooking in the incubator.
 

Reply
post #8 of 656

I use 2 by 6 boards cut to make a platform to set my gallon waterers on to keep bedding out of tray. As they grow I add another board to make it taller.


And for bantams I use a square gallon plastic ice cream bucket for a nesting box. Cut a curved area out on one side for opening and leave few inches at bottom so eggs and nesting material doesn't fall out. You can snap the lid back on it or leave it off....


 For growing chicks that are learning to roost I made them one using 2 by 4 cut into two 12 inch pieces. One for each end base and nailed a tree branch on them. As they grew bigger I turned it over and nailed another 2 by 4 on base to make it taller... Length can vary according to space and number of chicks..


No matter how much we push the envelope it is still stationary......
Reply
No matter how much we push the envelope it is still stationary......
Reply
post #9 of 656

When I built my coop, I used the space inside the wall for a feeder.  It saves space inside the coop.  There is a small door on the exterior wall to fill from, and on the inside of the coop, the feed goes down into a tray.  The tray can be removed for cleaning, but so far, it has stayed very clean.  Water cannot get in since the fill door is under the roof of the run so it stays nice and dry.  I'm sure I'm not the first person to do this, but this set up works very well for me.


coop finished 013.JPG


chicken fort continued 013.JPG

We are what we repeatedly do.  Excellence then, is not an act, but a habit.

Reply

We are what we repeatedly do.  Excellence then, is not an act, but a habit.

Reply
post #10 of 656


Great thread! ok, I have two things to show you. I made my hawk proofing out of cloths line and cable ties. I stained the rope, let it dry, then put it up. I also made the perch you see in the run. It's made out of my son's old crib!!! You sadly can't see the top because I threw a tablecloth over it to give the girls something to get out of the rain. I normally don't have it on there. Old cribs are a dime a doz. My big girls like it, my silkies don't use it of course. Everyone loves to go under it though.


My next project is a lean to, one side for food, the other for dust baths. I'll be making it out of pallets :)


Can't wait to see more on this thread!!!!


Untitled 0 00 07-23.jpg


New Posts  All Forums:Forum Nav:
BackYard Chickens › BYC Forum › Raising BackYard Chickens › Coop & Run - Design, Construction, & Maintenance › DIY Thread - Let's see your "Inventions".