DIY Thread - Let's see your "Inventions".

Pics

Eznet2u

Chirping
8 Years
Jul 22, 2011
101
28
99
I keep Saltwater Reef tanks. I belong to several "Reefer" forums...(Don't Google it. You'll get the wrong idea.)
Each one of those forums has a DIY section, where people can share ideas and plans for things
that they make to help them in the hobby. There are a million ways to do things, everyone has a
different way. Depending on your skill level, someone may have a way of doing something that
fits your skill level.

I don't really know where to put this, but this seemed to be the best place.

Okay, Let's see them.

My daughter just made a feed scoop out of a 1/2 gal milk jug. She said she would post pictures later.
 
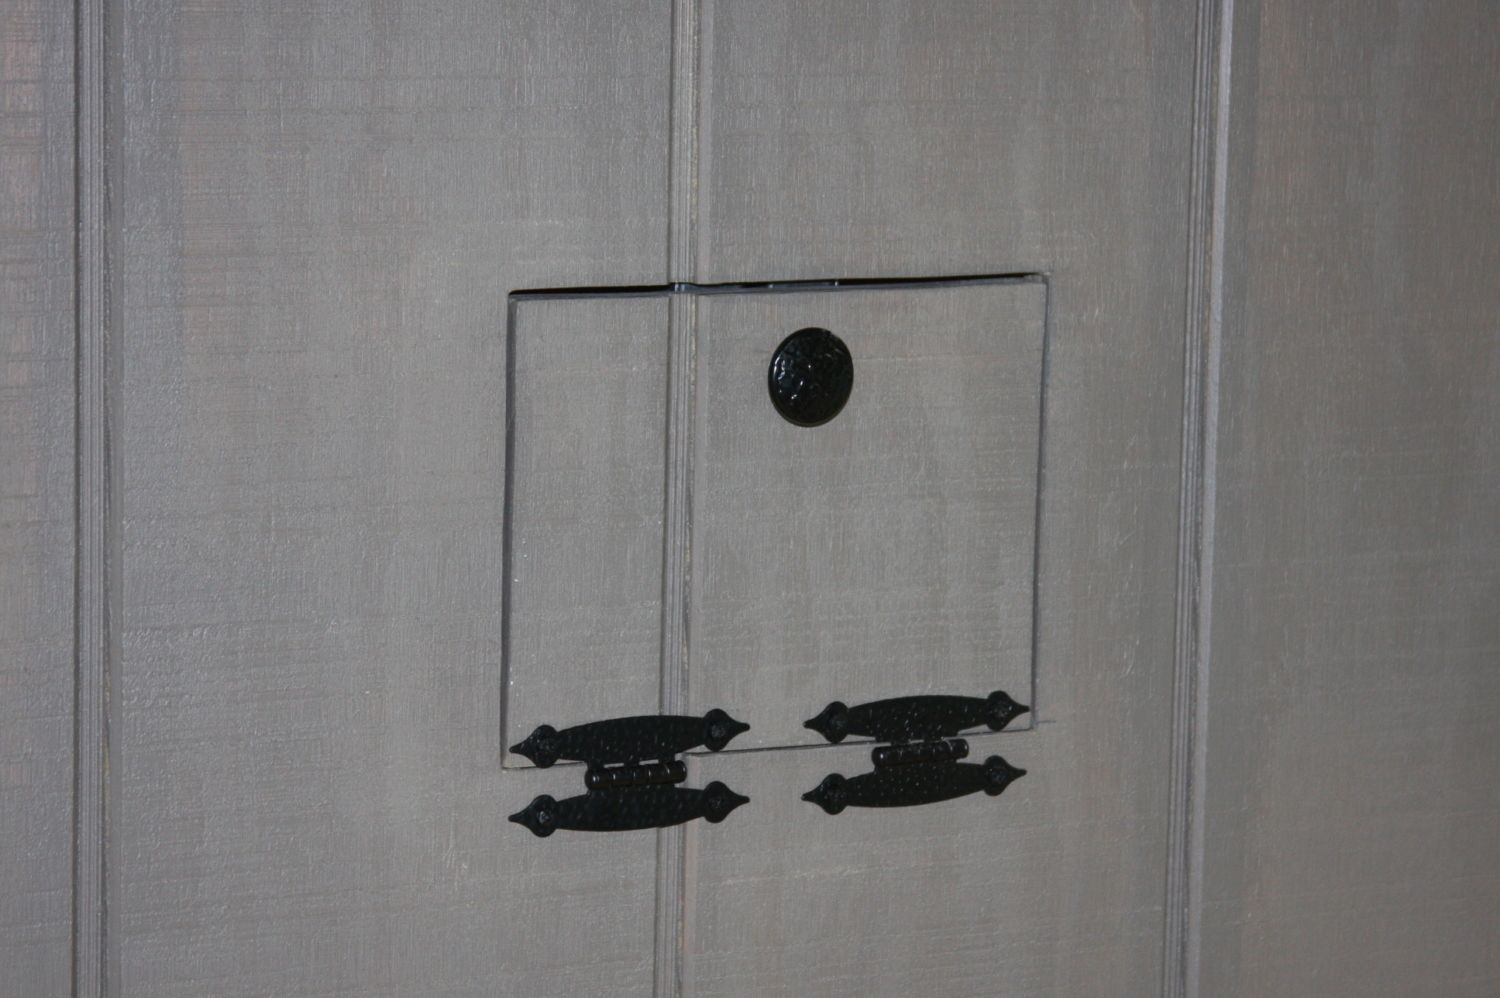
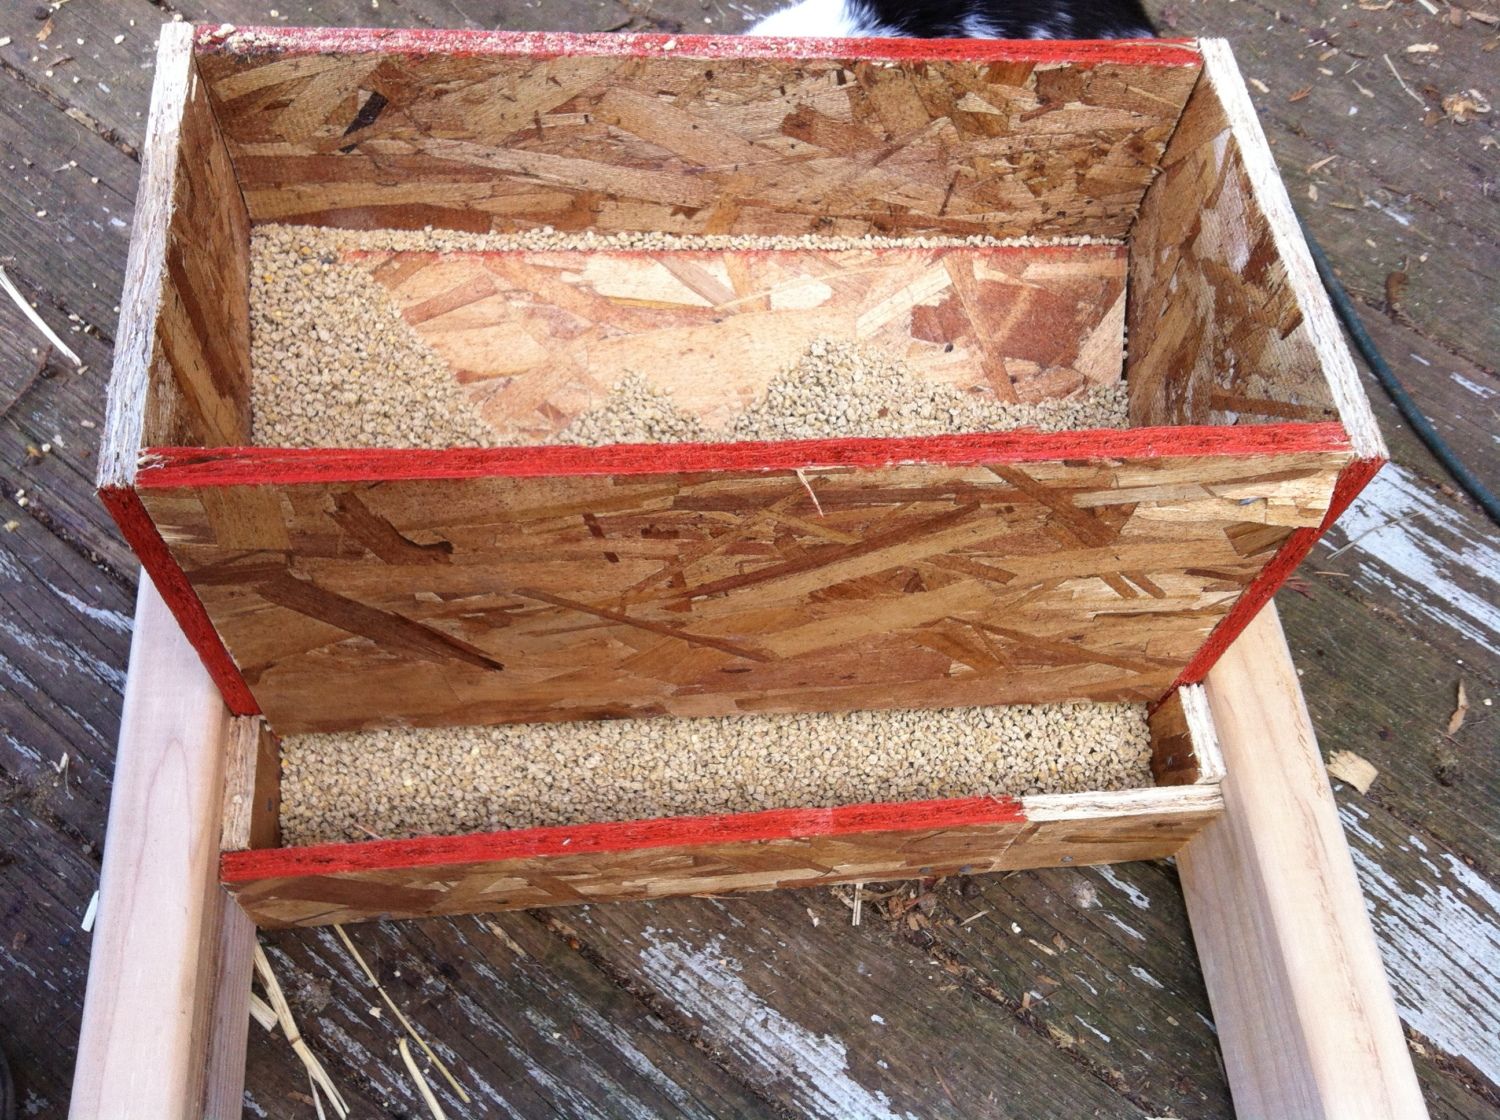
When I built my coop, I used the space inside the wall for a feeder. It saves space inside the coop. There is a small door on the exterior wall to fill from, and on the inside of the coop, the feed goes down into a tray. The tray can be removed for cleaning, but so far, it has stayed very clean. Water cannot get in since the fill door is under the roof of the run so it stays nice and dry. I'm sure I'm not the first person to do this, but this set up works very well for me.


This is one of my waterers. I put 12 nipples on the bottom of the tote. It is supported by heavy duty shelf brackets that also make it adjustable. It holds about 14 gallons of water. Right now I have two aquarium heaters on the bottom of the waterer to keep the water from freezing. By being on the bottom over the nipples, the heaters keep several nipples from freezing also. The plywood over the top is screwed on to the wall with hinges. The plywood cover keeps the birds from sitting on top of the waterer. I wasn't sure if this type of tote would be strong enough with the water inside, but it is working great. One nice thing, is that I don't have to take the lid off to check the water level. This is a pretty dusty coop, and the lid seals well enough, even with the cords coming out to keep the water nice and clean.
 
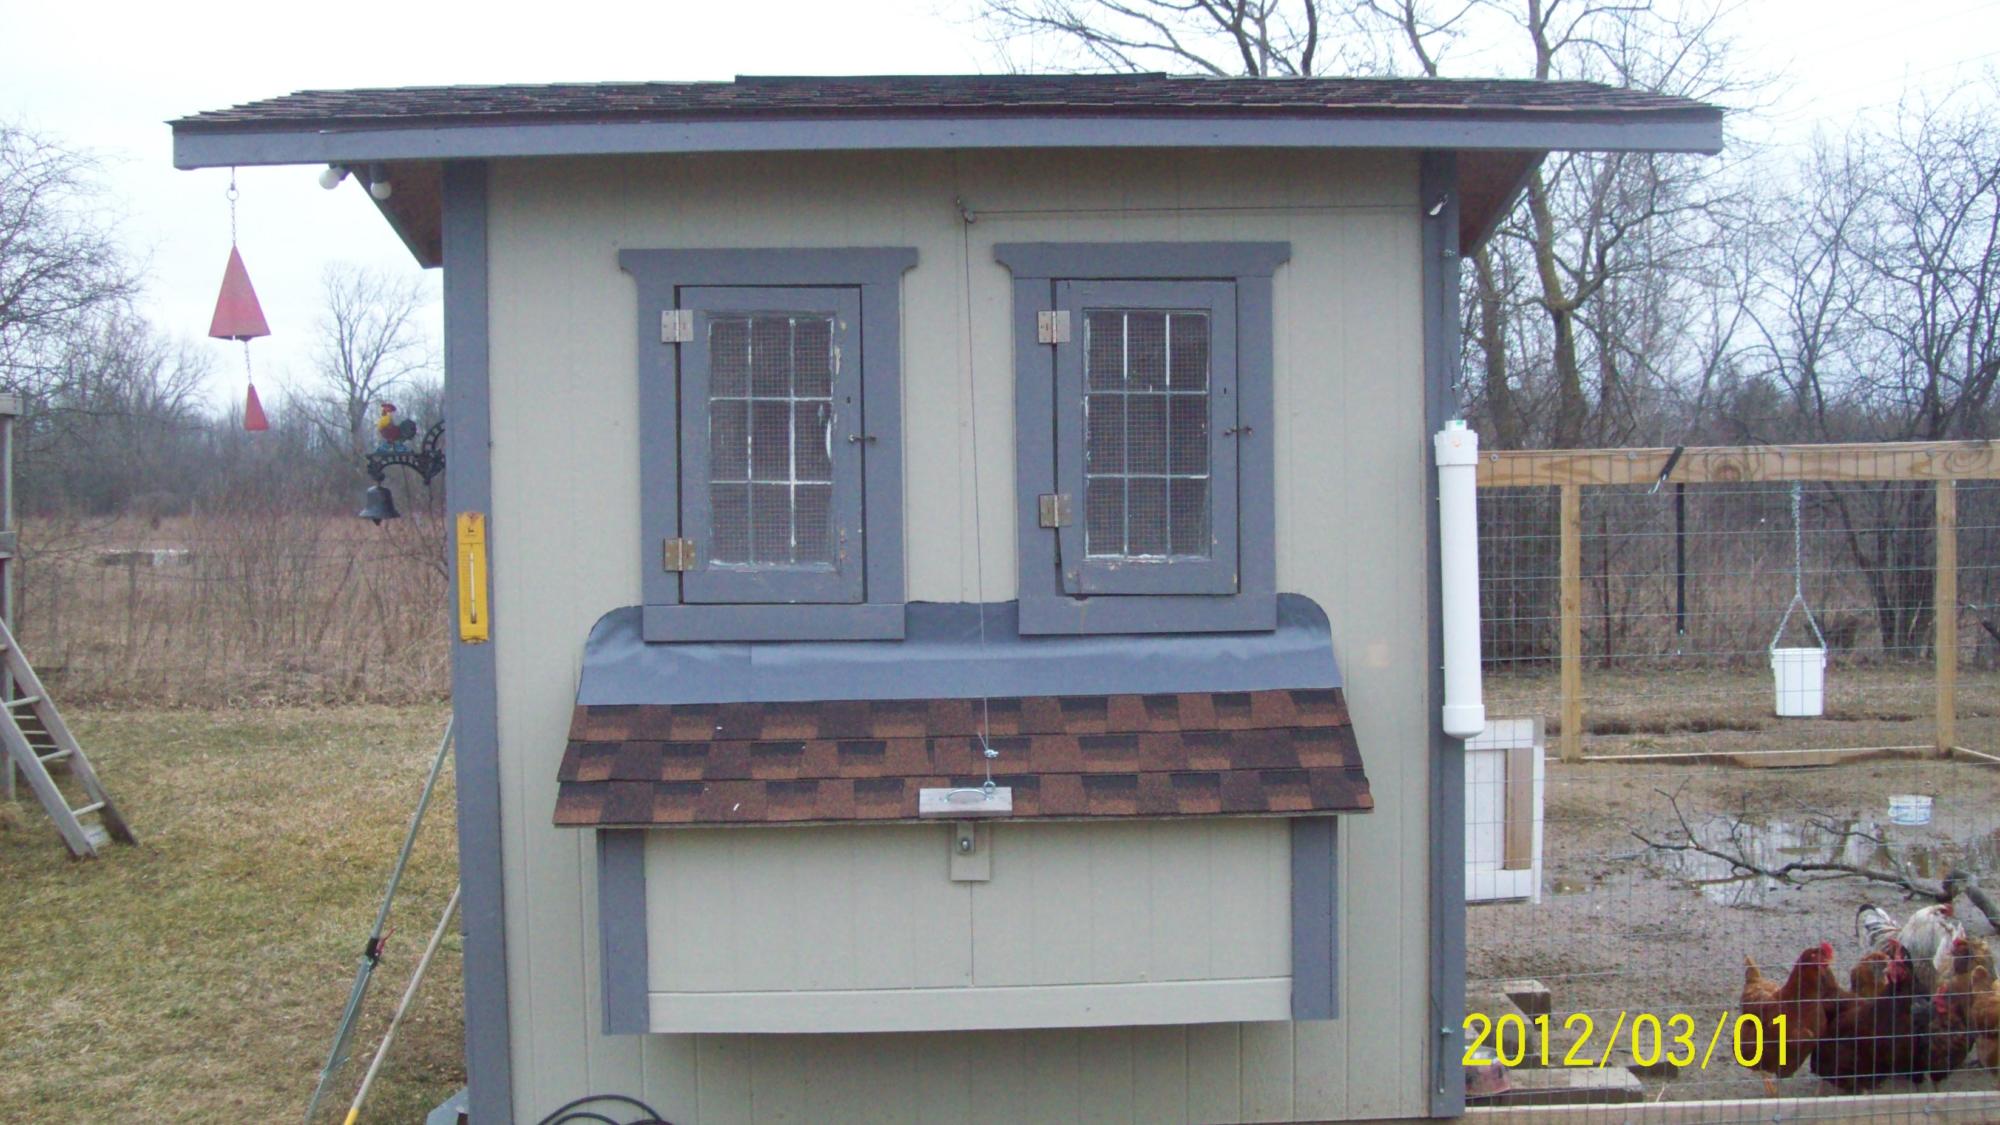
This is the counter balance I built for my nest box lid. They get heavy if you shingle them. The white pvc pipe on the right is the weight and is filled with cement. I got lucky with my guess on size for this. When you lift the lid is stays where ever you put it!

Notice the cable that goes from the middle of the lid straight up to a pulley, then right to another pulley and then down to the large cement filled pvc weight. The weight is also on a guide wire the runs top to bottom on the right hand corner to keep it from swinging. If any one wants more detailed pics I have them.

 
Last edited:
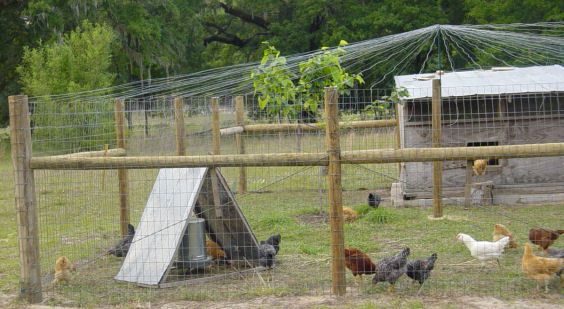
A raptor resistant overhead for a henyard.


It's just light electric fence wire (not charged) spaced about every twelve to fourteen inches where it ties into the fence, wrapped once around the center pole then off to the other side of the yard. Haven't had a hawk, owl, or even crow come into the yard since I set it up.

A quick, easily cleaned brooder.


It's a Sterilite/Rubbermaid/whatever tub. Cut out the holes with a hacksaw blade. Drill holes, used lightweight braided picture hanging wire to secure the hardware cloth to the plastic. I made it for an exhibition brooder for my county fair, but I also use it for keeping chicks at the poultry swaps.

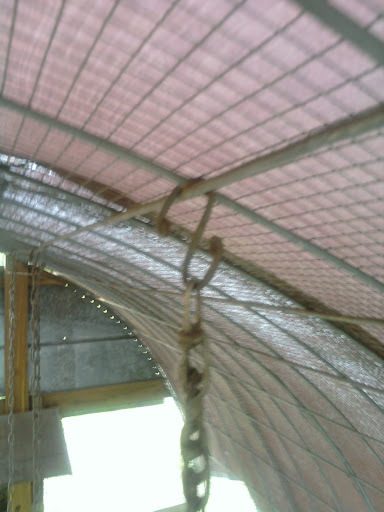
For those of you who are using cattle panel hoophouses this is how I hang my waterers and feeders.


This is both the top and bottom hook for the feeders.

For the waterers this is what I use at the bottom of the chain.


Also for the cattle panel hoop houses this is how I tie the board framing to the panels.


I use fourteen gauge galvanized electric fence wire for this purpose.

No-tip frames for holding #10 cans, rubber bowls, etc for use as feeders or waterers.

 
Last edited:

New posts New threads Active threads

Back
Top Bottom