After talking to other locals and research, it’s clear that Central Florida has its share of obstacles & threats for keeping chickens. Weather including torrential rains, violent thunderstorms, hurricanes, high heat & humidity is one aspect. The local wildlife includes various snakes, coyotes, raccoons, bobcats, panthers, black bear, and bird of prey to name a few.
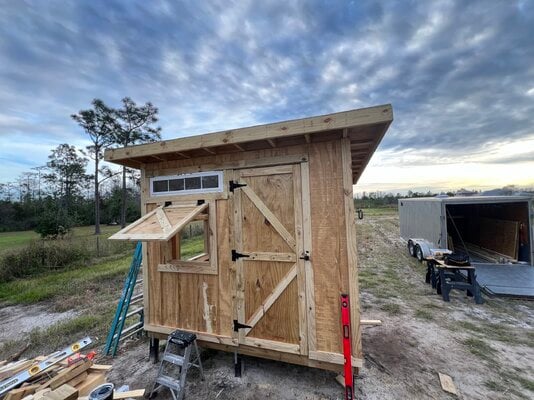
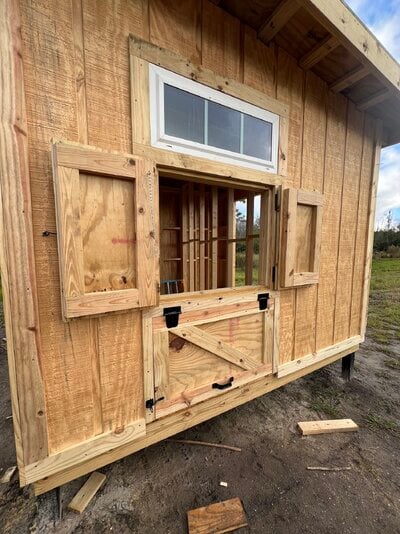
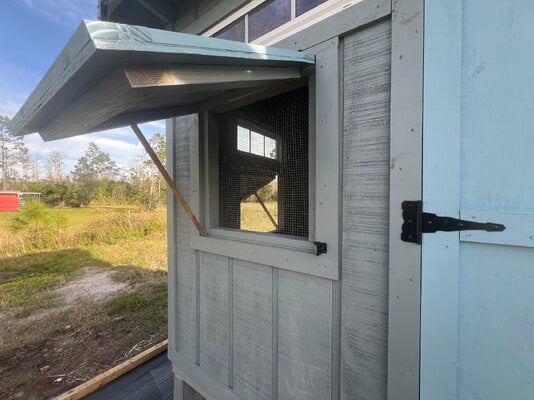
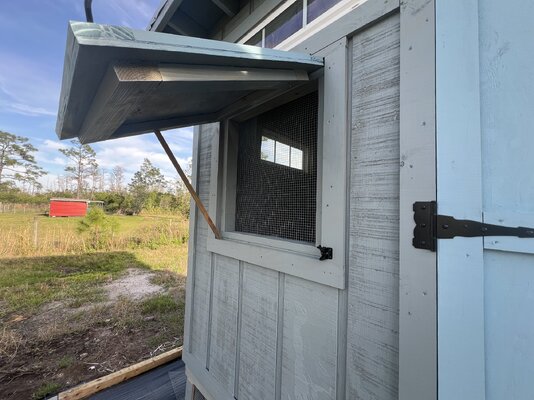
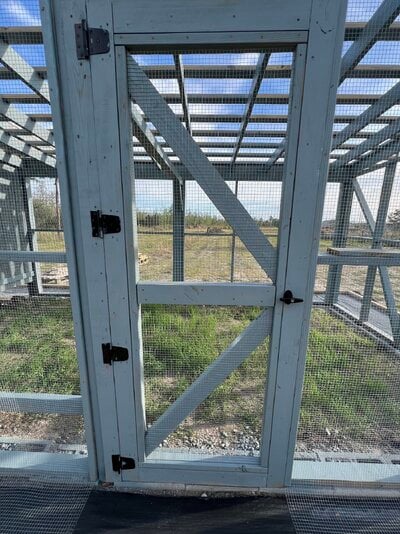
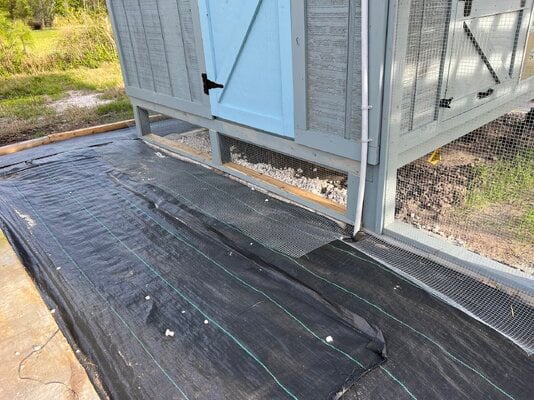
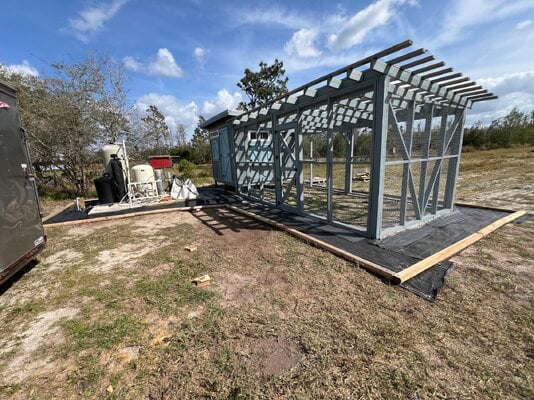
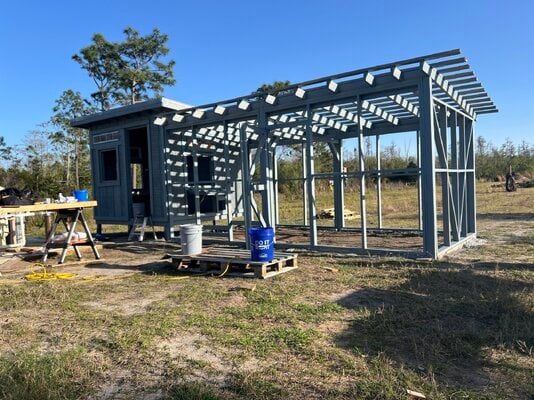
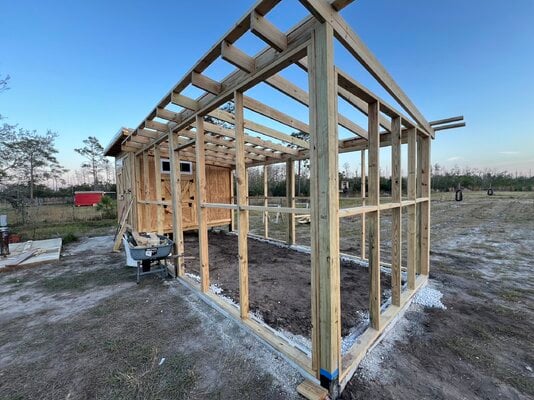
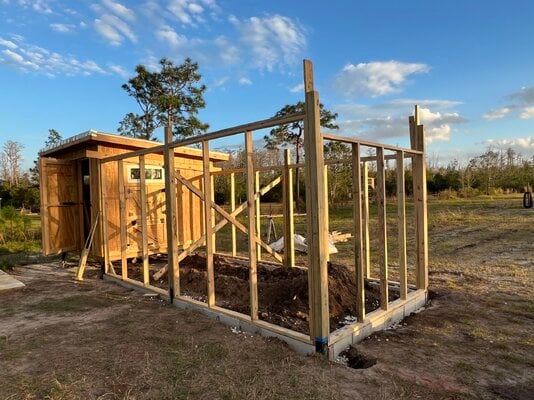
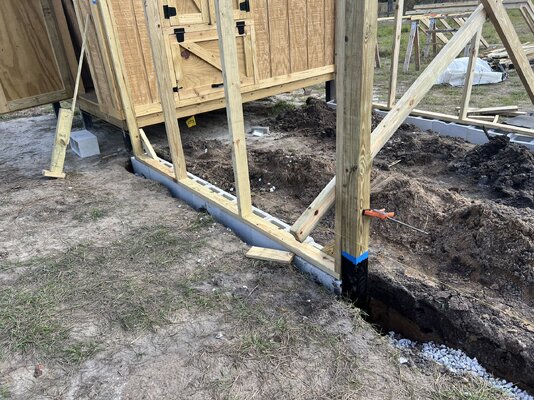
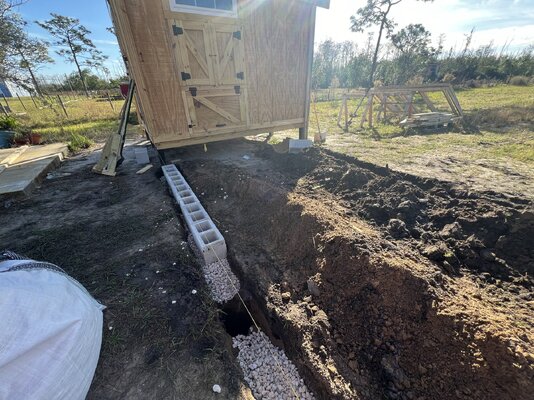
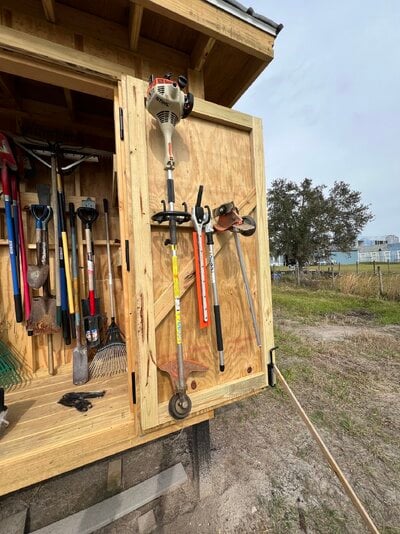
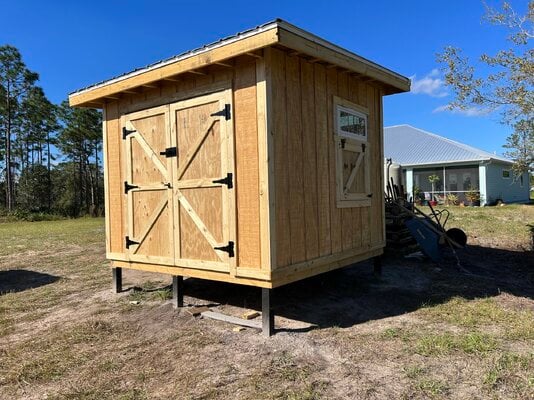
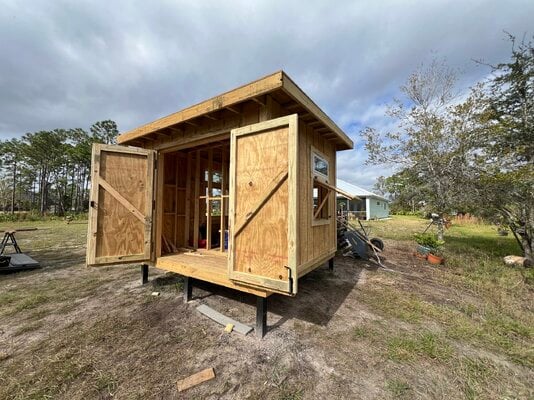
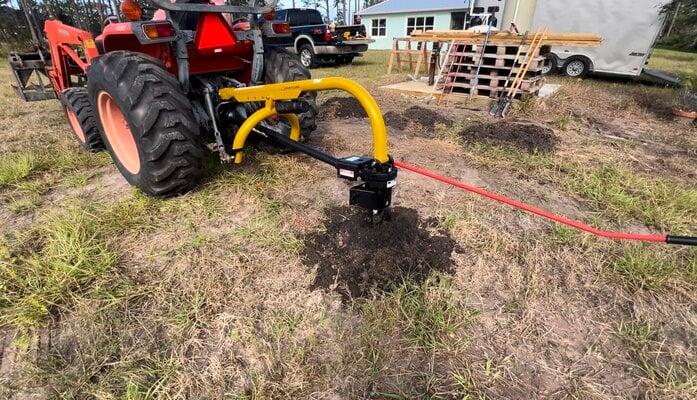
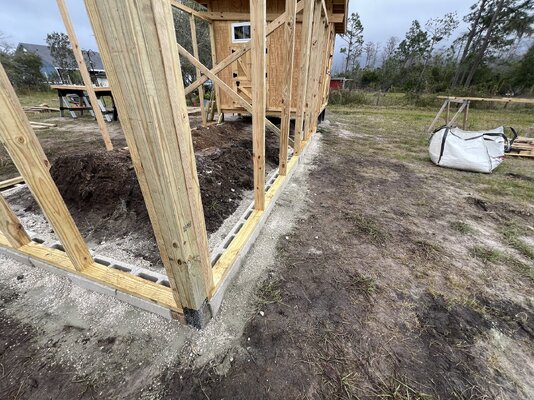
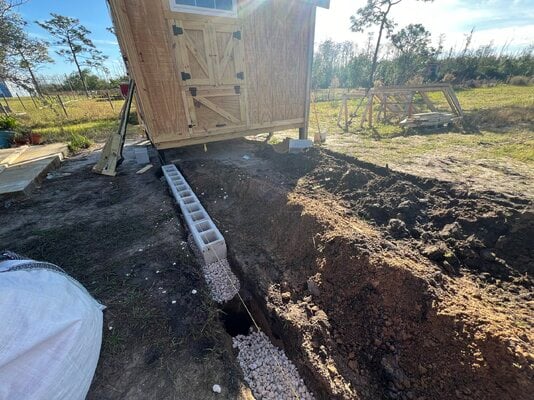
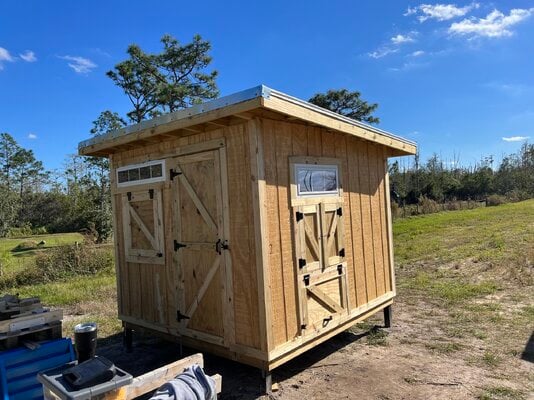
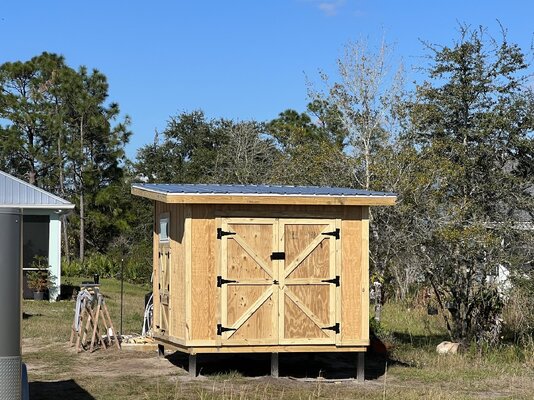
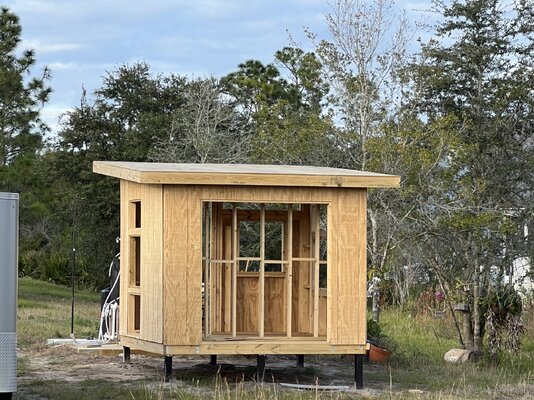
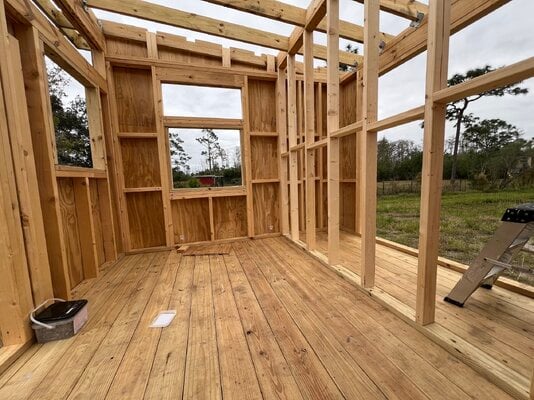
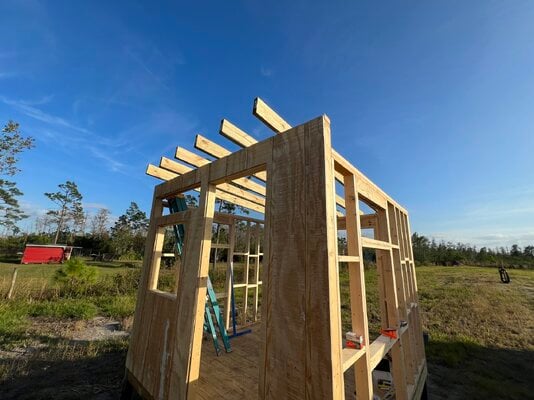
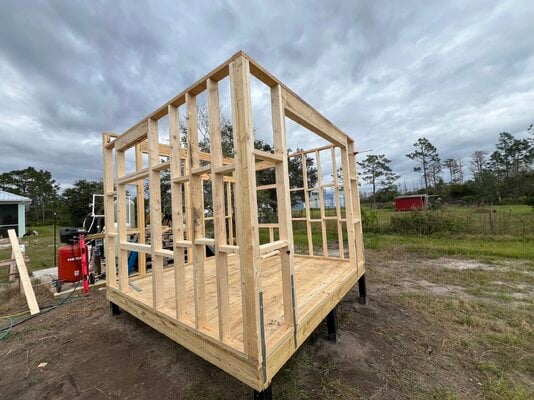
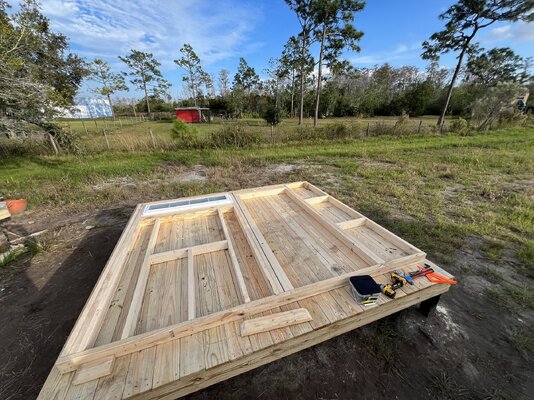
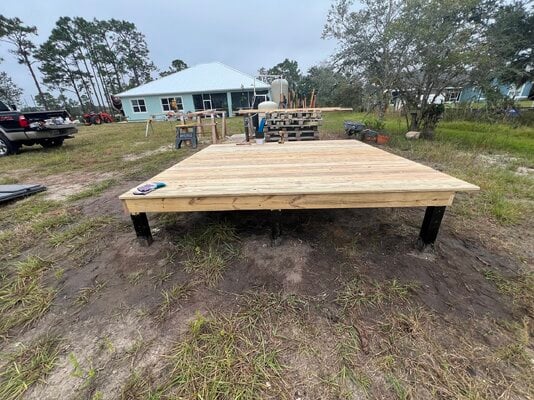
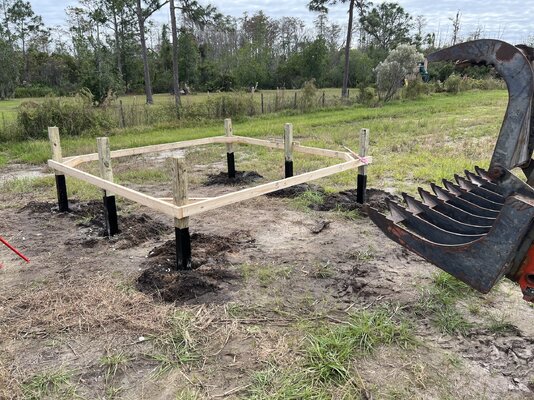
The coop and run design I came up with was intended to survive storms and keep out the predators. 10’x10’ run (70% coop and 30% garden shed), on posts set 36” in concrete. Metal roof and framing with hurricane straps & ties. Attached chicken run with block, gravel and concrete base, 1/2” hardware cloth and metal roof (not complete yet). Block is 3-7” in ground with 3-5” base of gravel and concrete. Will add insulation to the ceiling and a thermostatic fan to help ventilate in the summer.
We’ve got a lot of work left to accomplish….Trusses over run, paint, hardware cloth w/predator skirt, gravel edging, insulation, finish interior (nesting boxes, brooding area, etc), run water and electrical….. then maybe some chicken!
Any feedback is appreciated.
Vincent
Attachments
-
 IMG_2028.jpeg677.1 KB · Views: 63
 -
 IMG_2176.jpeg1.1 MB · Views: 27
 -
 IMG_2174.jpeg647.5 KB · Views: 26
 -
 IMG_2173.jpeg1.1 MB · Views: 27
 -
 IMG_2172.jpeg954.6 KB · Views: 26
 -
 IMG_2144.jpeg707.3 KB · Views: 25
 -
 IMG_2122.jpeg740.6 KB · Views: 24
 -
 IMG_2120.jpeg960.9 KB · Views: 24
 -
 IMG_2086.jpeg890.2 KB · Views: 23
 -
 IMG_2080.jpeg732.8 KB · Views: 23
 -
 IMG_2071.jpeg664.5 KB · Views: 26
 -
 IMG_2040.jpeg489.6 KB · Views: 22
 -
 IMG_2033.jpeg662.8 KB · Views: 23
 -
 IMG_2015.jpeg958.1 KB · Views: 21
 -
 IMG_2012.jpeg1 MB · Views: 21
 -
 IMG_1991.jpeg1.2 MB · Views: 22