- Thread starter
- #11
When using metal for building every screw adds strength, you might want to put a 2 tek screw at each joint of the trampoline frame, and screw all cross members where its possible, It will take out most if not all of the give and flexing of the frame.
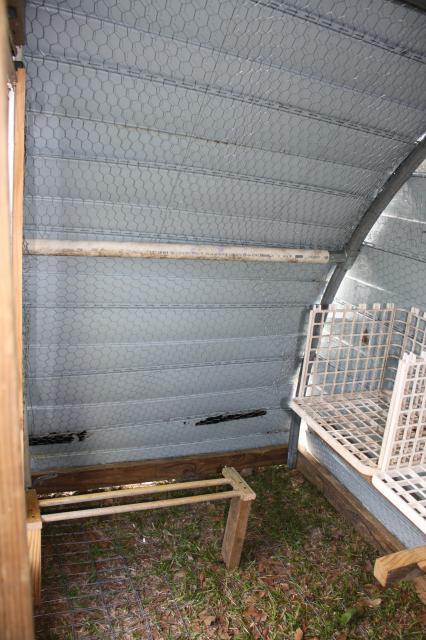
I have screwed the joint together, and the places the PVC "hoops" are connected at the top are also screwed. The bottom are strapped on using flattened out chain link straps.
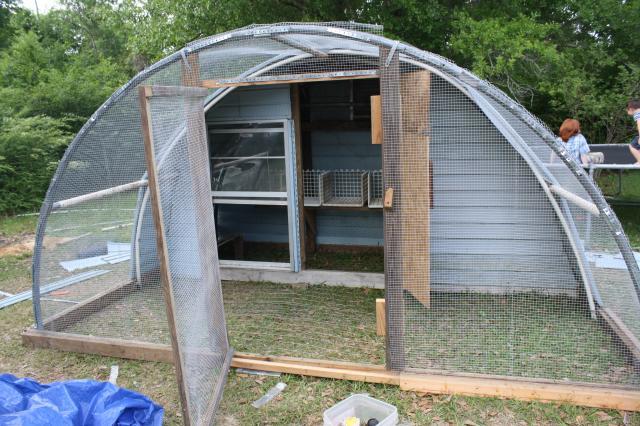
It has turned out a lot heavier than I expected. I figure I'll have to move it using poles laid down in front of it like an assembly line. It took four of us to turn it around yesterday, and I dont even have the wire or siding on it yet.
I finished the floor - 2x4 fencing - folded up and stapled to the frame, then I will put the siding rail over that to hold it down. I'll post pictures of that tonight after work.
Unfortunately it's supposed to ran today, so I may not get to do ant building after work. I hope not, because the girls are getting antsy in their little box!

I have screwed the joint together, and the places the PVC "hoops" are connected at the top are also screwed. The bottom are strapped on using flattened out chain link straps.
It has turned out a lot heavier than I expected. I figure I'll have to move it using poles laid down in front of it like an assembly line. It took four of us to turn it around yesterday, and I dont even have the wire or siding on it yet.
I finished the floor - 2x4 fencing - folded up and stapled to the frame, then I will put the siding rail over that to hold it down. I'll post pictures of that tonight after work.
Unfortunately it's supposed to ran today, so I may not get to do ant building after work. I hope not, because the girls are getting antsy in their little box!