Little Chick Inn / Coop 2
Spring 2010
Spring 2010
After having my chicks for almost a year my DH realized that this wasn't somting that was going to last for a week then go away. The coop that I constructed from an old dog house and about $50 worth of supplies just didn't look the greatest. So this spring the new coop was started. I wanted to have a garden style coop. I wanted the garden on one side and the chickens on the other side, with the ability to switch each year.
[

We started building the floor out of 2x4"s on 16" centers. Note -DH wanted 12" centers but I was to cheap. The coop will be 5 x 6 x 6.5( to the peak of the roof) The flooring was from an old building that we were going to use for the coop, but it was to far gone.

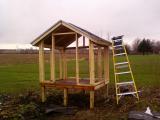
Next the walls went up. We placed a window in the back of the coop, and a poop door on both sides. The door is 5" high. Perfect for me! Then the roof. We left an overhang for ventalitation. At this point we realized that we needed to put the legs on the coop. (I can only lift so much weight. ) The legs are 4x4x18 treated lumber that we rescued from an old crate.

Once the legs were attached the coop needed to be moved to it's final home. DH, myself and our daughter carried it to the old garden.
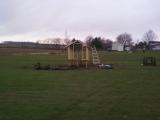 This is behind the white building.
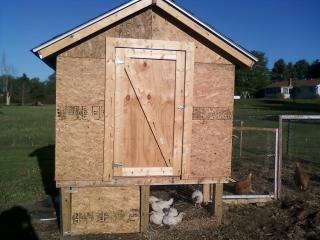
The coop was leveled up with conctete cat blocks. Then some trim board and drip edge was added to the roof. We shingled the roof with a mixture of black and brown shingles that we had from leftover projects and then started to add the OSB to the outside(7 sheets of OSB). We had siding left over from our house but after the OSB board was in place, we changed our mind. The OSB will be painted as soon as the rain stops on a day off.

 You can see the old coop
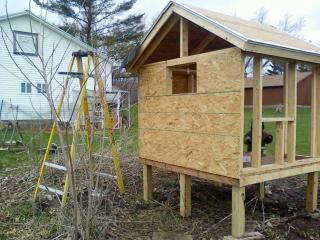
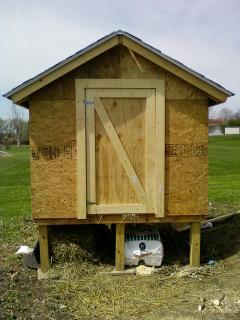 Love the door DH built. The door frame and the window opening were framed out with some 1x4's
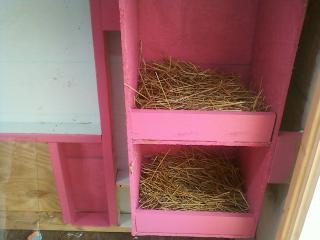
Due to the wonderful Ohio weather, this was taking alot longer then we wanted. (PS I love my Hubby) Once all the walls were up I added the nesting boxes. They are 14 square with a 2" lip. They are 11" off the ground. I placed them within easy reach of the door. I can just reach in and grab the eggs.
Now the inside needed painted. I went through the basement and found some bubblegum pink, light blue, and the palest grey. I told my kids all I ask is for pink nesting boxes then walked away.


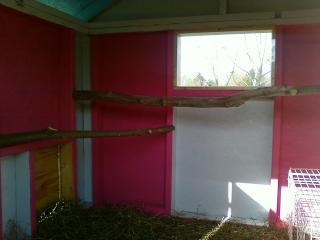
The kids are very creative. They ended up painting the sky on the ceiling for the birds. The walls are alternating pink and grey in the different sections. That's my daughter with the can of paint.

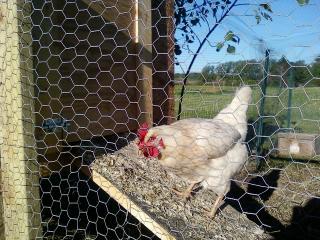
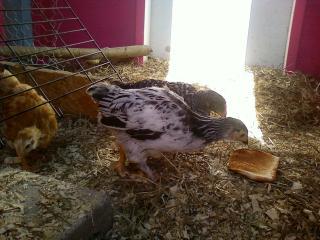
 "Oh, nice to have a dust bath in the new place"
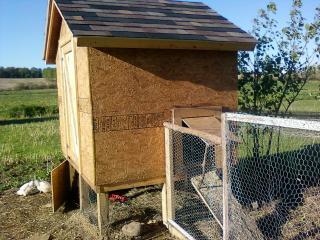
So of course changes were made. This year we ordered meaties and I ran out of money to build them a hoophouse. As I looked around I noticed the space under the coop. Perfect! Added a door, some walls and wire, tada, a duplex!
 The one side has 3 1/2 walls and the rest is covered in wire.
The drawing is a view of the bottom of the coop. This worked out perfect for the 11 meaties. Later it can be used for storage or even as a brooder.
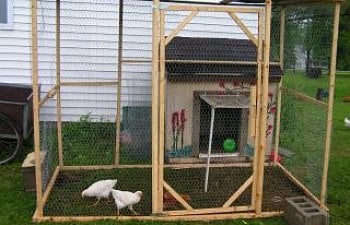
 I'm trying to add the 3 new pullets to the 4 existing hens. I added a makeshift brooder inside the coop that is made from some chicken wire and a folding section of a dog crate. The bottom of the brooder is just high enough for the pullets to walk in and out of, but to low for the hens to get to them. This seems to be working.
 What I would change...
Steps, I need some steps
I guess so far nothing else, but give me a few months and some more chickens, ya know