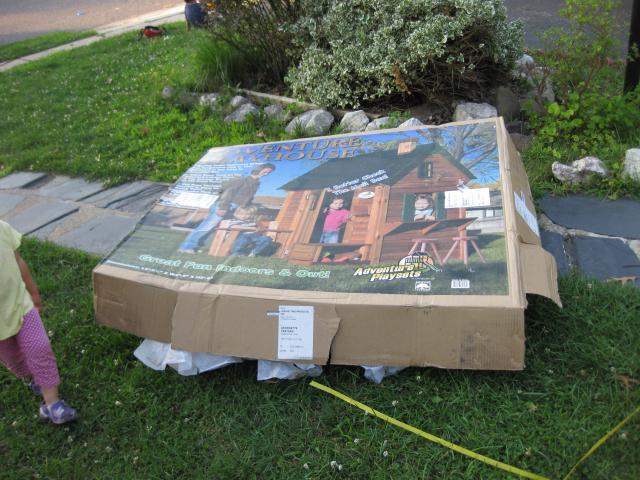
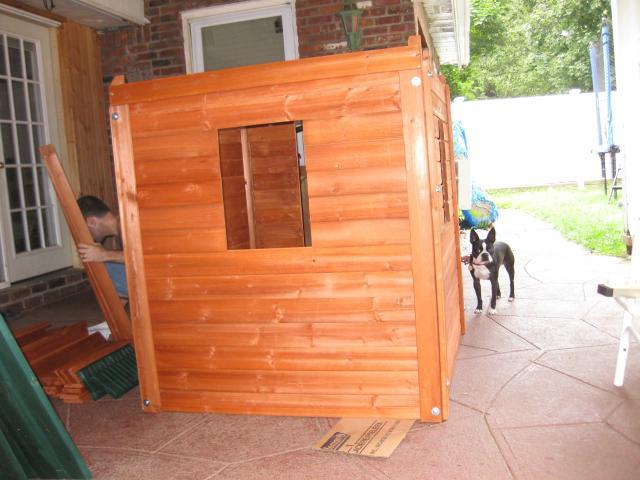
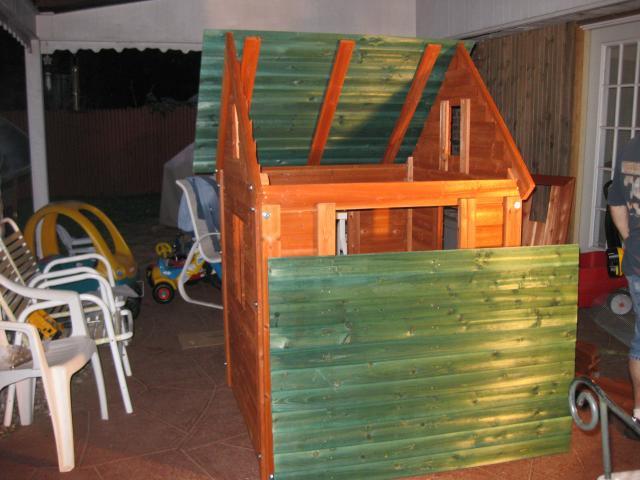
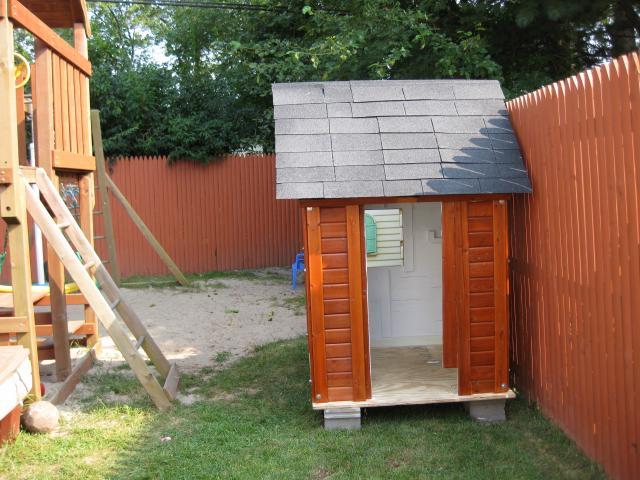
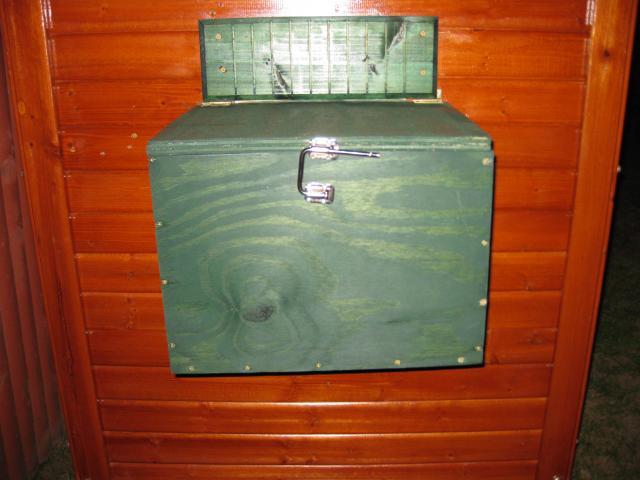
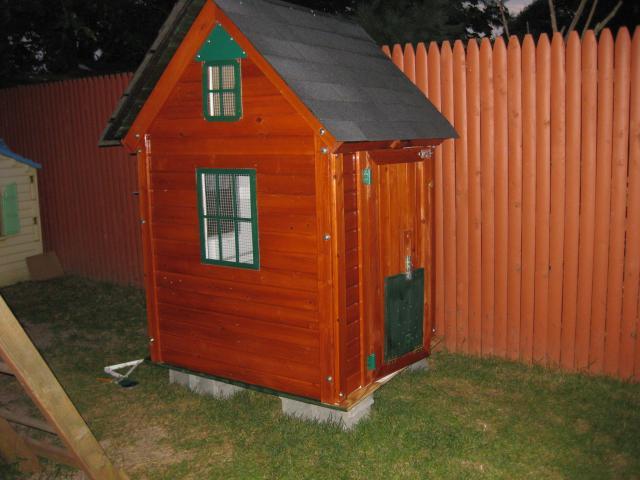
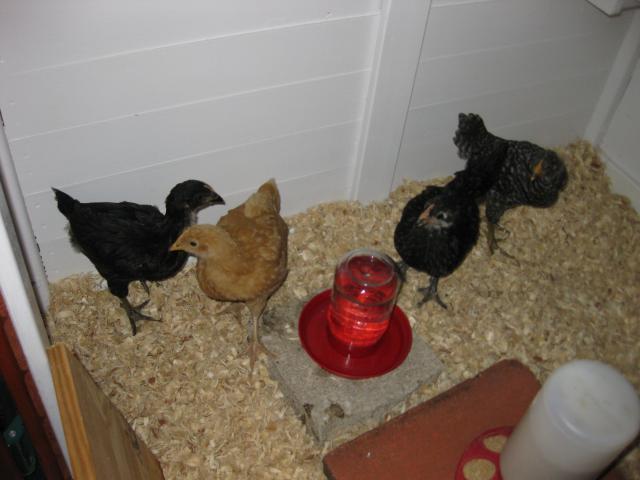
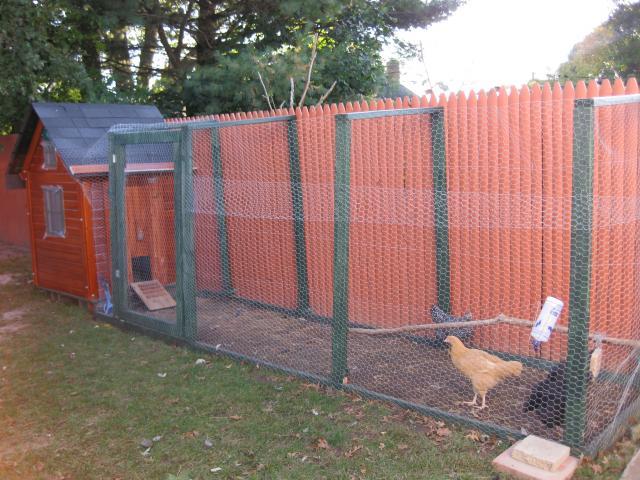
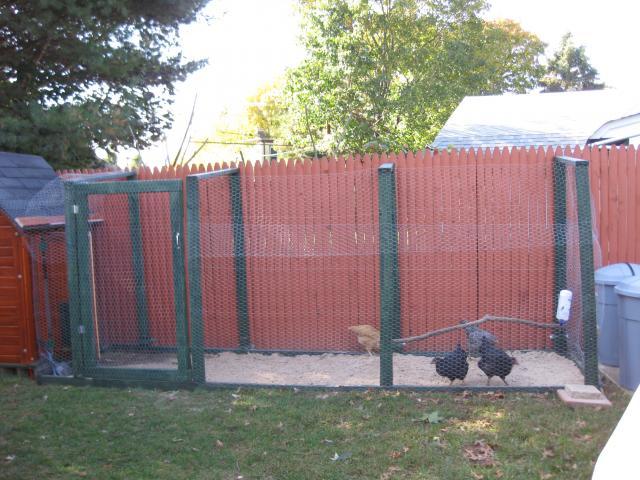
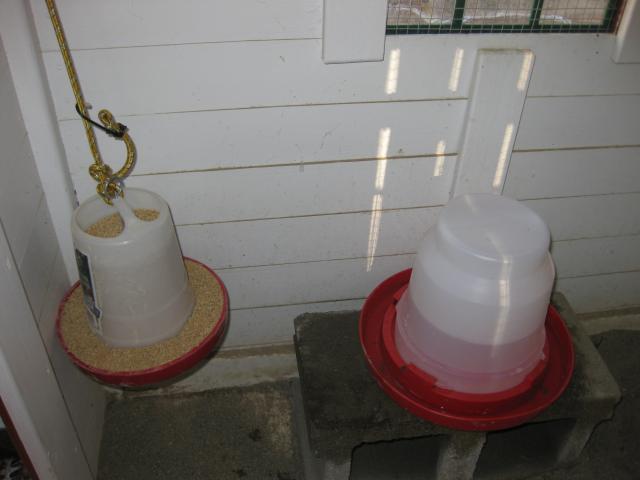
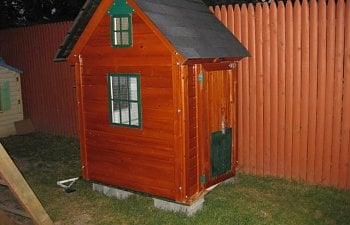
Our Chook's Clubhouse Coop is made from a child's wooden playhouse. Being short on time & no experience building coops or much of anything, this was our best bet. We wanted it to be attractive & fit in our yard which is not that large. We were only getting 4 hens as that is all we really have room for. Our playhouse is only 43 inches by 41 inches. I was very upset when it was first built because the dimensions on the box were VERY misleading. I thought it was a little bigger than a 4ft by 4ft house. Well, it turns out it is perfect for our needs....so, no worries! For our modifications we put the house together as intructed except we put the door on upside down & cut the window that was already there to make it bigger for the girls to get in & out better. One of the windows we left off because that is where we put the exterior nest box which hubby made out of plywood & hinges. My hubby added hinges to a piece of wood to make the pop door. Added a few strips of wood for them to grip on when going up & down. We painted the outside with a few coats of exterior waterproof paint. We painted the inside with white glossy exterior paint...a few coats including the floor which was a thick piece if plywood we added. We added 1/2" hardware cloth to all the windows to make it secure. In winter we plan on adding plexi- glass or thick plastic to the windows but not the top 2 vents. I put a flap of plastic on one of the vents so the rain doesn't get in. It is not sealed though so it still gets plenty of air. My hubby added tar paper & shingles to the roof as well as on the nesting box. He put caulking all around any spots that we saw needed to be sealed. The entire bottom inside & out also. Then he added the roosting poles after I painted them. 4 cinder blocks were used to set it on so it would be off the ground. Inside I put a hanging feeder & used a cinder block for the waterto go on top. I put sand on the inside to scoop the poop easy each day. For the winter I added 6 inches of pine shavings to help keep them warm....using the deep litter method. Stays nice & dry & I add a little stall dry & stir until I can order some DE to put in. The girls seem quite happy! The run is almost done. Sand in the run is great. Just need to add a cover. We plan to use clear corrugated roofing. Then it will be finished!! All in all we like it. However, it was not really saving money & it took a lot of time cause it was a learning process. Next time around my hubby said he would buy one for $800 bucks easy, considering all the trips to the store & such. We paid that much plus the work! Also, we will use a dog kennel for the run in the future. It was a fun project but it still caused headaches. Having the work done for us is the better option. Keep in mind we have 4 chidren & 1 on the way & I homeschool them. So our situation may be different than yours. Live & learn!! Any questions? Just send me a message!!