Shadowish
Hatching
- Nov 4, 2015
- 6
- 3
- 9
Hi all,
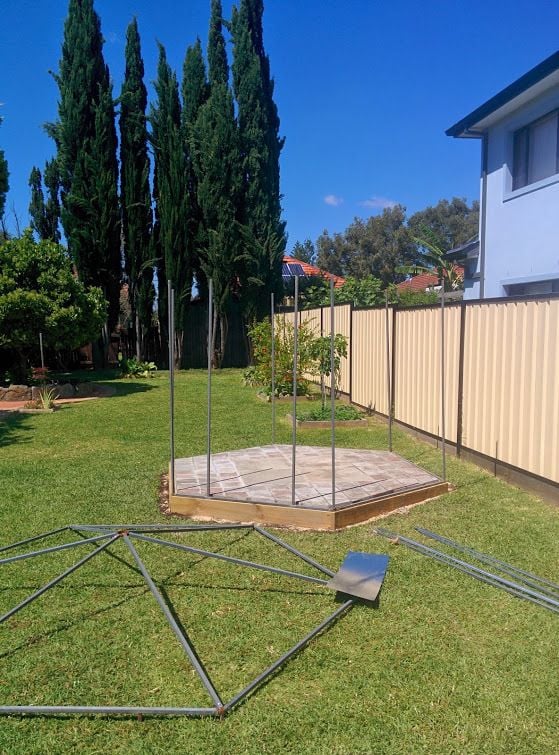
I found some photos of how I built my aviary so I decided to share them. I had an advantage building this as the initial hexagon frame was an old green house that someone decided to throw out. I used treated pine sleepers to create a base that would be suspended from the ground so water wouldn't pool inside the aviary.


Here, I marked out a spot in the yard and dug it in around 10 cm into the ground.

I filled it with pavers sand, compacted it and watered it in for a few days. Then I levelled it off.

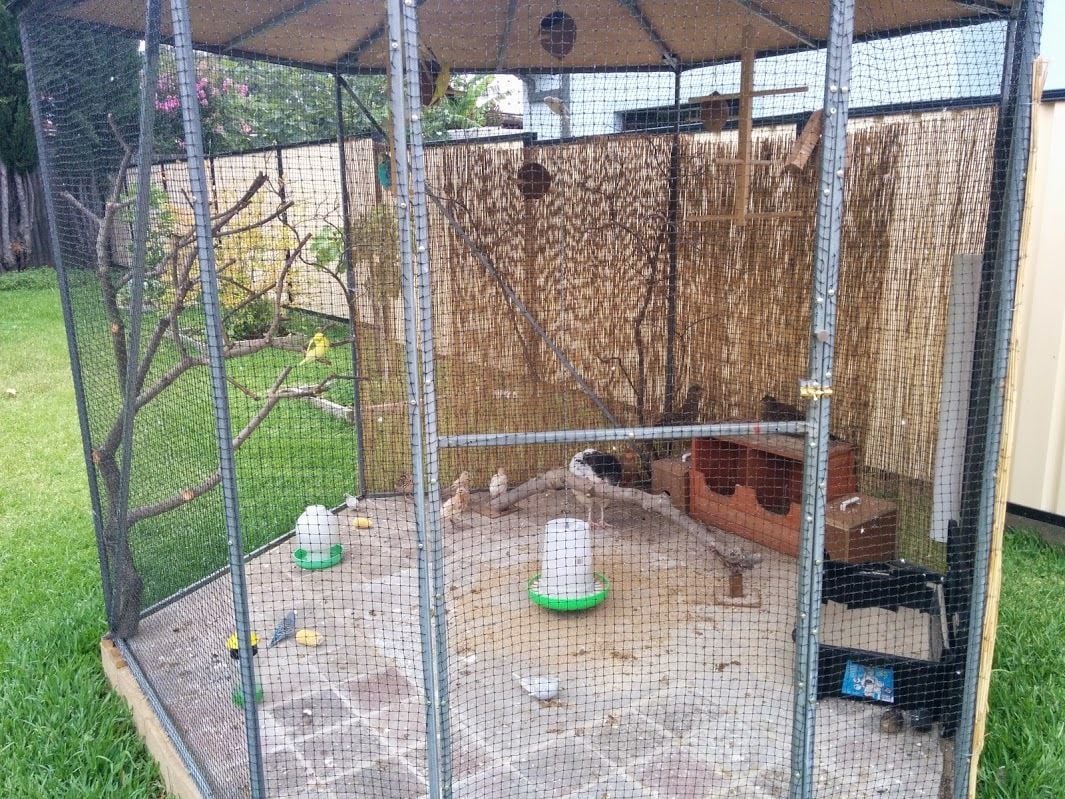
I found free pavers on Gumtree and placed them over the frame with a 1.5 cm grap between each paver.

I mixed one bag of sand/cement mix into a sludge and poured it over to fill in the gaps (the same way you would apply tile grout over newly laid tiles). When it started to dry, I gently rubbed off the excess cement with a wet builders sponge

The roof of the aviary needed to be reinforced so I purchased extra steel rods and wielded them from the tip of the roof down to the middle of each face. The image below shows the original roof and unfortunately I did not take photos of the roof once it was reinforced.
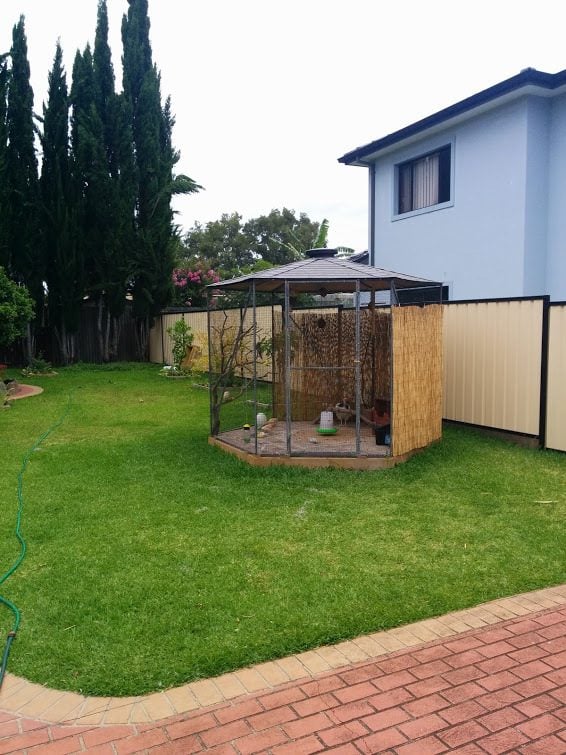
I used marine grade pine sheets (6mm as it was cheaper than 12 mm and a whole lot less heavier!). I then applied roof shingles. In hindsight, I should have down this when then roof was placed on top as the weight of the completed roof required 5 people to lift it into place.


I wielded three bars obliquely to provide extra stability and strength. I used material netting reinforced with stainless steel wire (19mm aperture) as metal netting could not be neatly wrapped around the aviary.
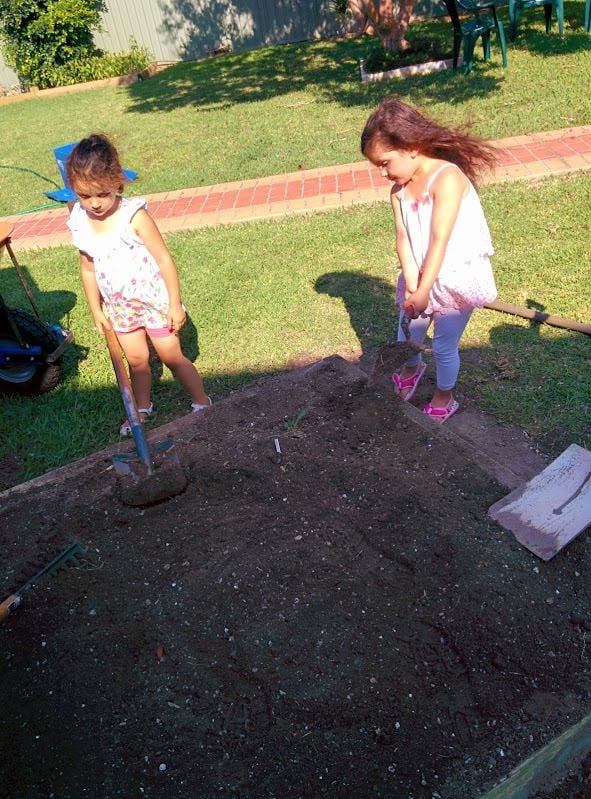
An extra 3 square meters was later added to create a flight wing (pun intended) to the aviary. Here, the kids helped out") .
.
I found some photos of how I built my aviary so I decided to share them. I had an advantage building this as the initial hexagon frame was an old green house that someone decided to throw out. I used treated pine sleepers to create a base that would be suspended from the ground so water wouldn't pool inside the aviary.
Here, I marked out a spot in the yard and dug it in around 10 cm into the ground.
I filled it with pavers sand, compacted it and watered it in for a few days. Then I levelled it off.
I found free pavers on Gumtree and placed them over the frame with a 1.5 cm grap between each paver.
I mixed one bag of sand/cement mix into a sludge and poured it over to fill in the gaps (the same way you would apply tile grout over newly laid tiles). When it started to dry, I gently rubbed off the excess cement with a wet builders sponge
The roof of the aviary needed to be reinforced so I purchased extra steel rods and wielded them from the tip of the roof down to the middle of each face. The image below shows the original roof and unfortunately I did not take photos of the roof once it was reinforced.
I used marine grade pine sheets (6mm as it was cheaper than 12 mm and a whole lot less heavier!). I then applied roof shingles. In hindsight, I should have down this when then roof was placed on top as the weight of the completed roof required 5 people to lift it into place.
I wielded three bars obliquely to provide extra stability and strength. I used material netting reinforced with stainless steel wire (19mm aperture) as metal netting could not be neatly wrapped around the aviary.
An extra 3 square meters was later added to create a flight wing (pun intended) to the aviary. Here, the kids helped out
.