My home made chicken plucker video and new video ,take a look pg 4

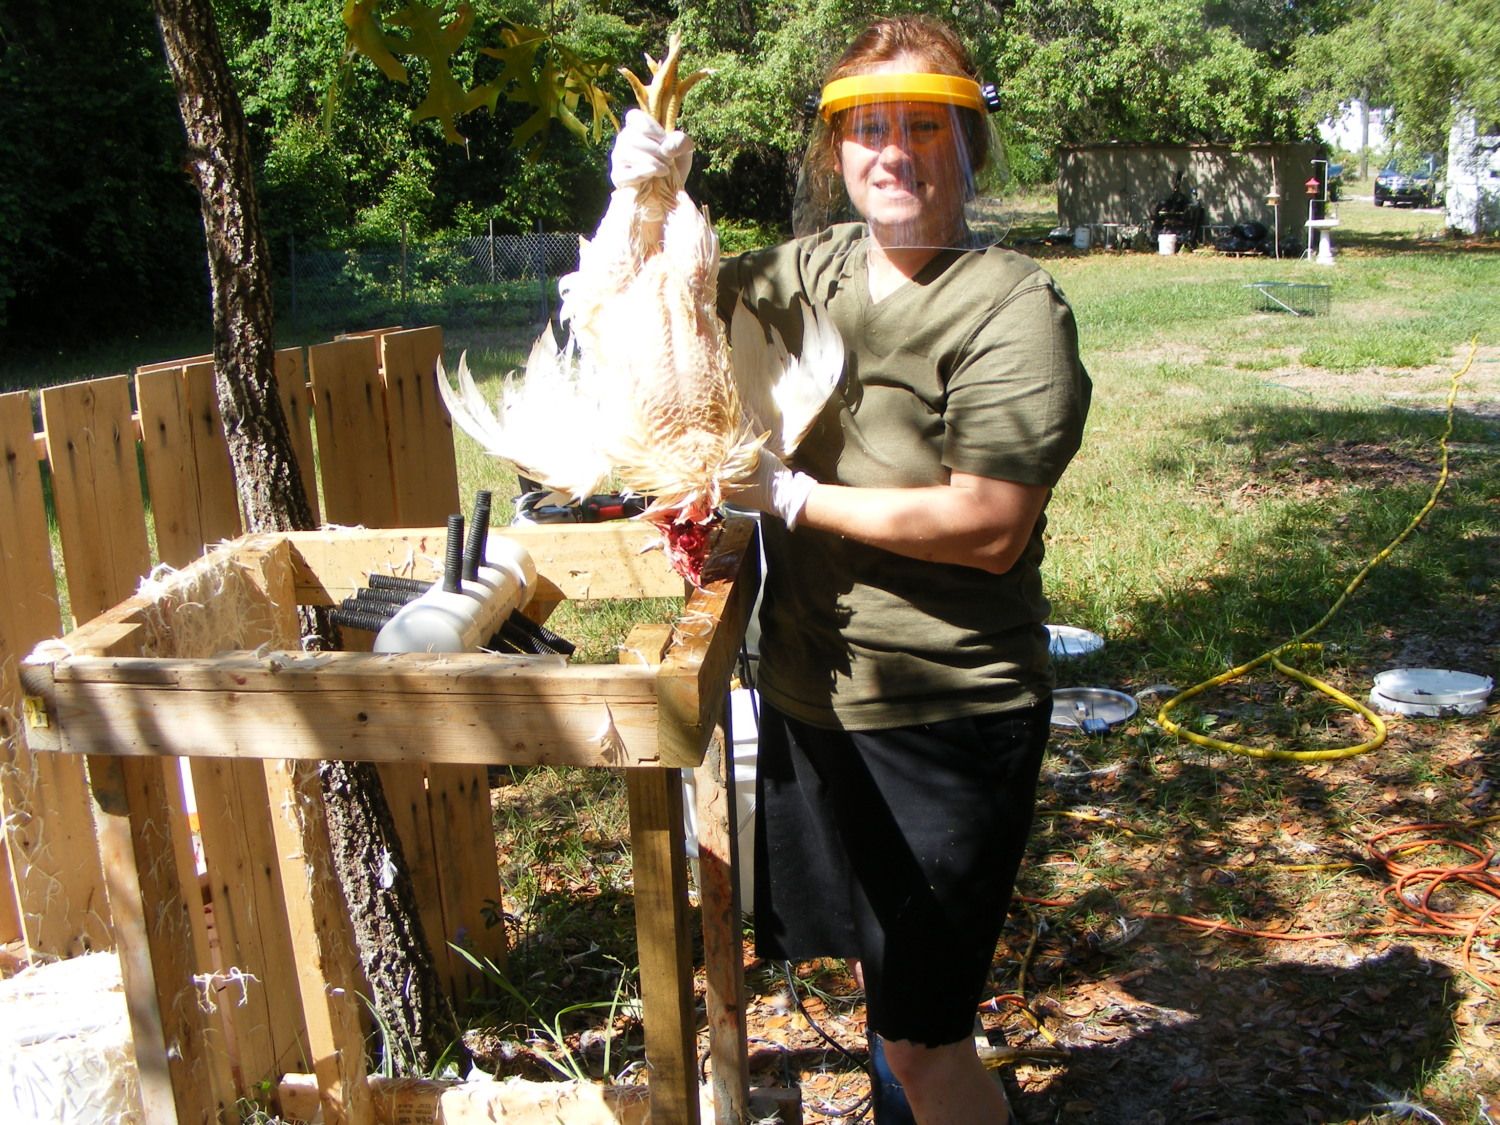
Awesome , I too have a small one made of bungee too that was the first one I made a few years ago , as long as it does the job , I don't care what it looks like because its a wholly mess any way when your done right
wink.png

The next one I will make will have smaller plucking fingers and I may use a motor instead of a drill , But that will be another time .
 
Oh great, just what I need, another silly project lol. But you guys made me realize that although I don't have a drill that plugs into a wall, I do have an old electric motor from an ancient compressor. I like it cause the thing is low RPM. Which of course can be speeded up or slowed down with different sized pulleys. (I typed pullets. LOL)
 
I'm working on a tub-style plucker too. I have a design mocked up in Solidworks, but I need to finalize a few key dimensions yet before ordering parts. I'm going to use a farm motor with a speed reducer and get the feather plate plasma cut nearby. I will weld it directly to a hub and mount it directly to the speed reducer.

I'm shooting for 175 rpm (like Featherman uses) with the outer tub made from a 55 gallon drum. You can get fingers online for $100 for 200 of them. A motor will run about $120 (for a Chinese 56C flanged motor) and $110 for a 10:1 speed reducer. The rest of the parts are standard lumberyard stuff like electical switches and framing material.

I hope to have a unit on a quality par with a Featherman for about the cost of a whizbang.
 
looks pretty cool

only thing i would add to it is a back splash gaurd as feathers seem to be flying backwards and away from the bin


personally i prefer skinned chicken so a plukker is no good for me but still a great little tool you made there


edit:

i forgot to mention, first rule of DIY rotary tools is always have the rotor turning at the safest direction that means towards you

that way if you get caught as you almost did you wont loose a finger or harnd as the rotor will trow your arm back to you rather than suck it in

as i saw almost happen to you in video


with that said the splash gaurd willl then need to be changed from beind to infront as feathers will also come towards you
 
Last edited:
True I did Buy one of those face shields witch worked Great No feathers in the face I will have a nother video to post soon With My Oh so cool Get up On HAHA
looks pretty cool

only thing i would add to it is a back splash gaurd as feathers seem to be flying backwards and away from the bin


personally i prefer skinned chicken so a plukker is no good for me but still a great little tool you made there


edit:

i forgot to mention, first rule of DIY rotary tools is always have the rotor turning at the safest direction that means towards you

that way if you get caught as you almost did you wont loose a finger or harnd as the rotor will trow your arm back to you rather than suck it in

as i saw almost happen to you in video


with that said the splash gaurd willl then need to be changed from beind to infront as feathers will also come towards you
 
Those chickens in the sink look YUMMY!!!!! Do you have a thread telling how you made your plucker??

i forgot to mention, first rule of DIY rotary tools is always have the rotor turning at the safest direction that means towards you

that way if you get caught as you almost did you wont loose a finger or harnd as the rotor will trow your arm back to you rather than suck it in

as i saw almost happen to you in video

I'm not 100% positive but I think that the fingers are rotating toward her, not away from.
 
Those chickens in the sink look YUMMY!!!!! Do you have a thread telling how you made your plucker??


I'm not 100% positive but I think that the fingers are rotating toward her, not away from.


if you watch the first few seconds just as the drill starts it goes down which means its rotating away from her

its hard to tell though and in theory the drill in forward mode should rotate towrds her unless the drill is set in reverse
 
No I don't have any specific on how I made it It took a while and actually just came to me about how it actually turned out I'm not sure what direction the drill is running I tried it both directions and the way it is running seamed to be the best for me .It takes about 2 minutes , and that's fine with me I did actually pluck one by hand to see if it worked out better for me but I will definitely stick to my Plucker . If I do make a new one I would use smaller plucking fingers that I believe they make.and some how use a motor instead of a drill ..I will be finishing up my processing this week and I just may take another video and will be taking more shots of the goodies. So stay posted and Id love to see everyone's pics
 
Last edited:
Looks real good. MUCH better than plucking by hand if you have a lot of birds to do.

I just finished building a whizbang. bought a kit off ebay for (I think) $375. Worth every penny. We slaughtered 14 roos last weekend. The plucking took about 30s to 1min per bird and they came out looking like they were from the grocery store. Used to take an hour per bird to make sure they were clean enough.

Decision process for building the plucker:

Me to my 13yo son: "Son, I just bought another mess of chicks and we will be slaughtering them in the spring"

Son: "I'll be busy that day dad"

Once was enough for the rest of the family. This time the whole process was painless.

Montyhp
 
talkimng of using a motor intead of a drill

a good idea would be to use a orbital router they are small and compact and fast

and best thing is if you unscrew the plastic housing you can then build it into the plucker frame work

and move the on off button as its just a normal switch on a bit of 110v cable [240v in uk]
 

New posts New threads Active threads

Back
Top Bottom