- Thread starter
- #71
Looking back I didn't document the construction of the nesting boxes very well.
I built the the boxes as a complete unit so I could slide it through the 2x4 wall in-between the human and poultry side of the coop.
I wanted to have access from the human side of the coop plus have the capability of a roll out type box if I had any egg eating issues.
This is just a pic of the clear coat drying. You can see the black sheets of plywood in front of the boxes. Those are are of the roll out system I'll try to explain later.

This is a shot with the black 8 degree angled boards that ramp towards the front of the nesting boxes.

This is the roof/ceiling of the the nesting boxes.

After the box was pushed through the hole in the wall and secured to the stud on either side of the wall.
The unit was pushed through until the back of the face-frame was flush to the wall on the human side.

She was my first visitor.. she didn't even wait for the roosting bar before she made herself comfortable.

This is the temporary roosting bar to help them get inside.
I had planned on fabricating some brackets (now that I have my welder) and making something a little fancier, but I haven't come up with a design just yet.

I don't have the roll out boards in place. I wanted to make sure they got use to using the boxes before I threw that curve ball at them.

The view from the collection side.
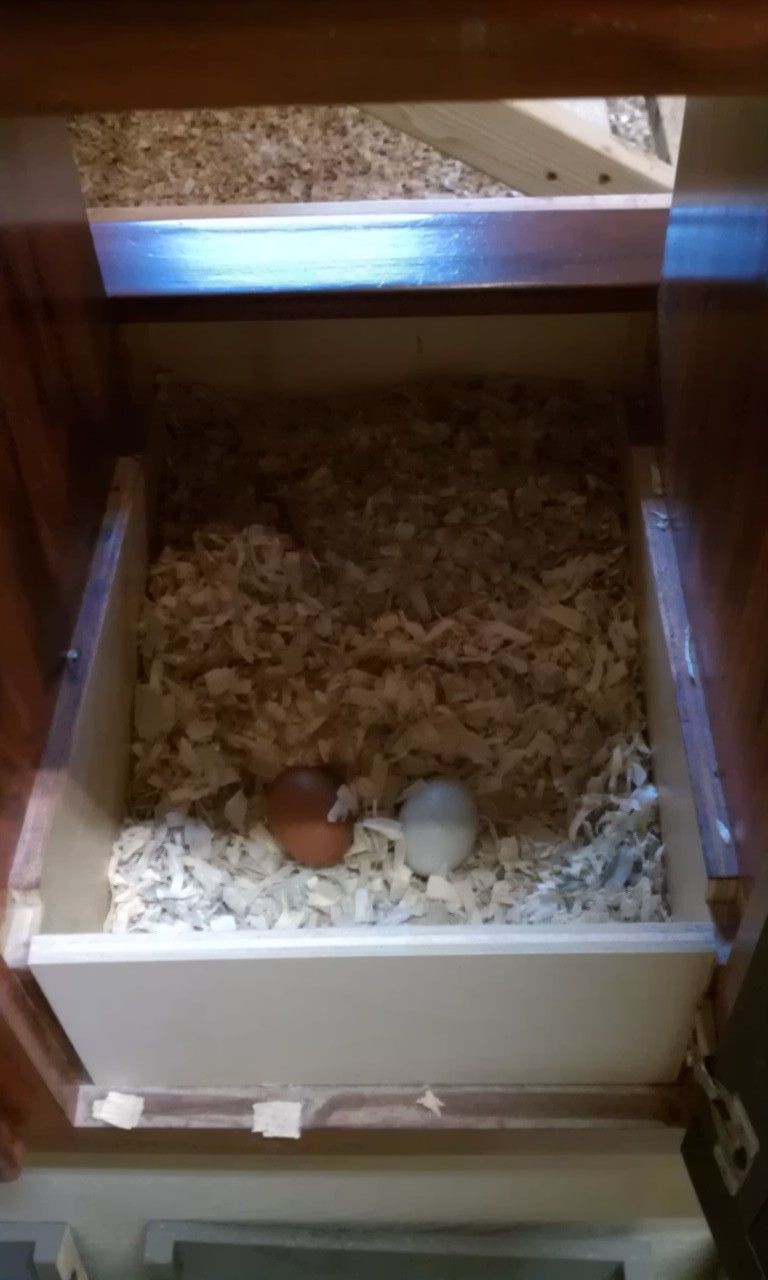
This is what it will look like with the roll out feature in place... minus the 1/4 board that's holding the nesting chips in place.
The black board ramps forward at 8 degrees. There is a 2-1/2" gap in front of the board so the eggs can drop down to the bottom
of the nesting box which has an 8 degree angled back towards the human side. (I wish I had removed that 1/4" board for this pic)

Here's what the cabinet doors look like... I'm so not happy with that finish. ugh.. be gentle.

This is where the human side of the coop stands as of tonight..
I still need to make the base board for this room, upper and lower cabinets, doors, counter-top and find a nice deep sink.

I added this 1x2 pine around the edge of both of the droppings boards.
I noticed the smaller birds were roosting on the 3/4" edge at night and I felt bad for them.
I just ran a 1/4" router bit around the edges where their feet would touch.
The added bonus to this is.. it keeps the 1x4 white face of the droppings boards poop free!
Keeps them much cleaner now.

I made a modification to the feed trough very early on.
I liked the beak guards I originally made but realized it was more difficult for the bigger birds to eat.
So I opened it up to three large openings which made it much easier.

This was taken mid-morning.

This was taken tonight when I went up to close the run door.

This was taken tonight as well.. I found some old bricks awhile back down by our old barn and used those at the bottom of the carriage door.
Plus this image shows the handles I fabricated.
Looks like I need to trim by Clematis back.

Thanks for looking.
I built the the boxes as a complete unit so I could slide it through the 2x4 wall in-between the human and poultry side of the coop.
I wanted to have access from the human side of the coop plus have the capability of a roll out type box if I had any egg eating issues.
This is just a pic of the clear coat drying. You can see the black sheets of plywood in front of the boxes. Those are are of the roll out system I'll try to explain later.
This is a shot with the black 8 degree angled boards that ramp towards the front of the nesting boxes.
This is the roof/ceiling of the the nesting boxes.
After the box was pushed through the hole in the wall and secured to the stud on either side of the wall.
The unit was pushed through until the back of the face-frame was flush to the wall on the human side.
She was my first visitor.. she didn't even wait for the roosting bar before she made herself comfortable.
This is the temporary roosting bar to help them get inside.
I had planned on fabricating some brackets (now that I have my welder) and making something a little fancier, but I haven't come up with a design just yet.
I don't have the roll out boards in place. I wanted to make sure they got use to using the boxes before I threw that curve ball at them.
The view from the collection side.
This is what it will look like with the roll out feature in place... minus the 1/4 board that's holding the nesting chips in place.
The black board ramps forward at 8 degrees. There is a 2-1/2" gap in front of the board so the eggs can drop down to the bottom
of the nesting box which has an 8 degree angled back towards the human side. (I wish I had removed that 1/4" board for this pic)
Here's what the cabinet doors look like... I'm so not happy with that finish. ugh.. be gentle.
This is where the human side of the coop stands as of tonight..
I still need to make the base board for this room, upper and lower cabinets, doors, counter-top and find a nice deep sink.
I added this 1x2 pine around the edge of both of the droppings boards.
I noticed the smaller birds were roosting on the 3/4" edge at night and I felt bad for them.
I just ran a 1/4" router bit around the edges where their feet would touch.
The added bonus to this is.. it keeps the 1x4 white face of the droppings boards poop free!
Keeps them much cleaner now.
I made a modification to the feed trough very early on.
I liked the beak guards I originally made but realized it was more difficult for the bigger birds to eat.
So I opened it up to three large openings which made it much easier.
This was taken mid-morning.
This was taken tonight when I went up to close the run door.
This was taken tonight as well.. I found some old bricks awhile back down by our old barn and used those at the bottom of the carriage door.
Plus this image shows the handles I fabricated.
Looks like I need to trim by Clematis back.
Thanks for looking.


