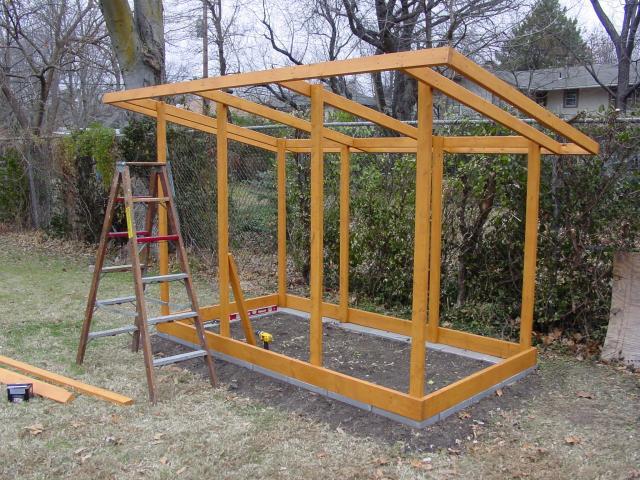
I don’t know if I can explain this or not, but sheathing or mesh wire properly attached will strengthen that framing up tremendously. Just make sure the framing is square when you attach it. Mesh wire needs to be tight and does less good than sheathing, but it still helps a lot.
The most stable form structurally in nature is a triangle. You can greatly strengthen a wall like that by putting a rope or cable from one top corner to the opposite bottom corner. That rope/cable will be great in tension and worthless in compression so you need another one going from the other corners to form an “X”. When the frame starts to sway one way, one of the ropes goes into tension and stops it. The other one is in compression and useless. But if the frame tries to sway the other way, the ropes switch as far as which is tension and compression.
When you attach sheathing the stress lines in the sheathing do exactly the same thing. You usually can’t see the stress lines but they are there. That’s why you need to attach the sheathing to each stud, so those stress lines can be continuous across the entire wall. Wire mesh does the same thing, sometimes you can even see where the stress lines are by how it deforms and bows. The looser that wire mesh is attached the more movement you can get before those stress lines form. That’s why it needs to be tight.
If you look at a lot of gates, you’ll often see a diagonal, sometimes wire or sometimes wood, to keep the gate from sagging. It’s the same principle. It needs to go from the top hinge to the opposite bottom corner to battle gravity otherwise the gate can really sag. When I build doors to my coop or other places, I often put in a diagonal to keep the door from sagging or distorting so the locks still work and the door fits in the frame.