beautifulpirate
Chirping
- Mar 10, 2016
- 282
- 97
- 98
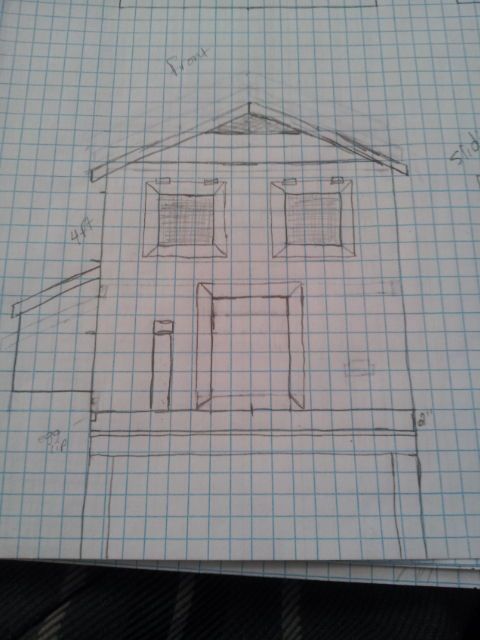
I wanted to post here so we can semi- documentthe process. I've spent the better part of a couple months researching what chickens need in regards to their coop and run, in order for them to be safe, healthy and happy. I started out sketching design ideas. And the more I learned, the more those sketches changed. I've had a few drafts before this point. I'm the daughter of a carpenter so have been the head of he design and instructing my husband how we will build. He is in charge of the power tools and heavy lifting haha. I suspect we are over building and it isn't cheap but like I said, daughter of a carpenter. I couldn't justify not doing it the best that we could. So while I am happy to share this experience and any knowledge we have with anyone, I can'tguarantee you'll want to follow our examples if you are looking for cheap haha.
These sketches still aren't final. As I began to draft out the stud alignments, I realized some of the things I had envisioned weren't cost effective or feasible with our building experience so things are still changing, even though we have started construction.
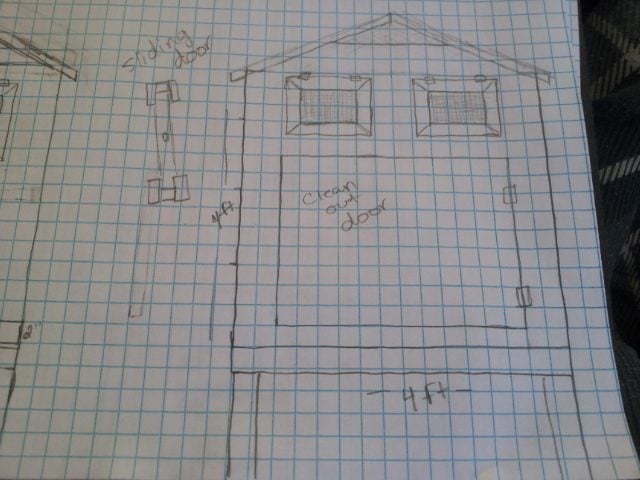
We are using 2 * 4s for the framing. The entire structure will give our six birds 24 square foot. We are building a raised coop and for that we are still deciding if the underneath will serve as storage or additional run space.
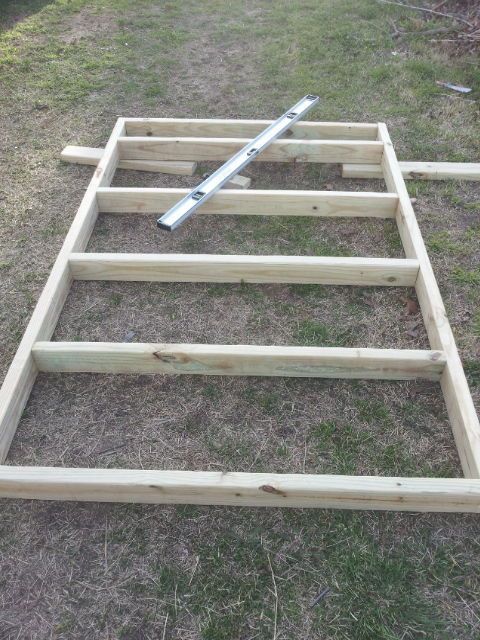
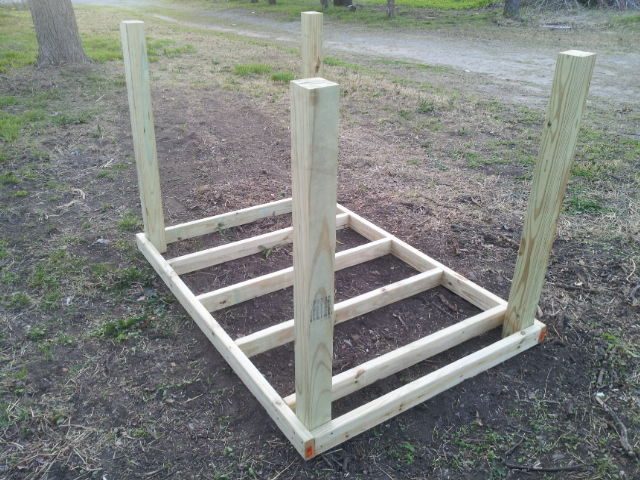
Here we began by framing the floor. We are using 16" on center studs for the floor and walls. We probably could have gotten away with 24" centers but the structure wouldn'tbe as strong. We get such high winds in the spring and so, stronger is better. Additionally, we could justify a thinner plywood sheathing with stronger stud placement, which saved us more money than going the route of wider stud placement and heavier sheathing.
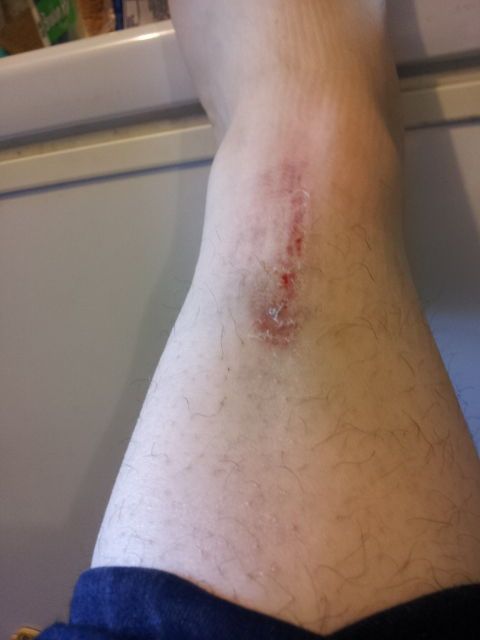
And why my husband is in charge of heavy lifting. I attempted moving too much plywood and dropped five sheets on my leg... Excuse the hairy leg lol, its still jeans weather here haha
Once I was finished whining from that, I walked out to see my hubbs had used clamps and the level to get the 4*4 posts on.
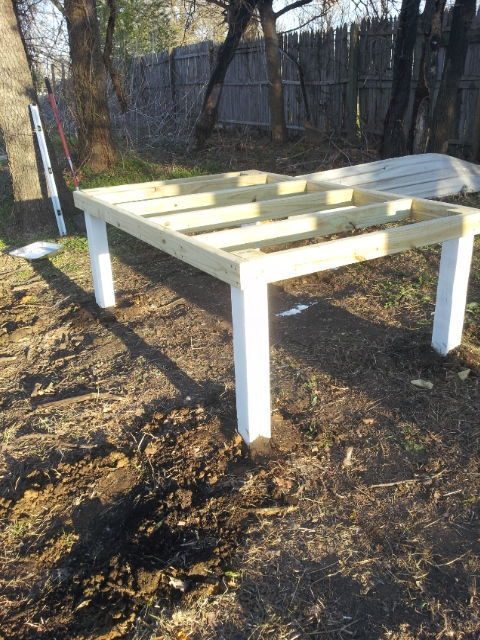
Then I painted the legs white before we put them in the ground. The legs were four foot tall but we put them down in the ground about 18" in. We dug holes with a post hole digger, about 2 foot down and filled in with some gravel, to ensure drainage so water would better drain away from the bottom of the posts and further prevent rot. After getting he base in and making sure the whole thing was level, we filled the rest of the holes in with a mixture of gravel and the dirt we pulled from the holes. Concrete would have been stronger but we may want to grow our flock later and it might mean moving the structure or replacing it with a larger one later. Digging up concreted posts is a pain.
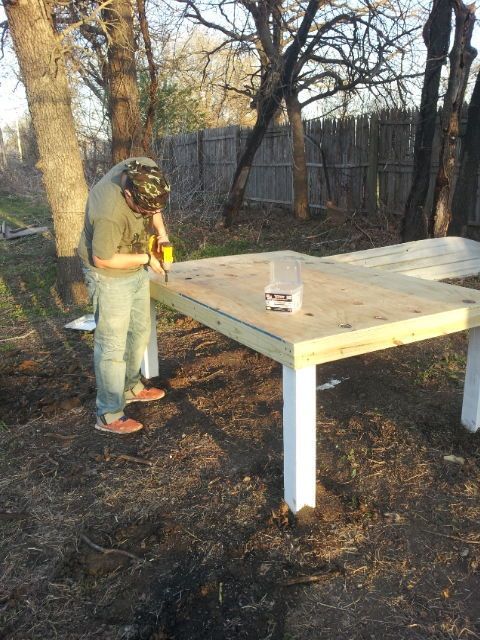
Then the hubbs used 1/2" plywood for the floor.
We will work on framing the walls today as we can. We have two small children and no fenced yard (next project on the list) so we suspect we will work on it for a week or two. I will post more as we get more accomplished.
These sketches still aren't final. As I began to draft out the stud alignments, I realized some of the things I had envisioned weren't cost effective or feasible with our building experience so things are still changing, even though we have started construction.
We are using 2 * 4s for the framing. The entire structure will give our six birds 24 square foot. We are building a raised coop and for that we are still deciding if the underneath will serve as storage or additional run space.
Here we began by framing the floor. We are using 16" on center studs for the floor and walls. We probably could have gotten away with 24" centers but the structure wouldn'tbe as strong. We get such high winds in the spring and so, stronger is better. Additionally, we could justify a thinner plywood sheathing with stronger stud placement, which saved us more money than going the route of wider stud placement and heavier sheathing.
And why my husband is in charge of heavy lifting. I attempted moving too much plywood and dropped five sheets on my leg... Excuse the hairy leg lol, its still jeans weather here haha
Once I was finished whining from that, I walked out to see my hubbs had used clamps and the level to get the 4*4 posts on.
Then I painted the legs white before we put them in the ground. The legs were four foot tall but we put them down in the ground about 18" in. We dug holes with a post hole digger, about 2 foot down and filled in with some gravel, to ensure drainage so water would better drain away from the bottom of the posts and further prevent rot. After getting he base in and making sure the whole thing was level, we filled the rest of the holes in with a mixture of gravel and the dirt we pulled from the holes. Concrete would have been stronger but we may want to grow our flock later and it might mean moving the structure or replacing it with a larger one later. Digging up concreted posts is a pain.
Then the hubbs used 1/2" plywood for the floor.
We will work on framing the walls today as we can. We have two small children and no fenced yard (next project on the list) so we suspect we will work on it for a week or two. I will post more as we get more accomplished.


 e
e 