- Sep 25, 2017
- 65
- 49
- 111
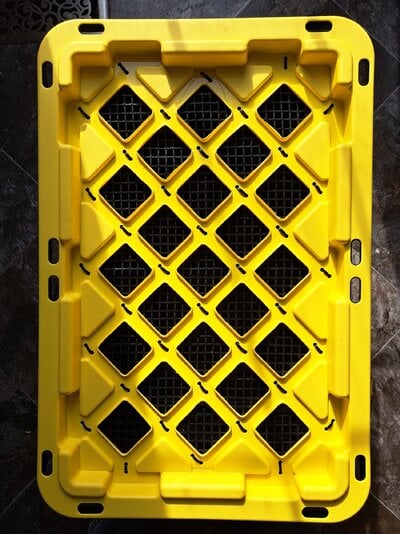
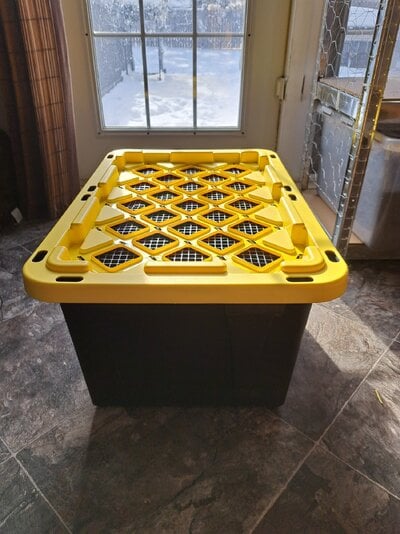
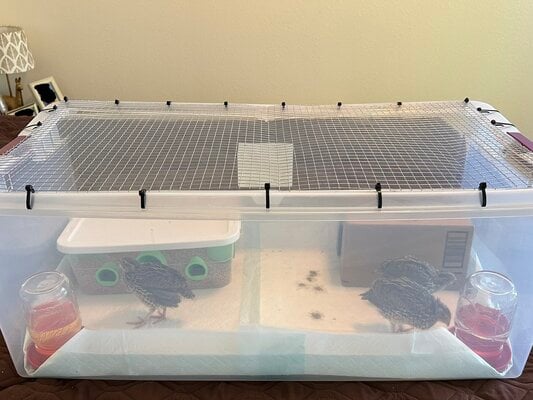
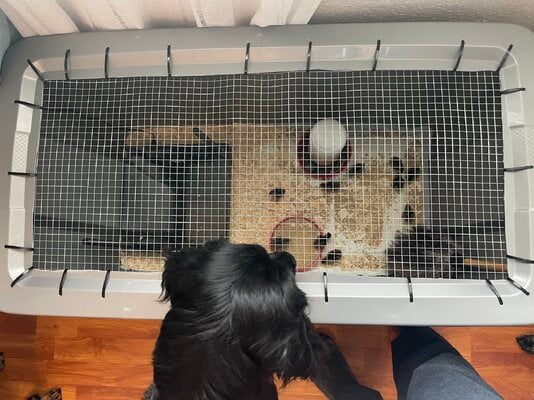
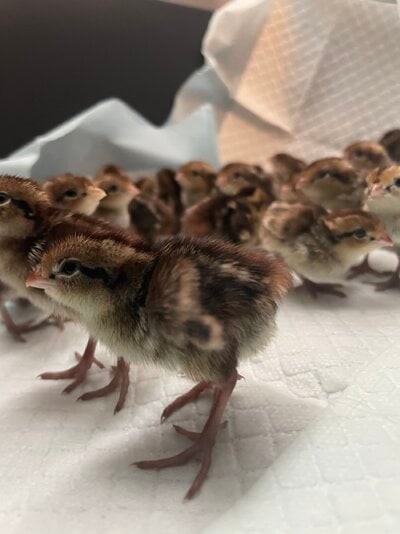
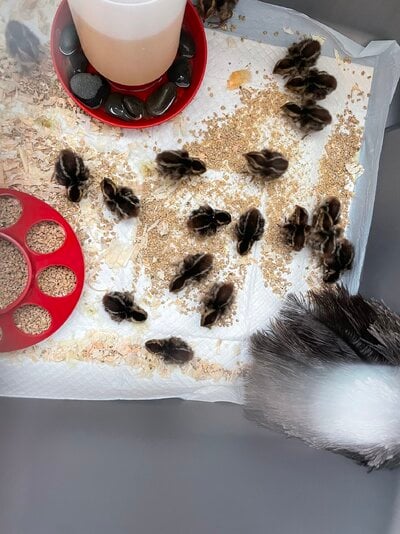
I hatched out about 30 Bobwhite quail as a first-timer a few days ago. I live in AK and the eggs shipped from Iowa taking 4 days in subzero winter temps. I got 30/43 eggs to hatch! I used the MaticoopX incubator from Amazon (amazing!!!) and now have moved them into the brooder. I used a tote, like most people, but I have dogs so I wanted to find a way to give the chicks light and ventilation without risk. I went and bought a $9 roll of meshed wire from Home Depot, some zip ties, and a large tote from Walmart and did this (photos)! Really loving the simple and cheap brooder ideas for in the home. I also LOVE the switch from using a heat lamp to a heat plate. Absolute game changer!!!
Good luck to all of the first timers out there. Keep reading and learning how to do things the best you can. I think the info on this page is why I was so successful even with detached and saddled air cell eggs that almost got frozen!
-Lauren
Good luck to all of the first timers out there. Keep reading and learning how to do things the best you can. I think the info on this page is why I was so successful even with detached and saddled air cell eggs that almost got frozen!
-Lauren


")