Hello everyone. Firstly I would like to wish you all a Happy New Year!
In 2023, I started hatching eggs for the first time. I had a lot of bad hatches, but eventually I found out what worked the best. I was able to get 100% hatch rate on chicken eggs on the last few hatches. So long as the eggs were fertile and the egg shell wasn't so thin it broke, the chicks hatched healthy and happy. I read a lot of conflicting information online about hatching eggs, such as dry hatching (humidity 30-35%), using higher temperatures (101-102F), and spraying the eggs with 3% hydrogen peroxide before incubating. Some people even take duck and goose eggs out to cool each day, and spray the eggs with water. To me, this seems like the most ridiculous waste of time, and also very risky.
I know many people have had success with dry hatching, but for me it was a disaster. Chicks developed too small and ducklings were incredibly sticky when they hatched, almost caramelized. I also tired spraying duck eggs with hydrogen peroxide before incubation and they would develop but not hatch. I cannot rule it out scientifically, but now I try my best to leave the cuticle on the egg. I use hydrogen peroxide to disinfect the incubator, but I never spray the eggs the first week, and I try not to get too much one them when I am sanitizing the incubator.
The three main points are: a good incubator, temperature not too high, and lots of moisture. You will read that the chicks will hatch swollen if the humidity is too high, which is true, but they start shrinking to normal size immediately after hatching. The way I see it is that, the chick is made mostly of water, so it's better to have a bit too much water, than to not have enough for the chick to develop properly.
So after one year, here is my method to hatching eggs.
How I get 100% Hatch Rate on Chicken Eggs
Be careful about opening the chick’s egg too early (assisted hatch). The chick can get yolk sack infection (omphalitis). The yolk sack can stop absorbing. Even if it absorbs, it can fail to heal properly. The chick can die up to 3 days later. If the chick did not hatch cleanly, put some Polysporin on the naval over the scab where the yolk sack absorbed.
In 2023, I started hatching eggs for the first time. I had a lot of bad hatches, but eventually I found out what worked the best. I was able to get 100% hatch rate on chicken eggs on the last few hatches. So long as the eggs were fertile and the egg shell wasn't so thin it broke, the chicks hatched healthy and happy. I read a lot of conflicting information online about hatching eggs, such as dry hatching (humidity 30-35%), using higher temperatures (101-102F), and spraying the eggs with 3% hydrogen peroxide before incubating. Some people even take duck and goose eggs out to cool each day, and spray the eggs with water. To me, this seems like the most ridiculous waste of time, and also very risky.
I know many people have had success with dry hatching, but for me it was a disaster. Chicks developed too small and ducklings were incredibly sticky when they hatched, almost caramelized. I also tired spraying duck eggs with hydrogen peroxide before incubation and they would develop but not hatch. I cannot rule it out scientifically, but now I try my best to leave the cuticle on the egg. I use hydrogen peroxide to disinfect the incubator, but I never spray the eggs the first week, and I try not to get too much one them when I am sanitizing the incubator.
The three main points are: a good incubator, temperature not too high, and lots of moisture. You will read that the chicks will hatch swollen if the humidity is too high, which is true, but they start shrinking to normal size immediately after hatching. The way I see it is that, the chick is made mostly of water, so it's better to have a bit too much water, than to not have enough for the chick to develop properly.
So after one year, here is my method to hatching eggs.
How I get 100% Hatch Rate on Chicken Eggs
- Using a Hovabator 2370 with an automatic egg turner.
- Using a Kebonnix incubator for hatching. This is only needed for staggered hatching.
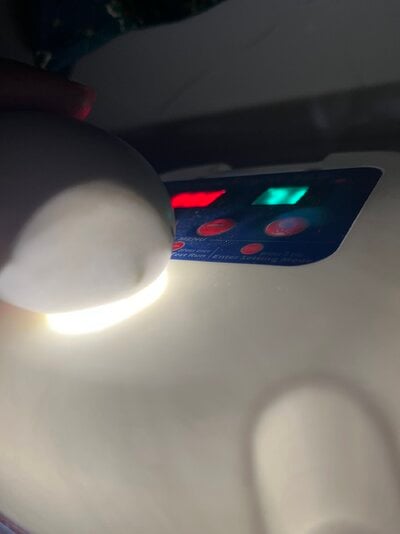
- Using two Govee temperature/humidity thermometers. (They come in a 2-pack from Amazon).
- The incubators are in the warmest room of the house.
- The incubators are kept out of direct sunlight.
- Using eggs less than 1 week old.
- Using clean eggs. Use steel wool or a dry Scotch-Brite pad to clean any tiny spots off eggs. This is especially a problem with duck eggs. The spots hold bacteria and the duckling can develop but die during the last few days of its incubation from infection. Gently rub down the entire duck egg with a dry abrasive pad.
- Cleaning any turds off the eggs with 3% hydrogen peroxide. Do not clean the entire eggs with hydrogen peroxide, only the spots.
- Doing staggered hatches (hatching every week.)
- Sanitizing the incubator every week by spraying it with 3% hydrogen peroxide. Sanitize the incubator before adding the new eggs each week.
- Temperature of 99.5F in the incubators. If one corner of the incubator is 101F that is okay, but no area is below 99.5F.
- Maintaining the humidity of the incubator to be at least 50%. If it goes below 50% humidity, add 3-4 tablespoons of water to the center of the tray in the Hovabator. The humidity may go as high as 70%, but this is fine.
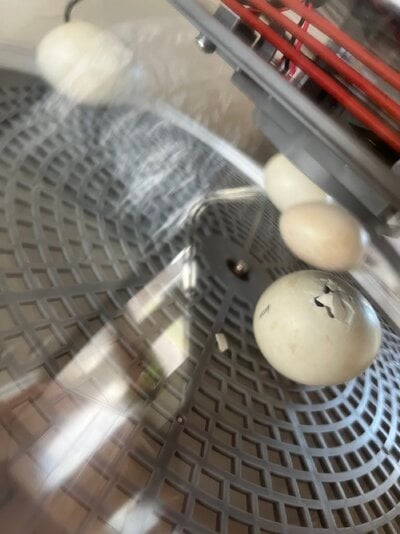
- Removing the eggs from the turners 3-5 days before the hatch date.
- 60-70% humidity for the last few days of incubation. It's difficult to get over 60% humidity in the Kebonnix incubator before the eggs hatch, so I just keep the center tray completely full of water. The Kebonnix can go above 80% humidity once the eggs start hatching, so you may have to open it to let the moist air out. If the eggs were incubated in high humidity, they have a lot of moisture inside and they don't dry out as easily, so opening the incubator during "lockdown" is fine.
- Writing down pip times for the eggs. Leaving 12 hours before assisting chickens and 24 hours before assisting ducks. (18-24 hours is recommended for chickens and 24-36 hours is recommended for ducks).
Be careful about opening the chick’s egg too early (assisted hatch). The chick can get yolk sack infection (omphalitis). The yolk sack can stop absorbing. Even if it absorbs, it can fail to heal properly. The chick can die up to 3 days later. If the chick did not hatch cleanly, put some Polysporin on the naval over the scab where the yolk sack absorbed.


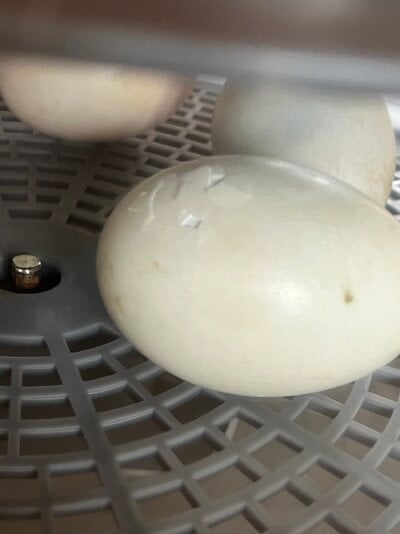
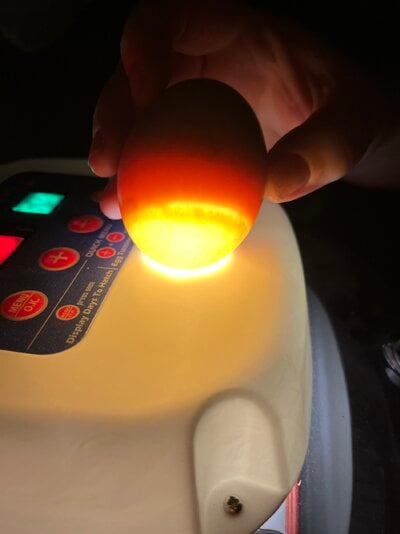
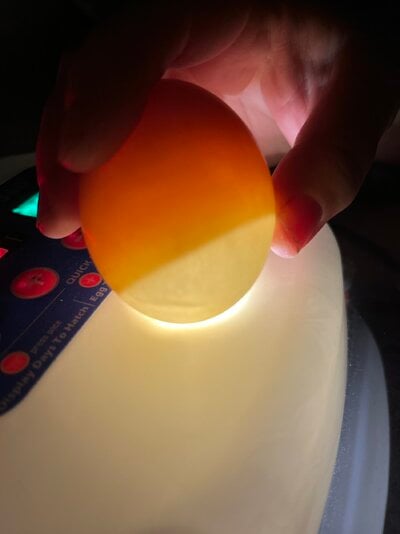
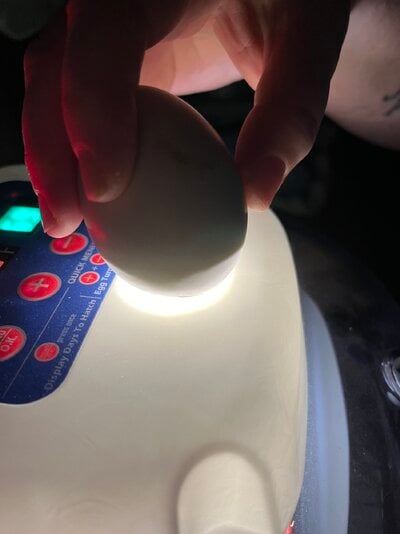
 but that’s why I need to candle.