- Feb 1, 2013
- 319
- 17
- 103
I found that when I ordered this chicken tractor online, there was very little information about it, so I have decided to fix that problem and do a full review of the the chicken tractor available at http://www.mcmurrayhatchery.com/portable_chicken_pen.html.
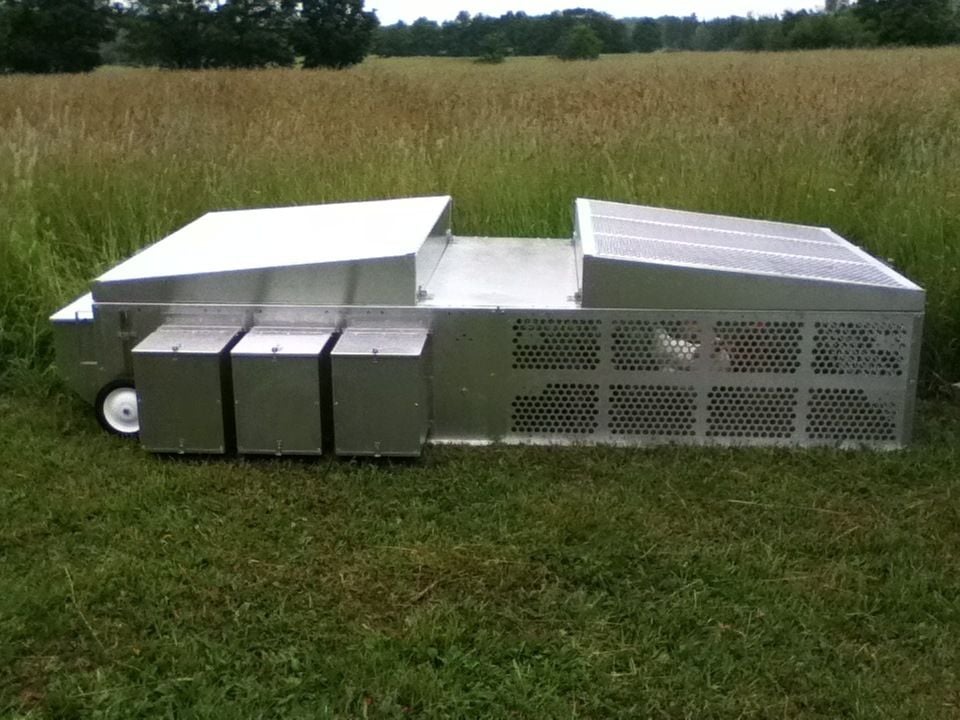
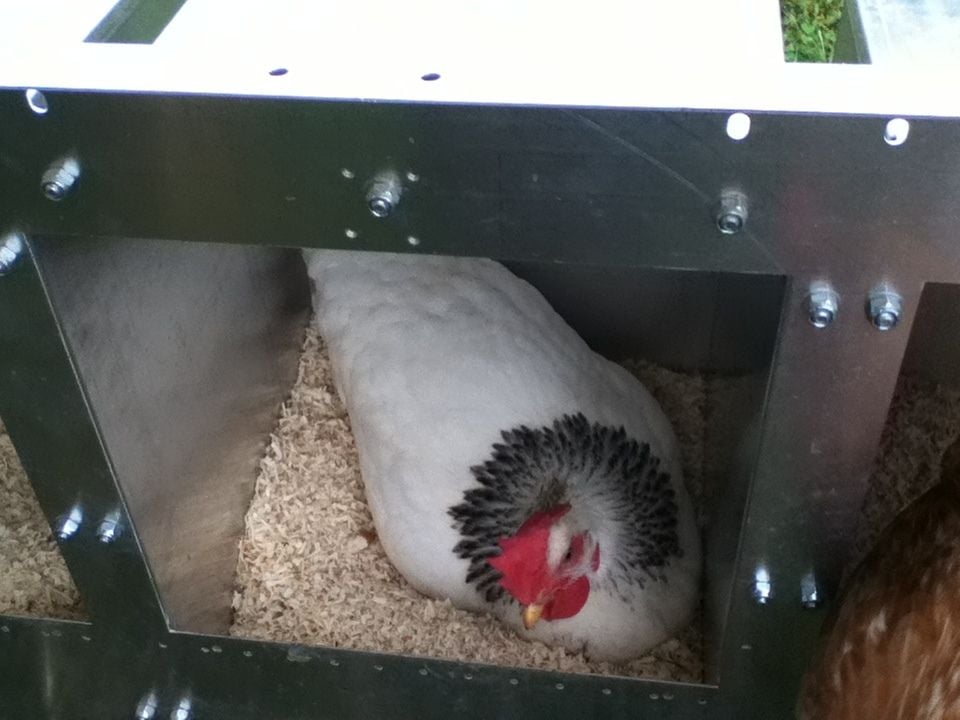
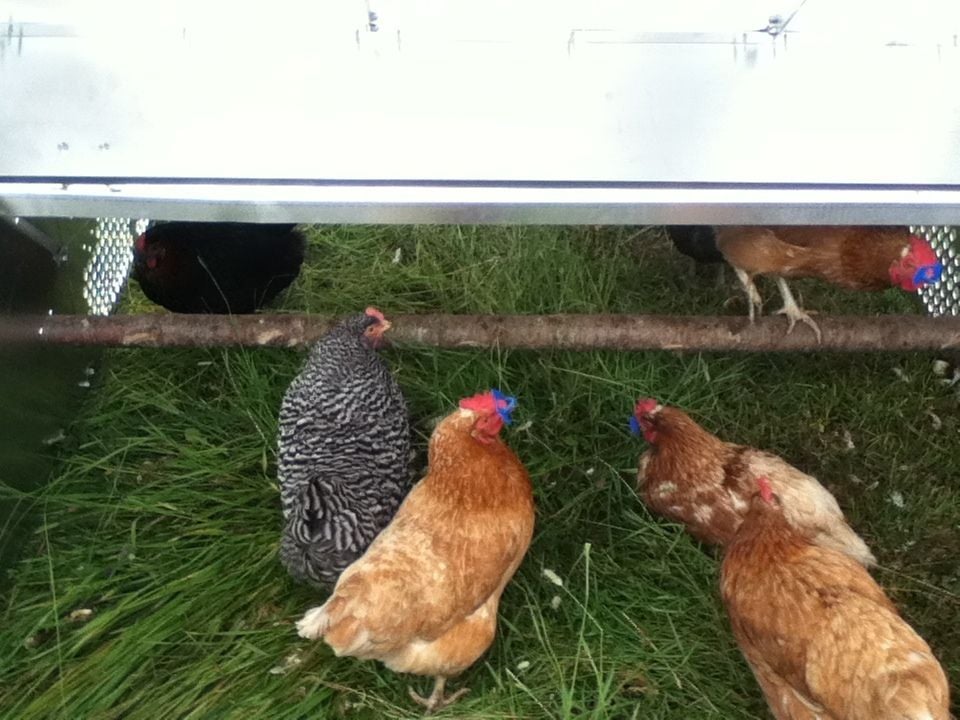
This is just an overall view, showing nests, a bit of the feeder, and the open air portion of the coop. The coop is 5' X 10' and none of that space is taken up be nests or the feeder.
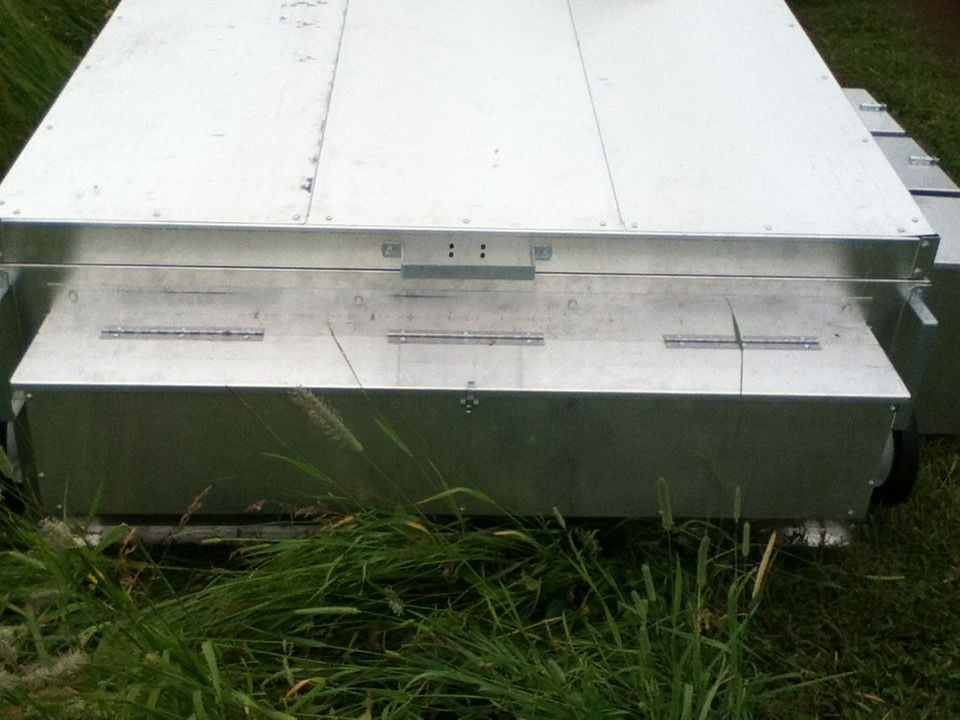
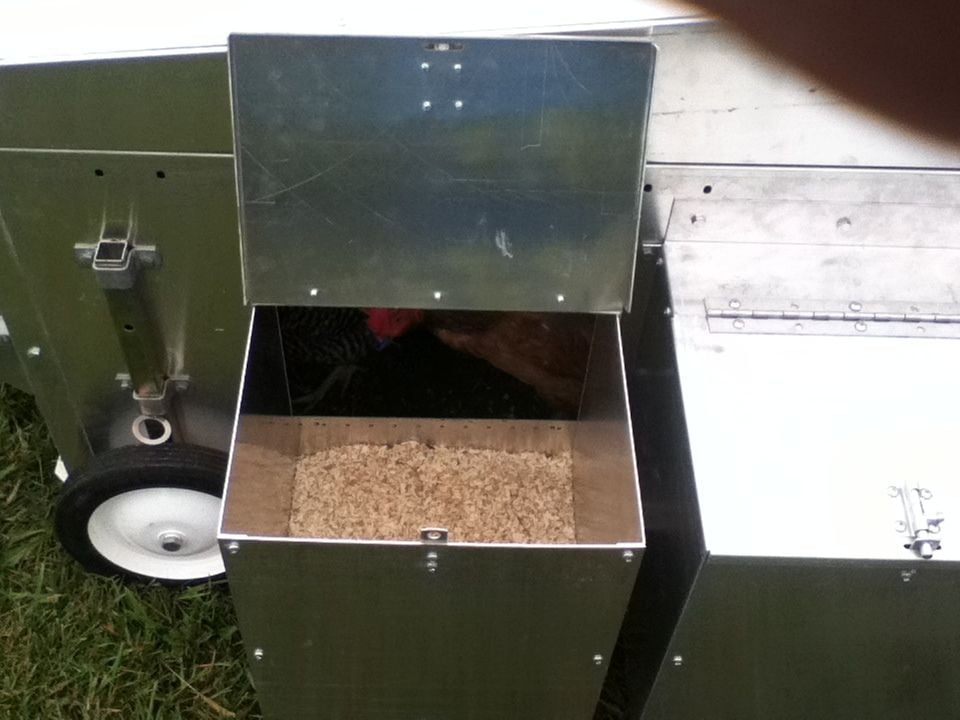
The feeder is on the indoor end of the coop. There is a large reservoir that sits on the outside and can hold more than a full bag of feed. You can also see the handle for one of the large hinged lids in this shot.
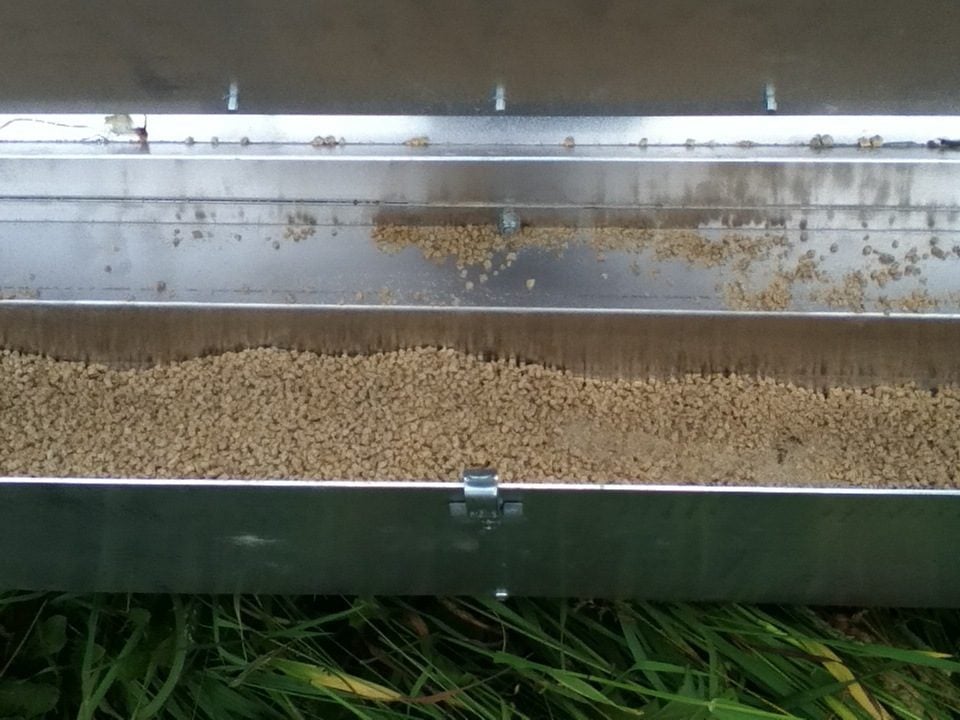
This picture is looking at the inside of the reservoir, and also shows the secure latch that keeps rodents out of your feed.
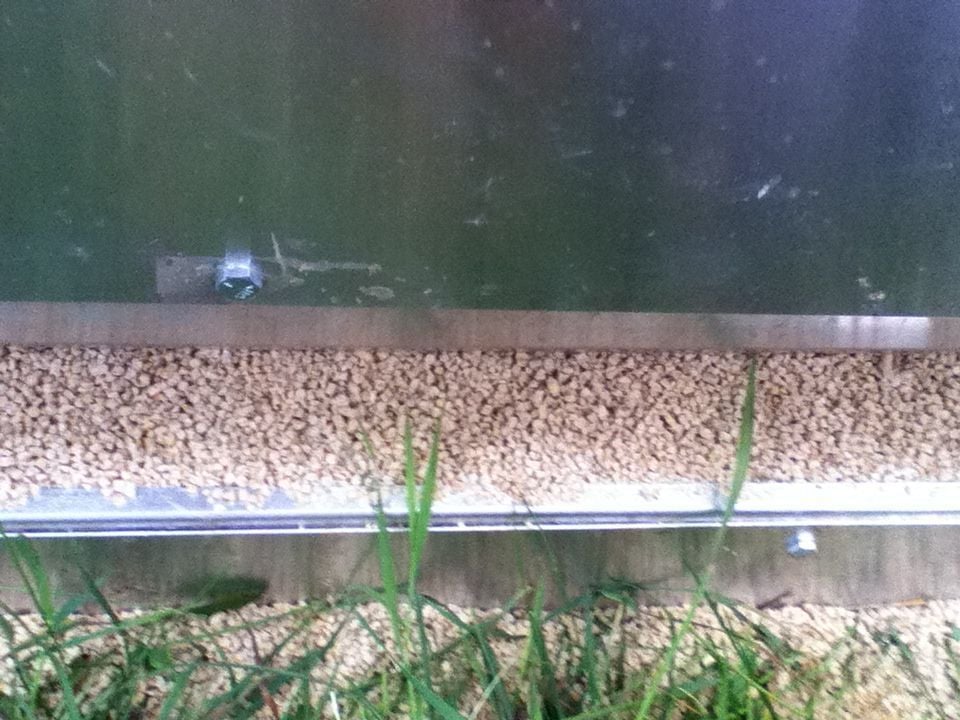
Here is where the chickens eat from on the inside. I would recommend using pellets in this feeder, as there is a fair amount of waste with the crumbs.
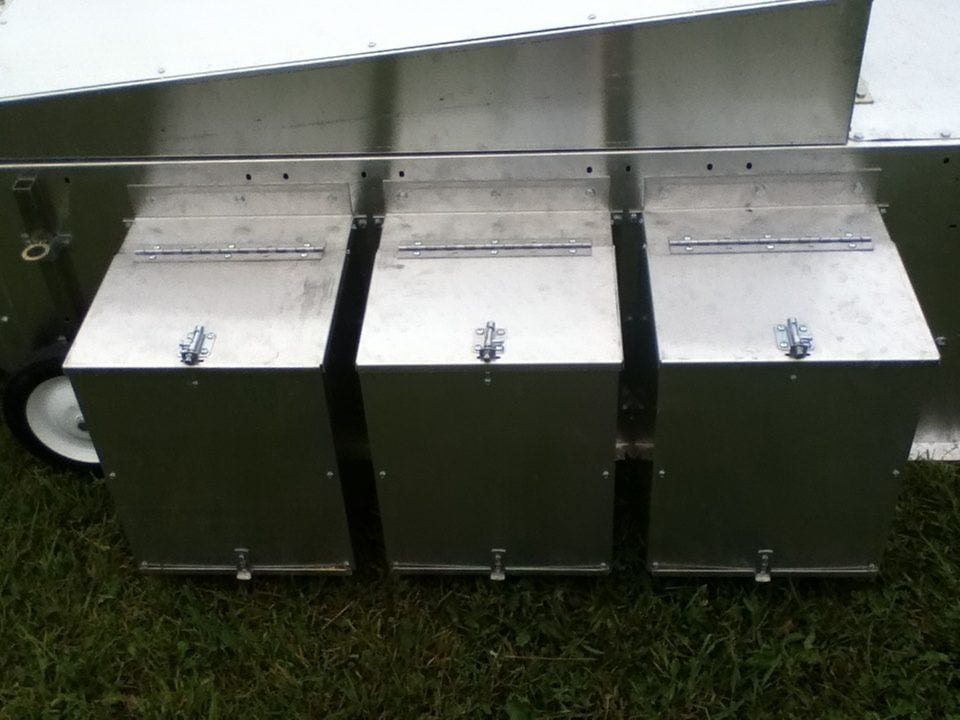
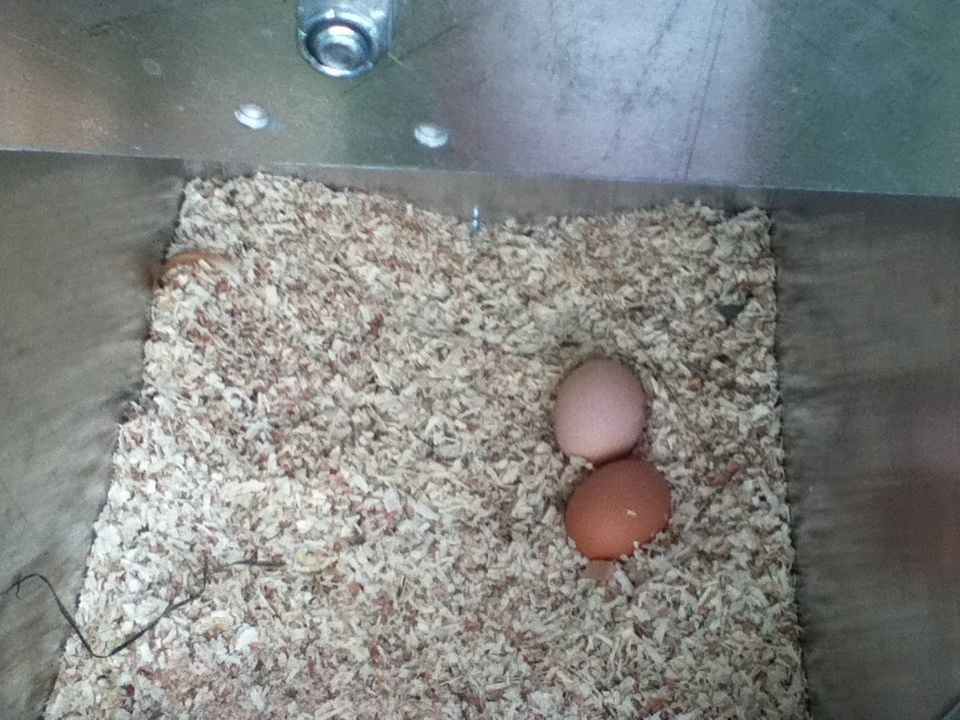
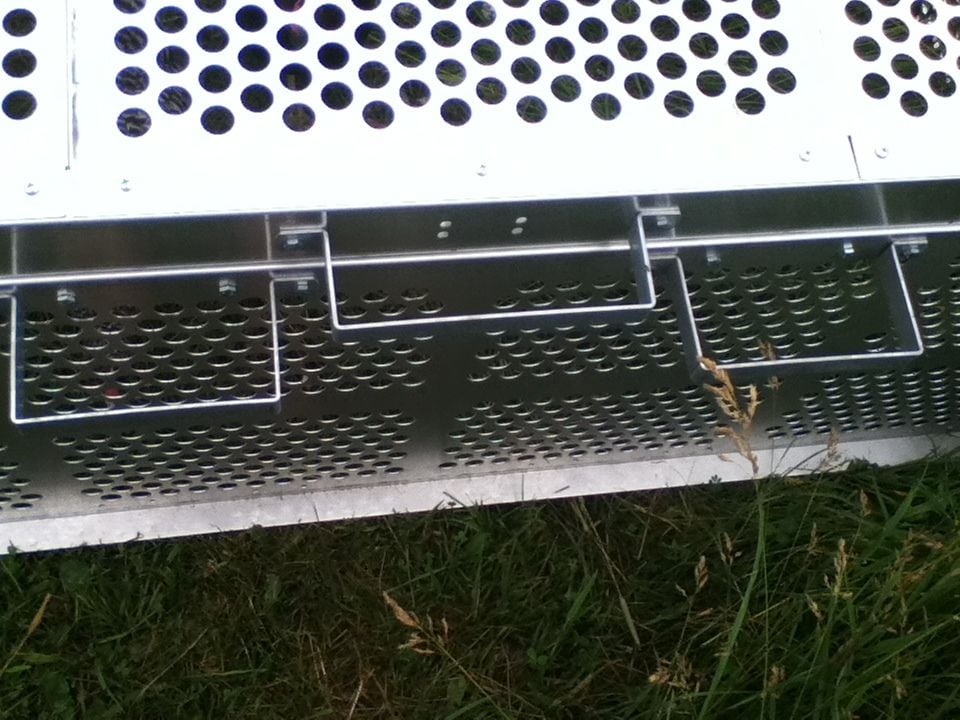
These are the nesting boxes. As you can see, they are external. We just had a rain, and they stayed bone dry on the inside. There are handy slide out trays for cleaning the nests, with secure latches.
Each box is accesible from outside the coop through a hinged door secured by a racoon proof latch.
Near the middle of the coop, there is a place under the middle roof to instal a roost. You can use lag bolts or drywall screws. The instructions recommended a 2X4, but we used a natural branch.
The coop is light and easily movable, as the feed box counterbalances the weight. The coop is equipped moving handles on one end and retractable wheels on the other.
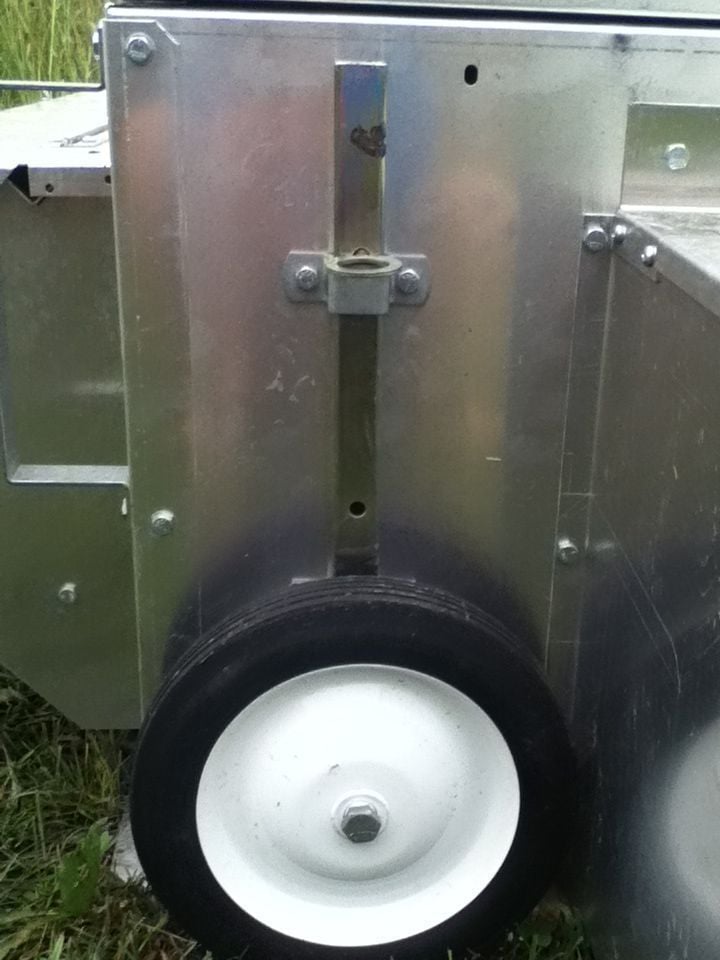
Here is a wheel shown in the retracted or raised position, with the provided pin in the upper hole above the upper bracket.
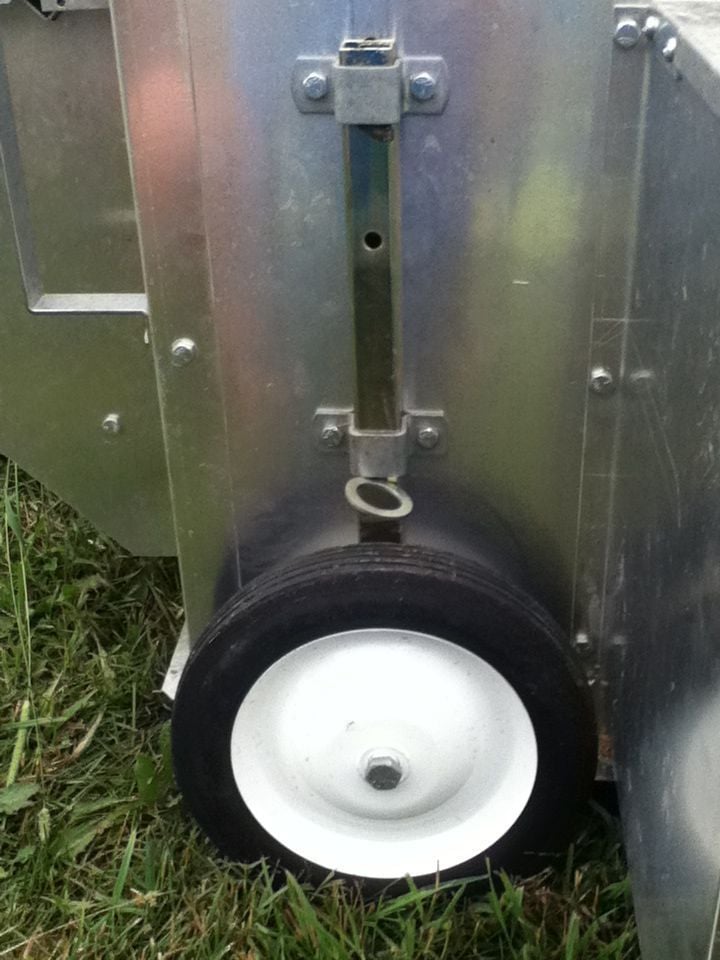
In the extended or lowered positon, the pin is placed in the lower hole below the lower bracket.
Overall, I am very pleased with this coop and it is great not to have any cleaning to do like in a conventional coop. Assembly seems complicated at first, but if you're moderately handy and know how to use a wrench, you can assemble this thing.
This is just an overall view, showing nests, a bit of the feeder, and the open air portion of the coop. The coop is 5' X 10' and none of that space is taken up be nests or the feeder.
The feeder is on the indoor end of the coop. There is a large reservoir that sits on the outside and can hold more than a full bag of feed. You can also see the handle for one of the large hinged lids in this shot.
This picture is looking at the inside of the reservoir, and also shows the secure latch that keeps rodents out of your feed.
Here is where the chickens eat from on the inside. I would recommend using pellets in this feeder, as there is a fair amount of waste with the crumbs.
These are the nesting boxes. As you can see, they are external. We just had a rain, and they stayed bone dry on the inside. There are handy slide out trays for cleaning the nests, with secure latches.
Each box is accesible from outside the coop through a hinged door secured by a racoon proof latch.
Near the middle of the coop, there is a place under the middle roof to instal a roost. You can use lag bolts or drywall screws. The instructions recommended a 2X4, but we used a natural branch.
The coop is light and easily movable, as the feed box counterbalances the weight. The coop is equipped moving handles on one end and retractable wheels on the other.
Here is a wheel shown in the retracted or raised position, with the provided pin in the upper hole above the upper bracket.
In the extended or lowered positon, the pin is placed in the lower hole below the lower bracket.
Overall, I am very pleased with this coop and it is great not to have any cleaning to do like in a conventional coop. Assembly seems complicated at first, but if you're moderately handy and know how to use a wrench, you can assemble this thing.
Last edited:


