Please show me your hot weather coops

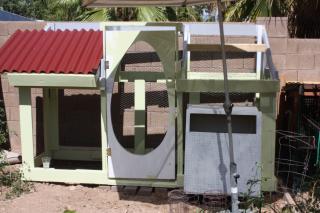
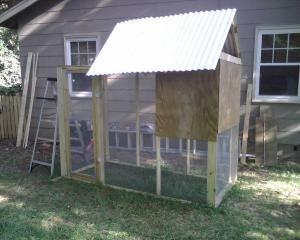
I felt like sharing some progress I've made on my coop - designed with the heat and humidity of North Florida in mind. Despite being a building/construction/woodworking novice (does assembling ikea furniture count?), the coop seems to be structurally sound and solid. I couldn't believe it stood up on it's own. My father gasped in astonishment that the human door opens and closes as intended! As it currently remains a work in progress, I have yet to choose a permanent resting spot. Feel free to scrutinize and adore!! Any feedback would be appreciated!!

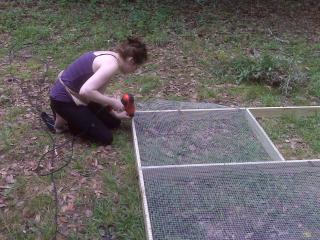
Here we go! I should be the poster child for pure diligence...
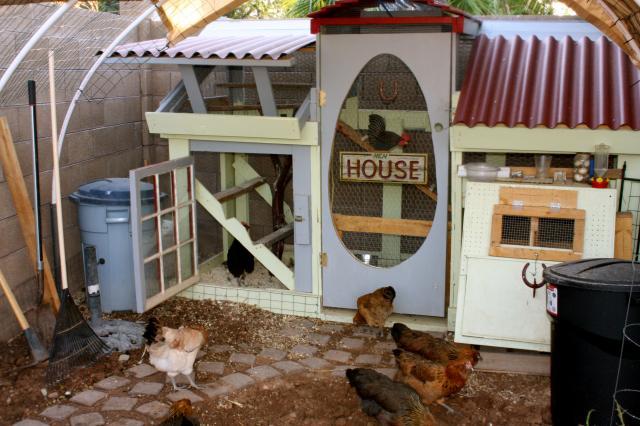
29630_img00007.jpg


A little later...

29630_img00262.jpg


29630_img00263.jpg


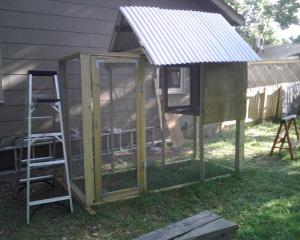
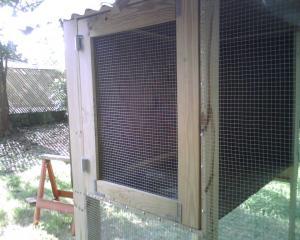
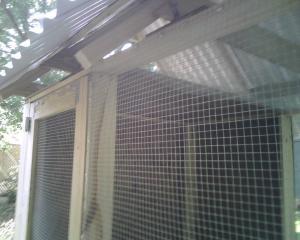
Yesterday evening, in a fit, I removed the solid back panel. I plan on jig-sawing a wide, rectangular window that I'll cover in 1/2" hardware cloth then affix back onto the coop. The other solid wall will also feature a screened vent for air flow/ventilation.

Here we are prior to rear panel removal...

29630_img00266.jpg


I also noticed that my swinging access door to the roosting box area cannot fully open due to the long overhang of the roof. I plan on hinging it across the top instead.

29630_img00265.jpg


29630_img00264.jpg


Two steps forward, one step back. It's all fine with me.
 
Last edited:
Quote:
Buckets are easy. 5 gallon. You can usually get them from Wally World or you local grocery for free. Mine have one 1 1/2 inch hole drilled in the bottom. I usually cut a slit in a coffee filter and put it around the plant to keep the dirt from falling through. You need a light and airy soil/potting mix. Miracle Grow or something like that. Mine came out of my chicken yard. Mix of dirt, poop, and straw. I left about 2 inches without soil on top, so it doesn't over flow with water and dirt. I planted marigolds up there too.

If you are planting tomatoes, remove all the leaves & stems except for the top ones. Tomatoes will root all along the stem making healtier plants. This is my first year at this so this is all I can help you with.
 
Mine is nearing completion and I am well into the final stage. I was able to move it from where I was constructing it to it's permanent location. It was not that bad to move, I had good help, and we hefted it across the yard to the garden. I have been able to get the majority of chicken wire on it. The backside up against the block wall is all wood frame and wire. The end pieces will be wire, and gap around the nest box on the right hand side looking at the coop will be wire.

The two slanted roof pieces will be able to hinge open and be propped up. There will also be wire there to prevent anything from getting in or out while the roof is propped open.

I was able to get a roost support installed tonight, just had a little bit of time before it got too late to do it. Hope to get alot done tomorrow night and get the chickens in there by Thursday night.


27085_img_7208.jpg
 
Today we experienced the first of many late, late afternoon summer downpours in Florida and I began to worry. In an effort to combat stale air and heat, my coop has ample, if not enthusiastic ventilation. Unfortunately, paired with an appropriate gust of wind and precipitation is introduced to their nesting area.

And so I raise the question to you.....
How do you provide rain protection without compromising ventilation?


Every possible solution I think of involves impairing freedom of air movement. I'd hate to come home to wet chicks!!!

Many thanks in advance for your brainstorming! Any pictures you can share would also be most appreciated!
 
If that is your coop on your web page perhaps you could extend your roof down a little more maybe a foot or two and that would give you enough overhang to give you protection from the rain. You could take a piece of the metal roof and stick it underneath the existing roof.
 
Well, I think my SC coop is finally finished.
(Except I think I may let my kids paint the outside walls; AND I may add more ventilation later.)

This is my first coop build and it took longer; and cost more than I thought. But, I'm fairly happy with it because I've never built one before and I have NO construction experience.

PS; My wife actually did most of the work because I'm disabled.

Here go the pics for the OP!

How it started:
ChickenCoopFrame006.jpg


Finished! Maybe?
FisedCoop3.jpg


FinishedCoop1.jpg


FinishedCoop6.jpg


Open "Top" door for better "Hot" weather ventilation.
FinishedCoop7.jpg


Interior and Nest Boxes:
FinishedCoop5.jpg


FinishedCoop4.jpg


NestBoxes.jpg


PVC "Top" Frame:
RunCeiling.jpg
 
I was able to finally get one of my roof sections hinged and props hung. Not I have the ability to raise the roof, allowing more ventilation to the roosting area on these hot summer nights in Arizona

I have also added to the nest box on the right hand side an extra door for access to the top nest boxes. There are four nest boxes there and the lower door opens downward by pulling on the horse shoe handle, and the upper door lifts upward. I still need to paint the trim. A little at a time!

27085_img_9268.jpg
 

New posts New threads Active threads

Back
Top Bottom