MY NEW 4x8 COOP

~Jonny Anvil~
Well it's done, and I managed to get the tenants moved in and they are happy!
With my latest additions of a quad of Black Orpingtons and my New Silver Laced Wyandottes I had decided to make them a brand new Coop all their own. Working with a very small budget but going new on all materials I decided to make a 4x8 coop tall enough that I can stand up in it if need be allowing more than enough room for the 6 new occupants, and a possible two more down the road. I designed my coop using Google Sketchup, which made things a great deal easier to visualize. I never really looked at the plans after I bought the lumber, it was in my head after that.
Total Cost of materials $320.00 (Can)
Now I guess I should mention that I live in the cold northern climate of Canada in the wonderful province of Alberta. We get some really cold winters here, and even though things can get to -50*C (-58*F) which is VERY rare.... I have decided to post pone insulating the coop for now.
Google Sketchup makes things easier when it comes to putting everything into perspective and trying to get an idea on materials needed.
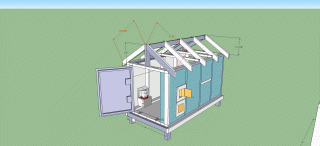
Click on this Link to Get the 3D Download with all the Specifications
http://sketchup.google.com/3dwarehouse/details?mid=ade57d632ce6b4dff5e6efed98d1b6e7&prevstart=0
Materials List :
30 2x4's @8ft
7 sheets of 3/8 OSB
5 1x3's for corner trim and pop door
2 1x6 @ 10ft
4 1x6 @ 8ft (facia)
2 packs of Shingles
"assorted hardware"
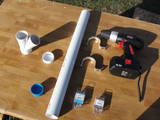
Also for the Feeders:
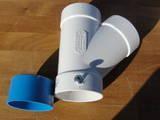
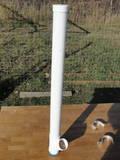
PVC Feeders
4 Feet of 2" pvc vacuum tubing
2 (45*) Connector Joints
2 (2") end plugs
2 (2") End Caps
Also a 11" x 14" panel of plexiglass
Numerous hinges, screws, nails and staples.
For the Tray Feeder
23 1/2" of 4" pvc drain pipe (type used for weeping tile works the best as it already has predrilled holes, just connect the dots)
2 (4") pvc end caps
For the Pop Door
9 feet of 1/16th galvanized metal wire
6 eyelet hooks
1 brass grommet for outer wall.
a few metal clamps for looping cable.
metal flashing used as a guide for pop door.
Soooo If you have gotten to this point and have all your materials infront of you all you need to do now is plan where you want to build your coop.
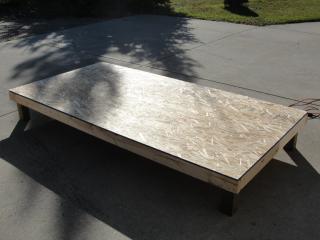
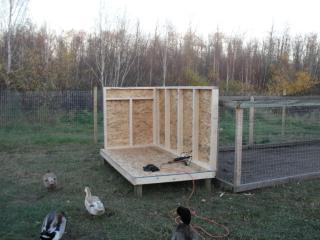
I highly suggest that you prefab the floor and walls on a level surface, and then move them to where the coop will be built, things are light at this point.
Follow along below with some pictures of how I built this coop all by myself.
Here are some pics and some explanations of just how I put this custom coop together.
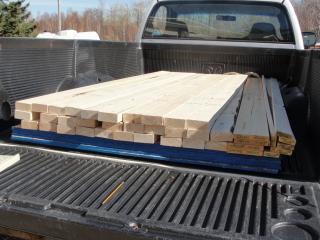
All starts with raw materials....
and becomes something so much more.....
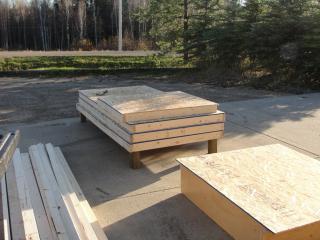
Prefab on the Driveway made things quick and easy.
Uh oh if you look the local building inspectors are there to "check" things out...
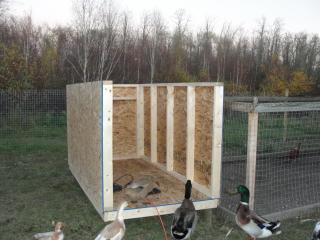
Well after a loud discussion over a head of lettuce they were happy when the third wall went up....
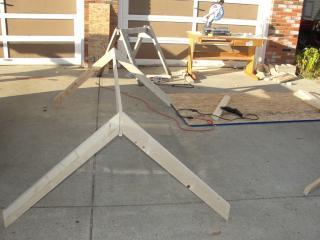
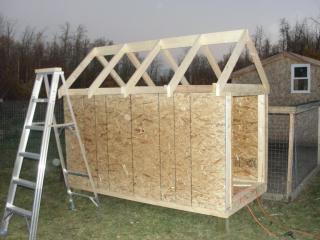
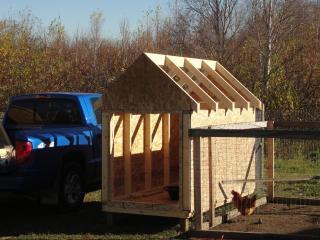

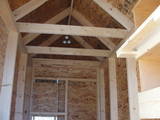
Construction of the Roof, framed, Sheathed and Shingled. Also added a a window that act as an extra vent in summer and allows some light as well.
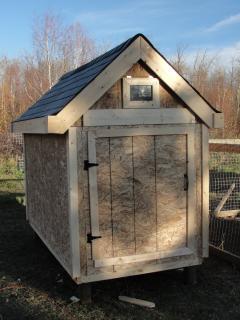
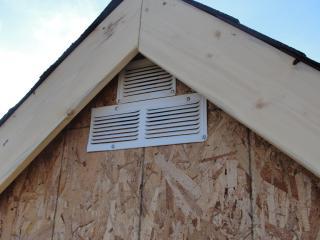
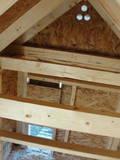
Shingled and corner trim on, door hung Ventilation Outside with an inside look
The Door is on... Hmm what is missing??
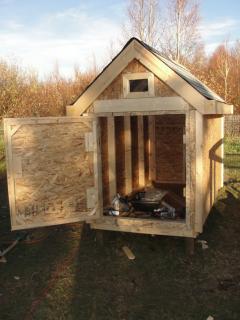
Right the inside!!!
PVC FEEDERS!!!!!
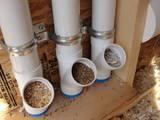
The finished Food Buffet.
On the Menu, from left to right water, Cracked wheat and Corn mix / Grit and Oyster shell in the white Pvc Feeders and a PVC feeder trough with
16% layer crumble mixed with 2 cups wheat and 1 cup cracked corn.
Check out these Videos of how I made and installed my PVC feeders
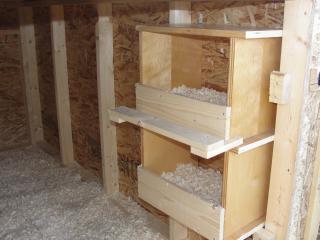
Here are the nest boxes, used from a recycled cubby shelf I got free from a fellow chicken enthusiast's child's kindergarden under renovation.
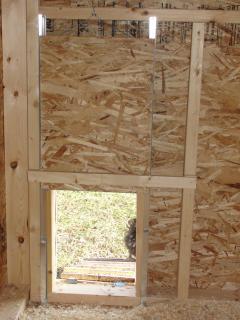
The pop door, right now it is manual and operated by a simple wire loop system I set up. With the finger loop to operate the door located at the front of the coop. Sits between metal flashing as a guide, to prevent jamming.
Roosts
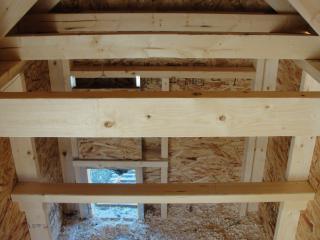
Looking Down towards the pop door
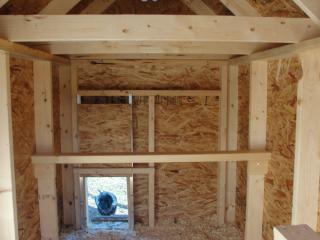
Looking straight inwards.
Looking Upwards
In total there are three roosts, one lower and two higher ones
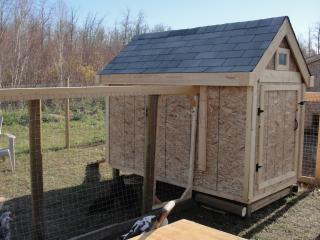
Here is a side view of the coop with the run
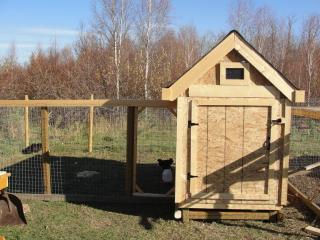
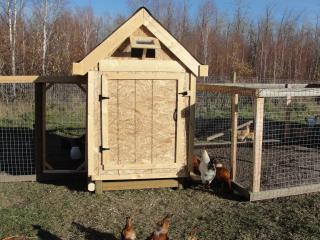
A final look at the Coop all completed with run....or is it???
Current Occupants
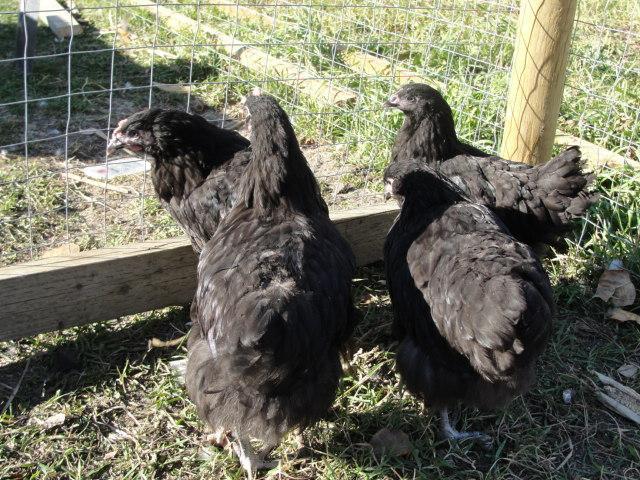
Black Orpingtons
13 weeks in this photo
&
Silver laced Wyandottes
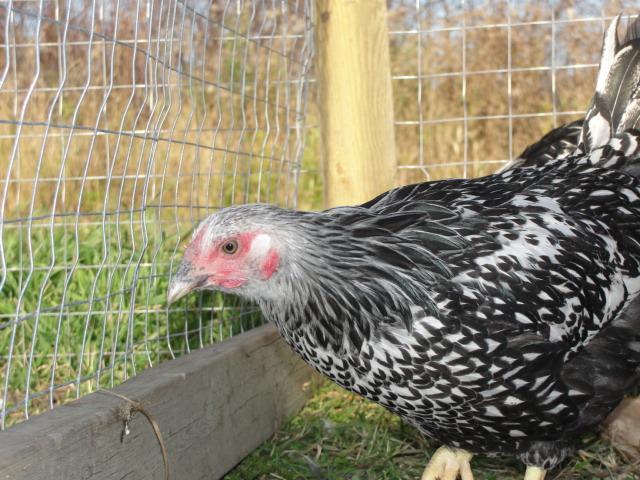
My pullet about 3.5 months old in this pic.
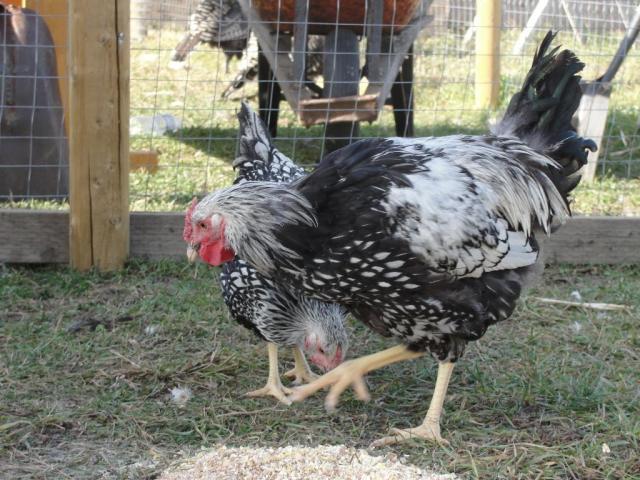
My SLW Roo, 3.5 month old in this pic.
Thank you all so much for checking out my Coop page,
I hope that I have inspired you to be creative and build your own custom coop as well.
"Jonny Anvil"
* TO bE ContinUed*
last update Oct. 15th, 2010

