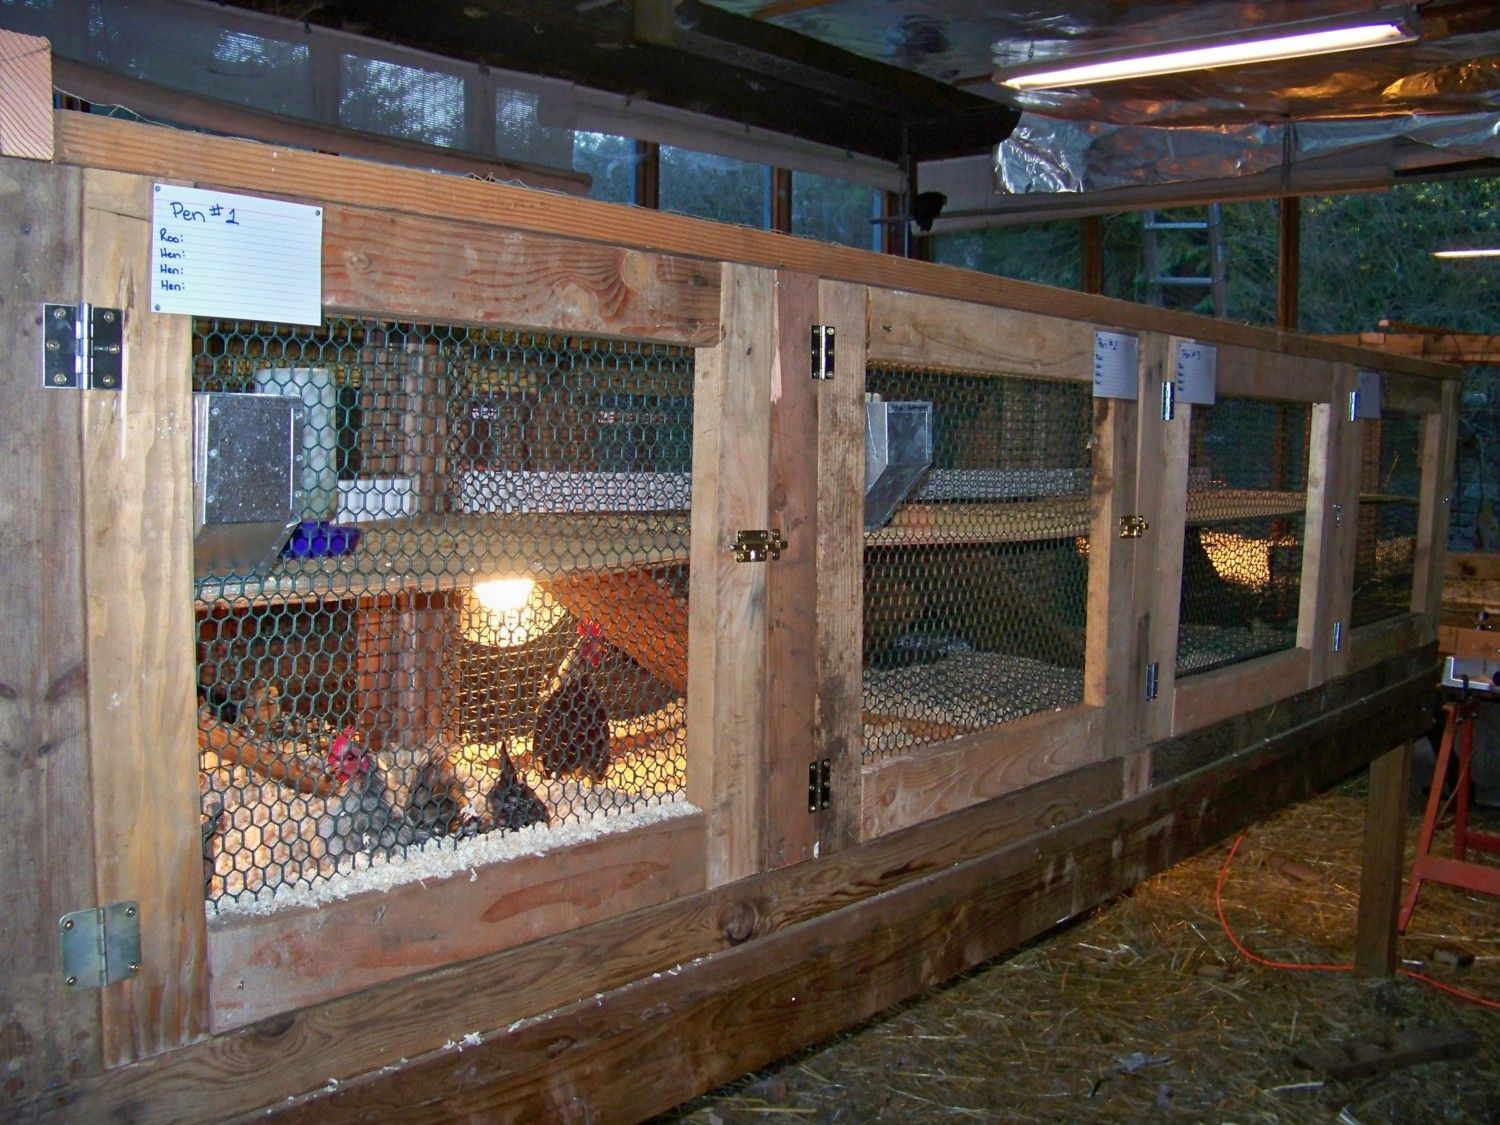
Finished Side #1

Ok here goes nothing") I'm not sure if mine will count as I raise American Seramas and my "coops" are a little bit different from normal ones as my little birds don't get outside unless it is nice and NEVER unattended unless in their play coop (see below) but I'll post anyway what the heck right
I'm not sure if mine will count as I raise American Seramas and my "coops" are a little bit different from normal ones as my little birds don't get outside unless it is nice and NEVER unattended unless in their play coop (see below) but I'll post anyway what the heck right
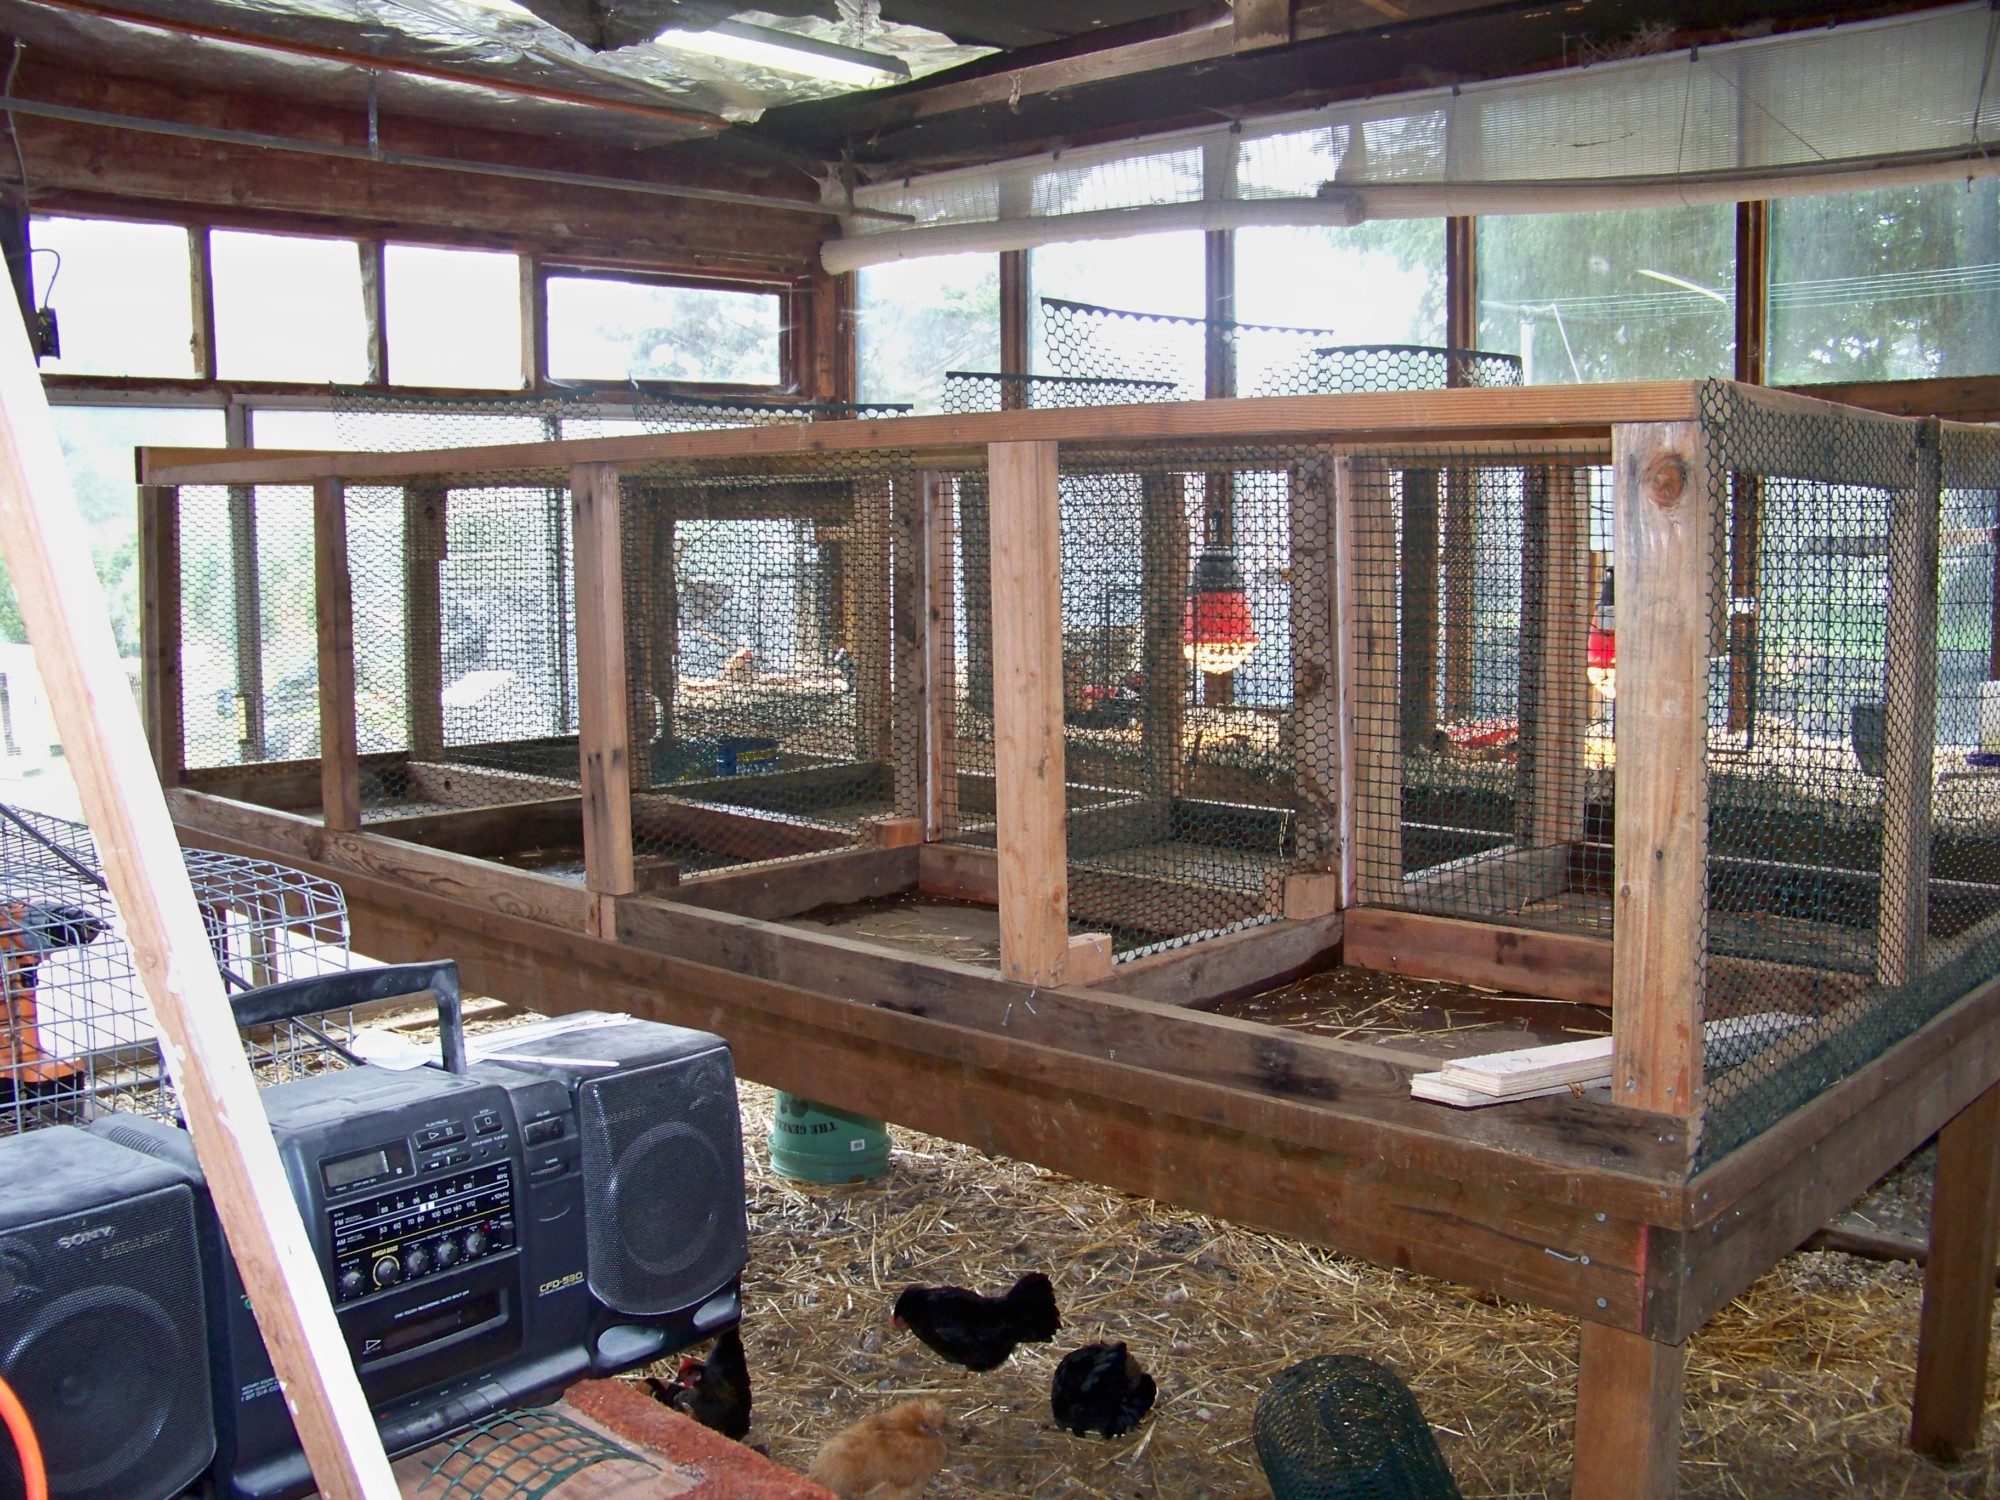
I started with 4 - 12' 2x4's and 6 36" 2x4's for the frame, 3 - 36" uprights on each side to hold the 12' top and bottom sides together. At the end of the coop I added 2 - 5' 2x4's both top and bottom to secure both of the side "frames" together" The next step was cutting out the frames for the individual pens ... Uprights were 12 - 32" 2x4's ... framing them in using 3" screws and nails and poultry netting/fencing that can be purchased at Coastal (or loads of other places I'm sure) see below pics for framing of idividual pens and addition of the poultry netting.
In the above pic my pens are 36" x 36" and are sitting on top of a 12'x5' table that had been left behind by the previous owners. The top is a solid peice of chicken wire as I will be hanging lights and do not want them near plastc.
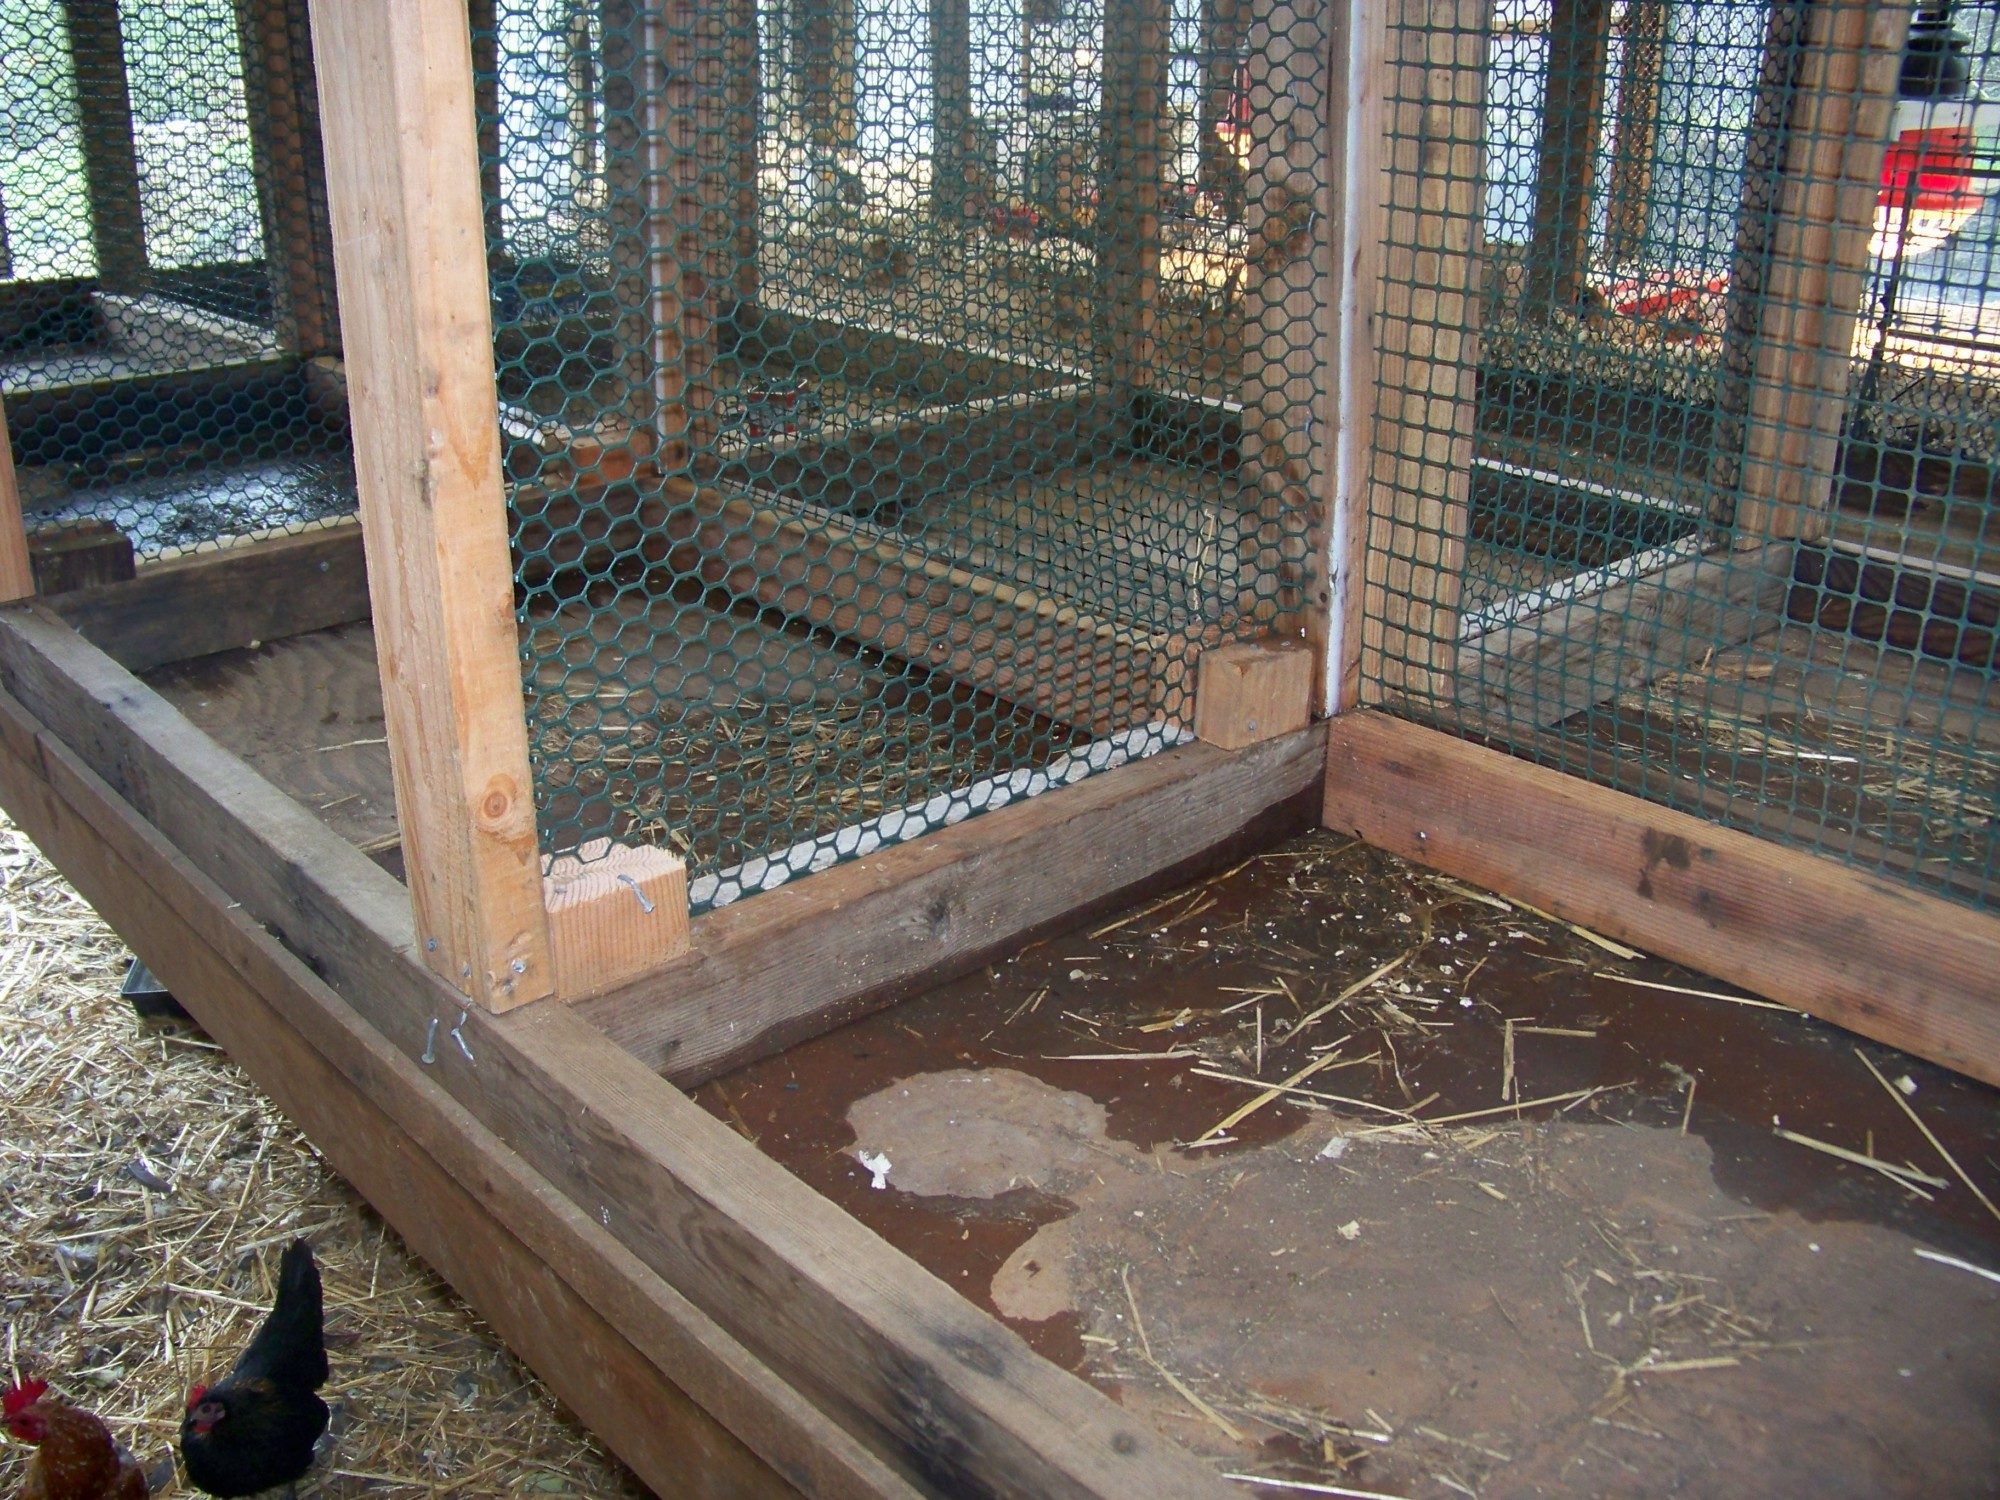
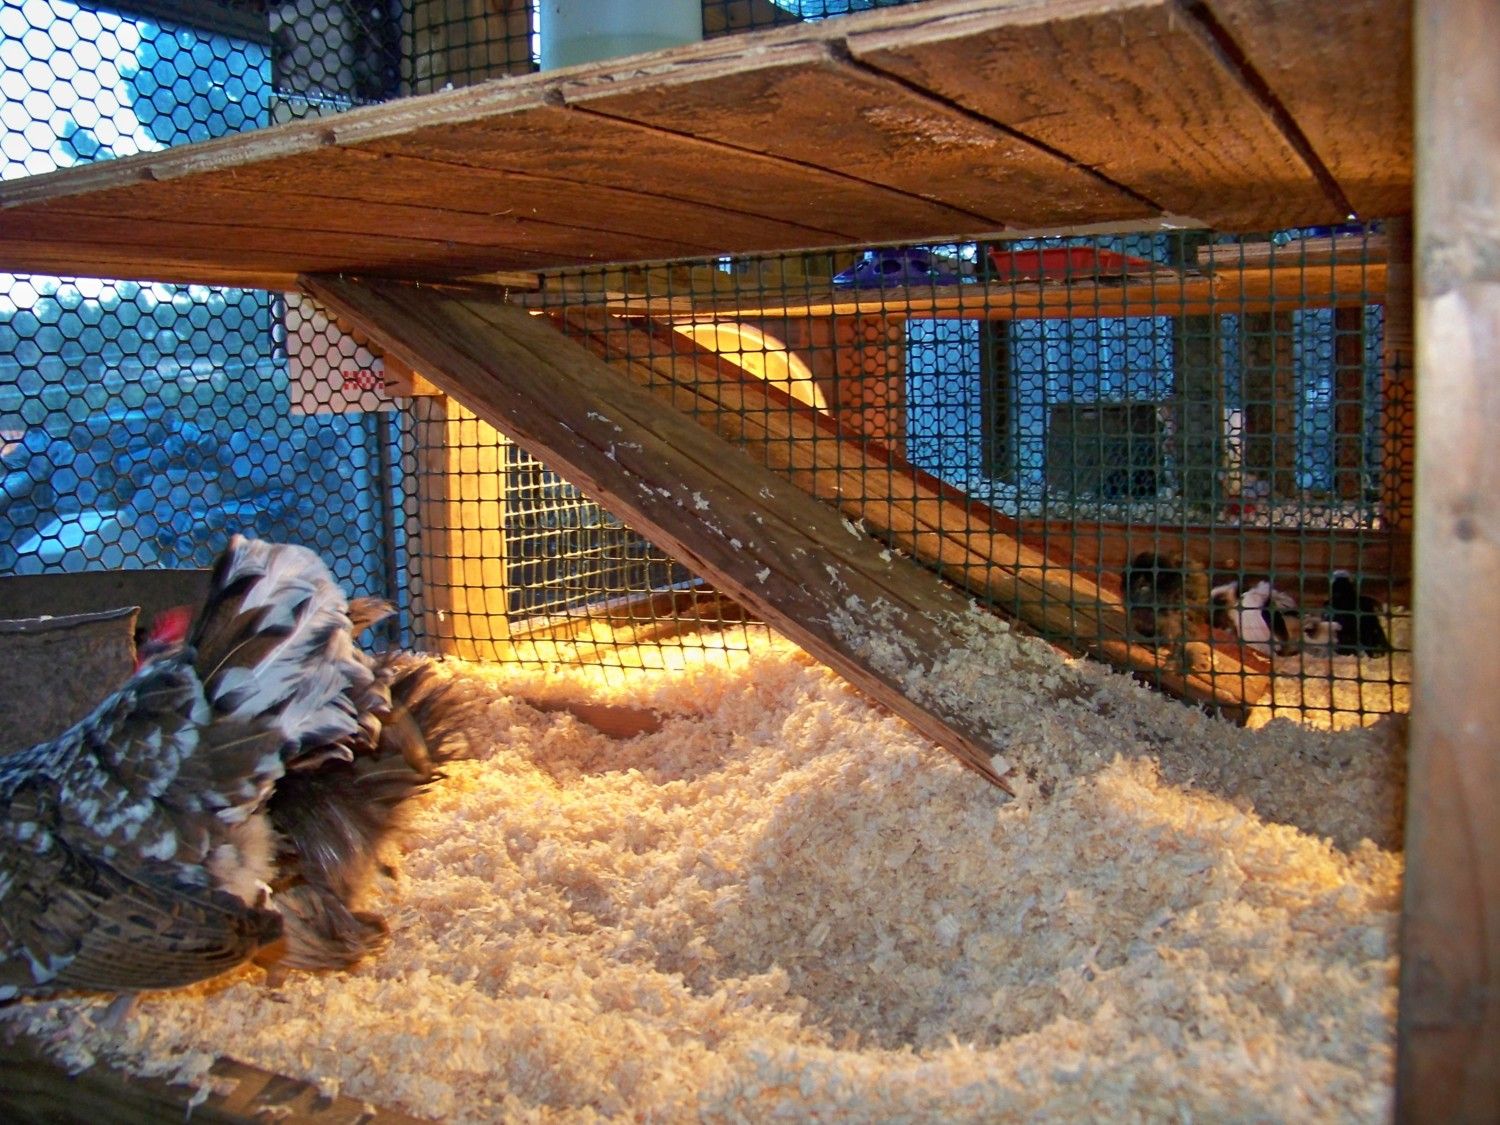
The above picture is just another view of the coop as it was being built... From here, I used some of my cuttoffs from my 2x4's and made small 2x4 blocks and attached them half way down the insides of the uprights in each pen to add a peice of 1/4" plywood and add another "floor" to the pen. My intention here was to seperate the food and water from the chips (get really tired of chips in the water LOL) ... I cut the plywood to fit each pen and notched out a 8"x 18" peice in the back to make room for ramp access... On the Ramp I intend to add some kind of rough material (probably roofing material of some kind) to help with wear of the toenails...
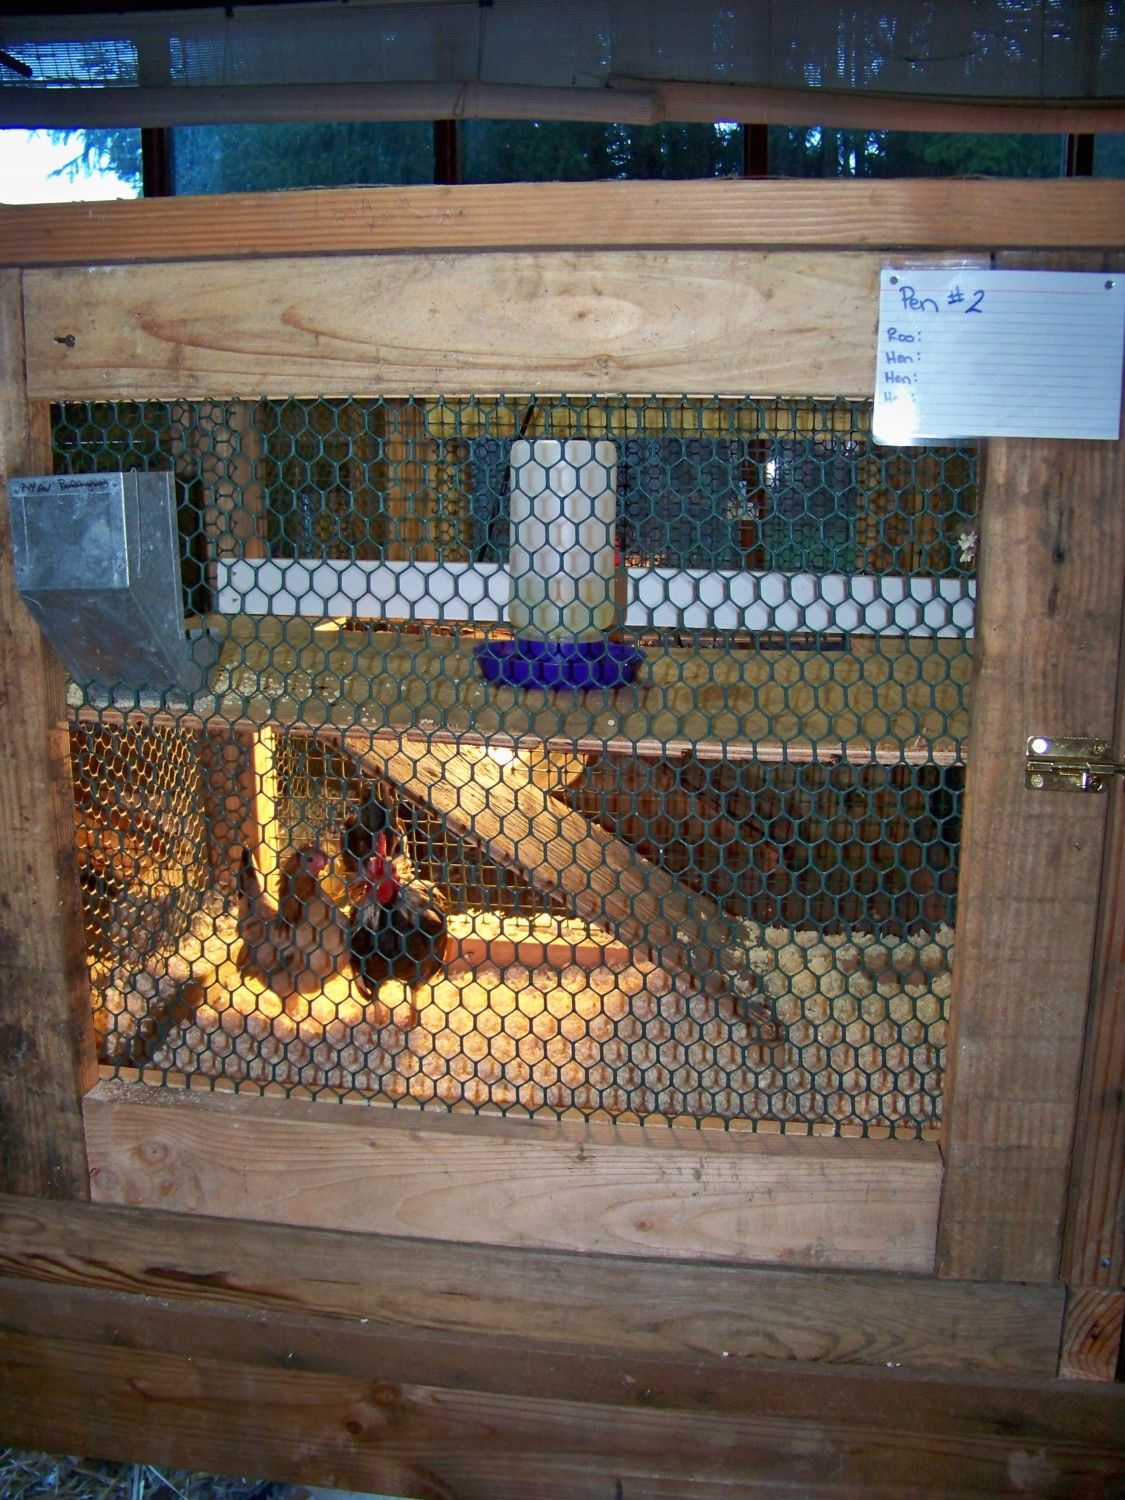
The doors are done with 2-36" 2x4's and 2-32" 2x4's screwed together to fit the opening and hinges added (see below)
Again here I used the poultry netting and attached with small finishing nails. I used a simple latch here for the door to keep it shut. I am using small "J" hanging rabbit feeders on the second level of the pen and 1 qt waterers inside on the second level also. I used a laminator to make the pen cards (includes pen #, Roo's name and hen's name) Simply write what information you want on your card (name/hatch date/whatever) then laminate. Using a Sharpy fill in whatever information you want on your card, to change information simply take rubbing alcohol and a tissue to wipe off.ion
A list of things I would add to or change about this coop.....
The doors are a bit heavy and are starting to sag a bit wtih time... I will eventually need to either re-do them or re-inforce them somehow.
Other than that I would not change anything
I have tons of room for my birds (Seramas) to be able to have a trio comfortably, My food and water stays way cleaner now that the chips are in the bottom of the coop and the birds are in the top. It is way easier to clean, I take a dust pan and small hand broom to sweep out the top daily, and the chips get changed as needed and I use Shavings in the bottom about 4-6" the birds just have a blast scratching around dusting and nesting down there.
My Lights are hung over top on a 2" metal pipe suspended by 2-8" 2x4's attached to the frame, 1 light for 2 pens works just fine for my needs currently. Sorry no pic of the lights at this moment.
Finished Side #2 for a total of 8 - 36" x 36" pens (4 on each side)
.
This project is done with all used/reclaimed materials ... not the prettiest but it works and I love it
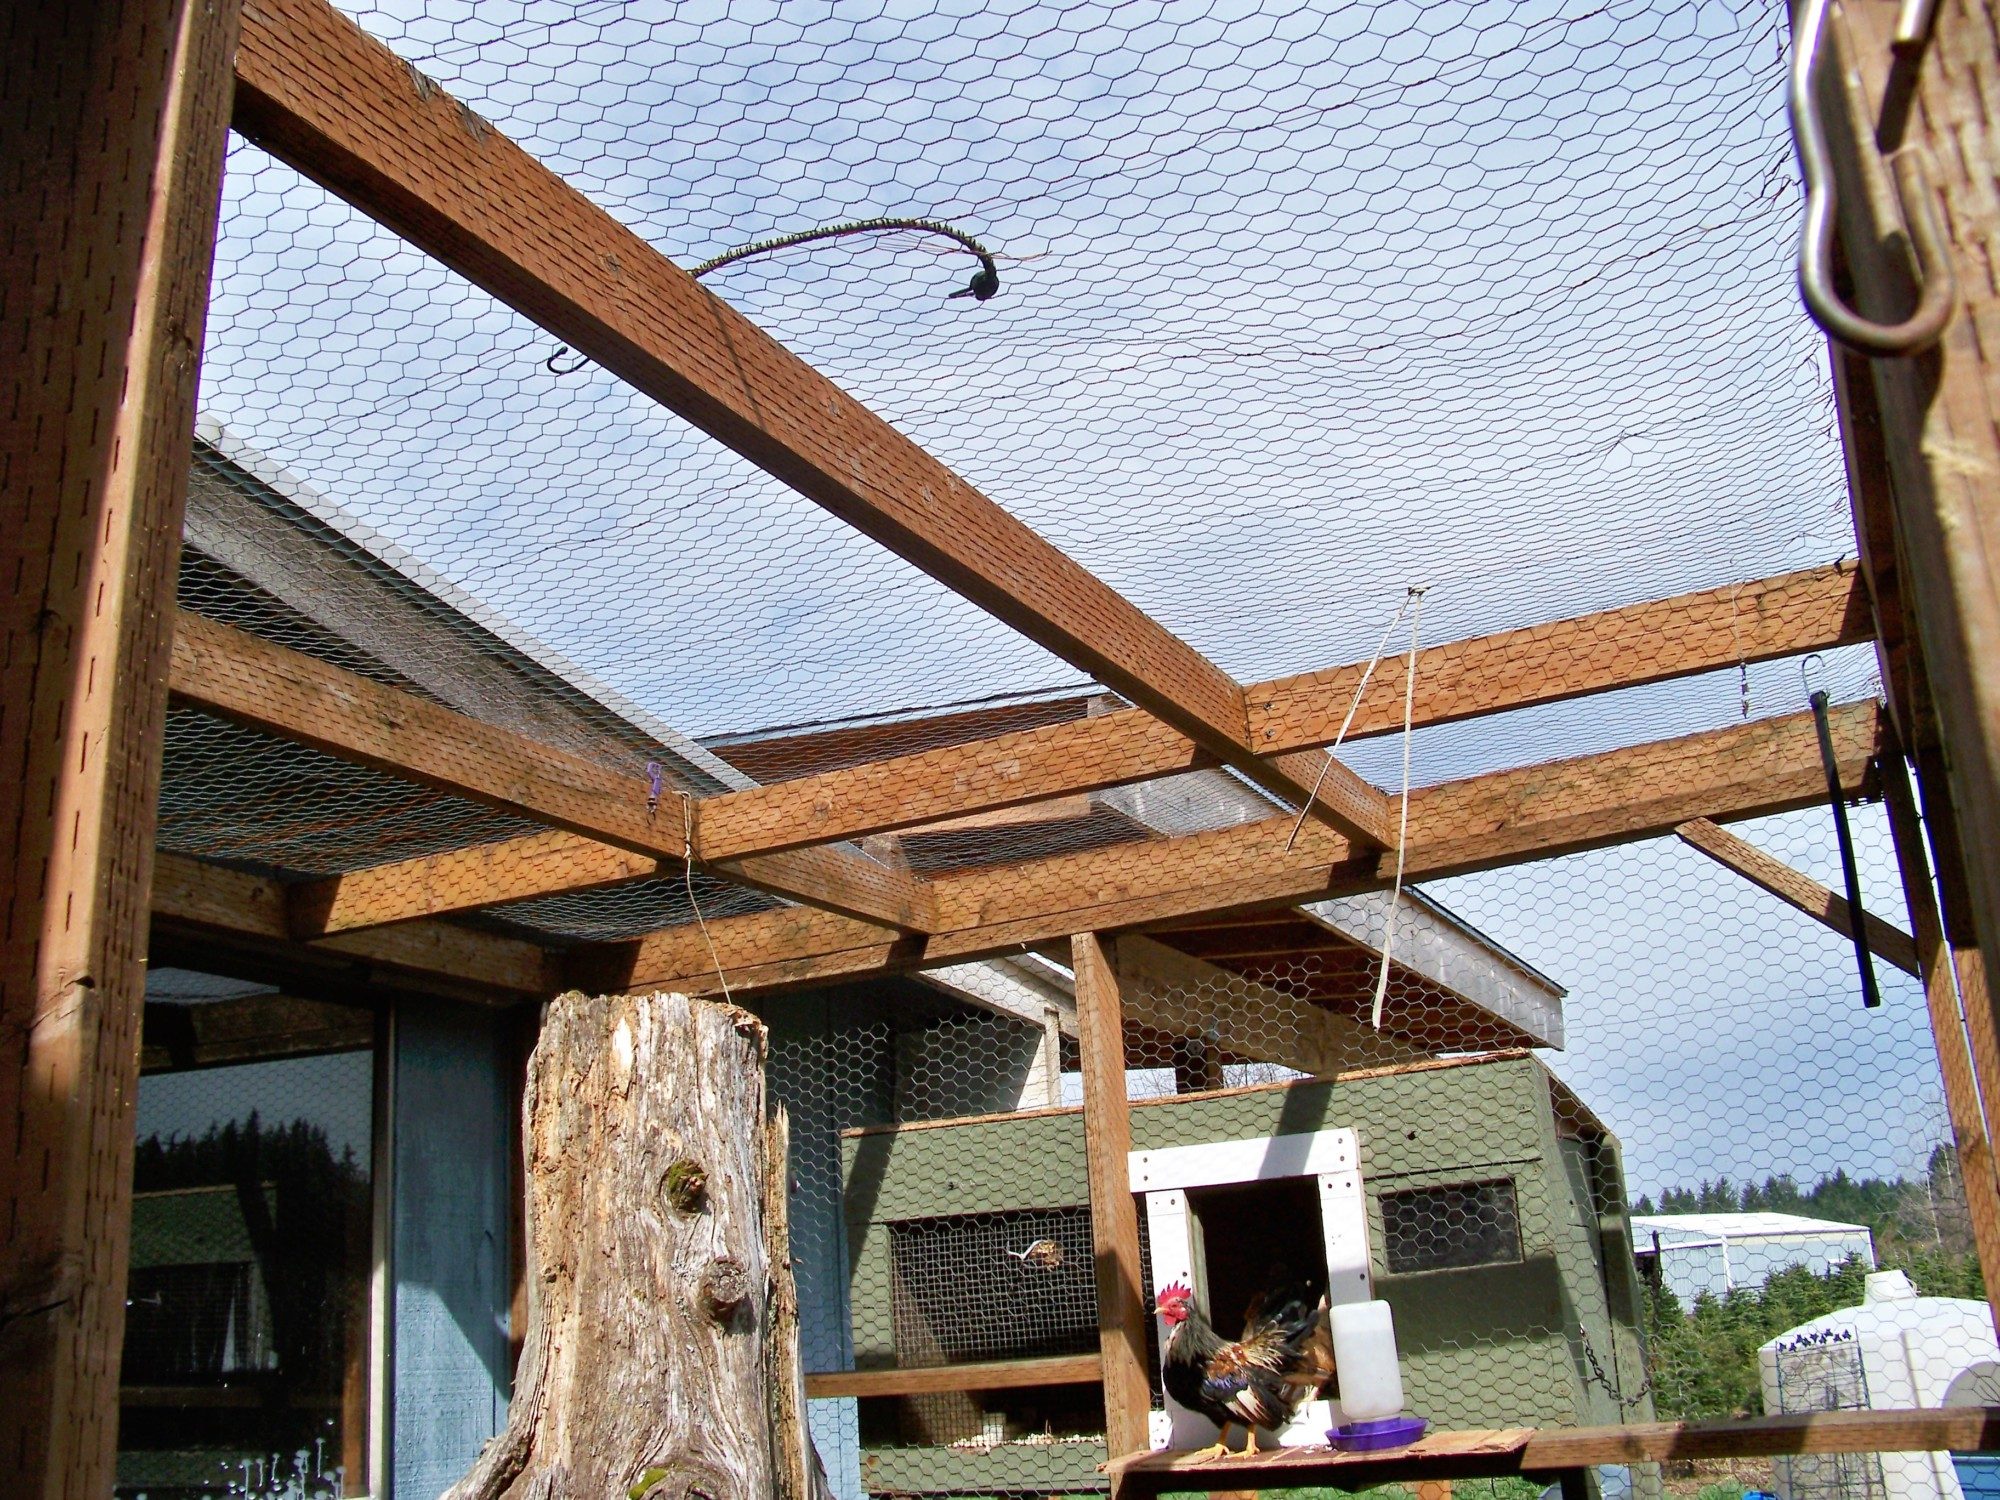
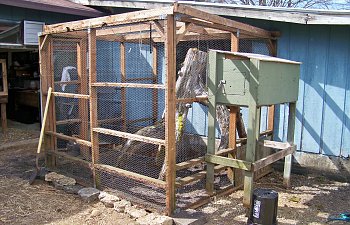
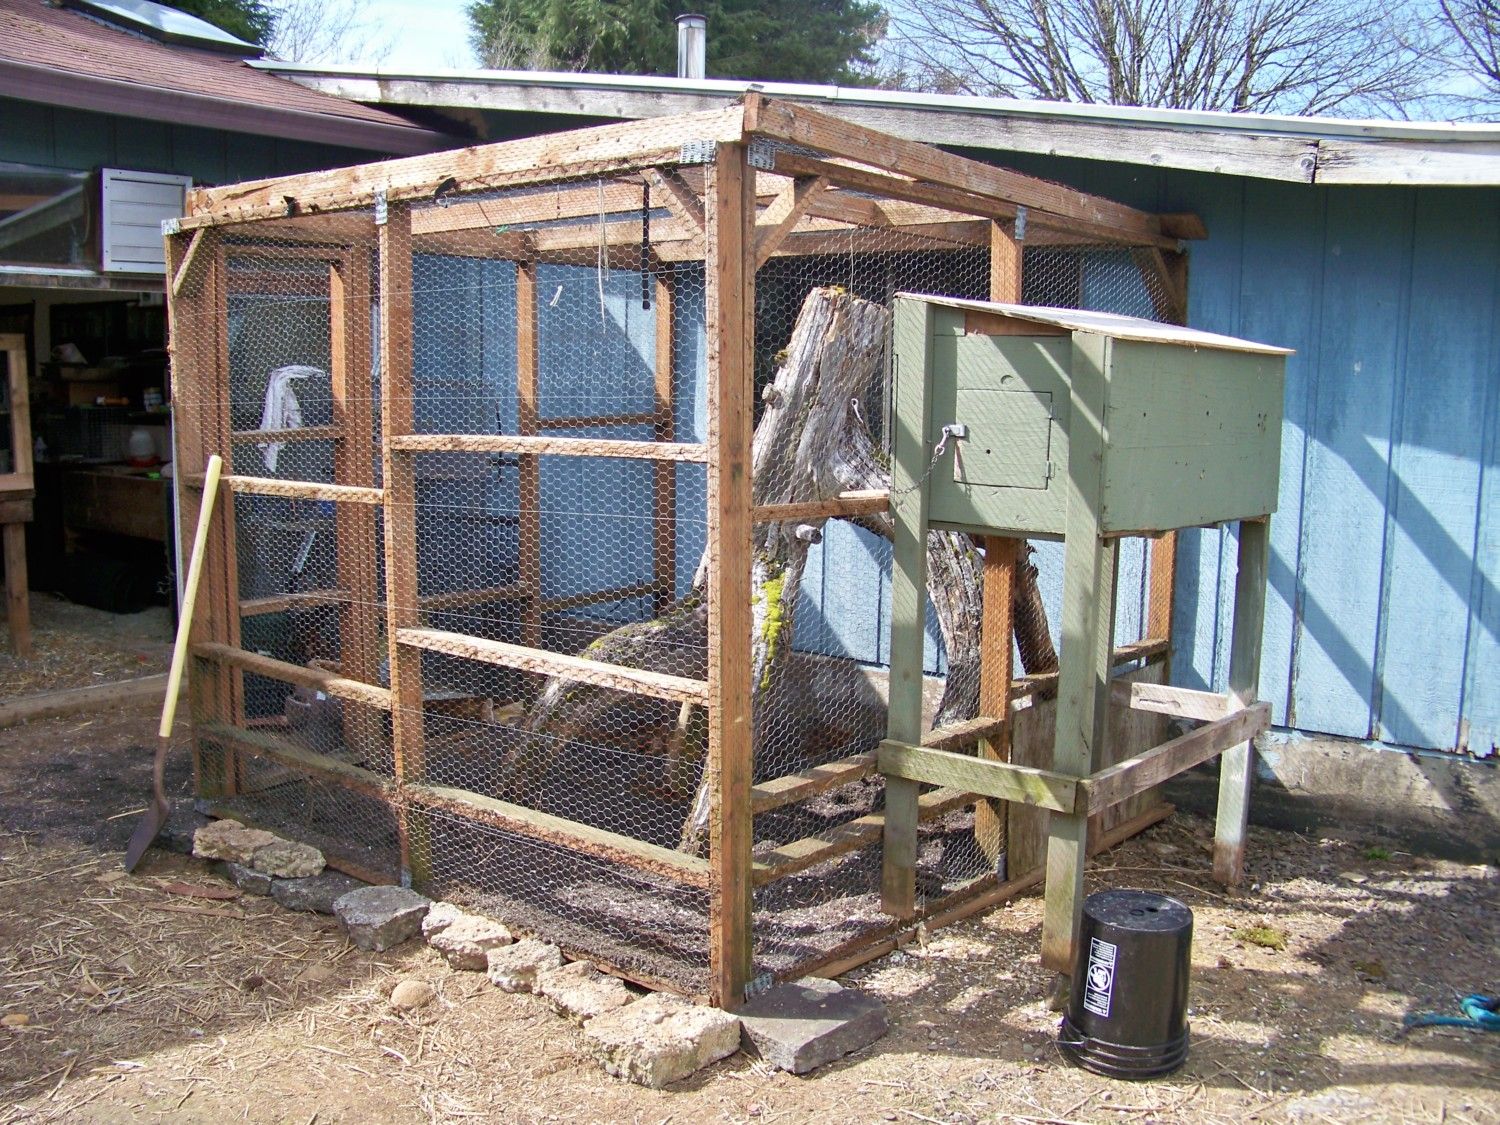
Here is their outdoor play pen
Construction here is done with 2x4's again and regular chicken wire (sorry no measurements this time, was completed last year) I can provide for those who are interested... I drug in an old tree stump and flipped it over so the birds would have somethign to climb on/peck at roost on whatever birds like to do. The bottom is filled with clean soil/sand mix and concrete peices are surrounding the bottom to discourage any would be pests from digging in.
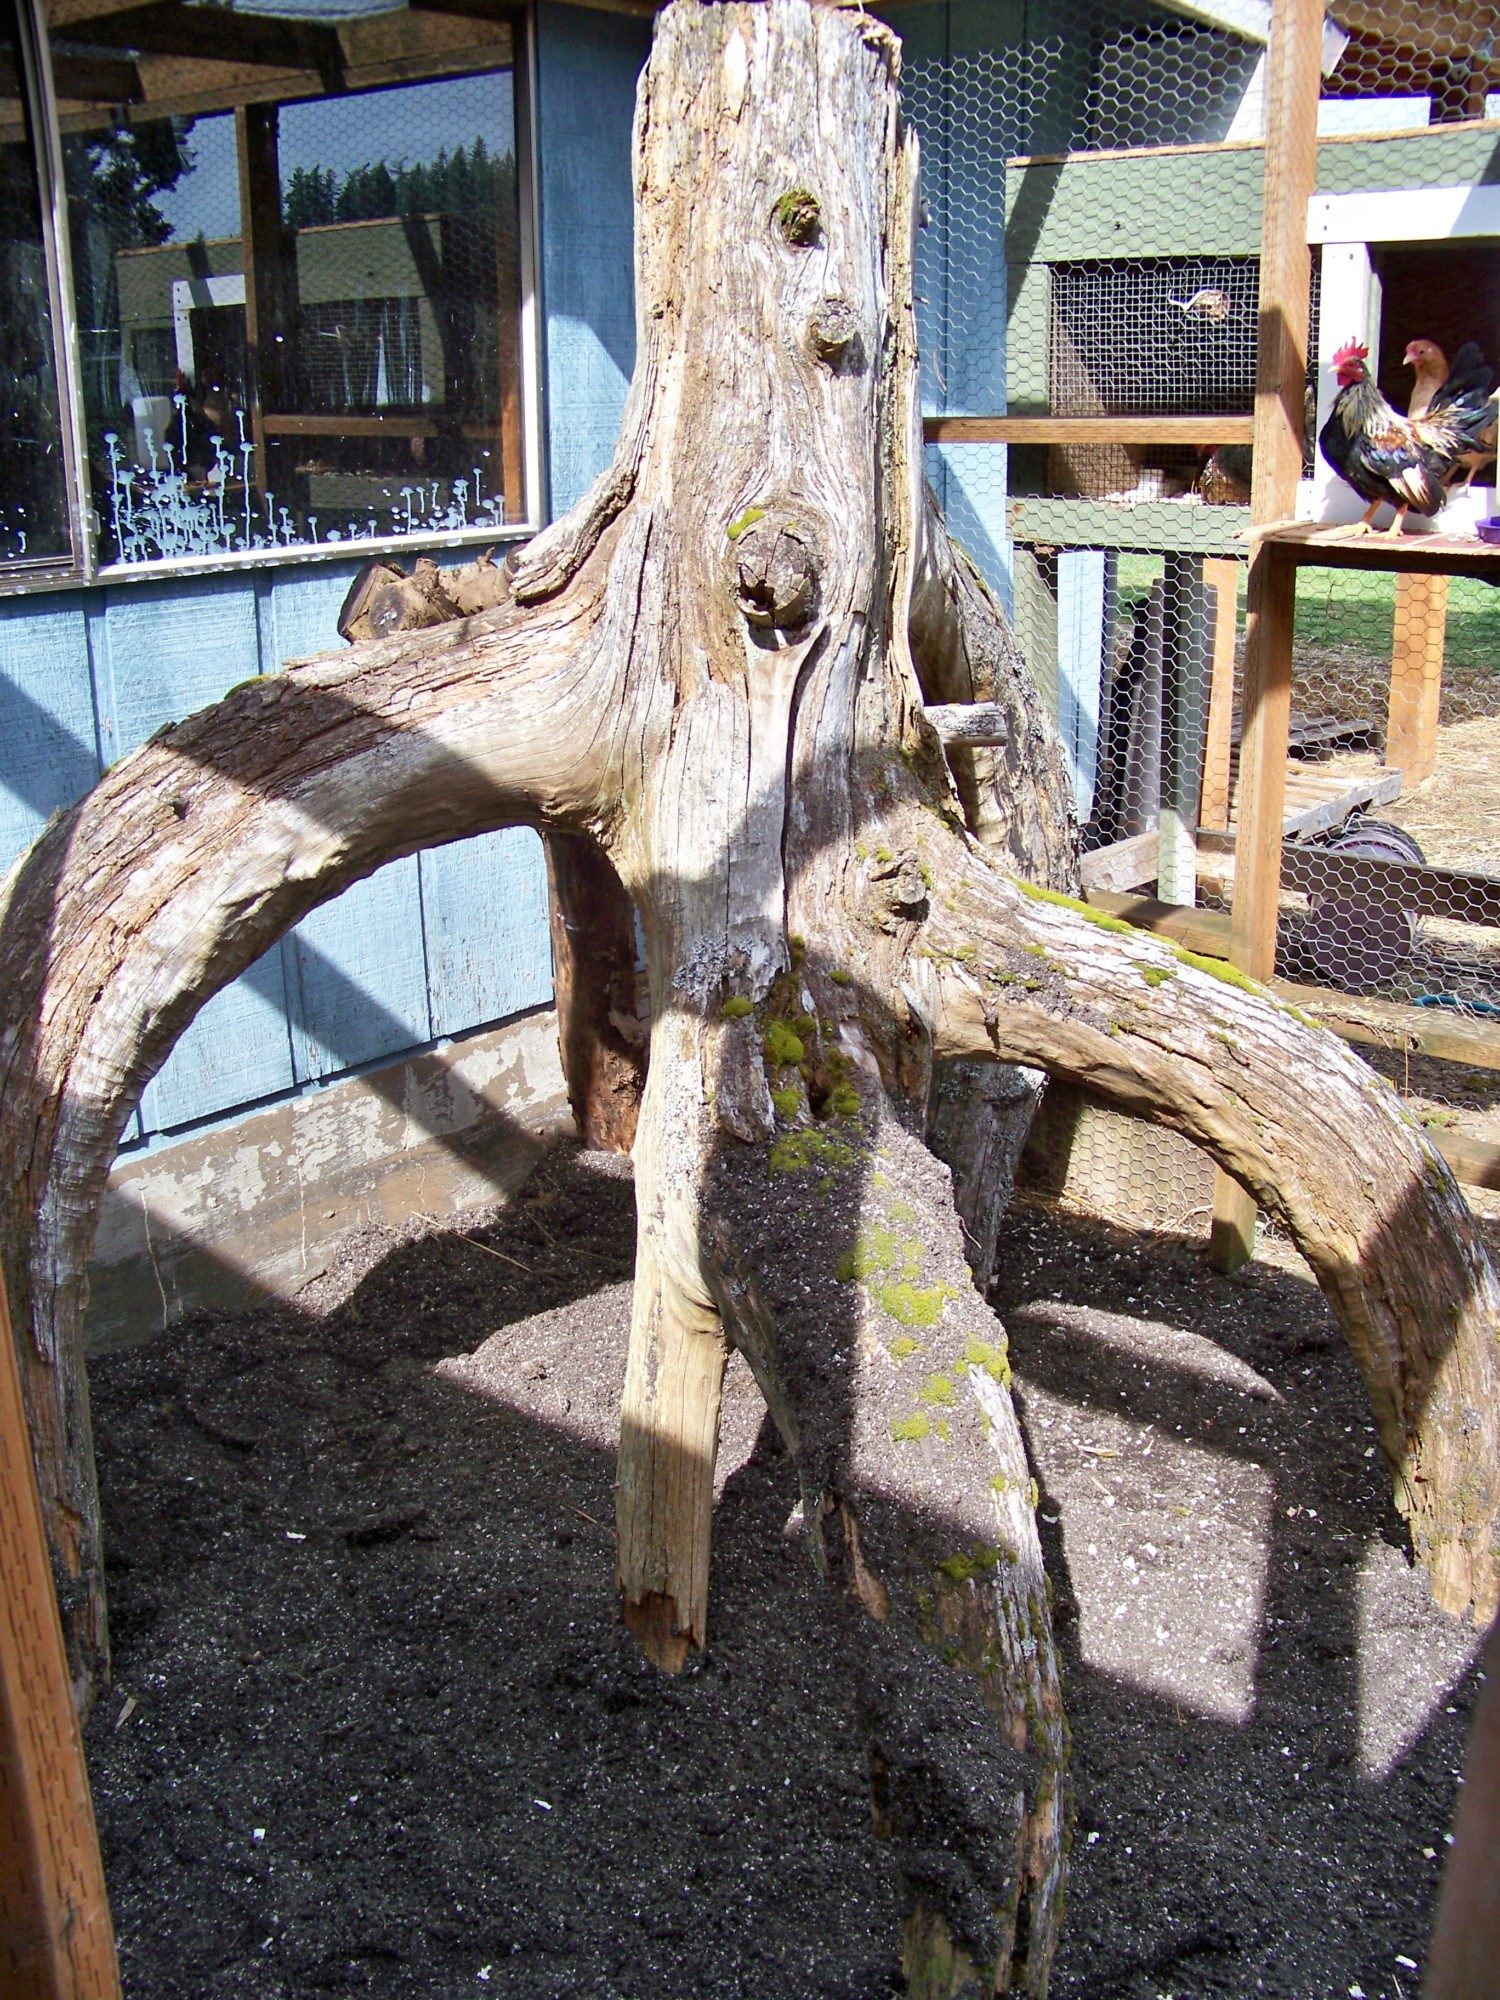
Here is a better pic of the inside:
On the back side, I refurbished an old rabbit hutch for a cozy little get away in the summer times, I rotate my pairs out here for a few days at a time and this is where they spend thier nights if it is too chilly out underneath the stars") Here is a front view of the hutch
Here is a front view of the hutch
and a rear view
and stars everywhere to be seen through their luxurious 8'x8' roof
Ok here goes nothing
I'm not sure if mine will count as I raise American Seramas and my "coops" are a little bit different from normal ones as my little birds don't get outside unless it is nice and NEVER unattended unless in their play coop (see below) but I'll post anyway what the heck right I started with 4 - 12' 2x4's and 6 36" 2x4's for the frame, 3 - 36" uprights on each side to hold the 12' top and bottom sides together. At the end of the coop I added 2 - 5' 2x4's both top and bottom to secure both of the side "frames" together" The next step was cutting out the frames for the individual pens ... Uprights were 12 - 32" 2x4's ... framing them in using 3" screws and nails and poultry netting/fencing that can be purchased at Coastal (or loads of other places I'm sure) see below pics for framing of idividual pens and addition of the poultry netting.
In the above pic my pens are 36" x 36" and are sitting on top of a 12'x5' table that had been left behind by the previous owners. The top is a solid peice of chicken wire as I will be hanging lights and do not want them near plastc.
The above picture is just another view of the coop as it was being built... From here, I used some of my cuttoffs from my 2x4's and made small 2x4 blocks and attached them half way down the insides of the uprights in each pen to add a peice of 1/4" plywood and add another "floor" to the pen. My intention here was to seperate the food and water from the chips (get really tired of chips in the water LOL) ... I cut the plywood to fit each pen and notched out a 8"x 18" peice in the back to make room for ramp access... On the Ramp I intend to add some kind of rough material (probably roofing material of some kind) to help with wear of the toenails...
The doors are done with 2-36" 2x4's and 2-32" 2x4's screwed together to fit the opening and hinges added (see below)
Again here I used the poultry netting and attached with small finishing nails. I used a simple latch here for the door to keep it shut. I am using small "J" hanging rabbit feeders on the second level of the pen and 1 qt waterers inside on the second level also. I used a laminator to make the pen cards (includes pen #, Roo's name and hen's name) Simply write what information you want on your card (name/hatch date/whatever) then laminate. Using a Sharpy fill in whatever information you want on your card, to change information simply take rubbing alcohol and a tissue to wipe off.ion
A list of things I would add to or change about this coop.....
The doors are a bit heavy and are starting to sag a bit wtih time... I will eventually need to either re-do them or re-inforce them somehow.
Other than that I would not change anything
I have tons of room for my birds (Seramas) to be able to have a trio comfortably, My food and water stays way cleaner now that the chips are in the bottom of the coop and the birds are in the top. It is way easier to clean, I take a dust pan and small hand broom to sweep out the top daily, and the chips get changed as needed and I use Shavings in the bottom about 4-6" the birds just have a blast scratching around dusting and nesting down there.
My Lights are hung over top on a 2" metal pipe suspended by 2-8" 2x4's attached to the frame, 1 light for 2 pens works just fine for my needs currently. Sorry no pic of the lights at this moment.
Finished Side #2 for a total of 8 - 36" x 36" pens (4 on each side)
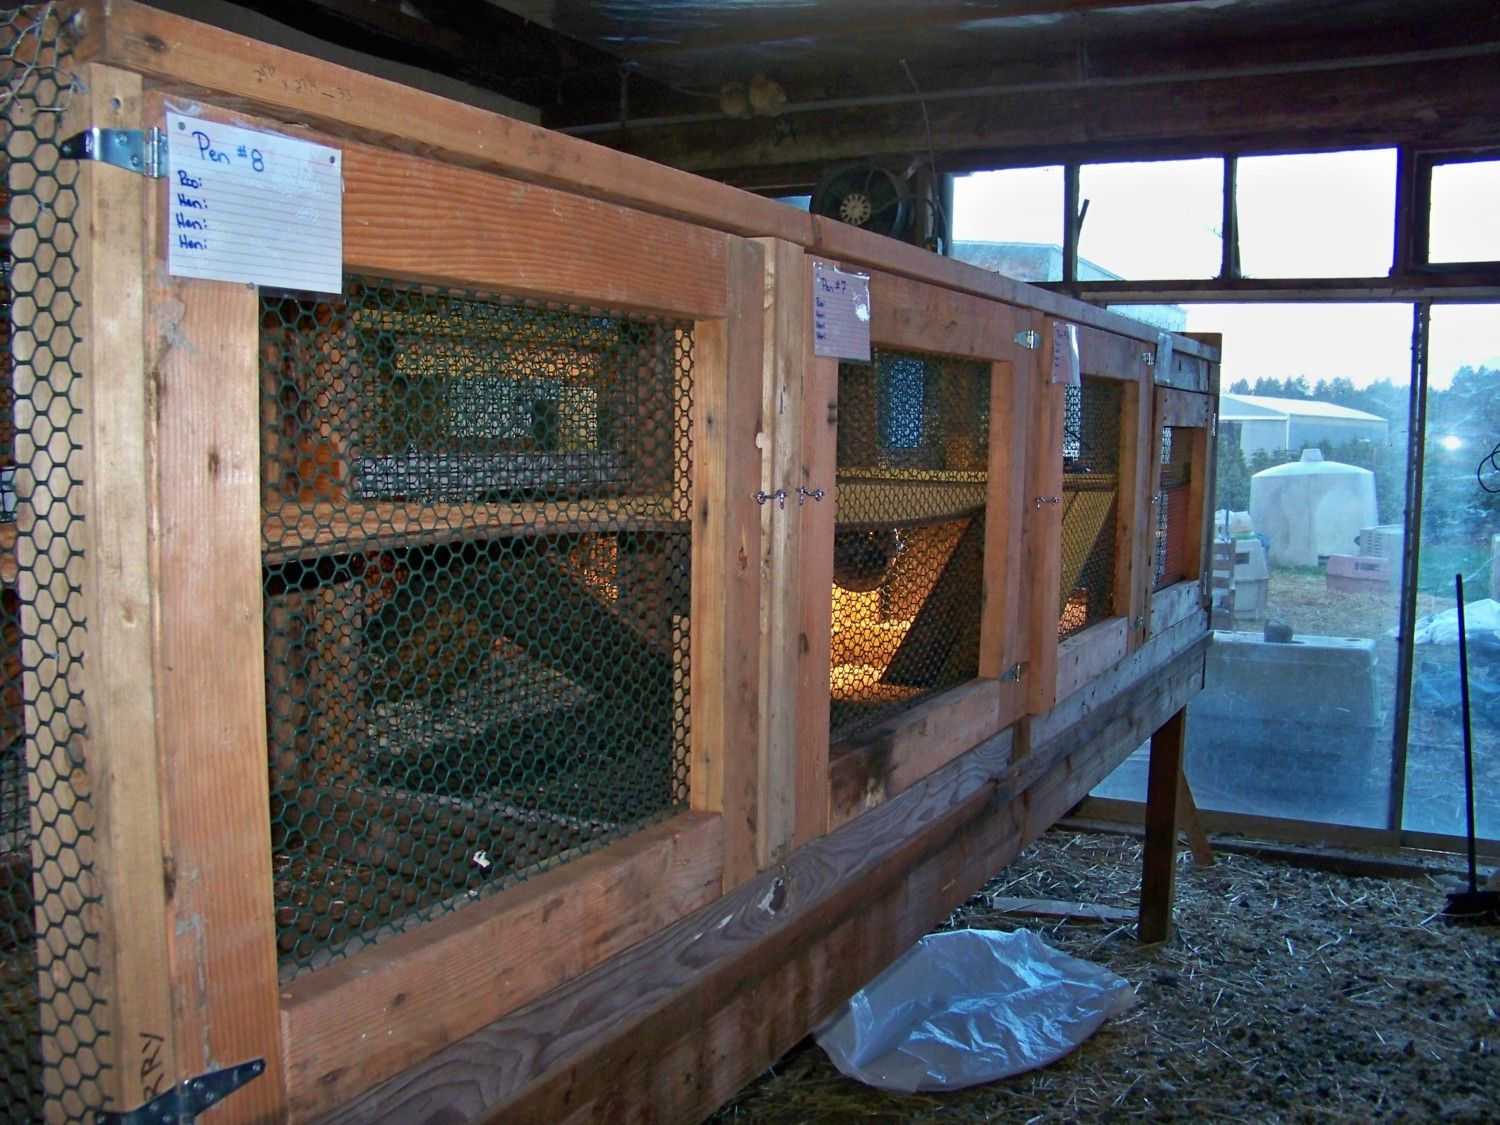 .
.This project is done with all used/reclaimed materials ... not the prettiest but it works and I love it
Here is their outdoor play pen

Construction here is done with 2x4's again and regular chicken wire (sorry no measurements this time, was completed last year) I can provide for those who are interested... I drug in an old tree stump and flipped it over so the birds would have somethign to climb on/peck at roost on whatever birds like to do. The bottom is filled with clean soil/sand mix and concrete peices are surrounding the bottom to discourage any would be pests from digging in.
Here is a better pic of the inside:
On the back side, I refurbished an old rabbit hutch for a cozy little get away in the summer times, I rotate my pairs out here for a few days at a time and this is where they spend thier nights if it is too chilly out underneath the stars
Here is a front view of the hutch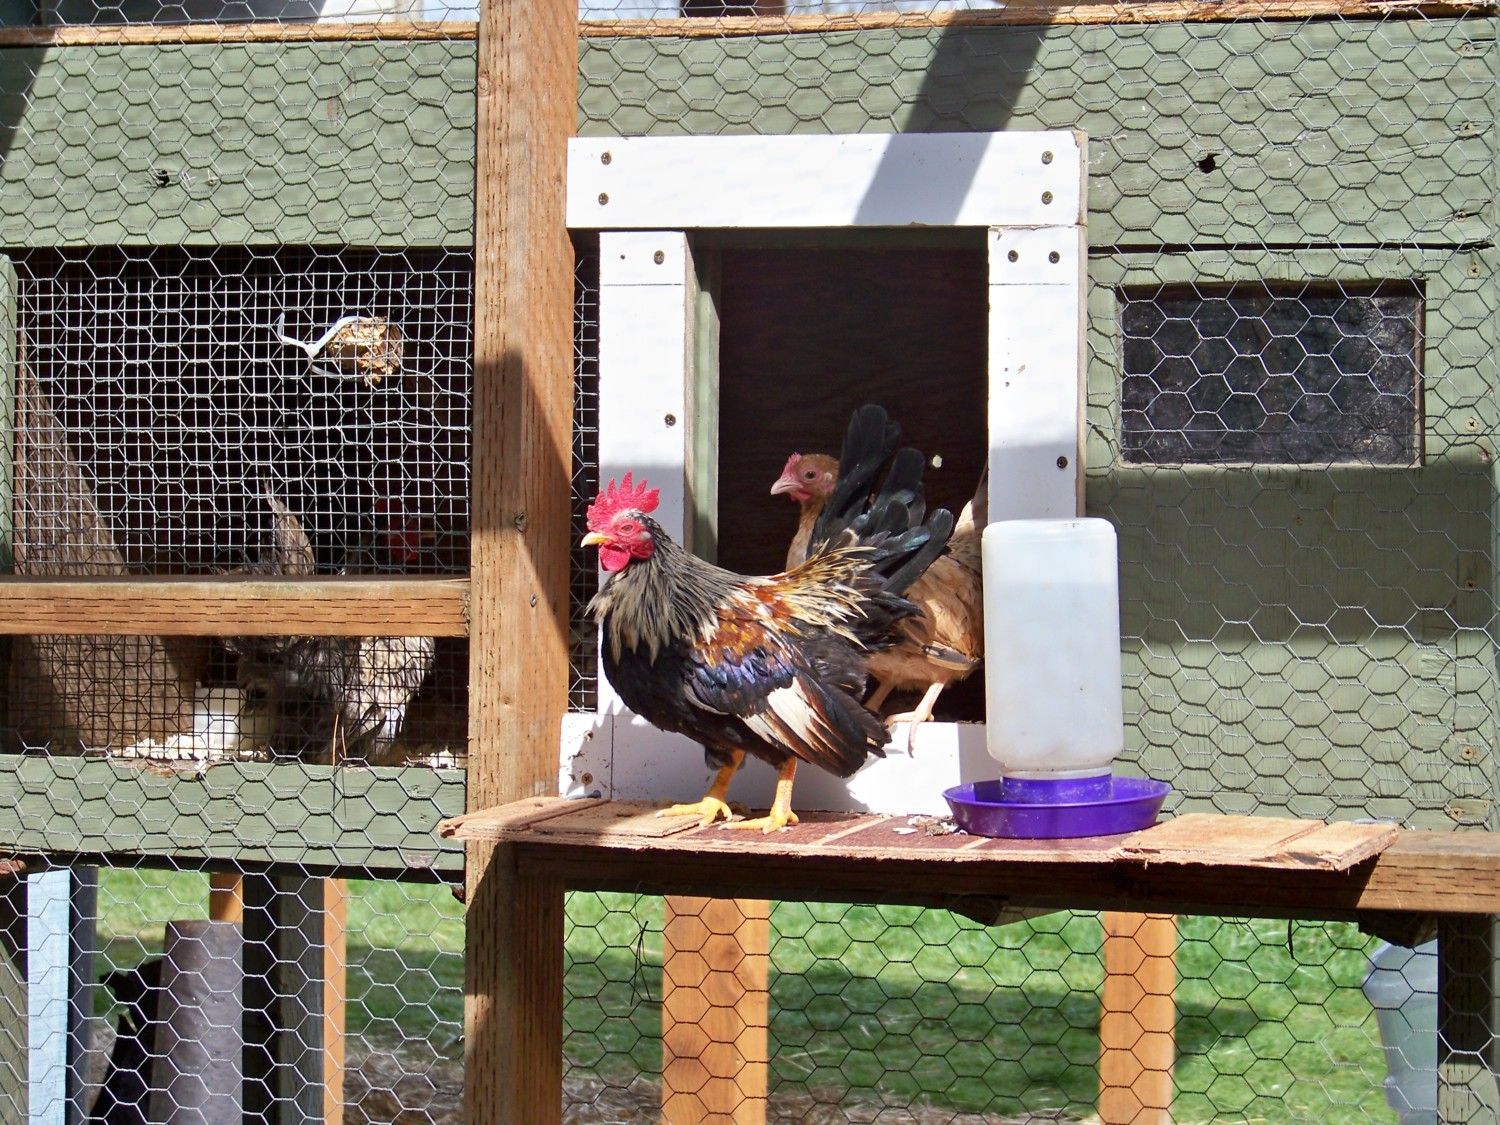
and a rear view
and stars everywhere to be seen through their luxurious 8'x8' roof