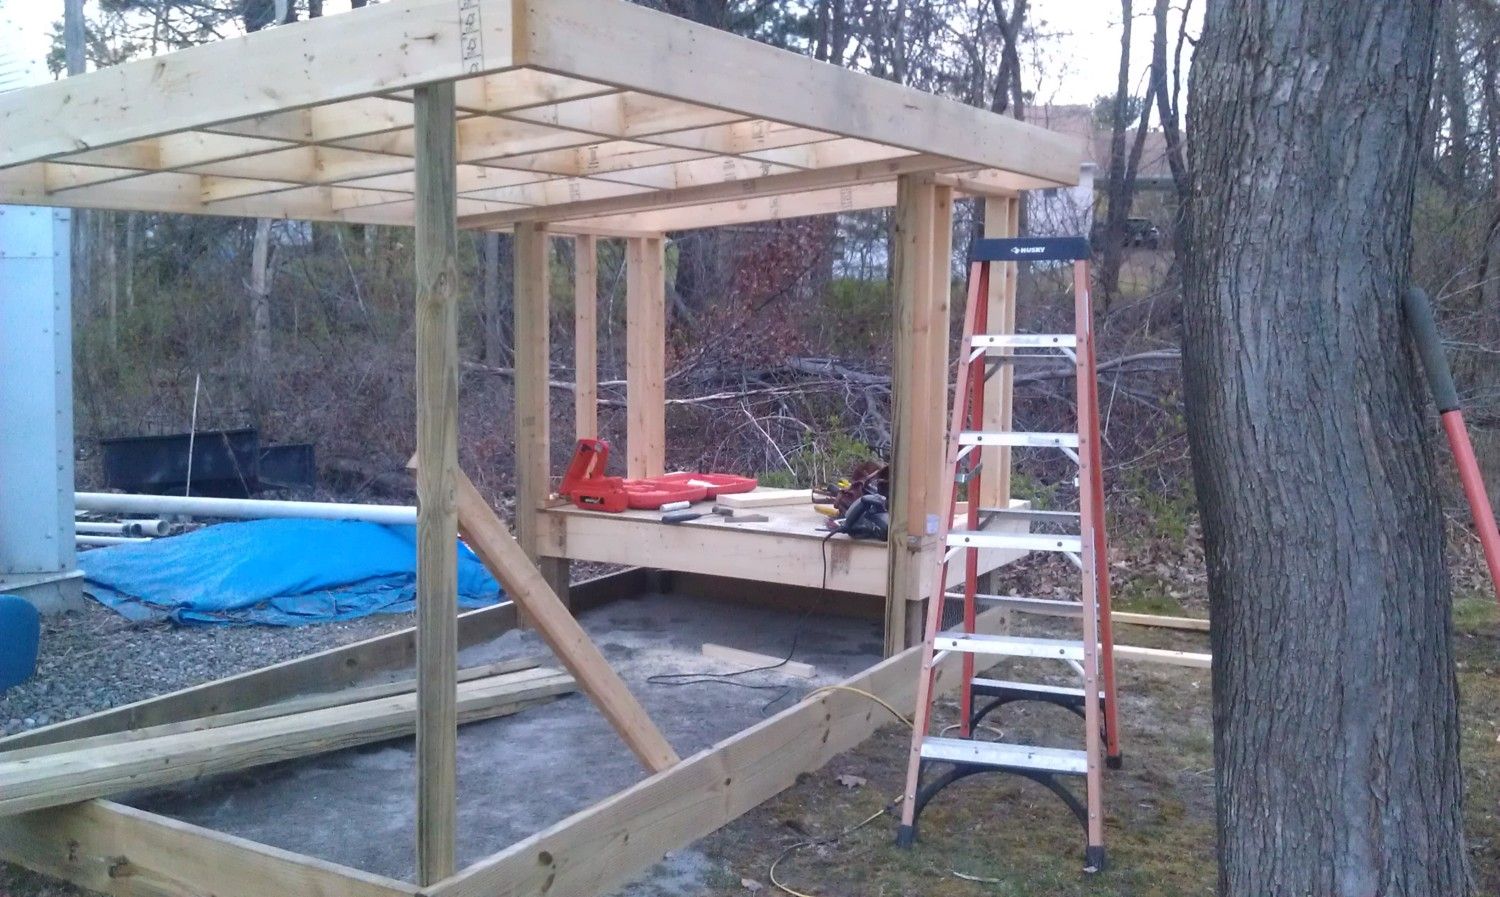
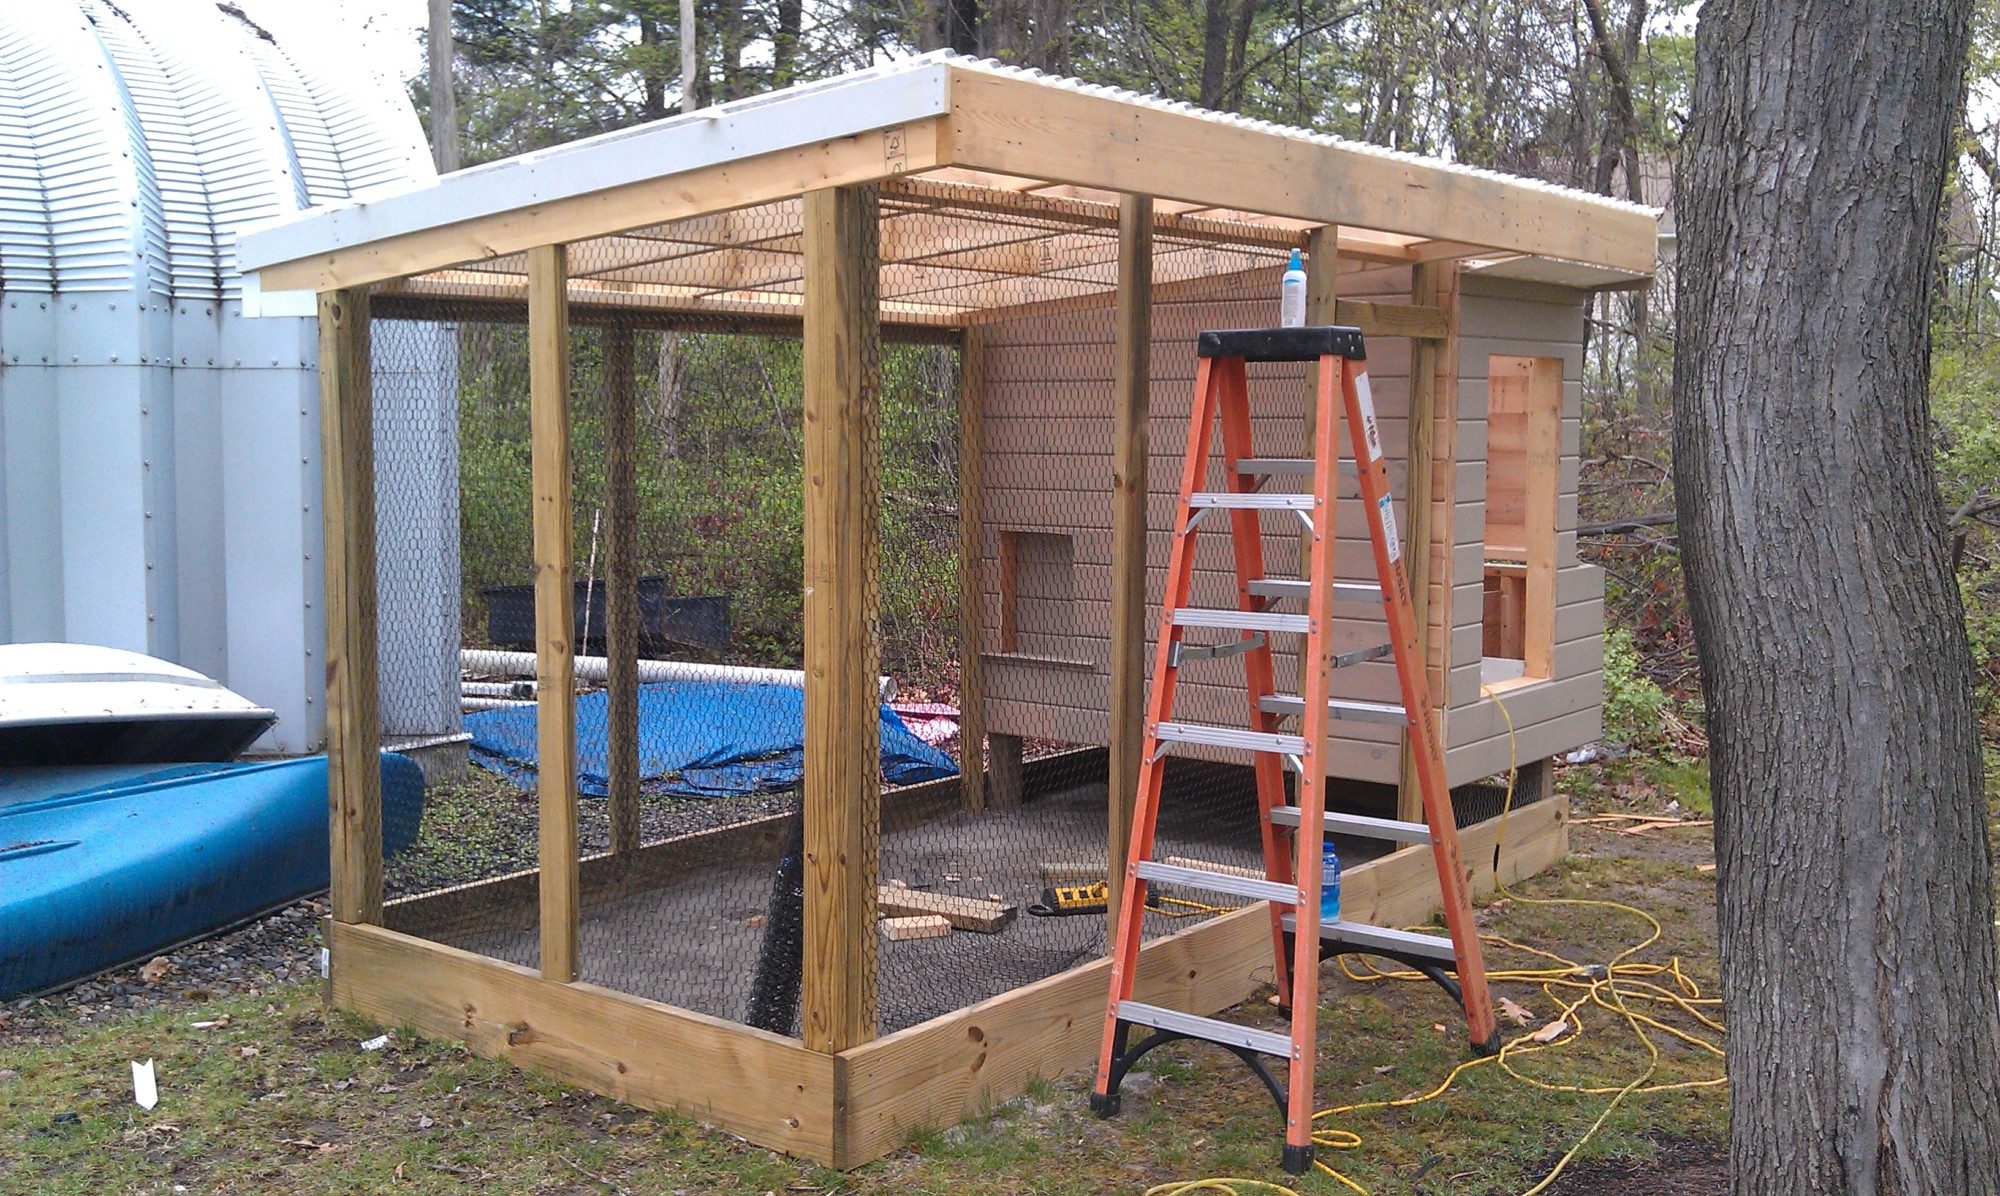
Hello. My name is Haley and I am a young mother to 5 beautiful chickens. Here is the overall look of how my father and I built their coop which is a smaller version of what our house looks like. We live in Central, MA so we designed the coop to withstand all of the wonderful elements here.
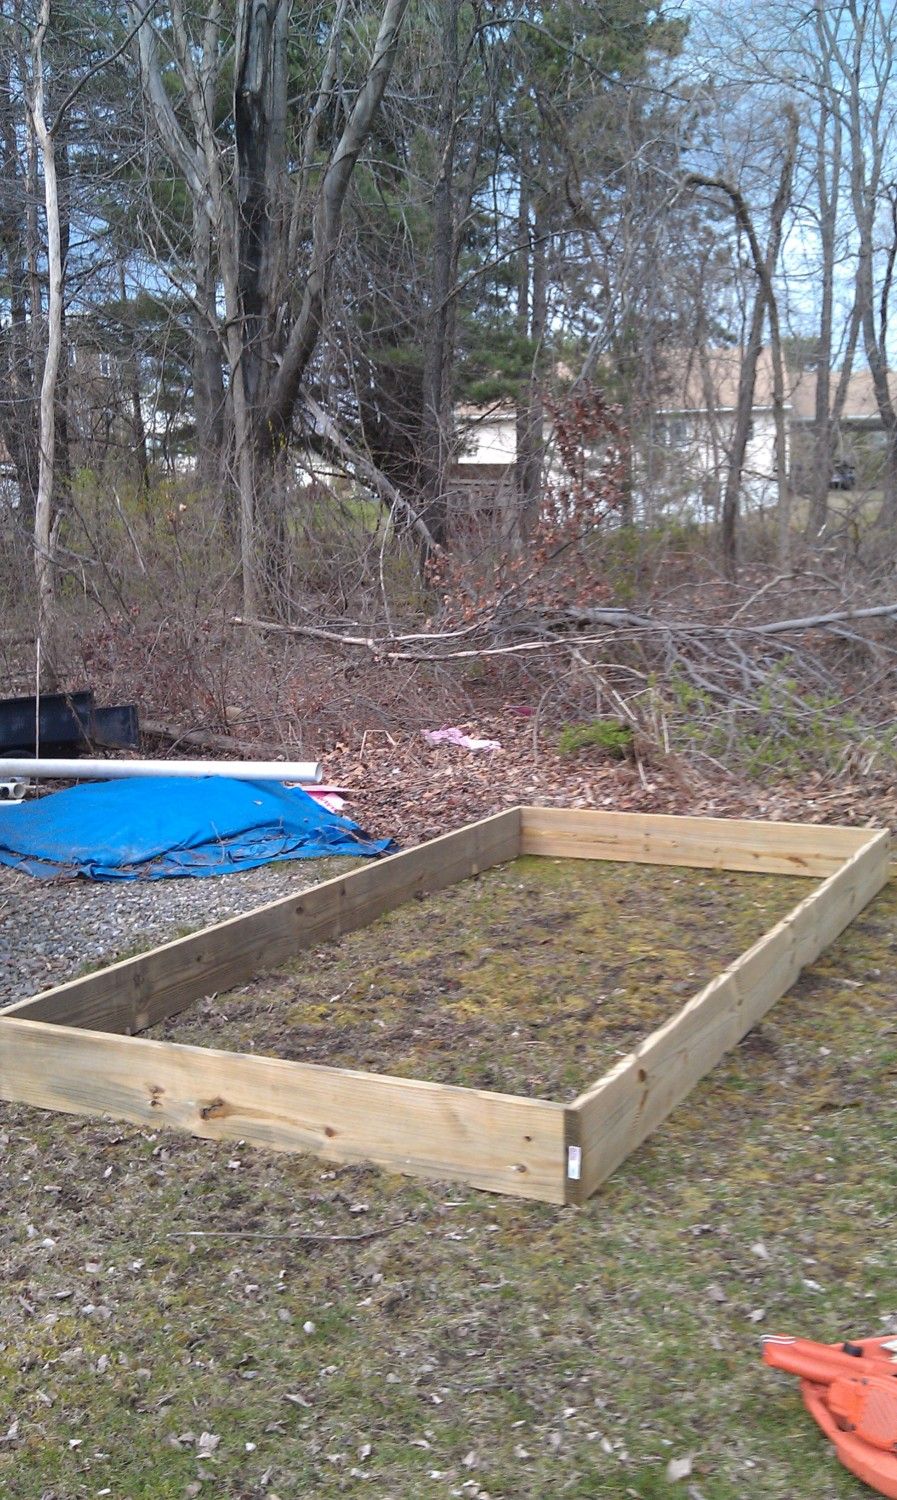 Pressure treated wood for the base. 2 pieces 10ft long and 2 8ft long
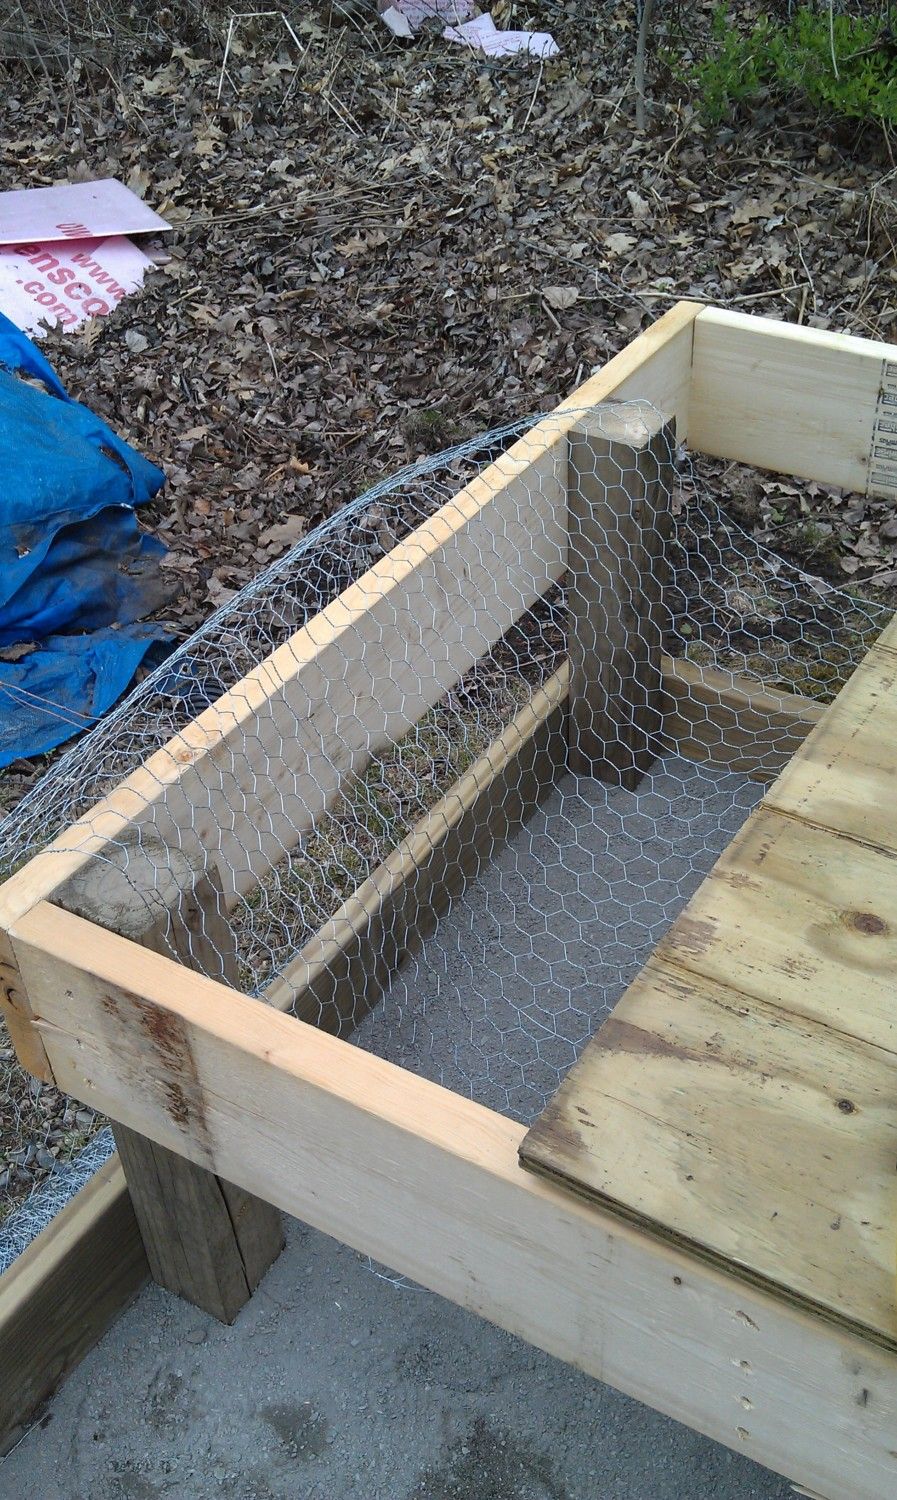
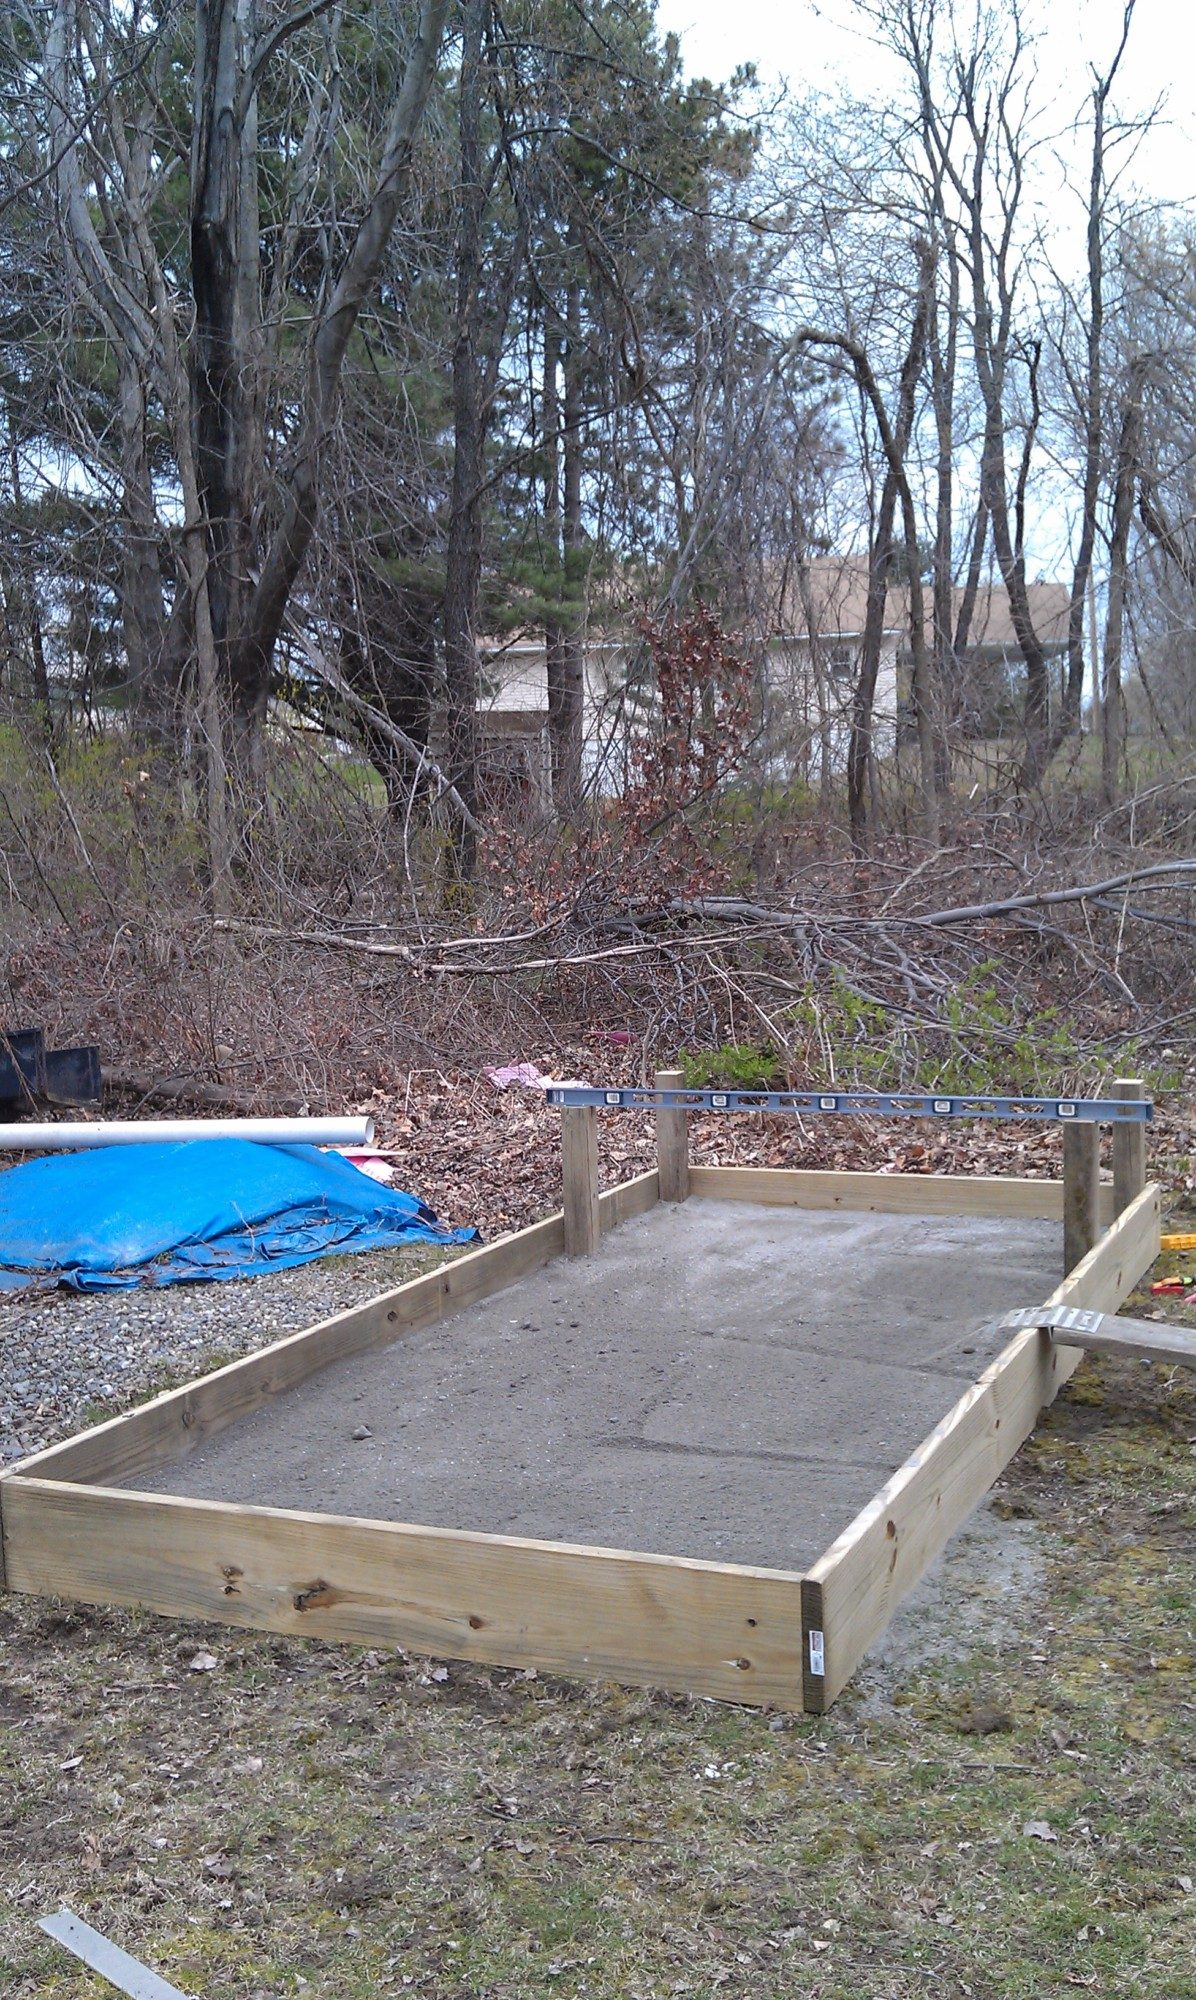 Stapled chicken wire to the inside of the base to keep critters from being able to dig underneath the coop to get the chickens. Next, filled it with sand dust and put four posts in the rear for the coop part of it.
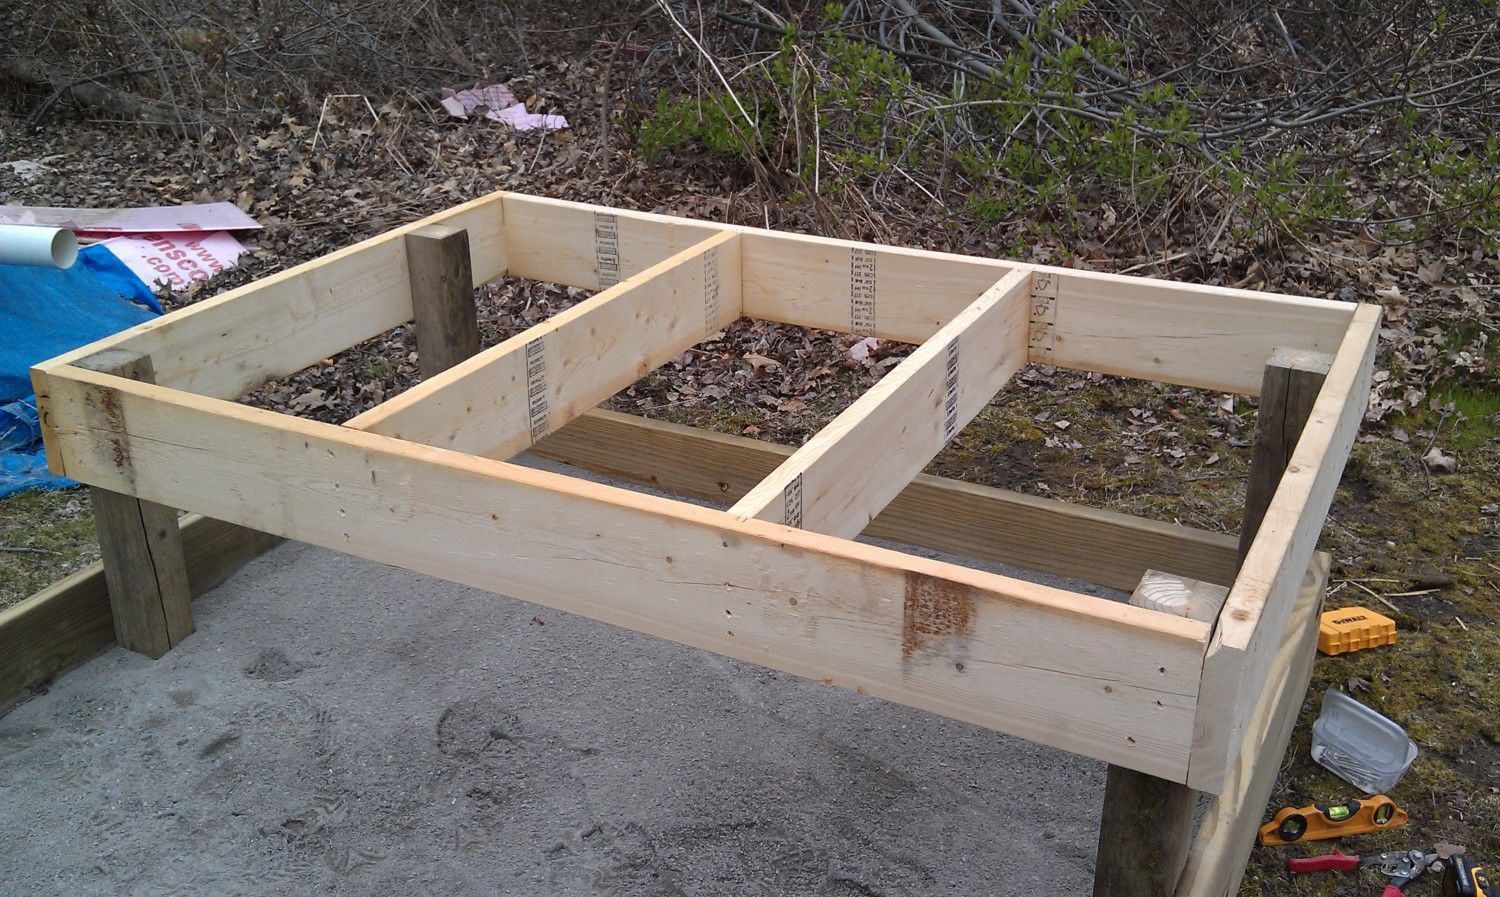
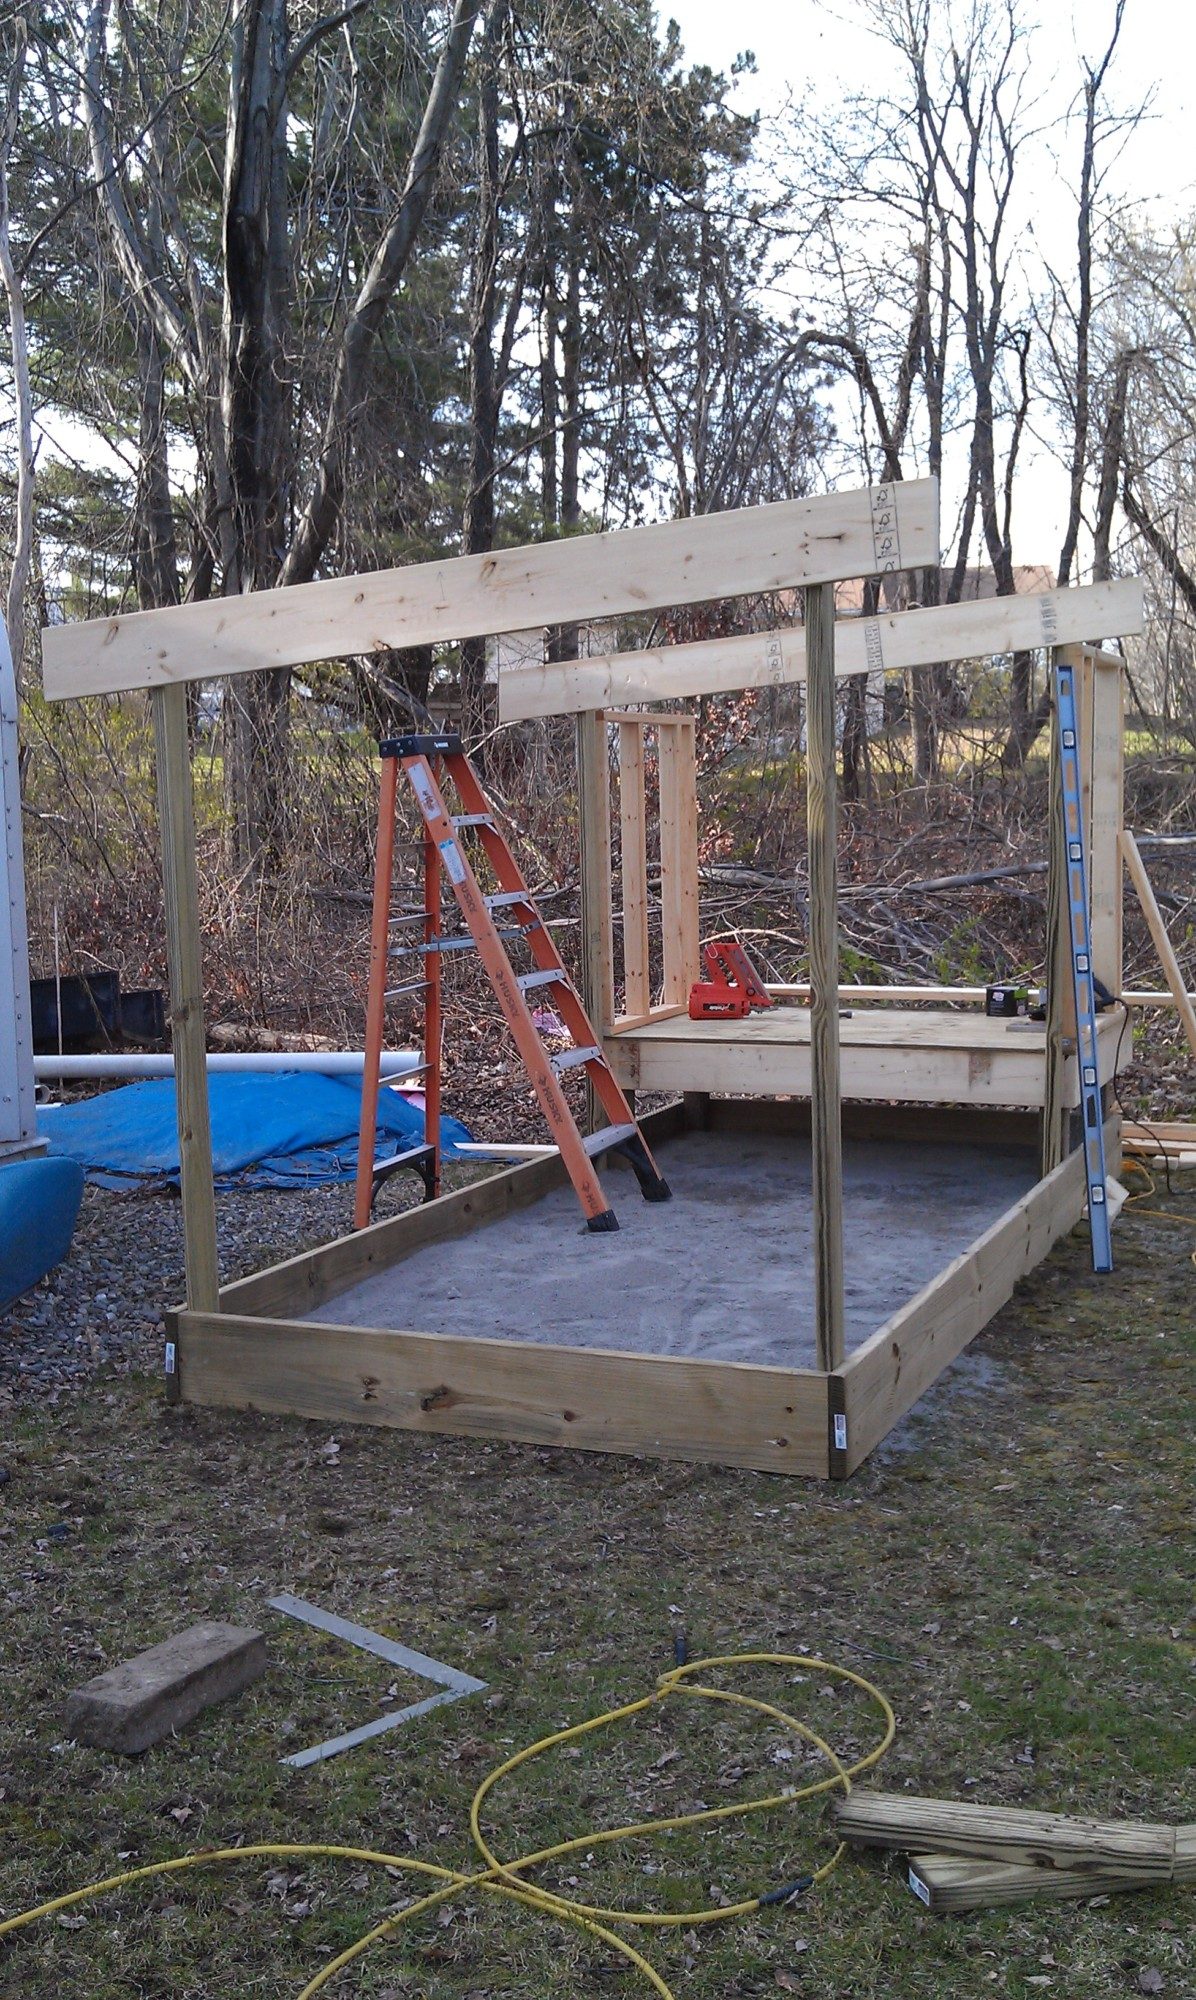
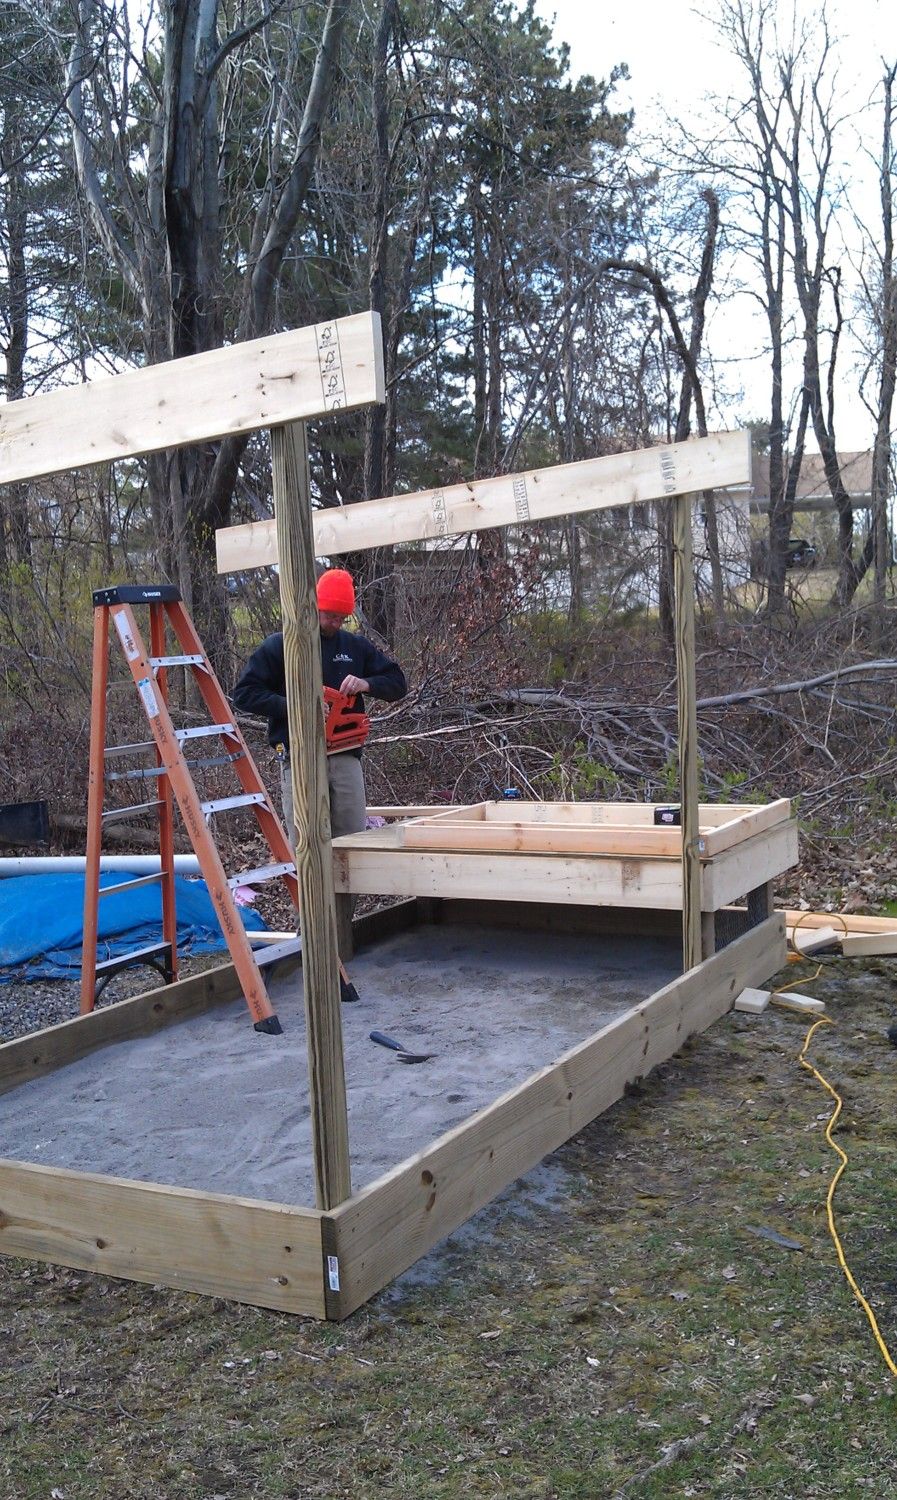
Built a frame on the four posts for the actual coop part
 Added chicken wire to the bottom of the posts for added protection against the wild animals! You can never be to careful!
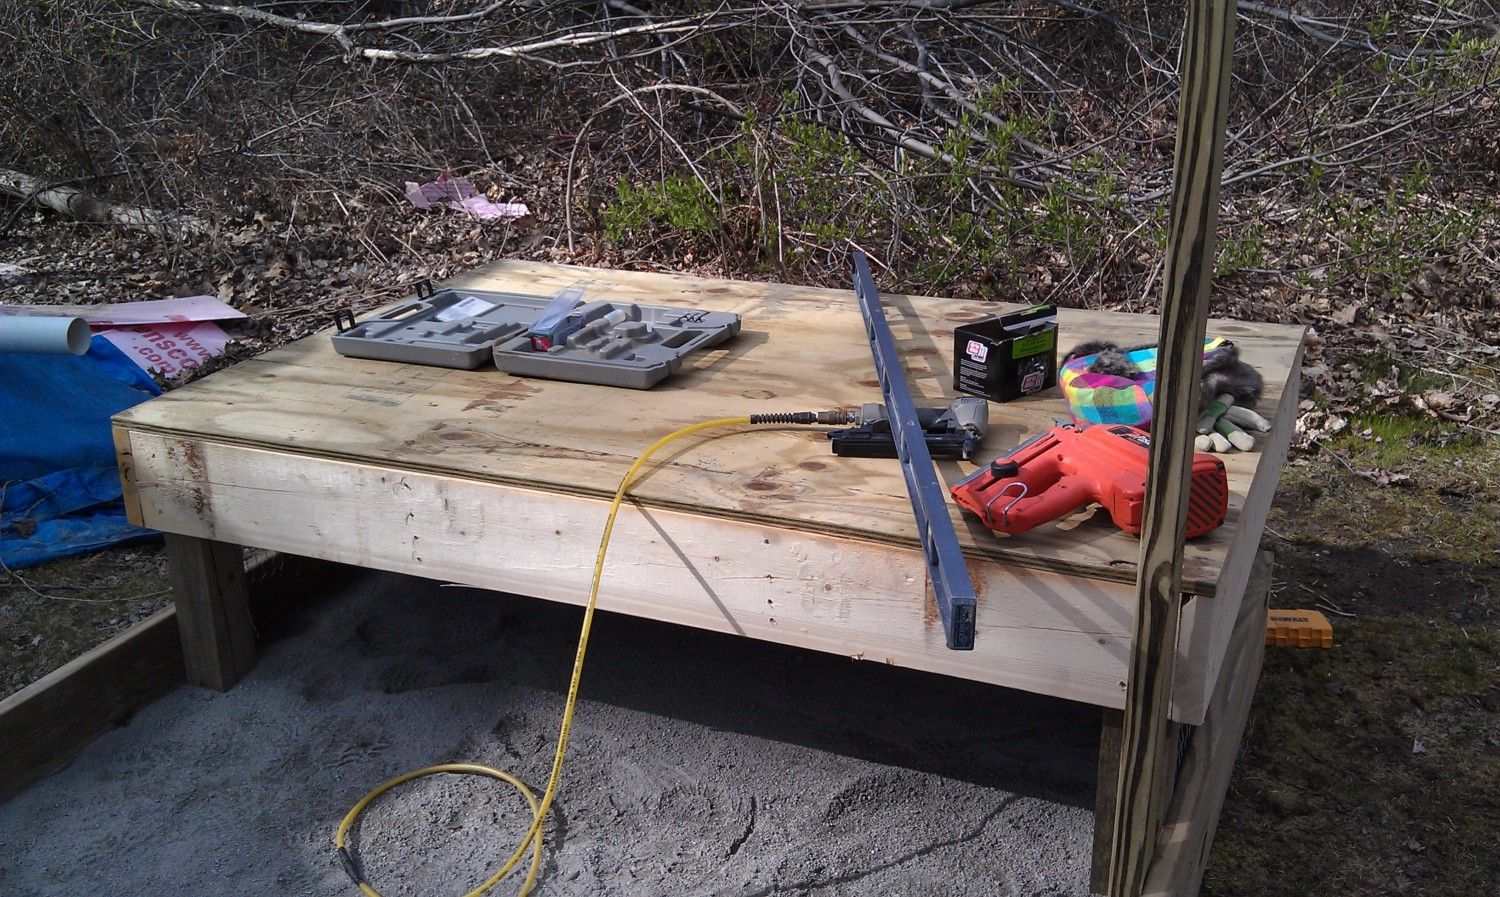
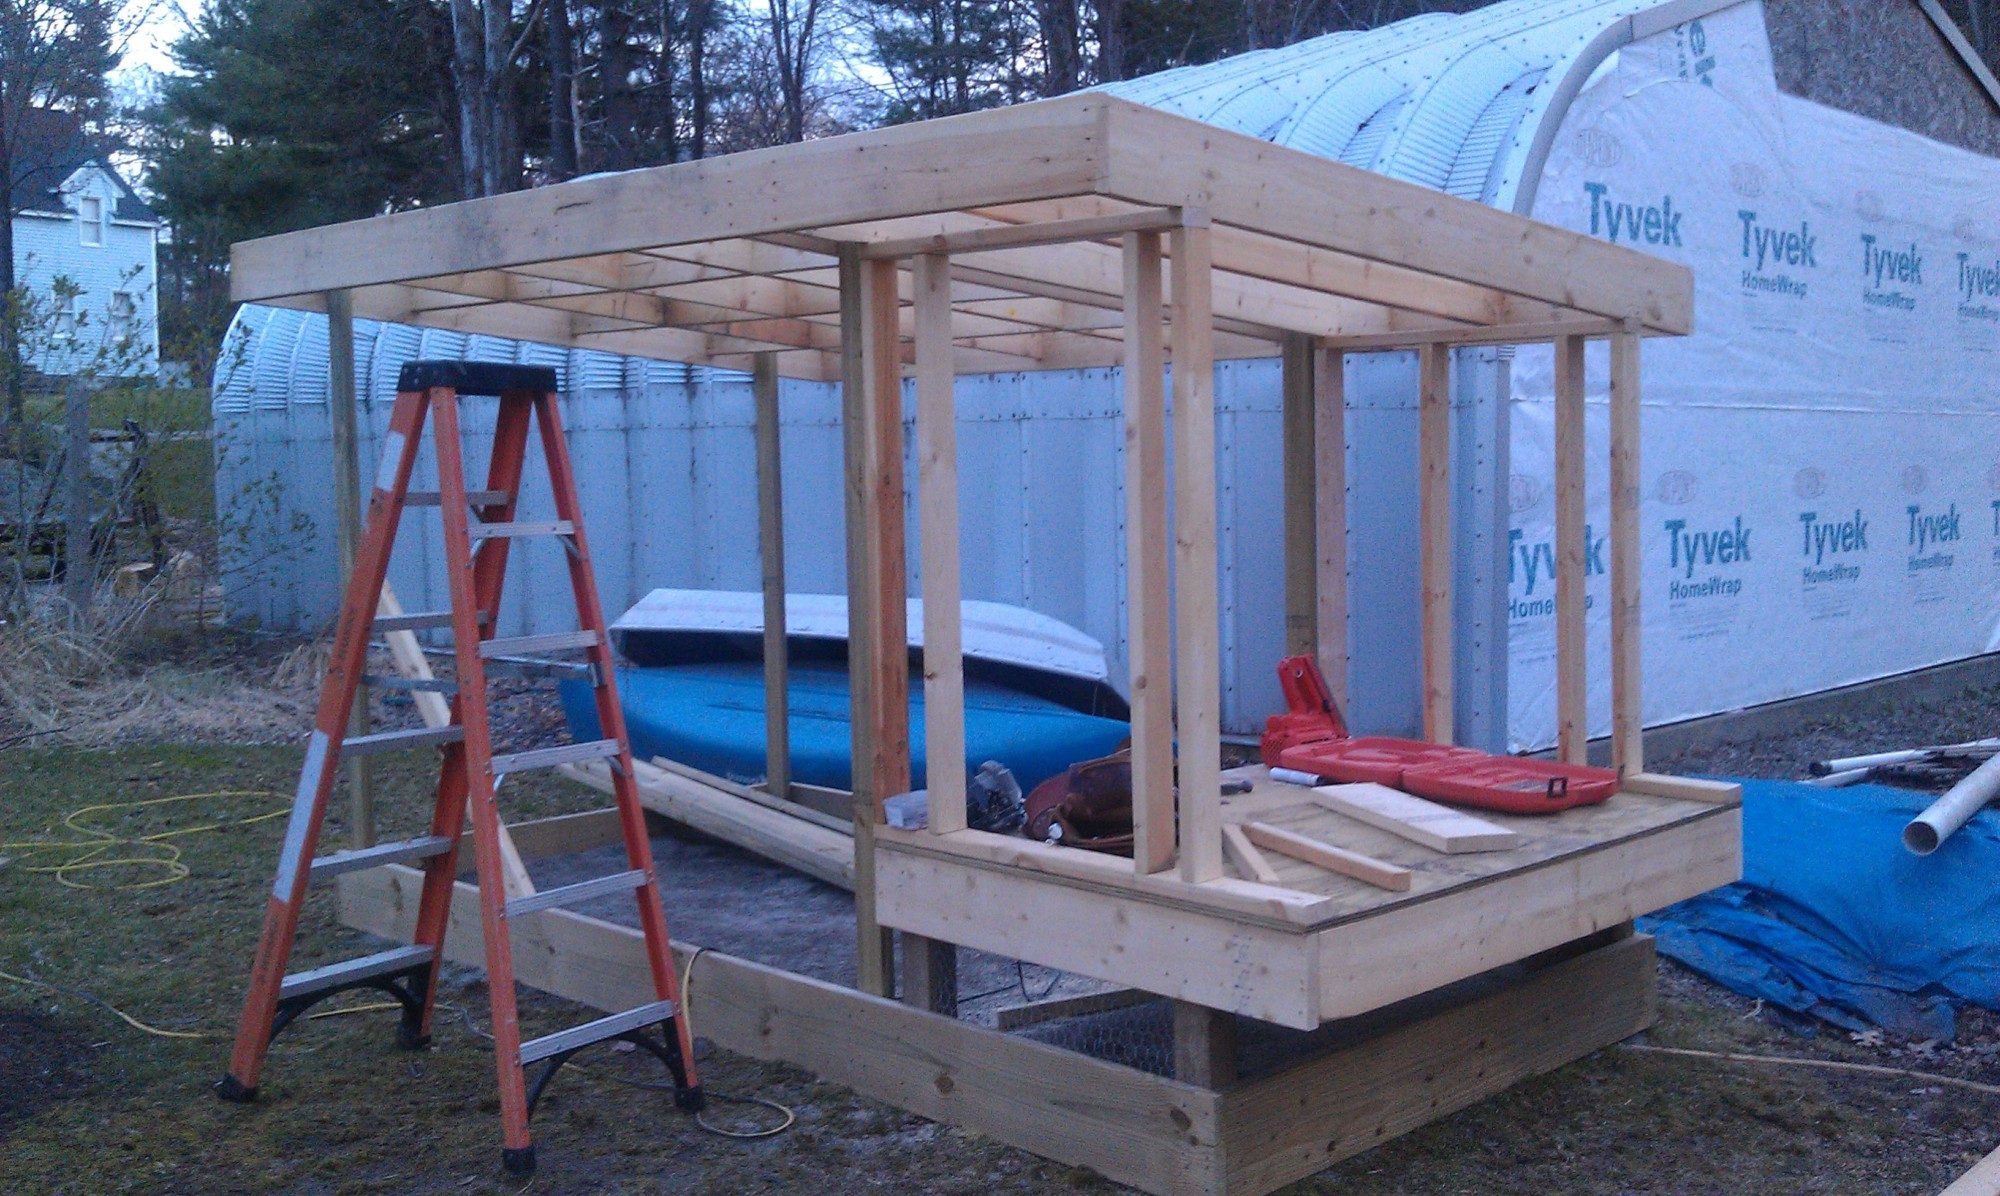
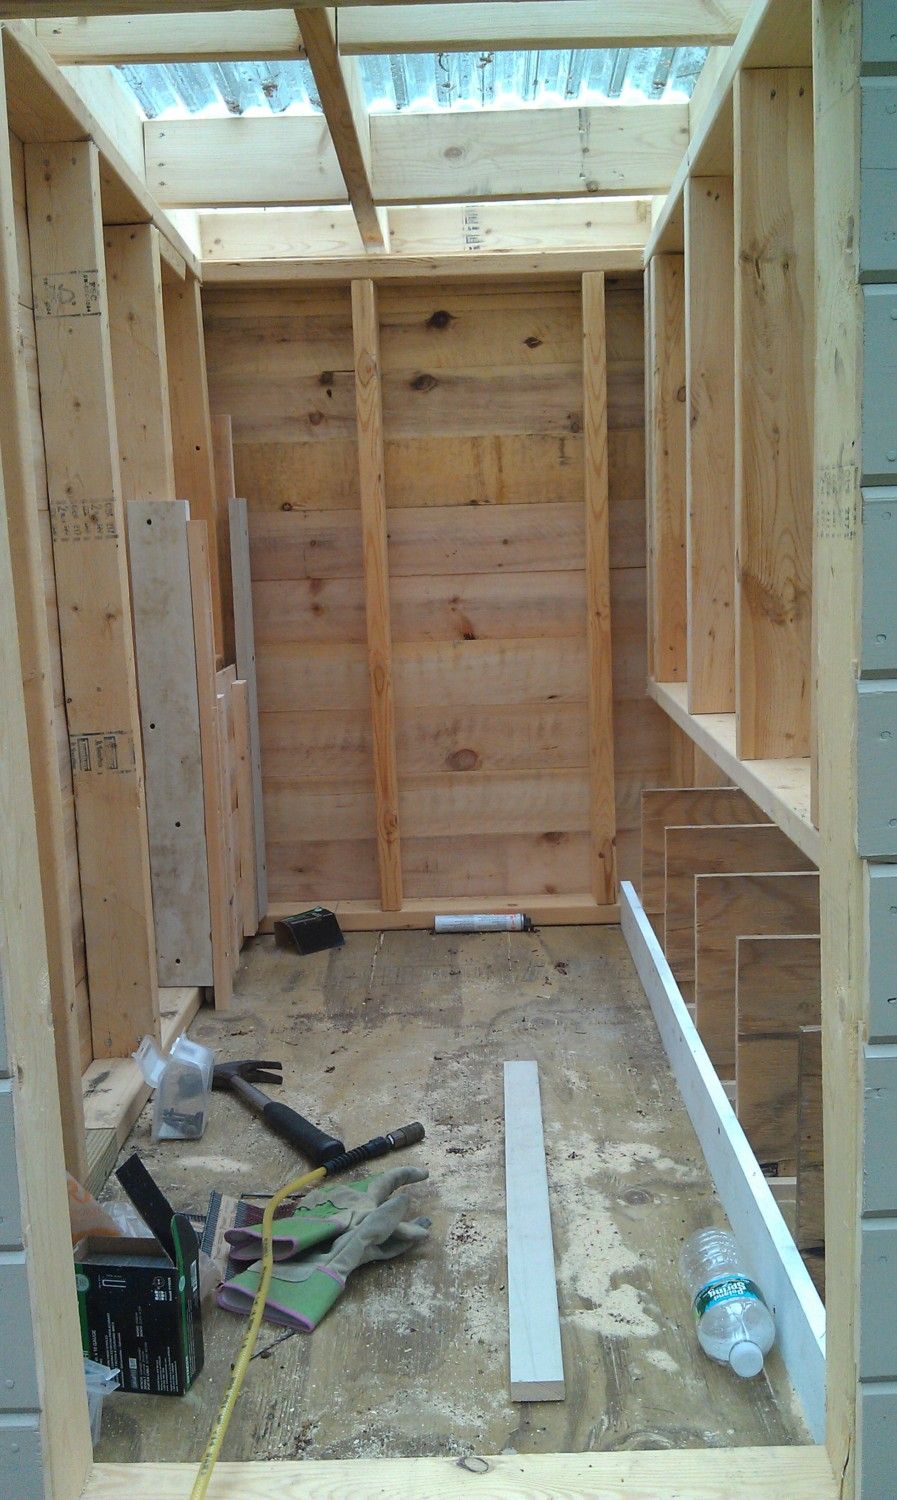
Nailed down a piece of pressure treated plywood to the bottom of the frame.
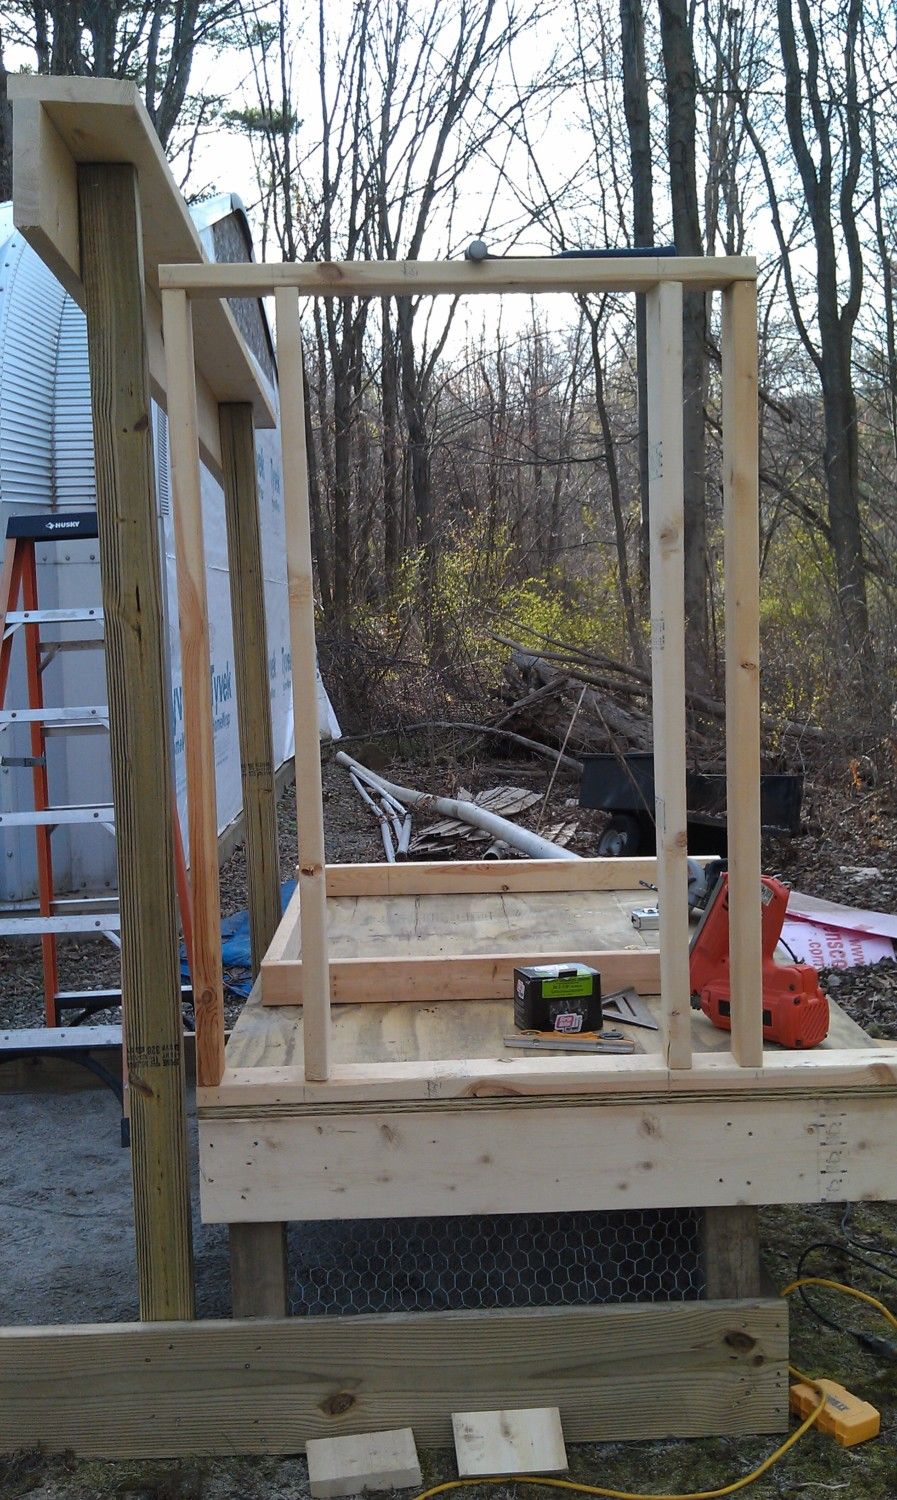 This is where the main coop door will be!
As you can see the roof is at an angle to that water can run off of it and in the back we have two walls framed out for the coop

We started to frame out the roof and my father put one board going across every 2-3 feet. These smaller boards are going vertical to give the roof extra support and stability for the snow we get.

My father framed the coop area every 3 feet with a new piece of pressure treated wood. I then took a roll of black vinyl covered chicken wire which was three feet long and stapled it into the pieces of wood. This will be the outside portion of the coop that the chickens can hang out in while we aren't home and cannot watch them outside.
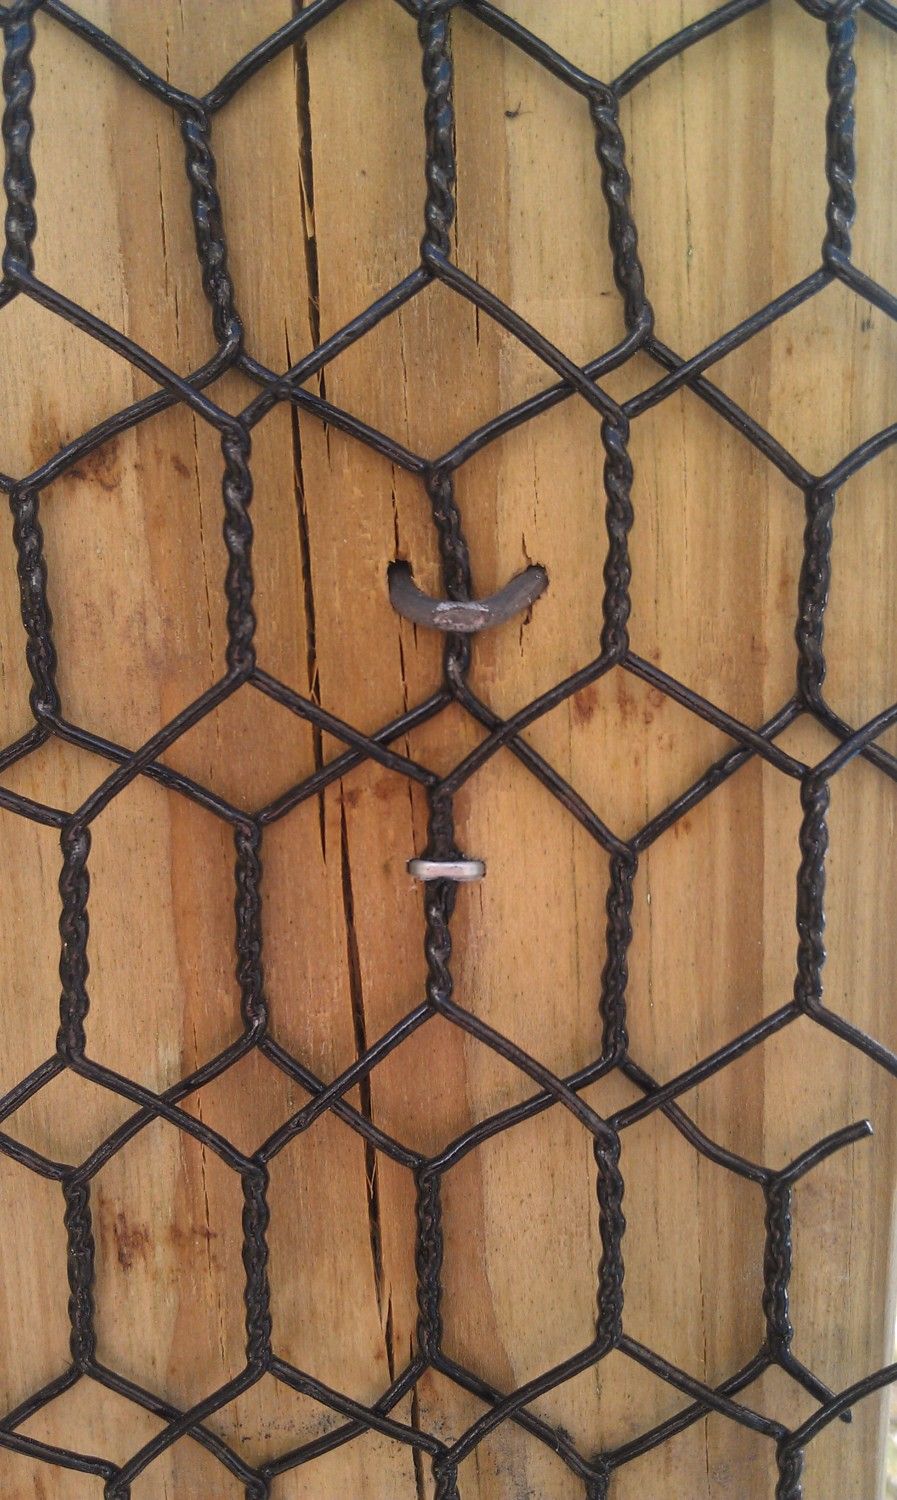
I preferred to staple it twice. Once with a staple gun which would be the smaller shiny silver one and then i tacked a chicken tack in by hand. time consuming but made it way more sturdy
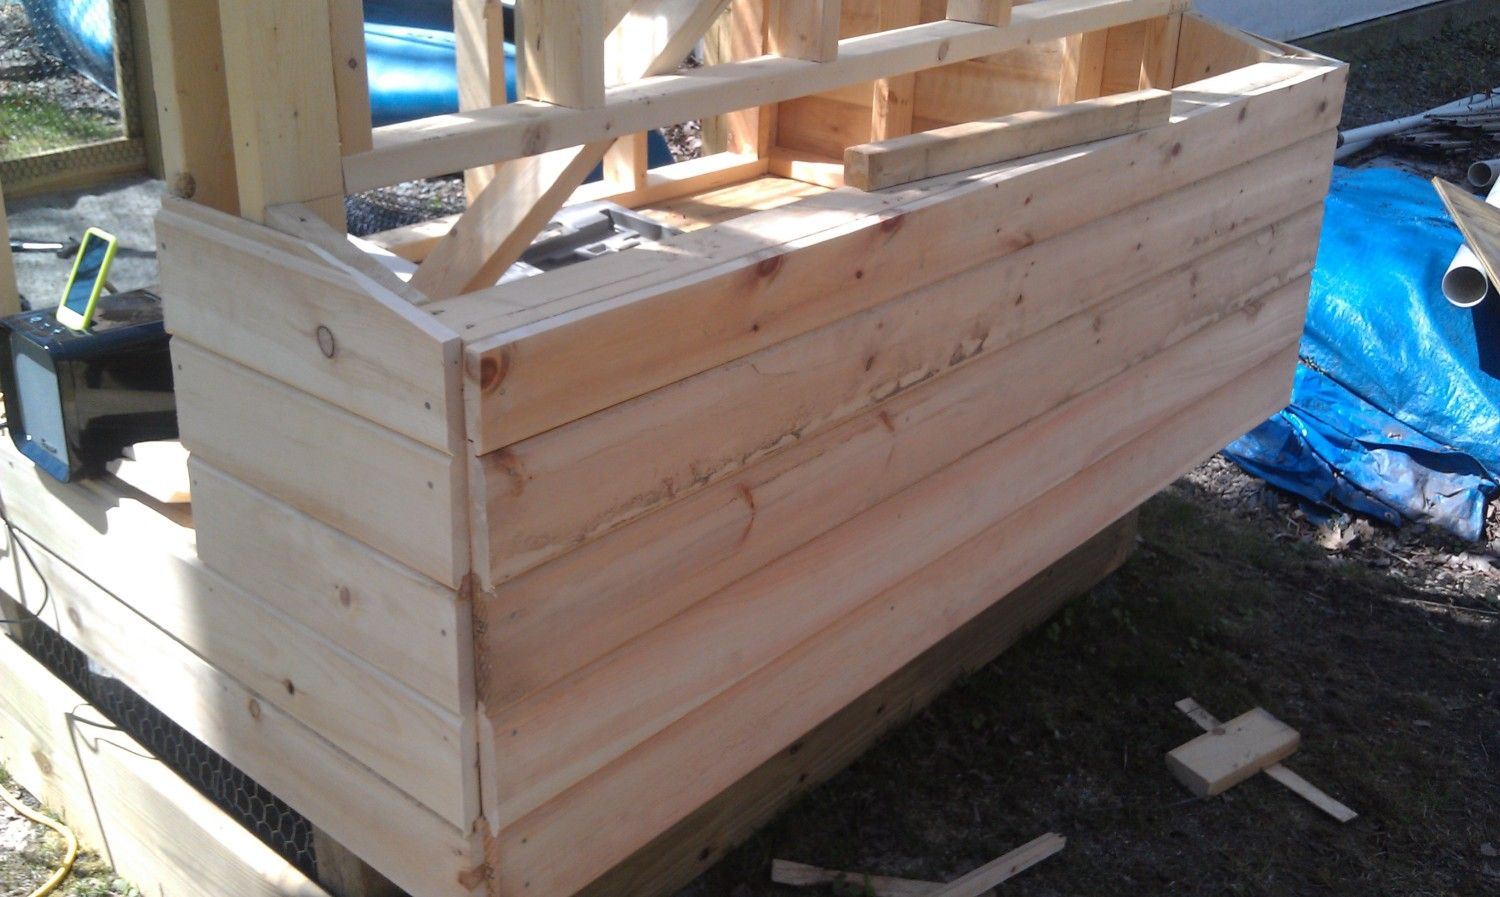
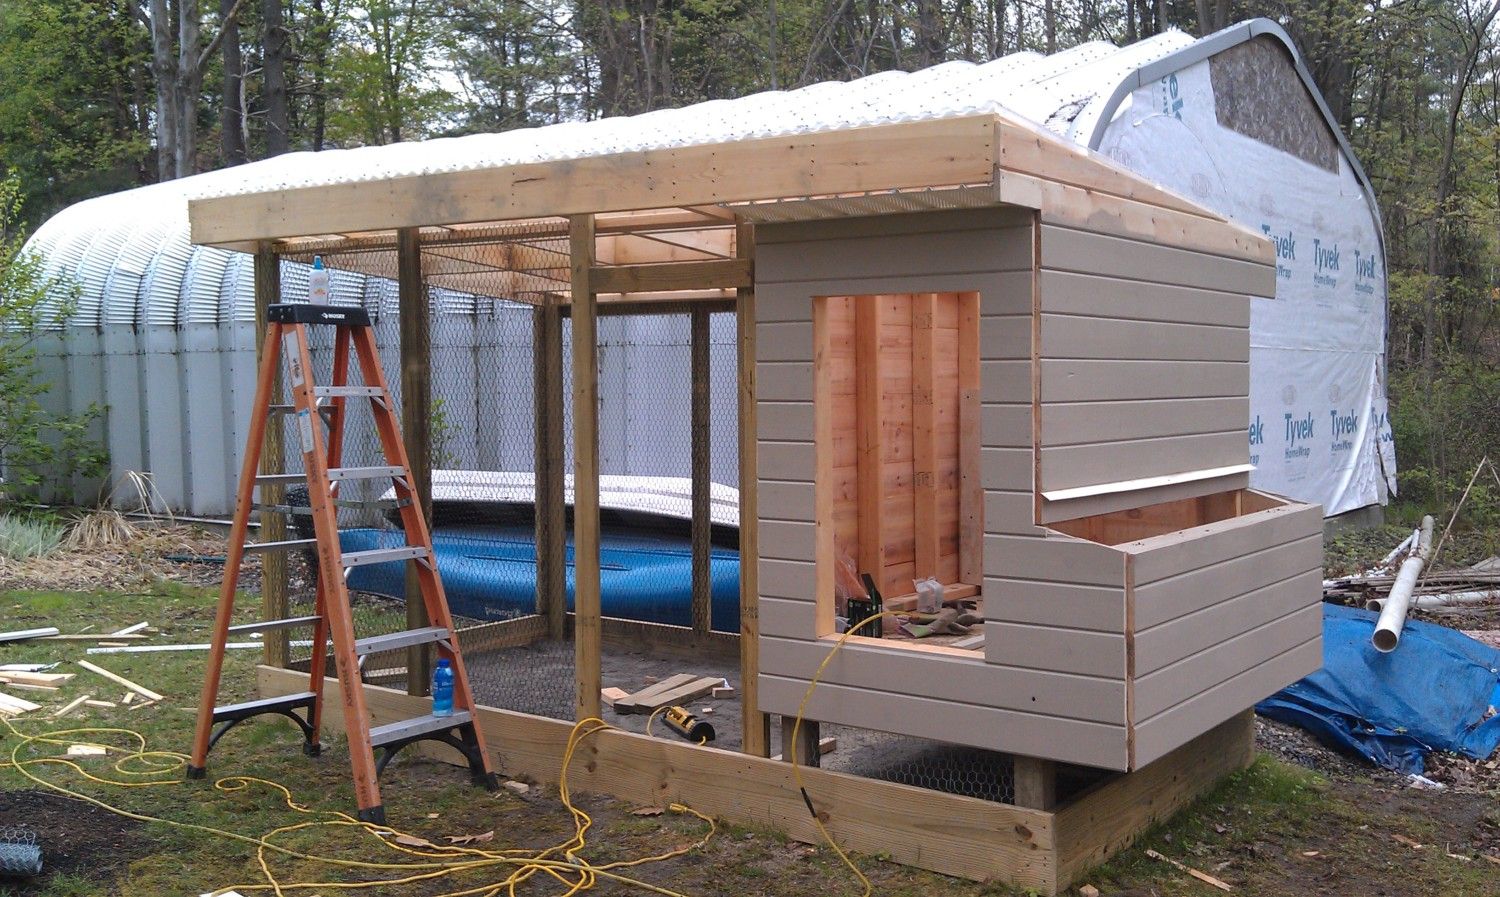
Since we were done framing, my father started covering the coop with pine boards.

I finished all of the wire with my little sister. We also were able to get one coat of paint on it and my father made a little door for the chicken to come in and out of their coop.
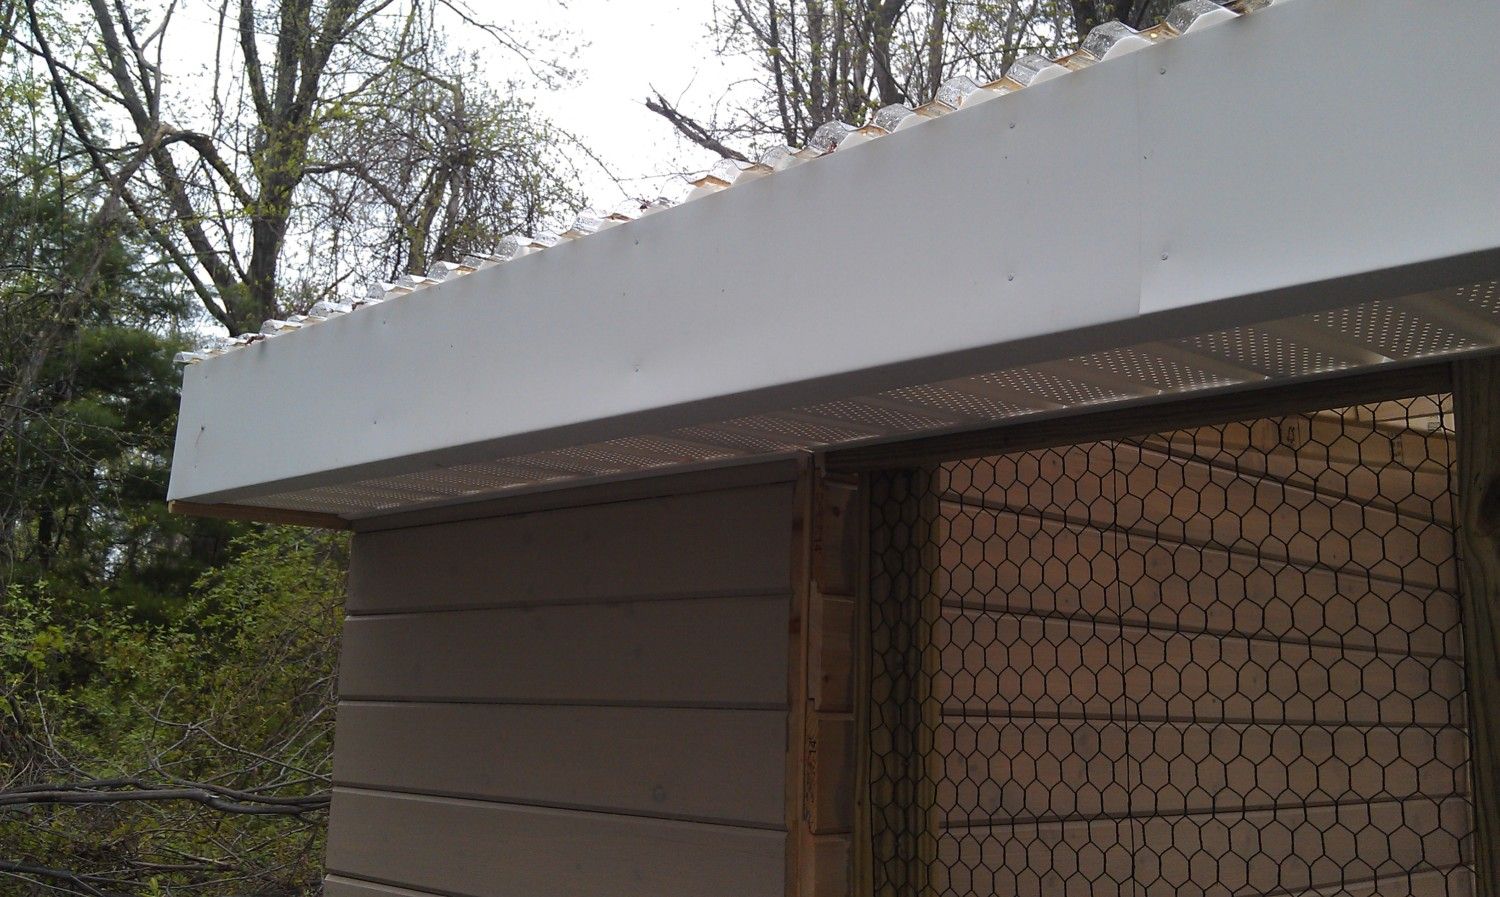
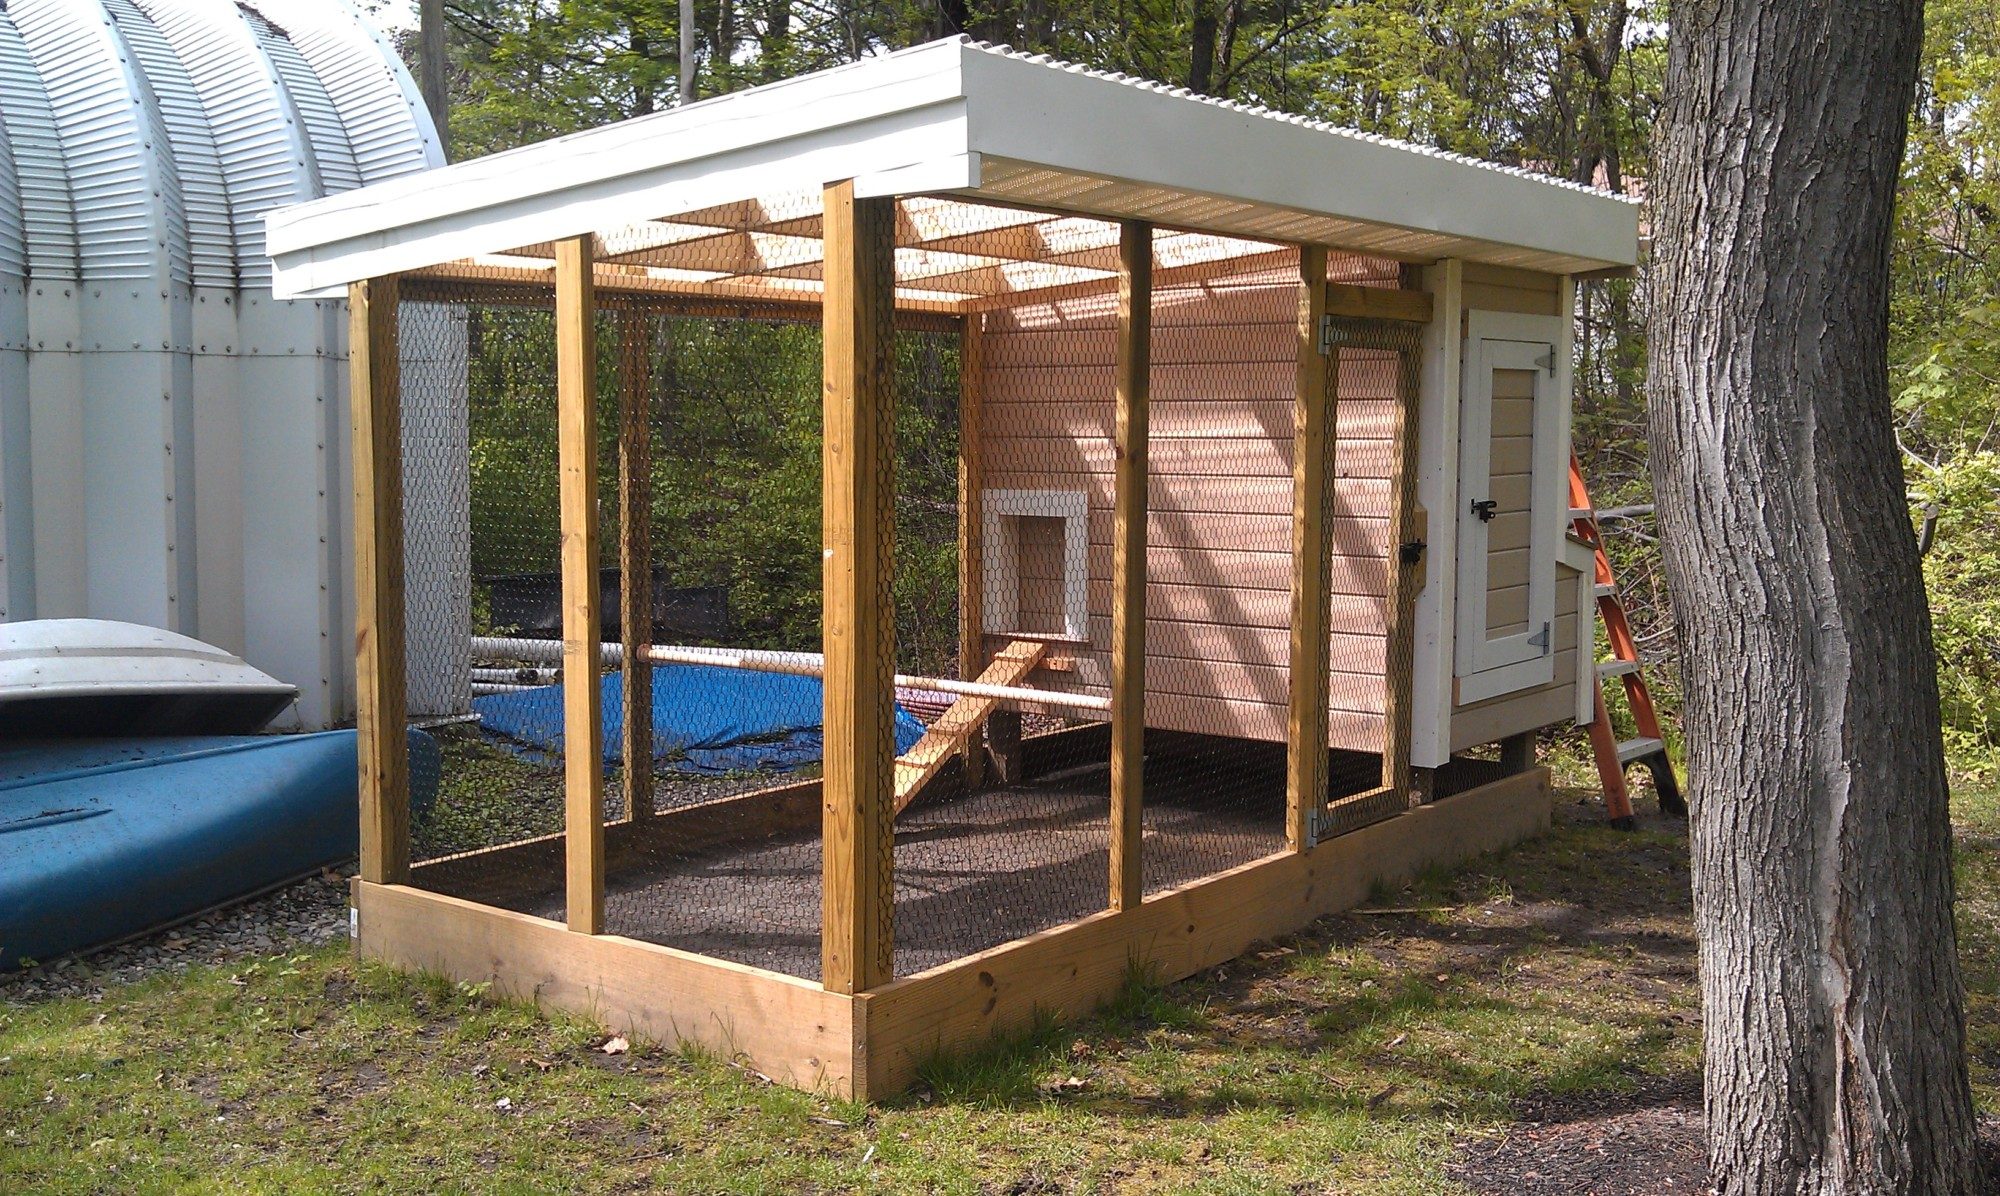
Added white metal around the top of the roof to keep out the birds. There is vented material underneath it as you can see the little holes. Also our roof is that plastic scalloped material and we used a clear color to allow more light to come in the coop.
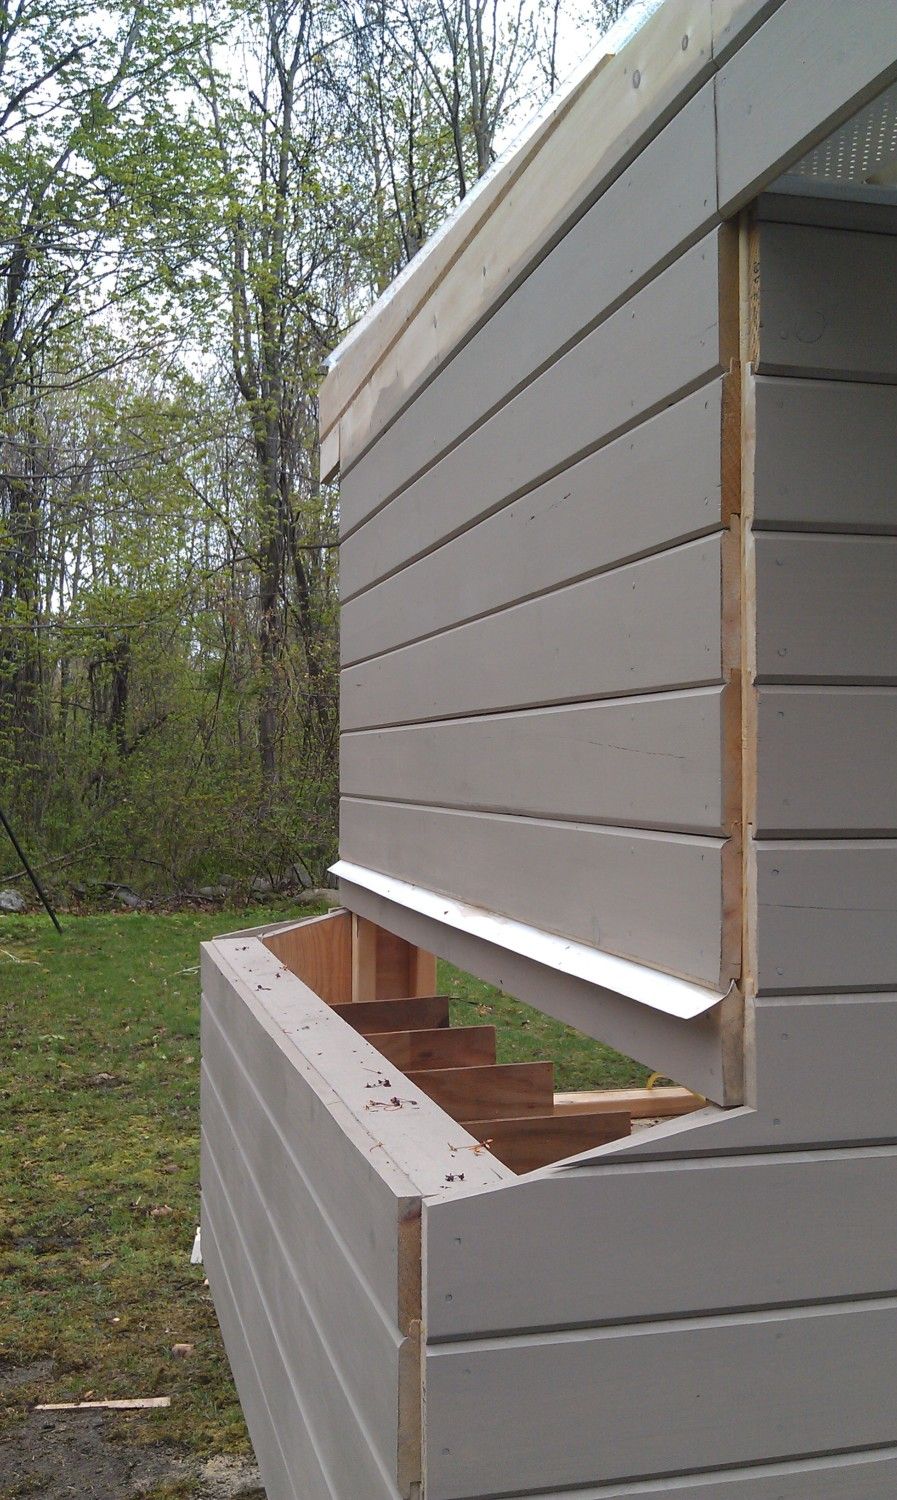
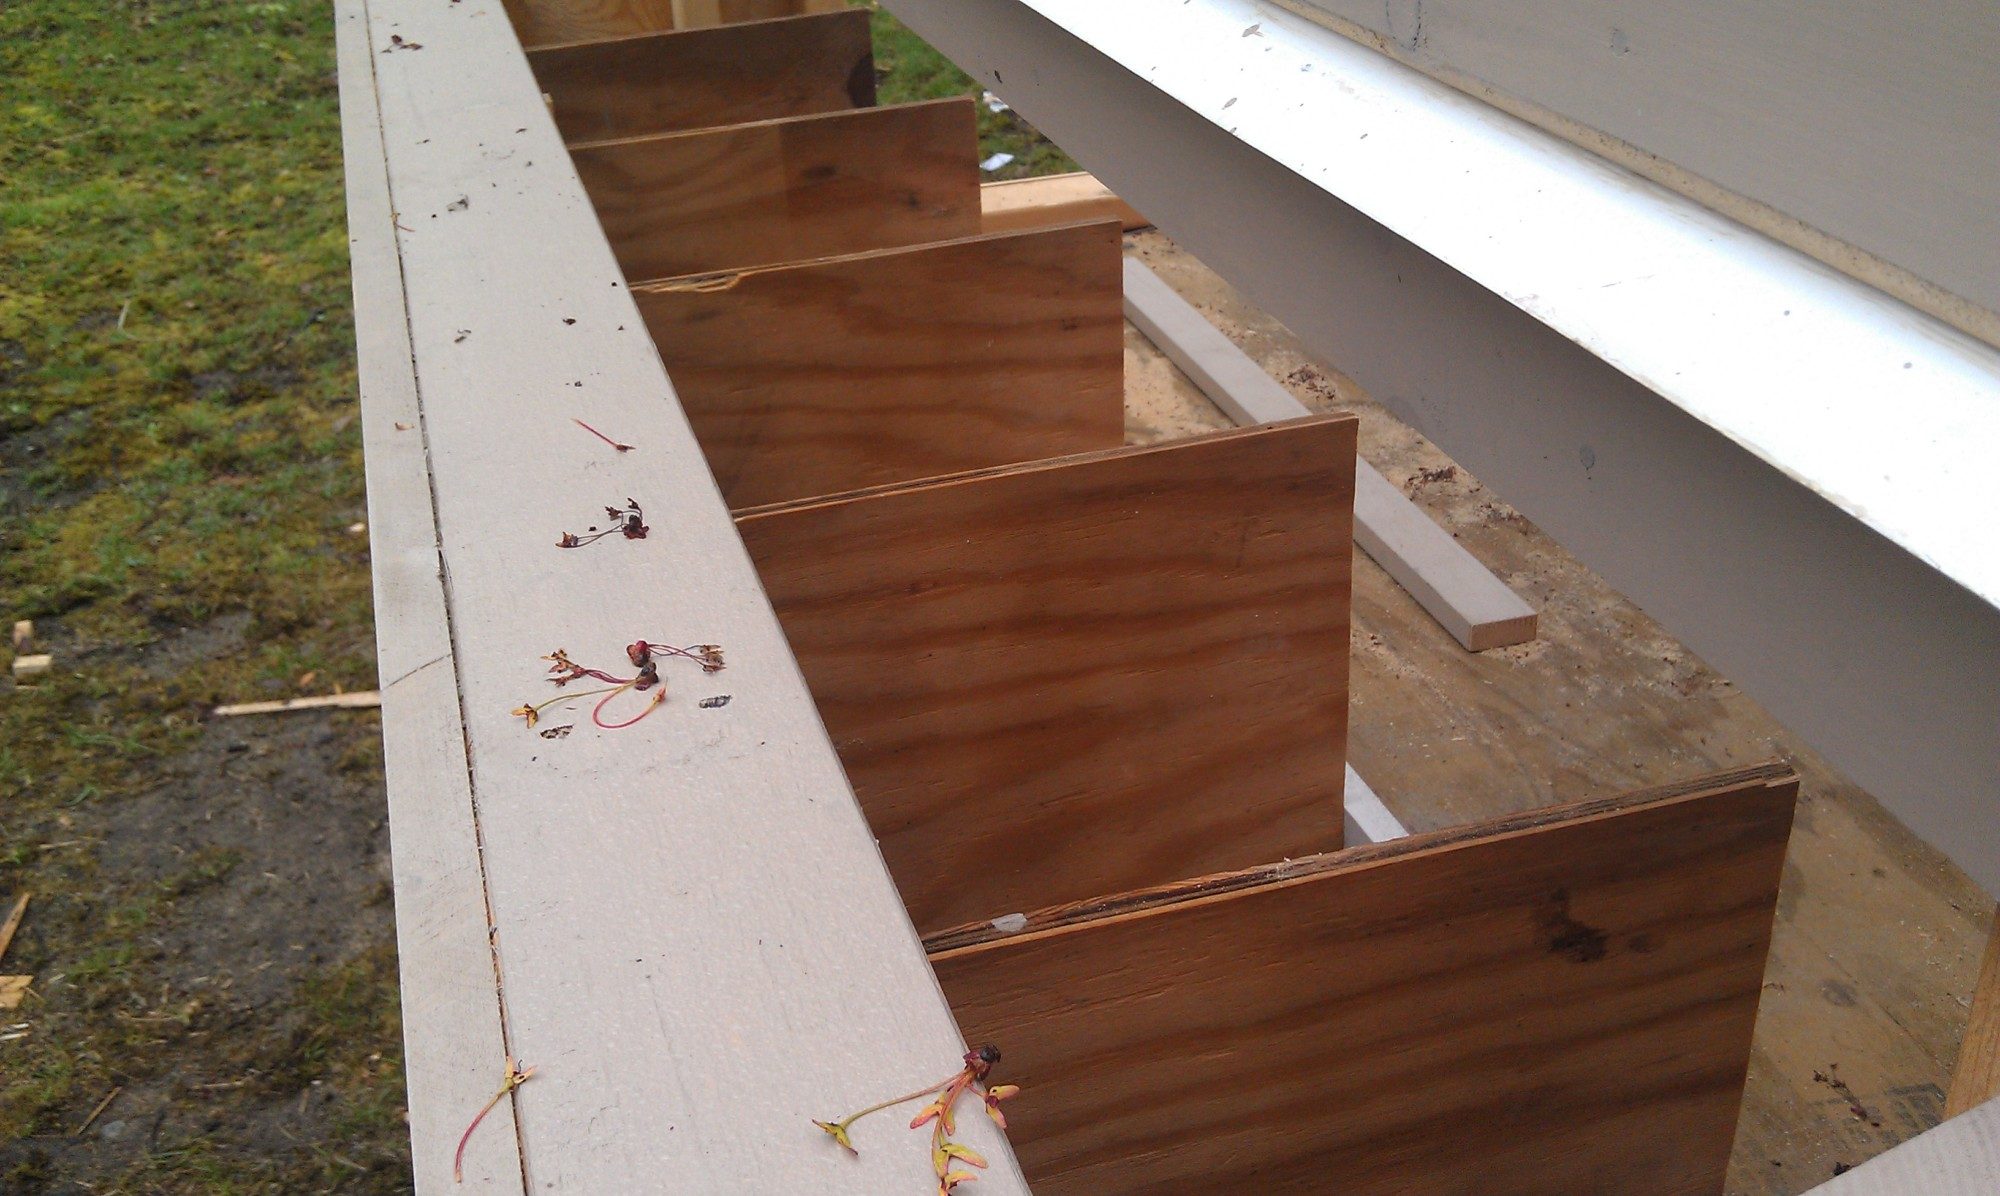
This is the back of the coop. What you are seeing is our nesting boxes for the chickens.
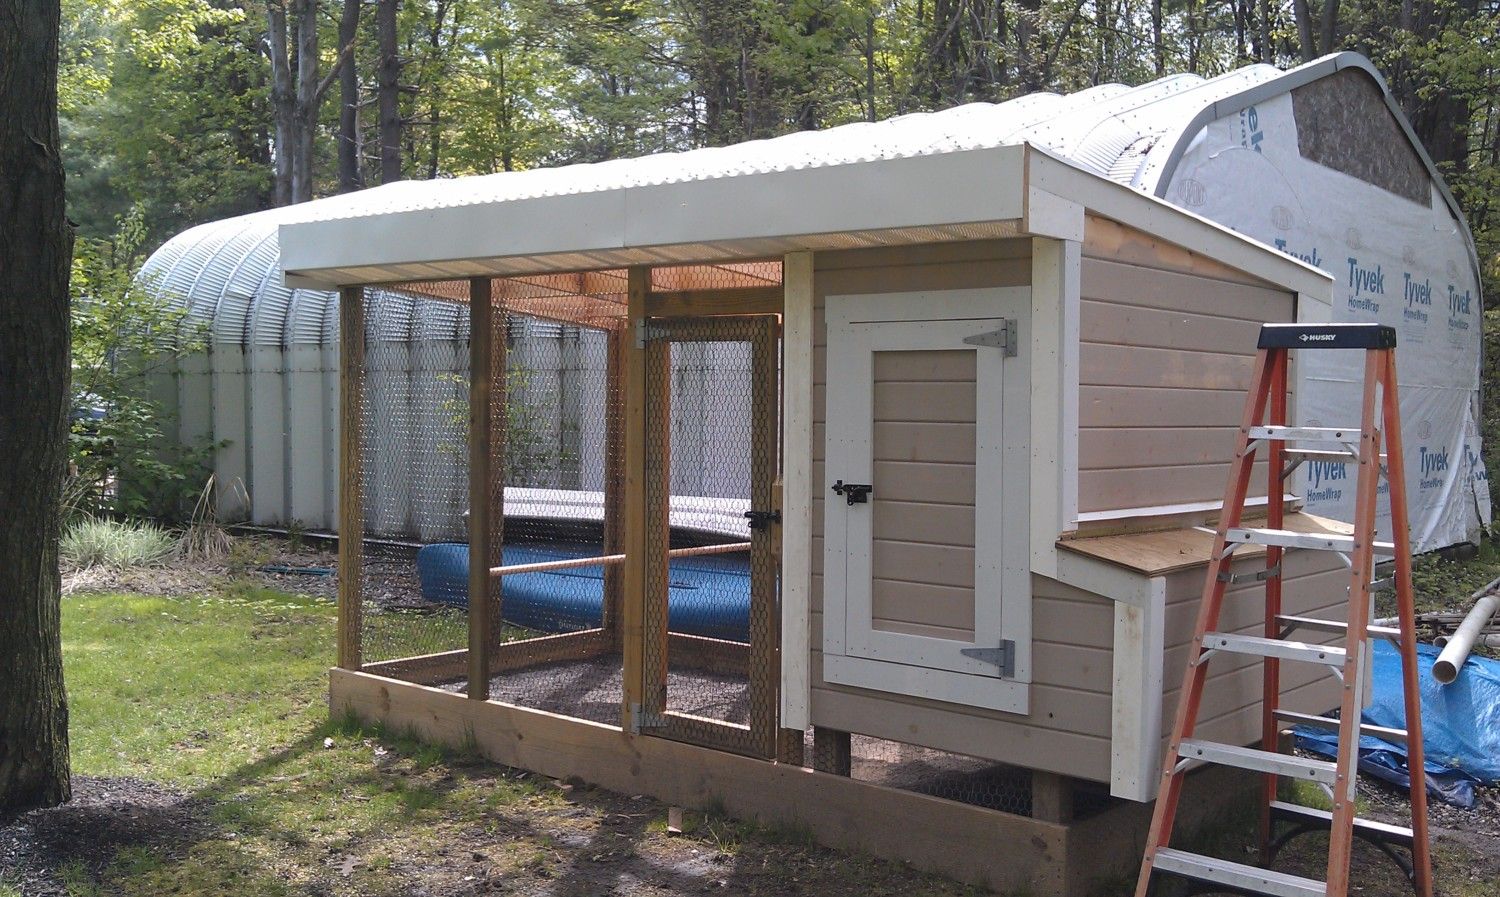
We finished putting white trim around the coop and also adding the rest of the white metal and vented material to the roof. We added the door to the coop and the fenced in area. We also added a lid to the nesting box so that we can reach in and grab the eggs rather then having to go in the coop! Hope you enjoyed our coop! Please message me if you want detail about any of the process. I know that I was very general. However, it is important to note that my father is a licensed professional and he has been a contractor for several years so most of the things we did was because my father had the knowledge and tools to do it that way. Don't do anything above or beyond your means. We were able to do our coop because of all the spare material we had lying around from other jobs my father has completed. Thank you!
