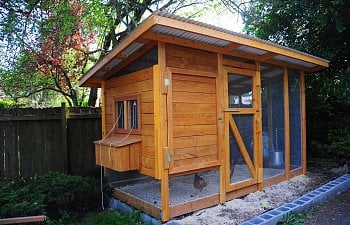
After two versions of chicken tractors, we decided to go with a fixed coop for our chickens. The design we settled on was a minor variation of the Wichita coop. The new coop would leverage the extra "floor" space of the Wichita coop, extend the length and address the following major problems we had with version 1.0 and 2.0 of the chicken tractors:
1. Squirrels - Squirrels dug under the perimeter of the tractors and repeatedly stole food. Even using bricks to protect the perimeter didn't work.
2. Eggs - Sometimes the chickens would lay eggs outside of the nesting boxes which meant we had to move the tractor to get the eggs. This was difficult due to the layout of our yard and the sheer weight of the tractors.
3. Lawn damage - The first chickens we got were very ardent diggers; we had to move the tractors every week to prevent cratering of the yard.
4. Weight - The first tractor was an "ark" made from 2x4s and plywood. It weighed about 100 pounds and was very unweildly. Tractor 2.0 was only about 70 pounds, but still was quite cumbersome.
5. Mold - The tractors were not painted on the interior. The bare wood and high humidity (due to poor ventilation) resulted in black mold inside the roost areas.
Construction
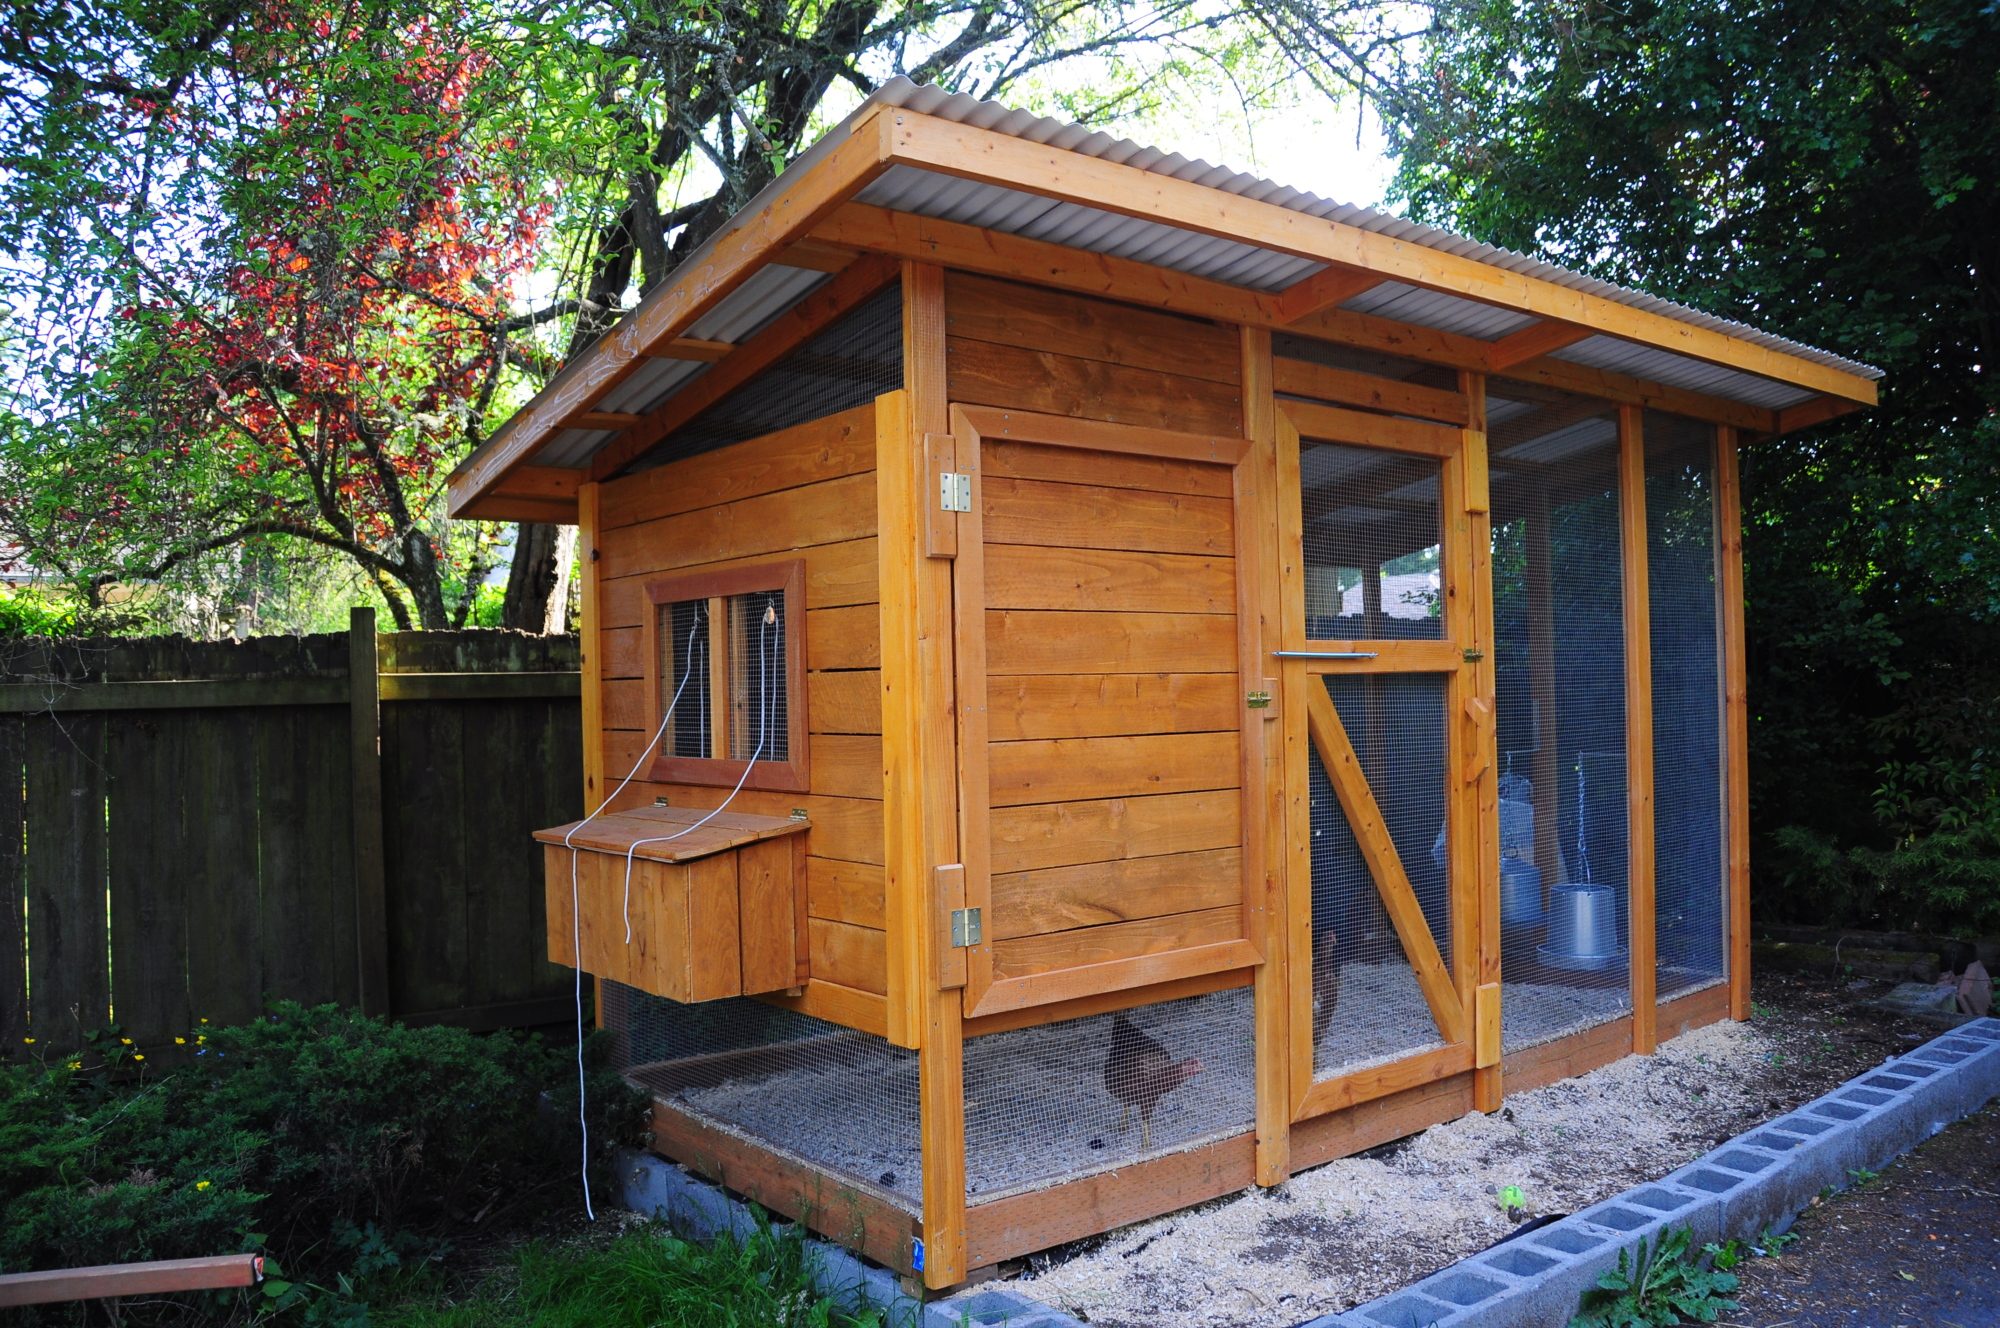
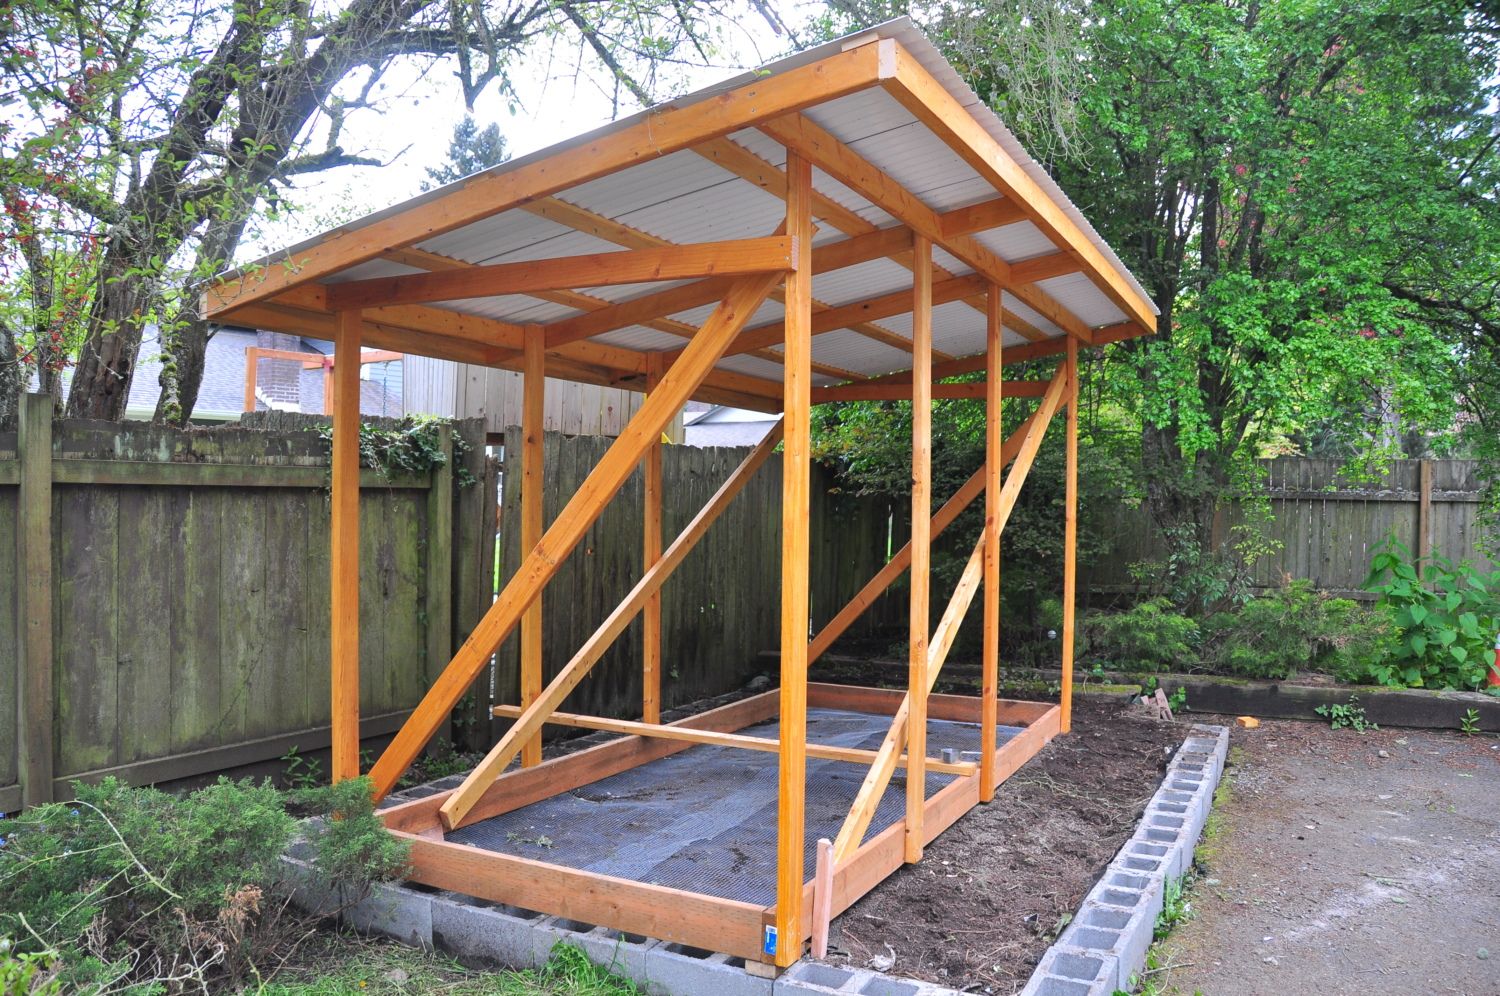
Home depot had just received a big shipment of yellow cedar in various sizes. The sides of the roost are 1x6s. The ground frame are pressure treated 2x6s. The rest of the framing was done with 2x3s and 1x3s. Supports in the roof are 2x4s. The roof material is white palruf a plastic corrugated material similar to but cheaper than clear polycarbonate. The floor and walls were made from hardware cloth. Some door skin and scrap OSB was used in the construction of the next boxes. Next box framing was done using cedar 2x2s. The floor of the roosting area was OSB subfloor covered with armstrong vinyl tile.
The tricky part was sandwiching the hardware cloth between the 1x3s and 2x3s. Chicken wire is much easier to work with, but offers no protection against rodents. The builder also did some notching to join up the frames under the roof, this reduced the "attack surface" available to squirrels and made for some rather attractive joints. Tiling the floor was pretty straightforward and made for an easy to sweep surface. While probably water resistant, I wouldn't recommend hosing down the tiles.
Construction time was about 80 hours including the time to prep the wood with non-toxic stain. We paid a builder about $400 to do most of the coop construction. We did the lumber selection and prep. We also did some minor hardware tweaks on the door and food and water containers.
The following photos illustrate some of the details of the coop.
Squirrels had gone under through and over the tractors in their efforts to raid the food. The roof line uses corrugated fillers to close the gaps between the roof and its supports. The joints between the wall and the roof are covered with scrap HW cloth.

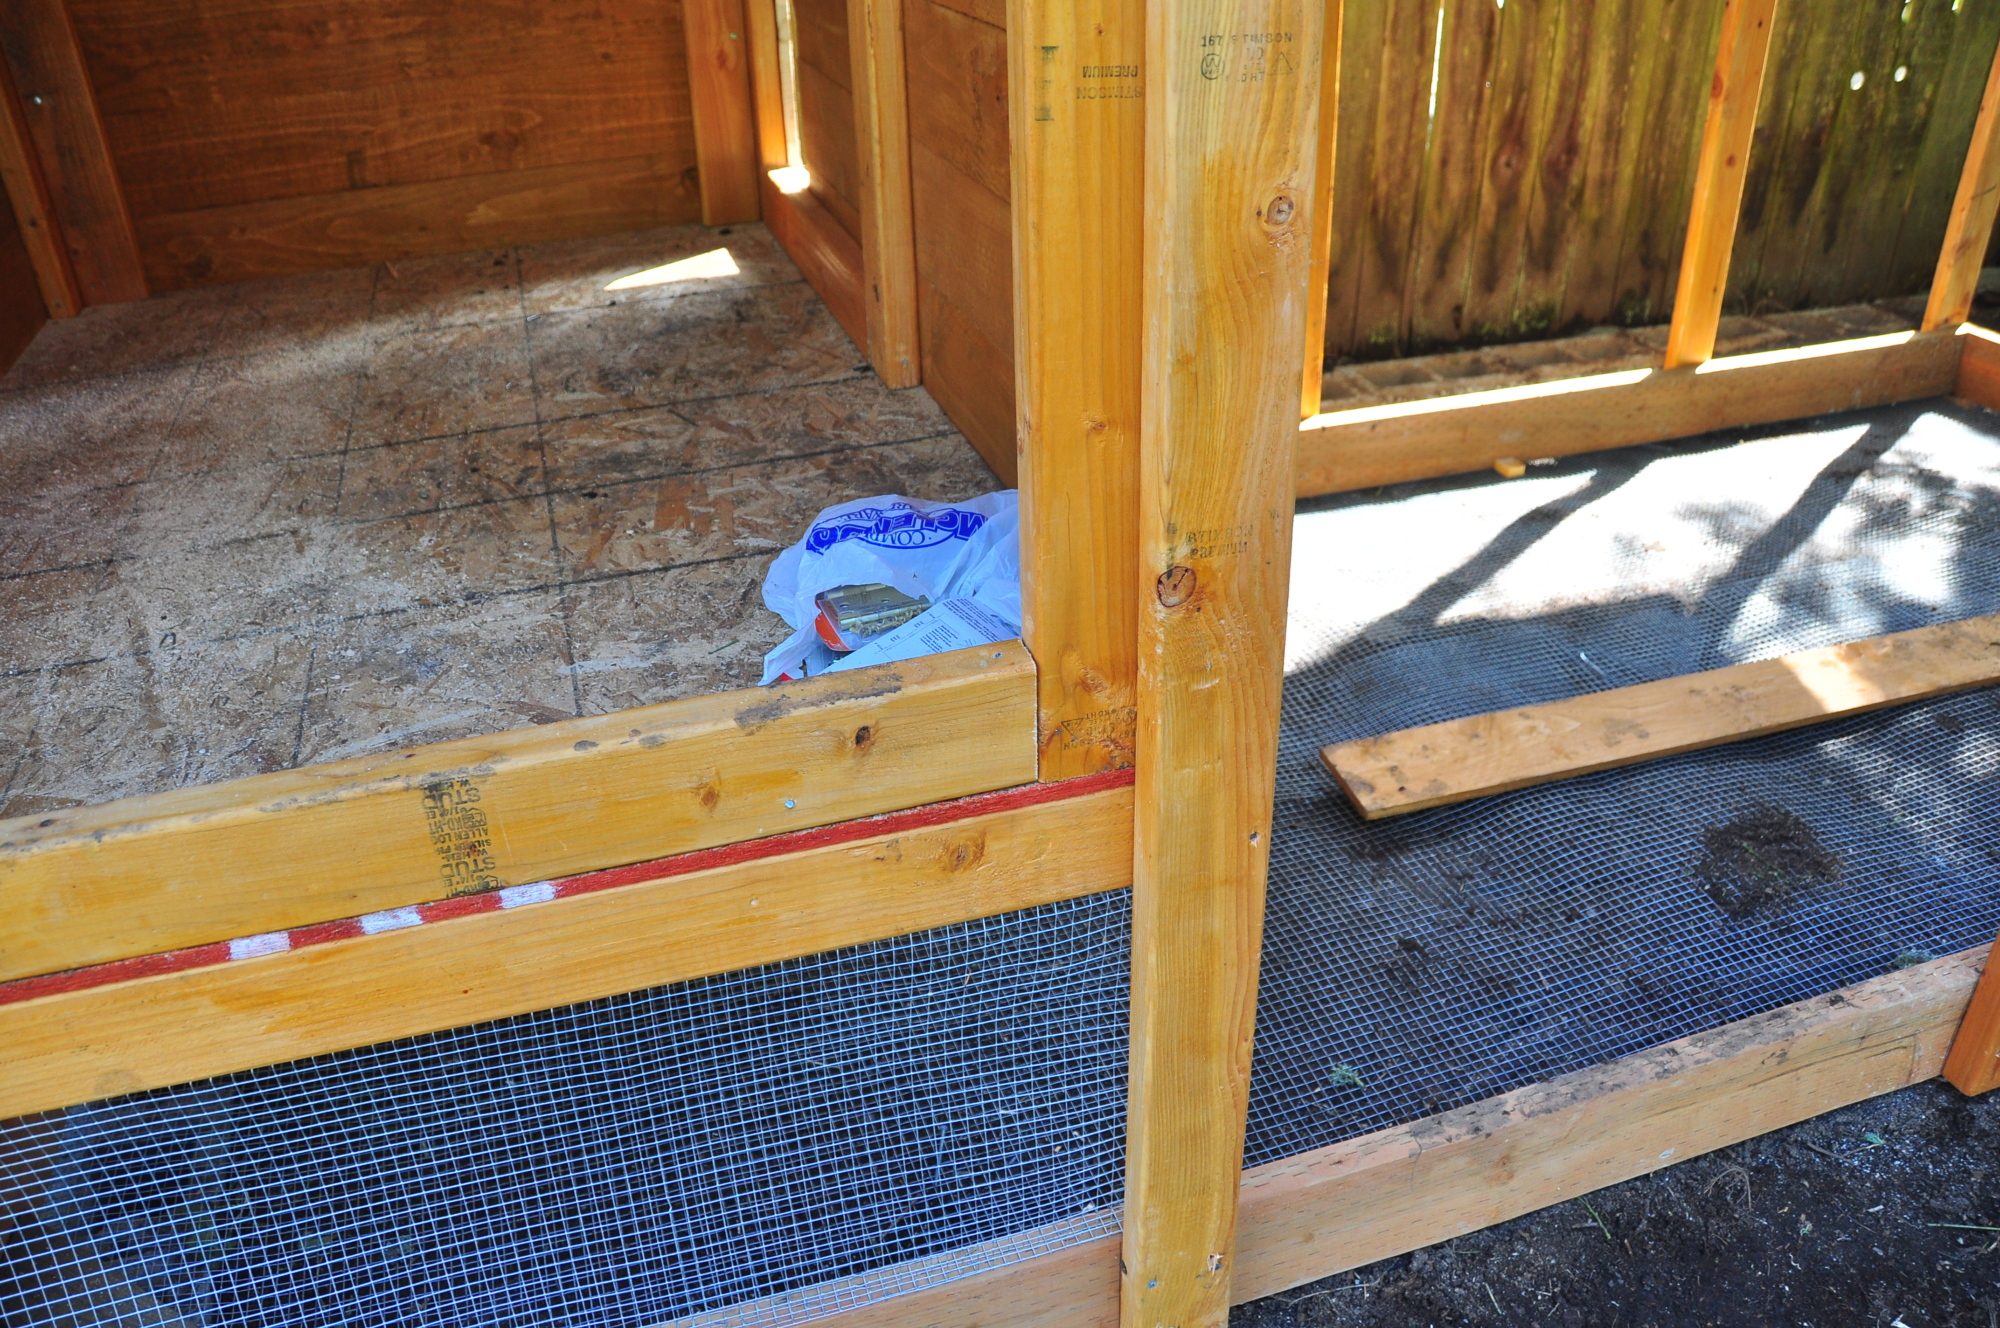
In this photo you can see the hardware cloth floor. It was stapled to the ground frame then flipped over onto a bed of dirt layered over 6 inches of gravel.
Here you can see some of the framing details and the OSB in the roost.