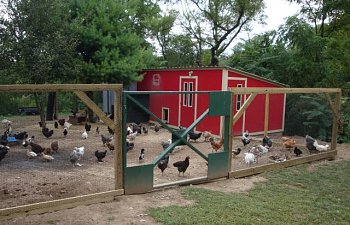
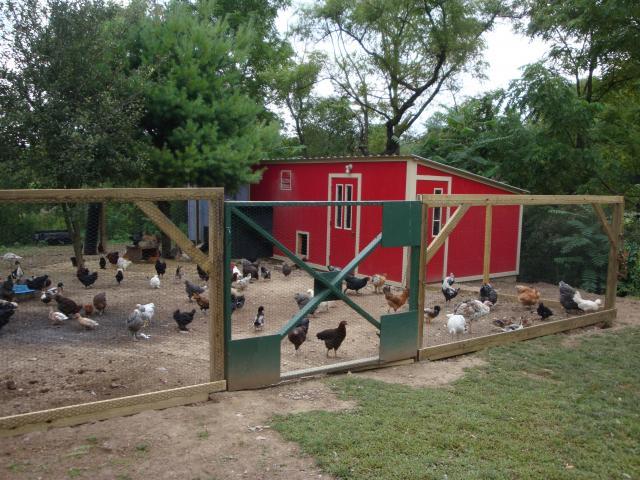
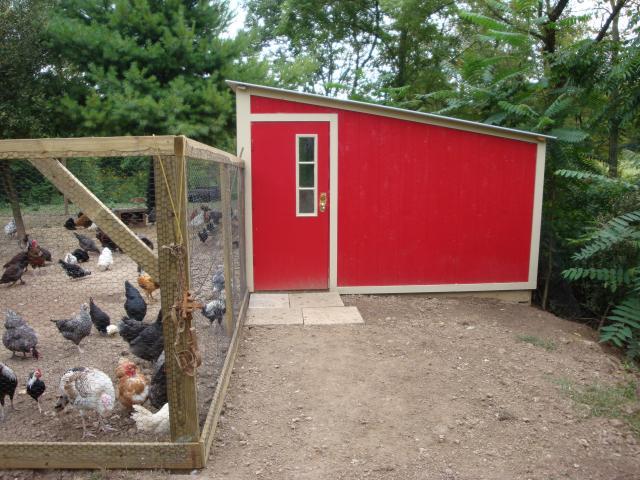
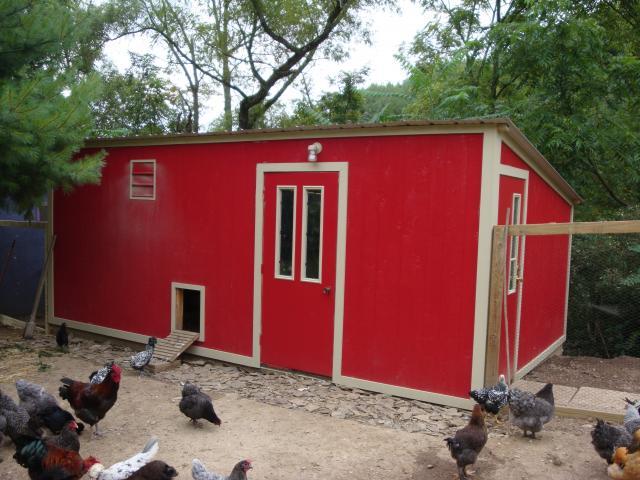
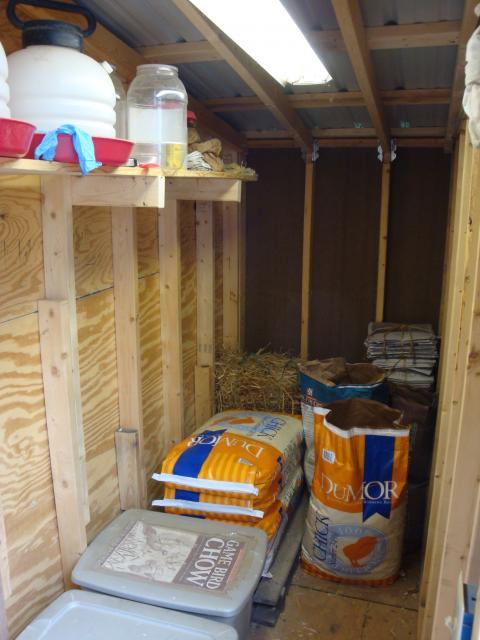
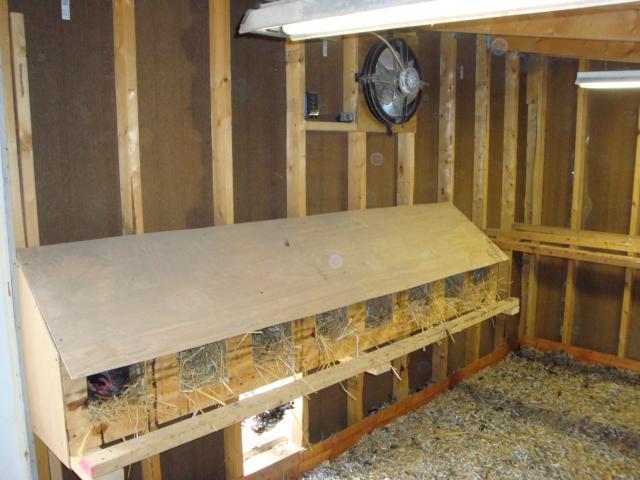
Our Coop
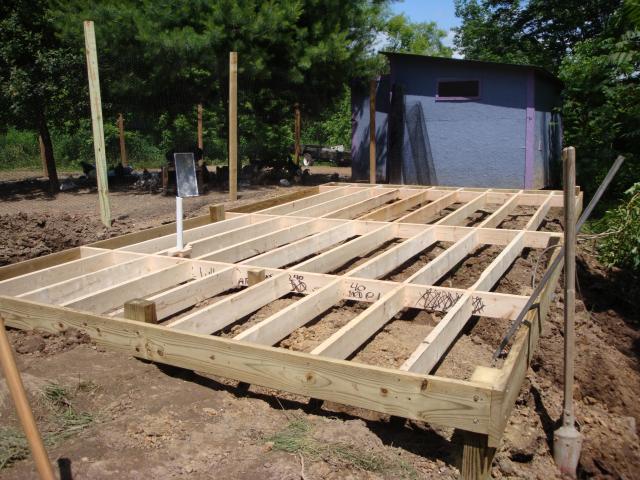
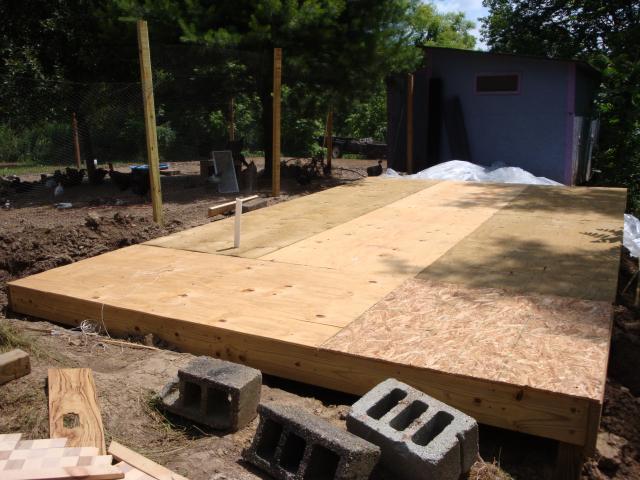
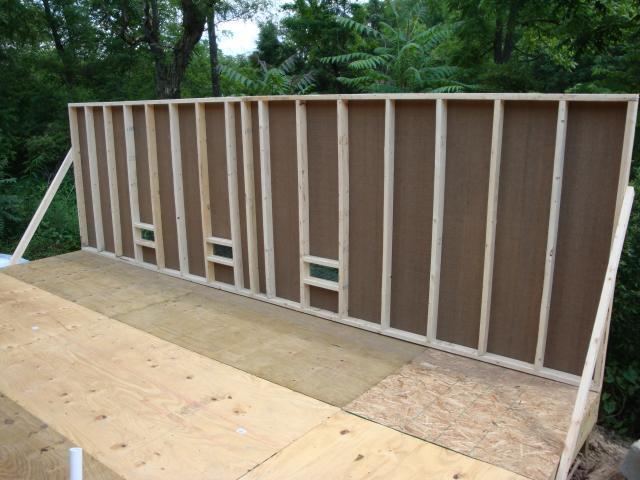
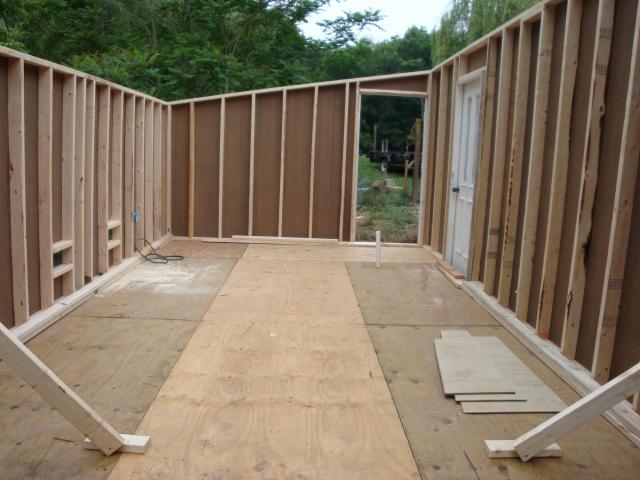
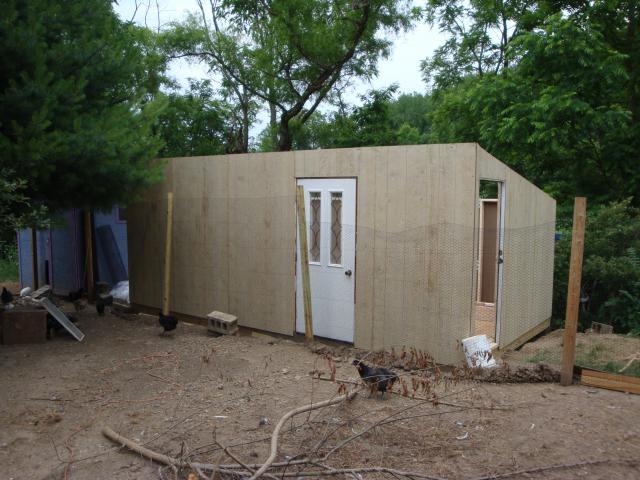
I started this coop either late May or Early June, I cannot remember exactly which. However the important thing is that it is finally done now. The total dimensions are 12' wide by 20' long. The space for the chickens is 12'x16'. The other 4'x12' is storage space containing all feed, bedding and anything else. The pictures are in chronological order starting with excavation and setting the post on through until final painting and trim work. I welcome any questions and comments.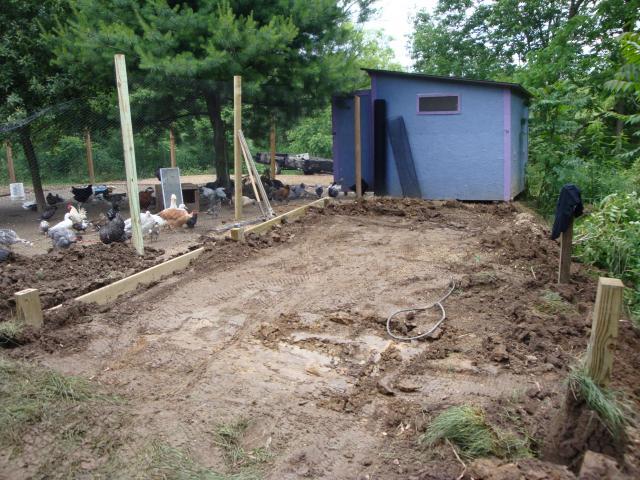
I eventually plan to add insulation to the inside of the coop to decrease the noise level as well as make it a little warmer during the cold winter nights. I am a little low on funding right now and since it is summer it can wait until I get the money.
As far as cost go I would put the final cost around $1250. The most expensive parts were the roof ($250) and the siding ($300). I got all the lumber such as treated 2x10s, all the plywood flooring and all the studs, rafters and joices as cull lumber at Lowes and Home Depot. If anyone does not know about this Lowes and HD put bundles together of lumber that is below grade or they cannot sell for whatever reason and reduce the price up to 75%. It is a great way to save money, but sometimes you may get stuff that is not much use. Then all the screws, I hate using nails so all the framing was done with screws, wiring, fixtures, fan, lights etc. really adds up fast. It also cost a good bit just for the bedding. I put 25 bales in it so far as well about 25lbs of shredded news paper and it still is not as deep as I would like.
The upgrade was much needed since the blue coop in the background was only 8'X12' and housed all our ducks and chickens so there was very little space. Now they have room to get out of each others way and they seem to be much better off.
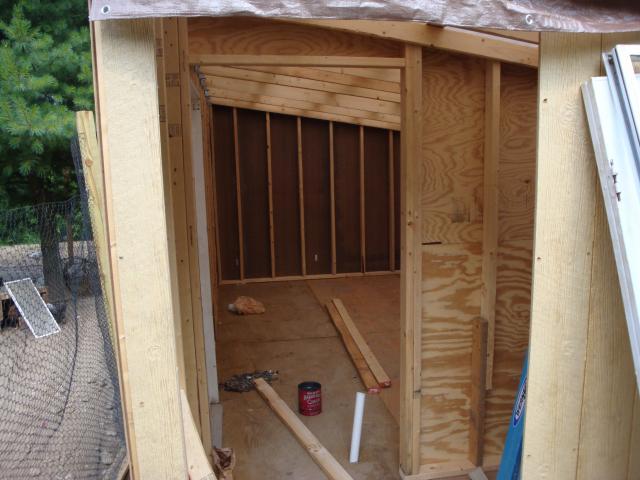
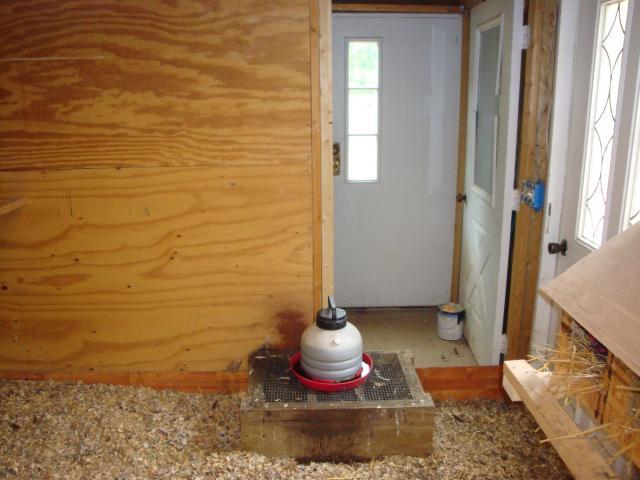
One of my favorite aspects of the coop is the waterer stand. I did not get a good picture of it but the waterer sits atop a black tub with a drain in it. The drain goes to a 1-1/2" pvc pipe that leads all the way to the back of the coop. This way anytime any water is splashed out, and with ducks it is a given, it just goes in the tub and out of the coop. This keeps the bedding rather dry which was always a problem before.
Here are the pictures of the waterer setup. As you are looking at the waterer in the final picture the pipe runs to the right under the coop and drops about 2'.
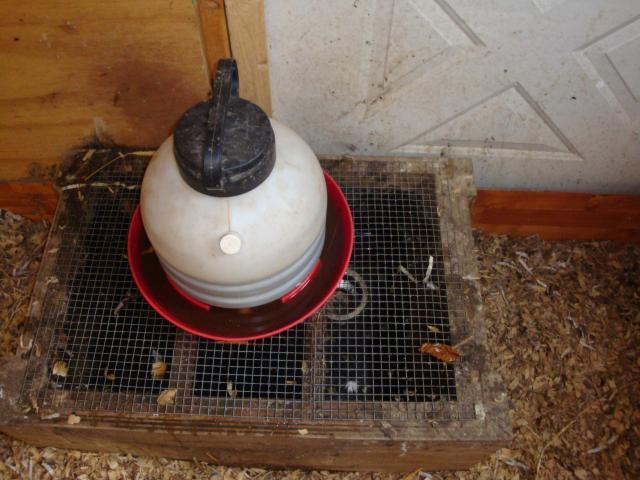
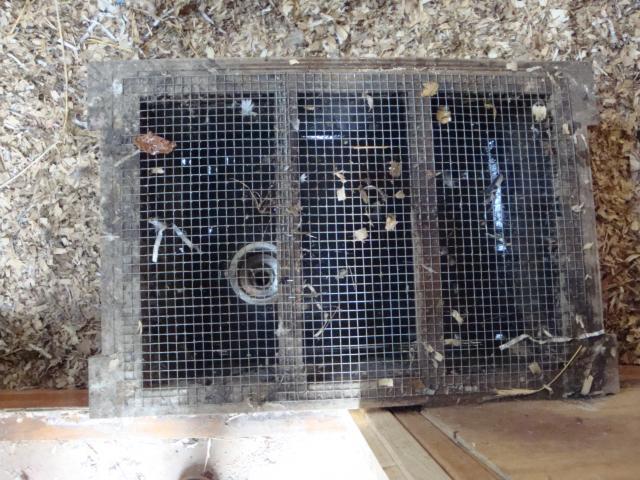
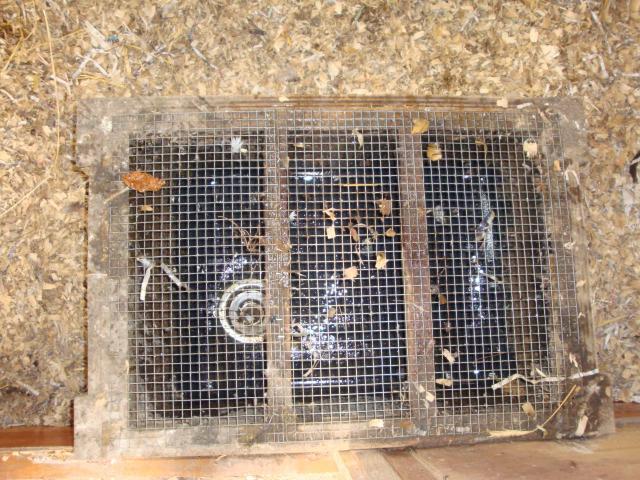
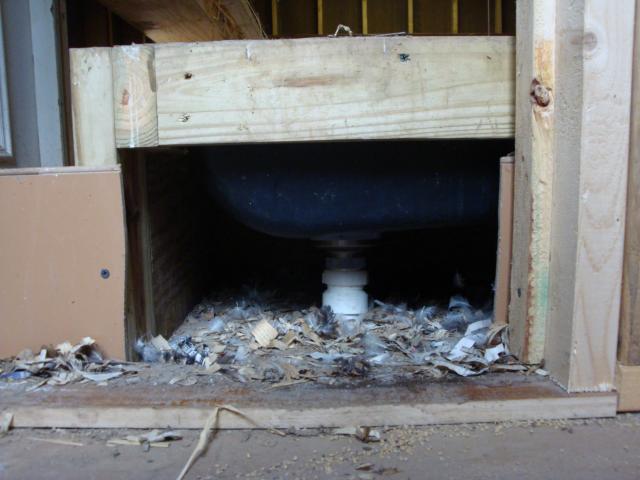
In this last picture you can see the drain setup as well as how there is a space under the tub.