
At some point this spring, we started talking about chickens. Let me rephrase. At some point this spring, I started jokingly talking about chickens with a one year old and a three year old. We like to visit a local farm and feed the chickens. I asked them what they would name their pet chickens if we ever got some. It could have stopped there. My husband decided that I had promised my children pet chickens, and we were obligated to follow through. (In reality, he was putting off a work project.)
|
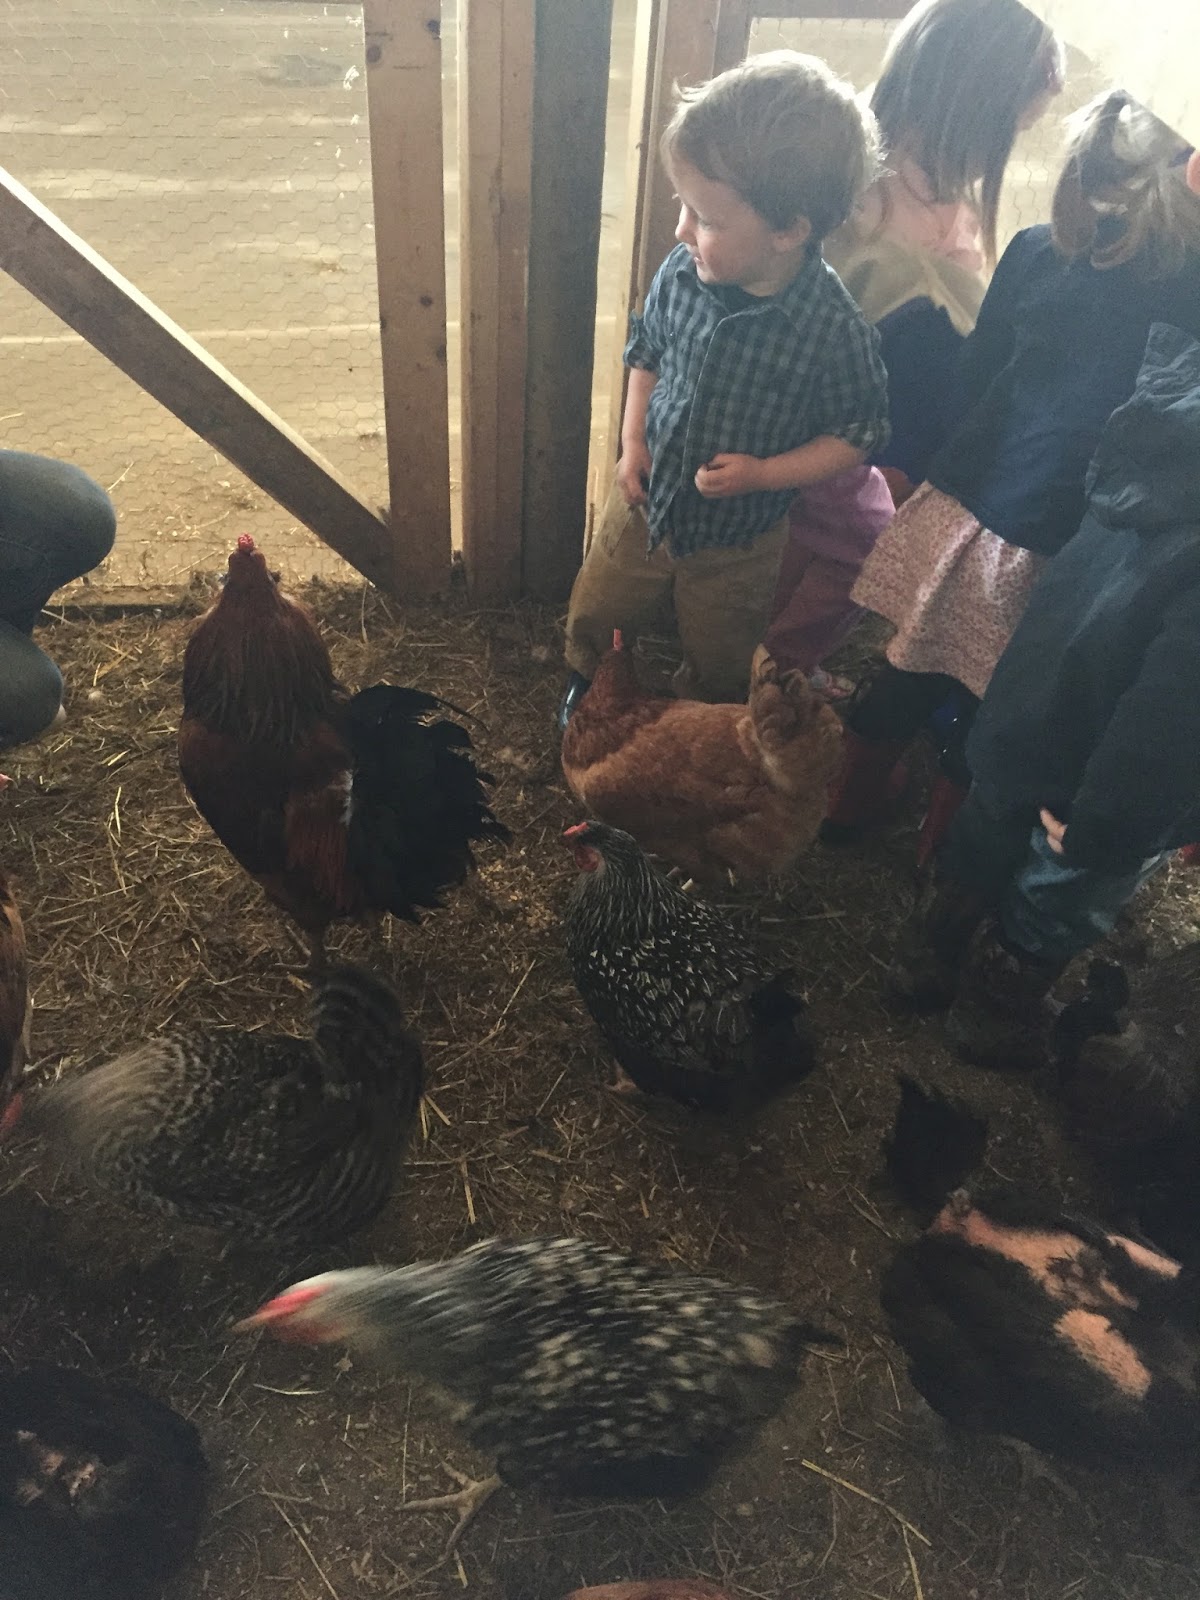
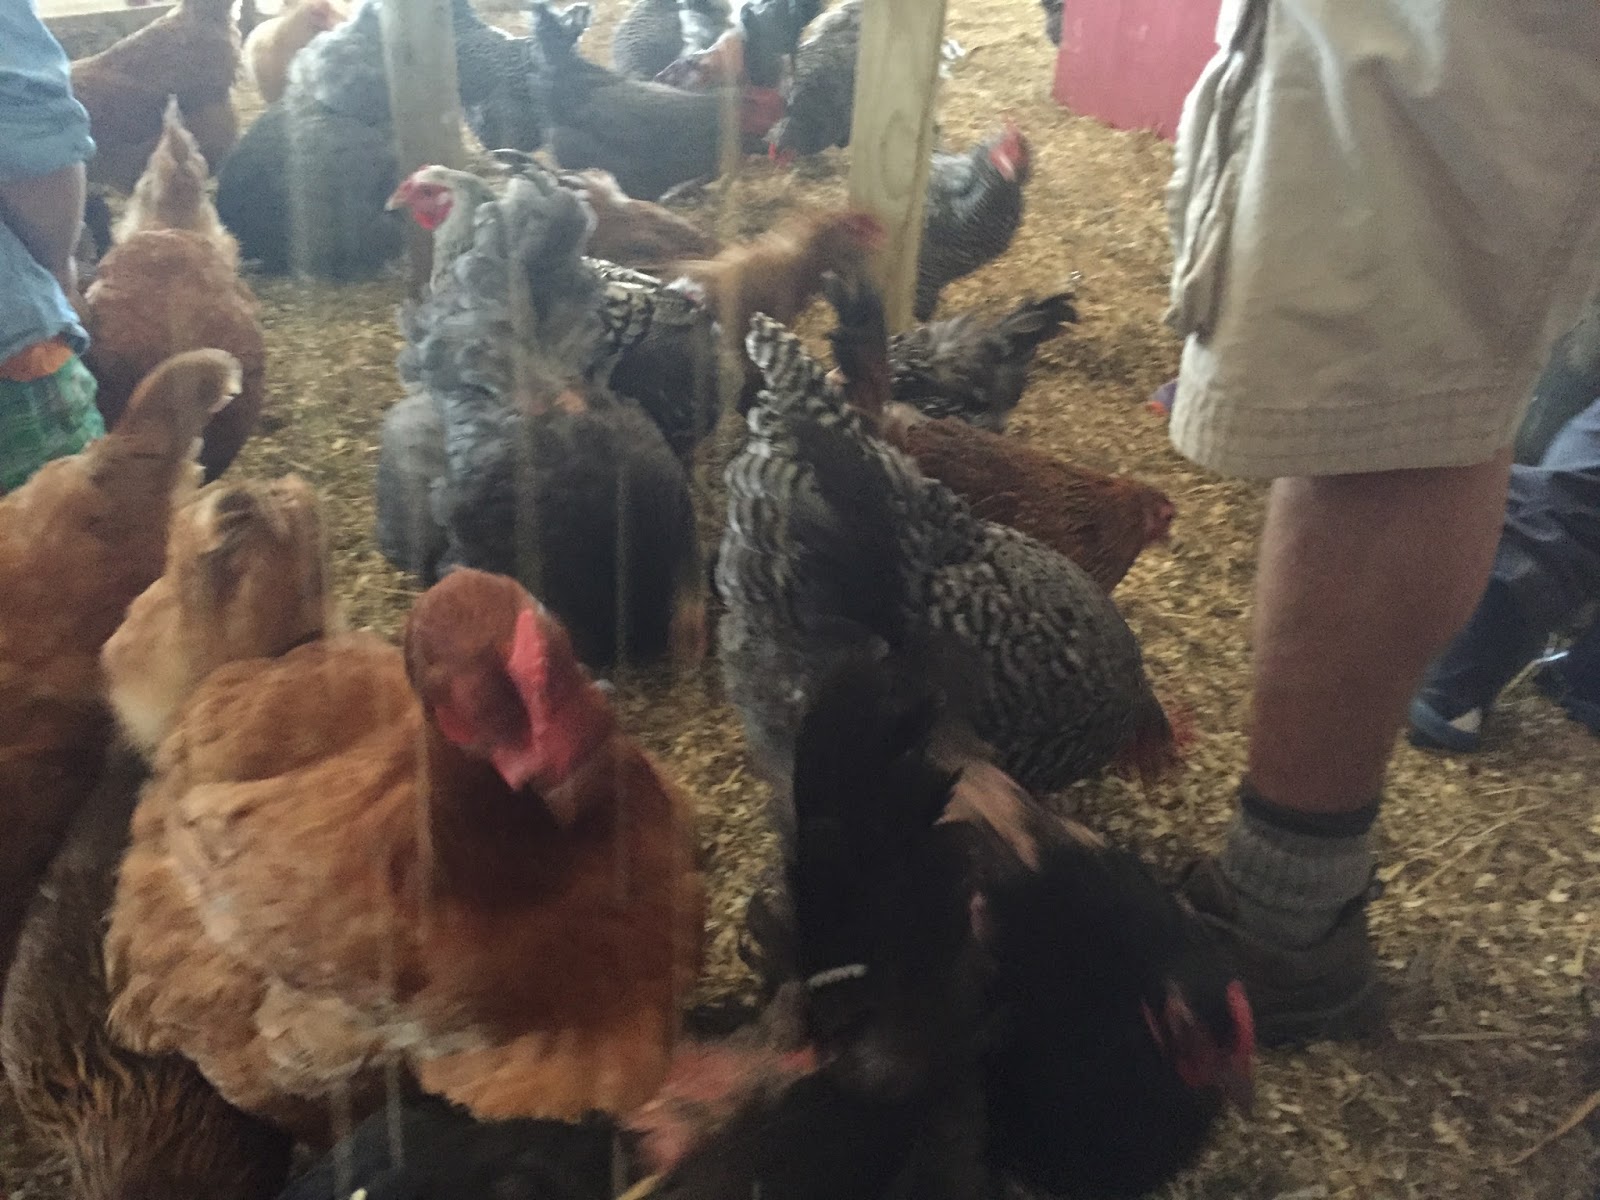
Here are the chickens we like to visit... |
|
somebody else takes care of them and we buy their eggs. |
A little background. Our property is a little over seven thousand square feet. Our house has a 1,500ish square foot footprint. Translation - we don't have much space. We live in Portland, Maine's largest city, which happens to have a chicken ordinance that allows for six hens. Here's the link. I think it's actually really well thought out. We have close neighbors on three sides of our property and a street that can be fairly busy during bagel eating hours.
So, in typical fashion, we suddenly had five chicks in a rubbermaid container in the back of the car! Three Barred Rocks and two Rhode Island Reds.
My husband collects stuff. So. Much. Stuff. He had a big wooden box that protected somebody's skylight once upon a time. The rest of the afternoon was spent turning it into a brooder box. It was actually a perfect solution. Red heat lamp, food, water, shavings - safe and cozy for the chicks. Now that we know a little more, I'd say they were about 3 or 4 weeks old when we bought them. Farmer McCraigslist probably saw us coming twenty five miles away...and sold us three beautiful Barred Rock roosters. We wouldn't start to get suspicious for another week or two, but looking back at the pictures, we probably could have made that call on day one. Stinkin' Roosters.
My husband collects stuff. So. Much. Stuff. He had a big wooden box that protected somebody's skylight once upon a time. The rest of the afternoon was spent turning it into a brooder box. It was actually a perfect solution. Red heat lamp, food, water, shavings - safe and cozy for the chicks. Now that we know a little more, I'd say they were about 3 or 4 weeks old when we bought them. Farmer McCraigslist probably saw us coming twenty five miles away...and sold us three beautiful Barred Rock roosters. We wouldn't start to get suspicious for another week or two, but looking back at the pictures, we probably could have made that call on day one. Stinkin' Roosters.
|
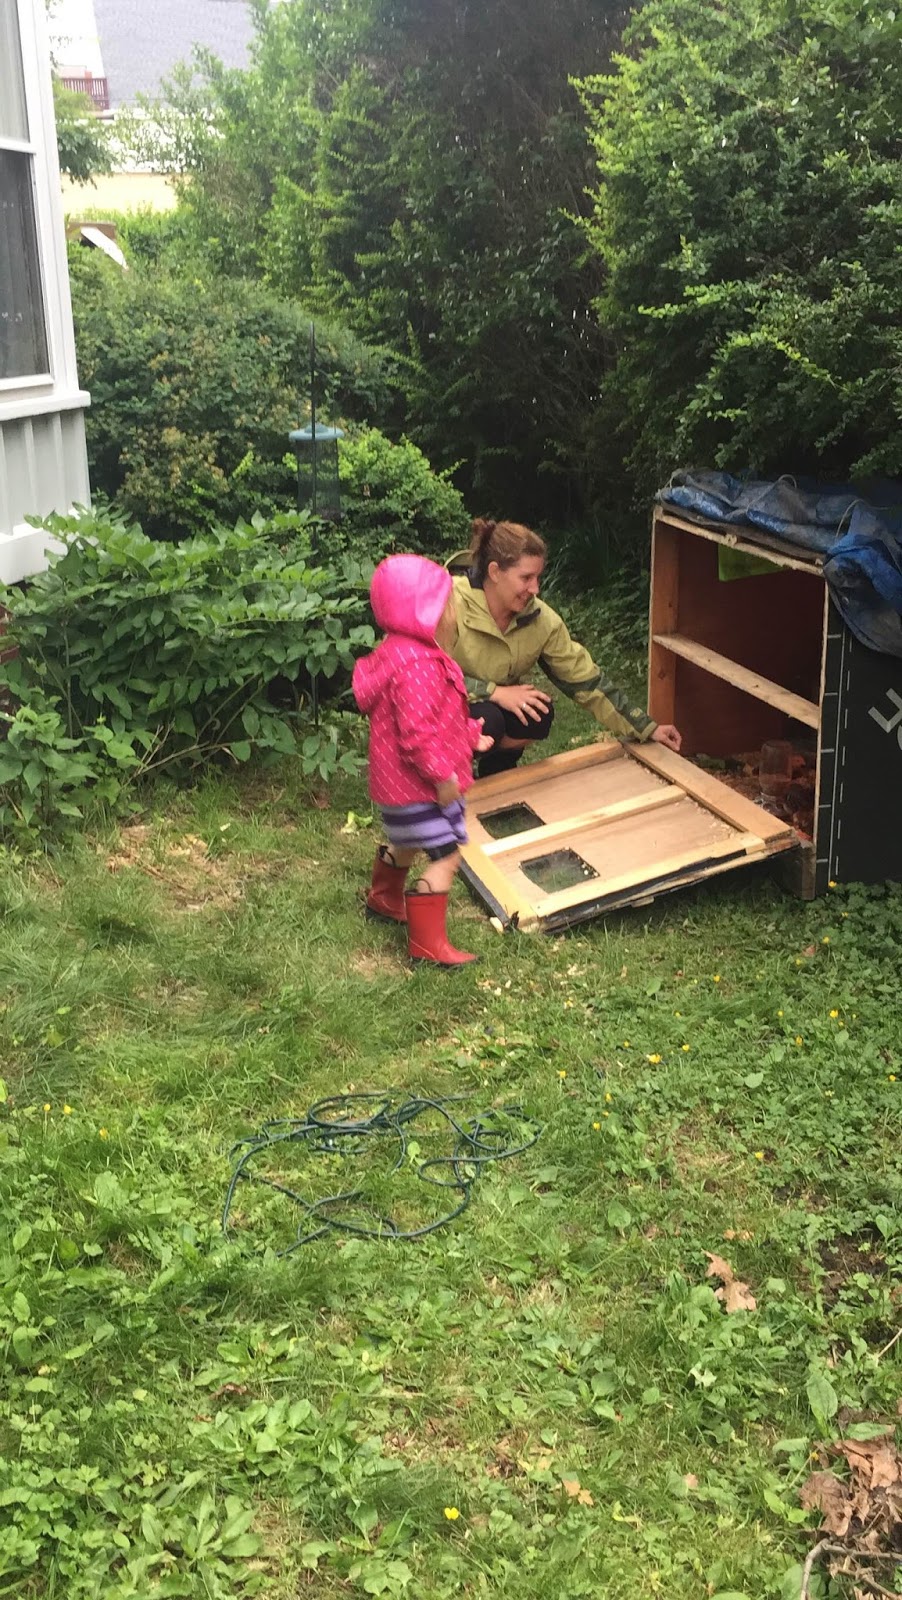
Here's the little brooder box. In retrospect, the door opening from the side would have made cleaning and letting chicks out much easier. |
|
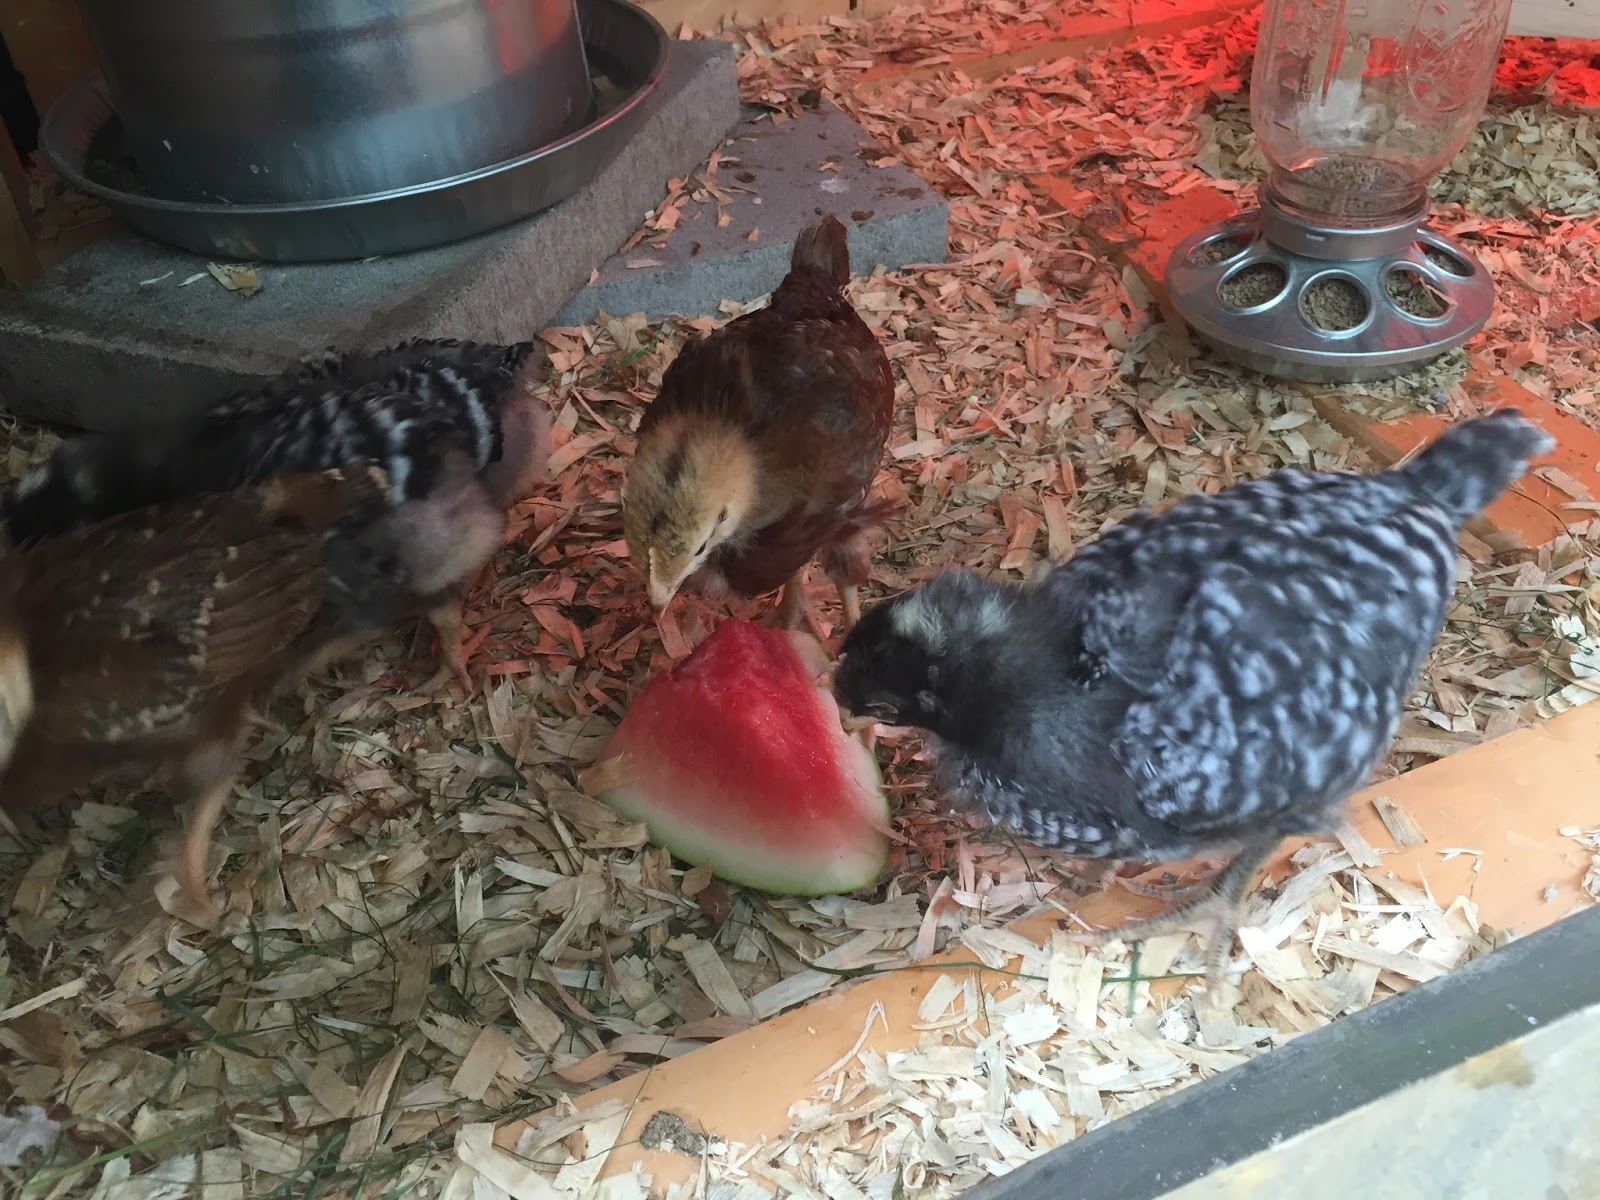
Inside the brooder, the chicks have a watermelon treat. |
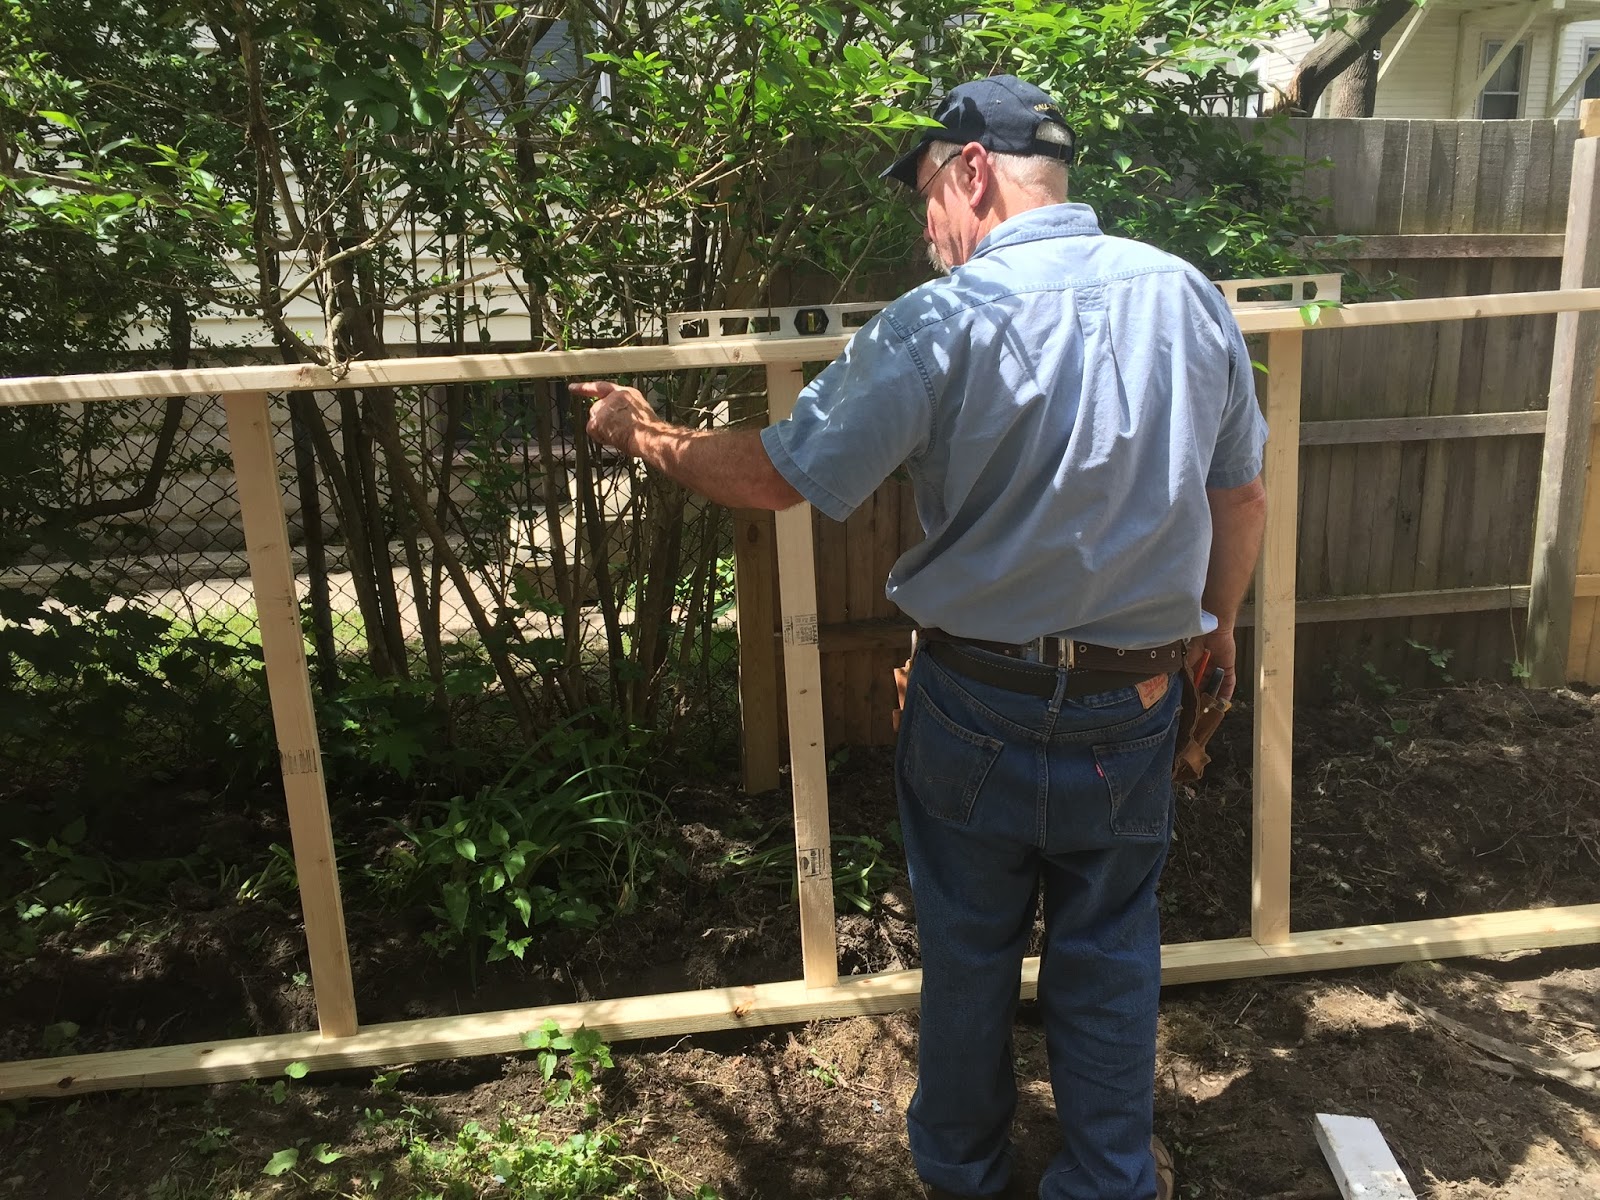
Anyway, we had very real motive (a bunch of chickens) to build a proper chicken coop. Site was selected. Honestly there wasn't much wiggle room here, but we decided to snug it into a pricklebush in the back corner of the property. The ground was fairly level, so I just cleared the grass (which has never been anything spectacular), dug down just a bit, and used some small crushed rock to get a nice surface for the coop. We decided to build the coop directly on the ground.
|
Honestly, can you tell we have neighbors five feet to the left and our own house two feet to the right? |

|
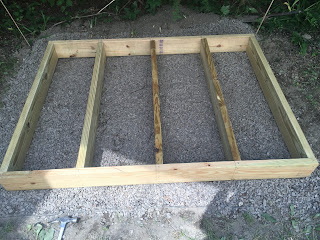
Leveled ground ready for the coop construction. The crushed rock should help with drainage. |
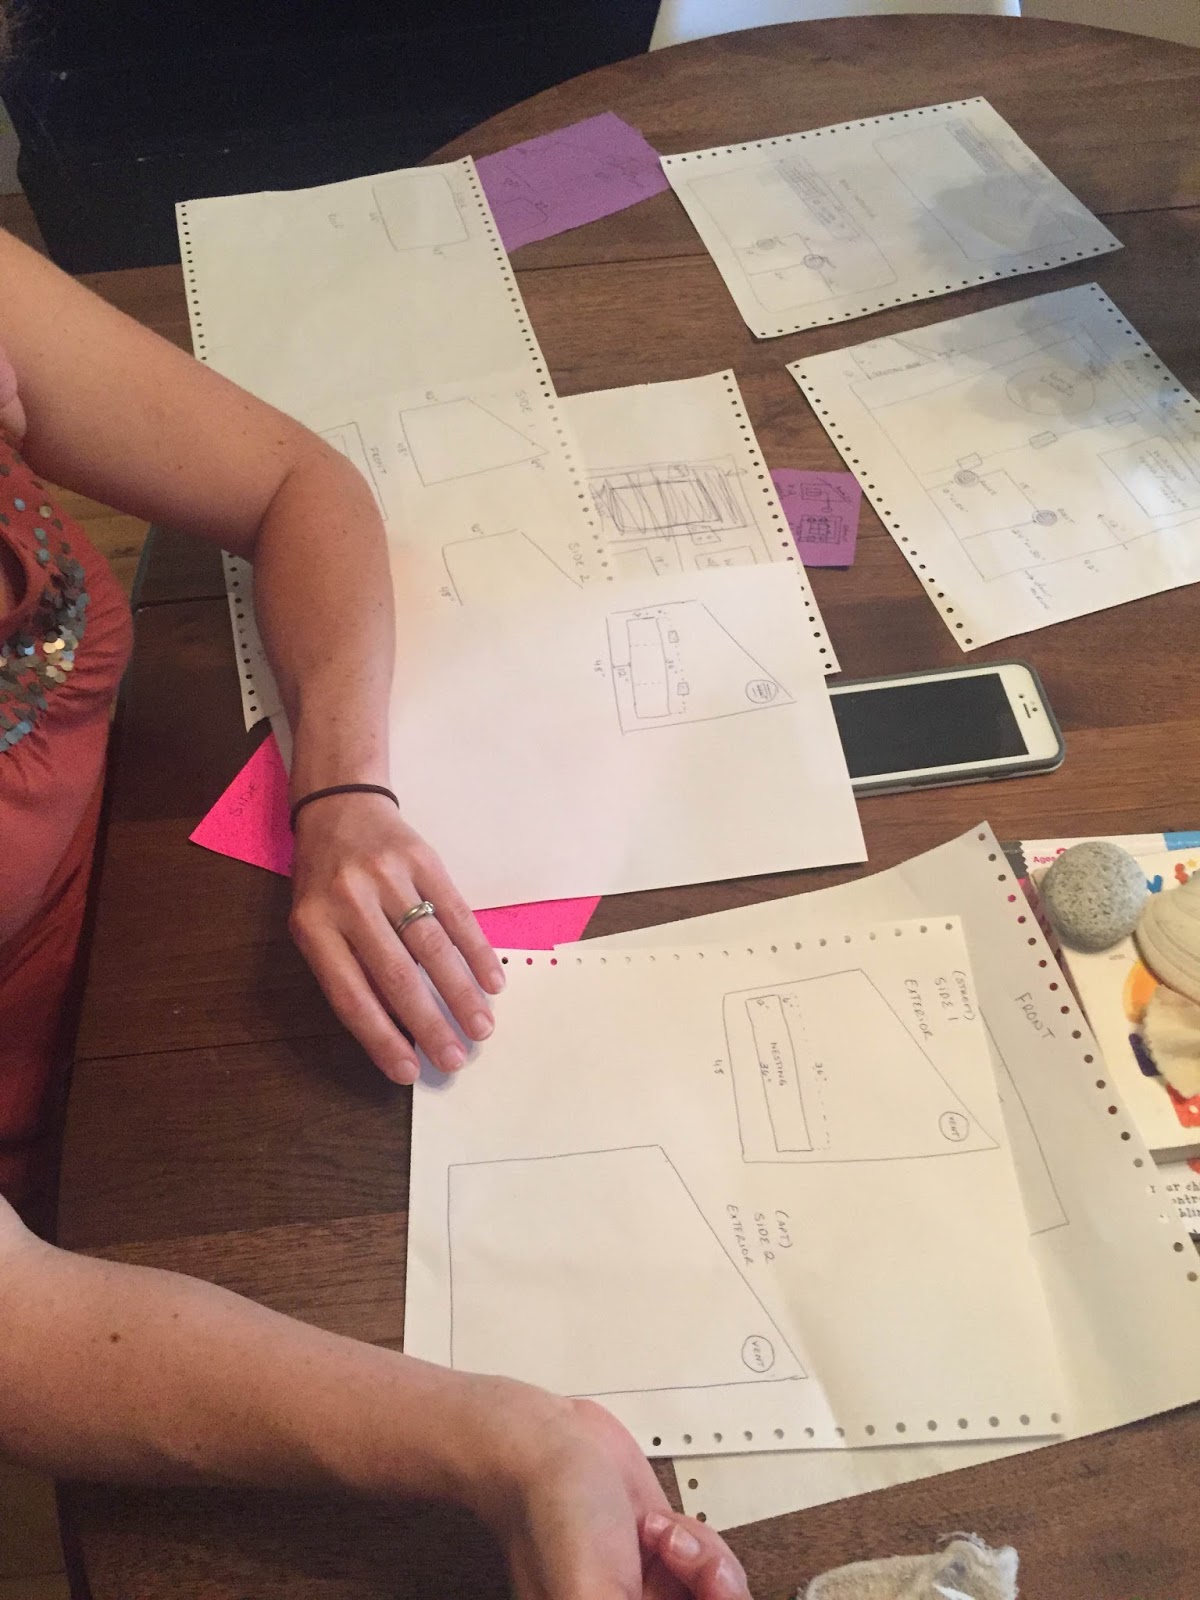
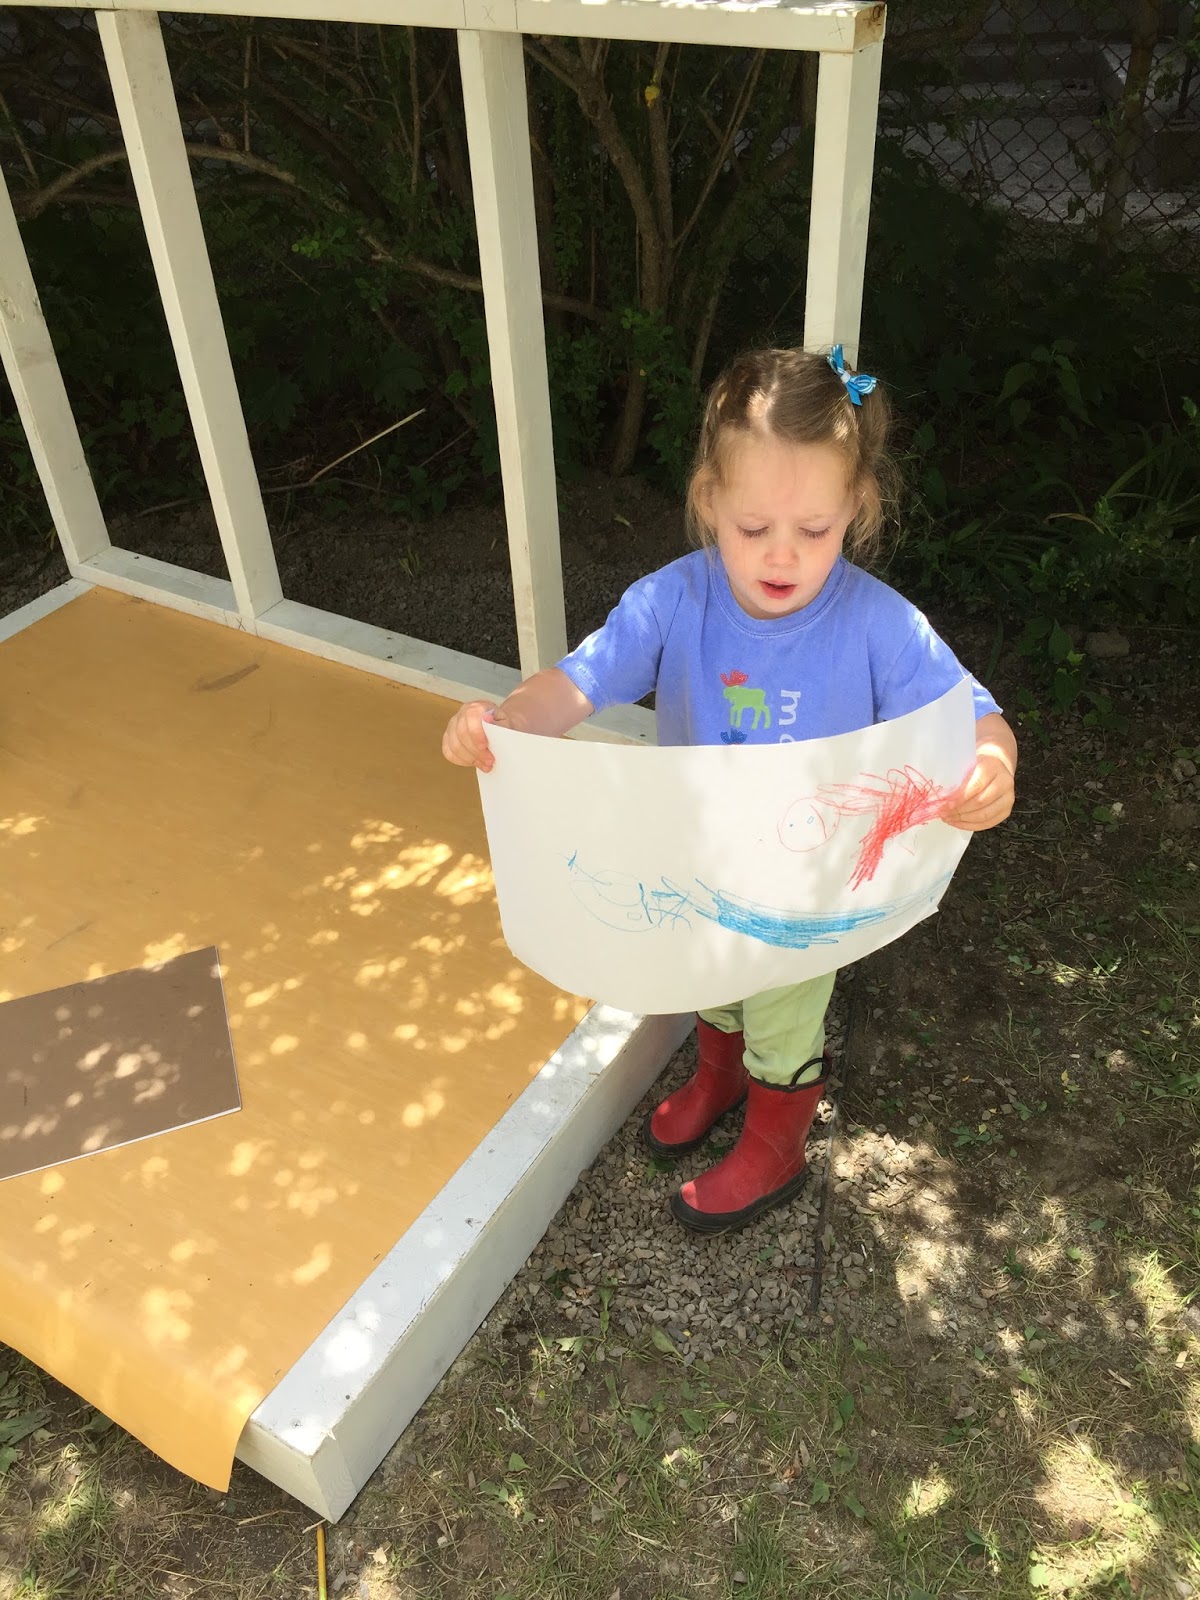
At some point, after a lot of pinning on Pinterest and reading on Backyard Chickens' site, I sketched a bunch of very casual plans. The design would be a simple shed about 4'x6'. That allowed for the recommended 4 square feet per chicken and didn't take up a ridiculous amount of space. We wanted plenty of ventilation, enough height to allow for relatively easy cleaning, and surfaces that could be scrubbed. My family had chickens when I was younger, and, as lovely as Pinterest makes it look, chicken poop A LOT. I also tried to work the measurements to minimize lumber waste. We ended up changing some measurements so that the materials we had on hand would be best utilized.
| ||
Coop designs - love the retro paper! |
We bought a bunch of lumber. We did pressure treated for the floor frame and the bottom of the run. Here's the floor framed. There was some debate on whether to build this in the driveway or on site. The pricklebush was a pain, literally, but moving this sucker would have been a bigger challenge.
|
Floor framed. |
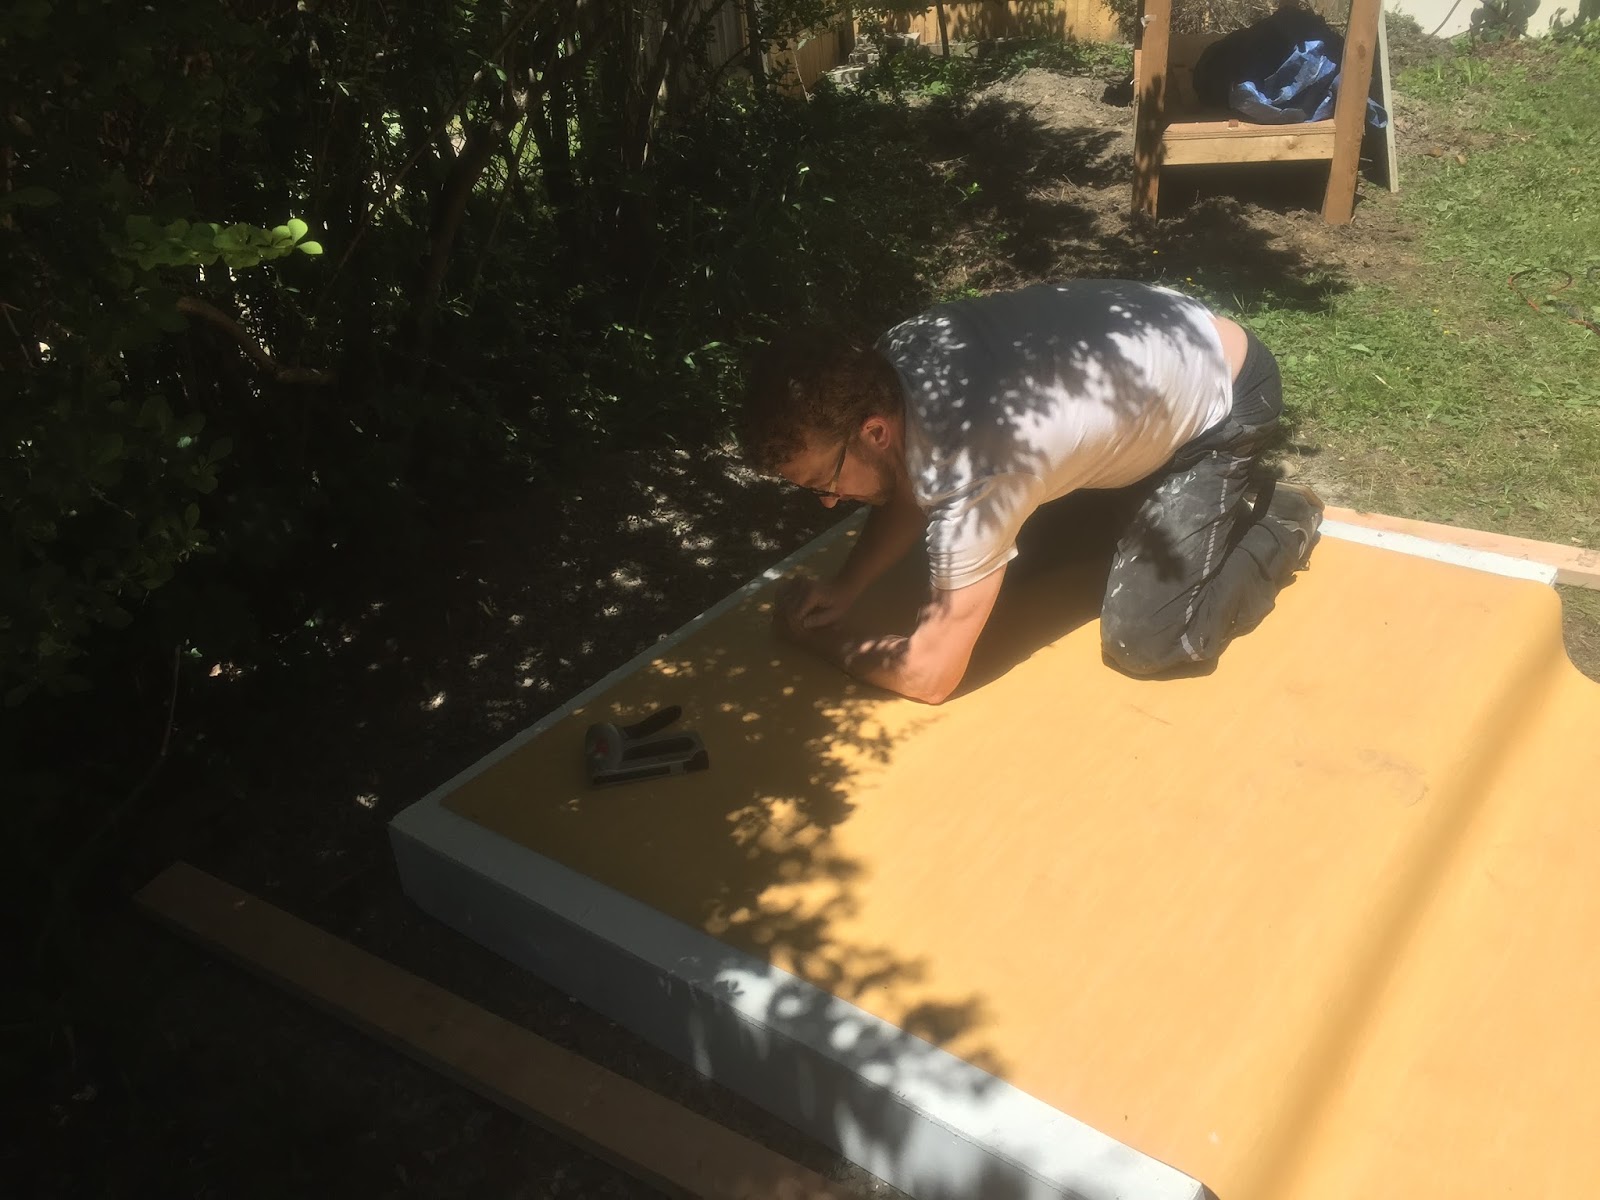
All the plywood we used was recycled from other projects. Floor went on and then was covered by vinyl flooring. My husband found the flooring at a discount store and, by chance, got enough to do the floor, the poop deck, and the nest boxes. We stapled it down, skipped the glue, and used the walls to really stick it on.
|
Vinyl flooring on top of plywood will give us a nice waterproof surface. |
Next we framed the walls. Studs were planned around opening rather that following standard 16" on center. The front of our coop is almost entirely door and window. We used 2x4s for the frame, but could have probably used 2x3s. Having plans was really helpful; being flexible and willing to add a little here or adjust as we went was necessary. The walls ended up being surprisingly square considering our combined lack of experience!

|
We painted as much of the lumber and plywood prior to building as possible. |

|
The back wall, snugged right up to a wretched prickly bush, required a tough skin! |
|
Our tiny foreman giving orders. So. Many. Orders. |

|
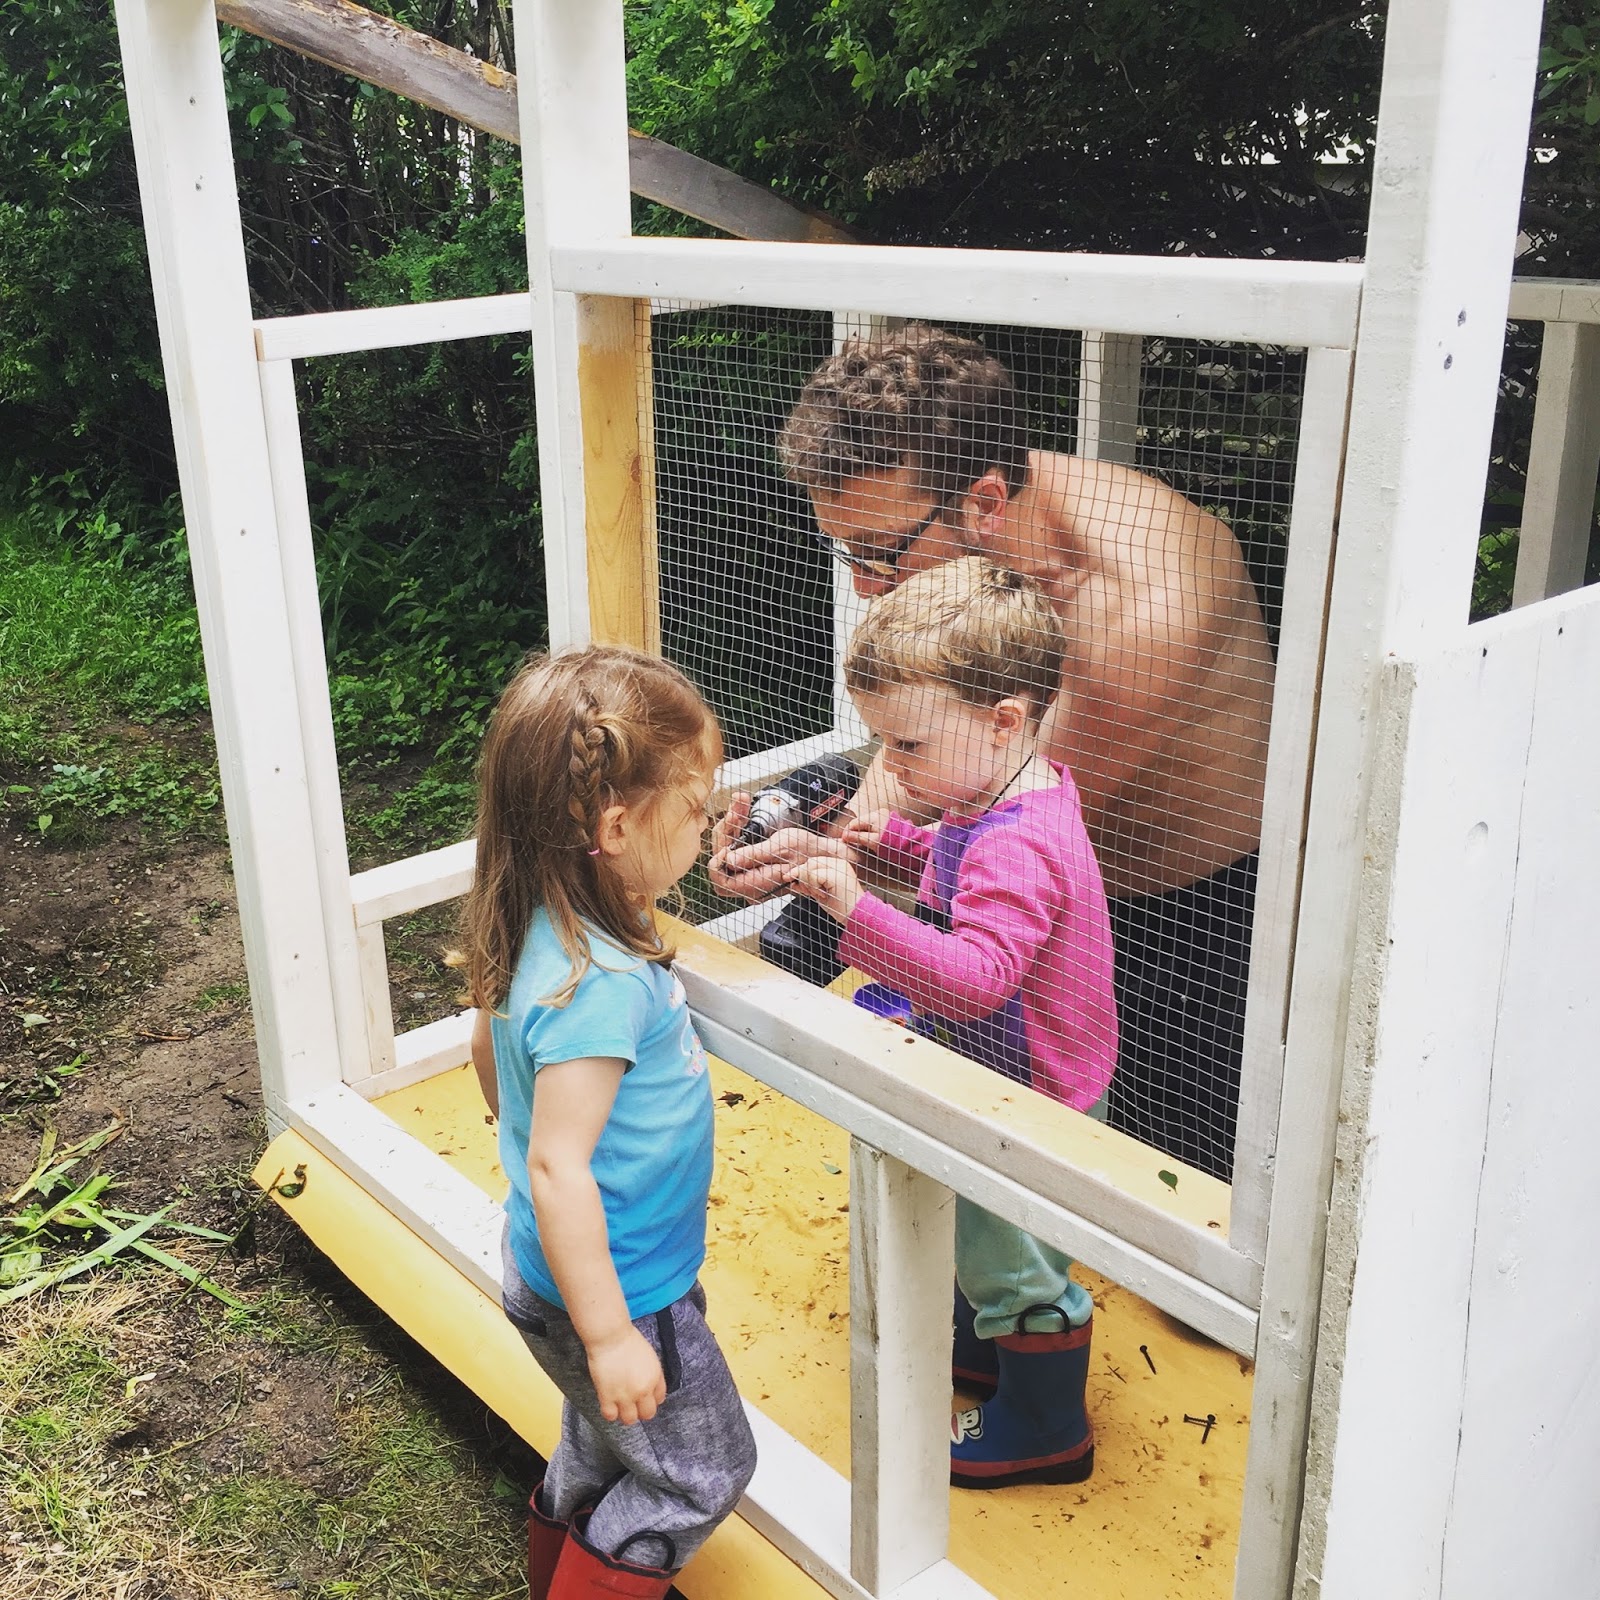
Three walls up! Hardware mesh for the window installed. |
|
Our tiny helpers - this photo makes it seem so sweet and speaks to family cooperation and learning experiences. In reality, it's really hard to focus on a project like this with two small children and all their neeeeeeeeeds. Daniel Tiger assisted on that part of the process, but the kids did help from time to time. I think this is probably when they started to think this would be an awesome playhouse. Sorry, kids. |
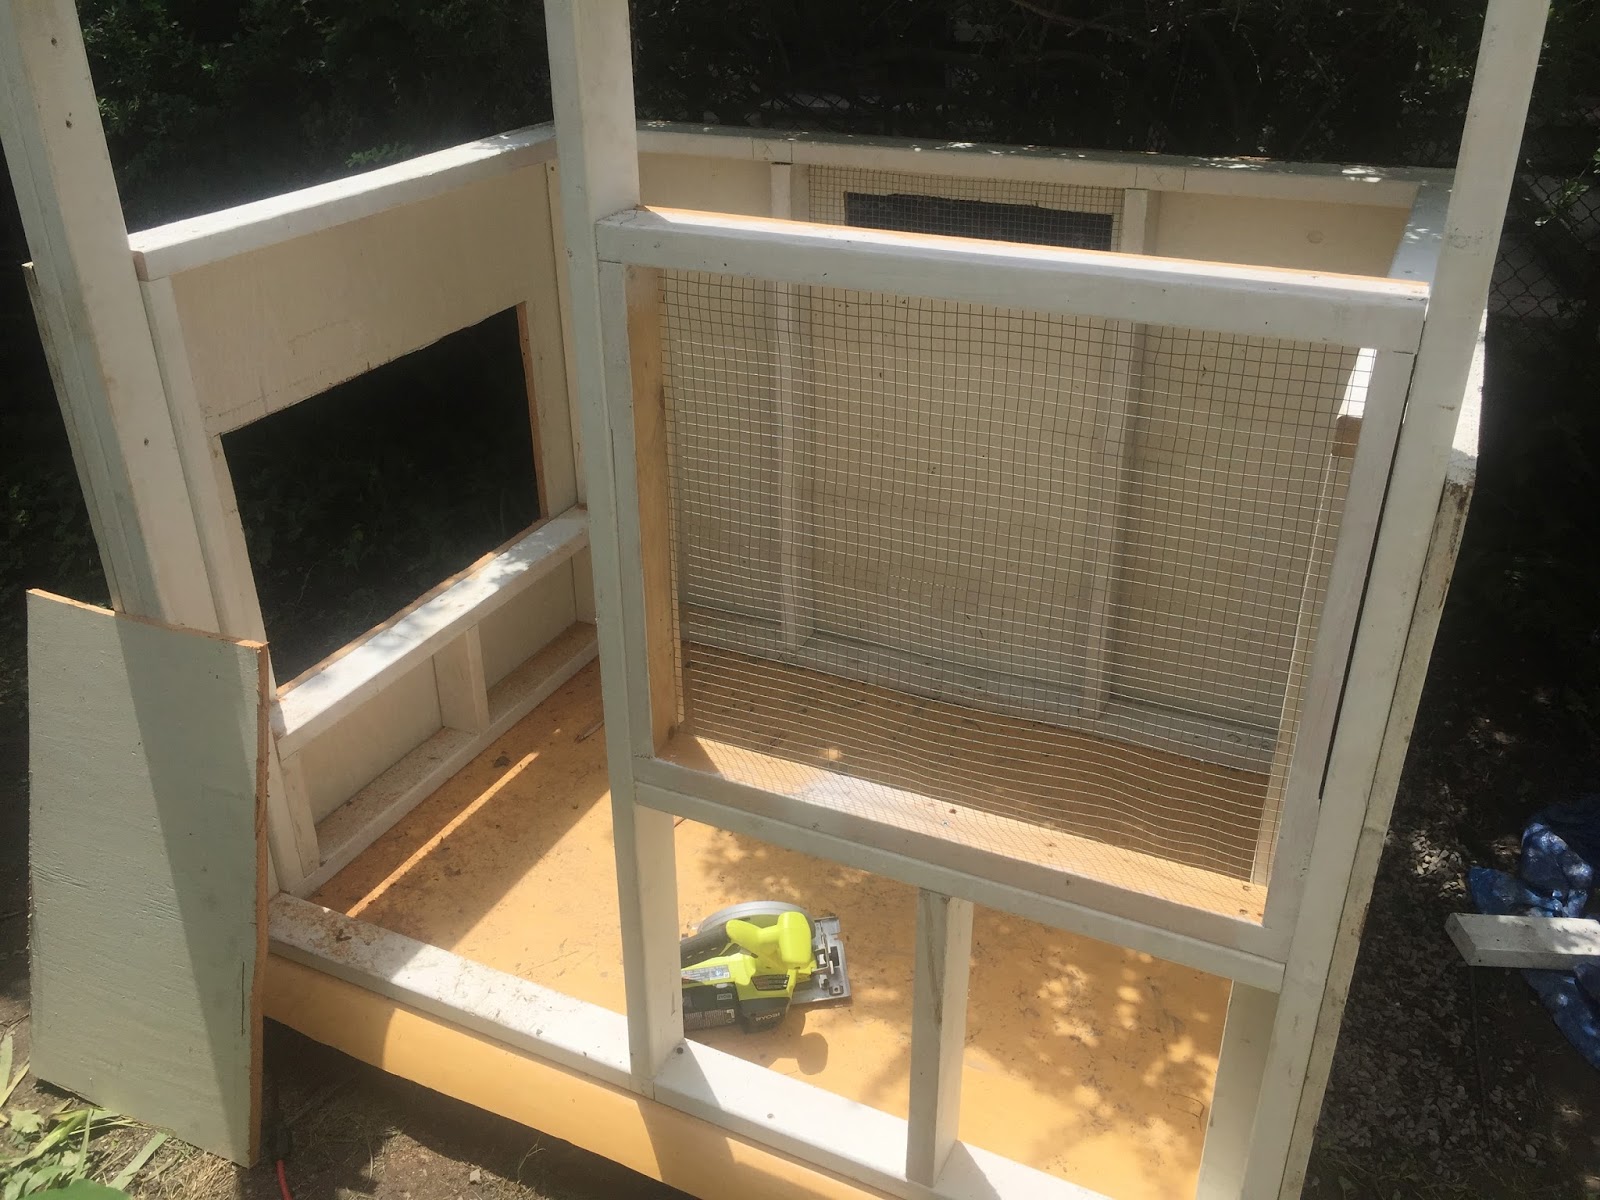
With quite a bit of plywood saved up from previous projects and collecting, we didn't end up having to buy any more for this project. The back and side walls were simple enough. Holes for the nesting box (a restore find for $5) and the chicken door as well as vents. The one in the back will be framed and have a door to shut on the coldest winter nights.
|
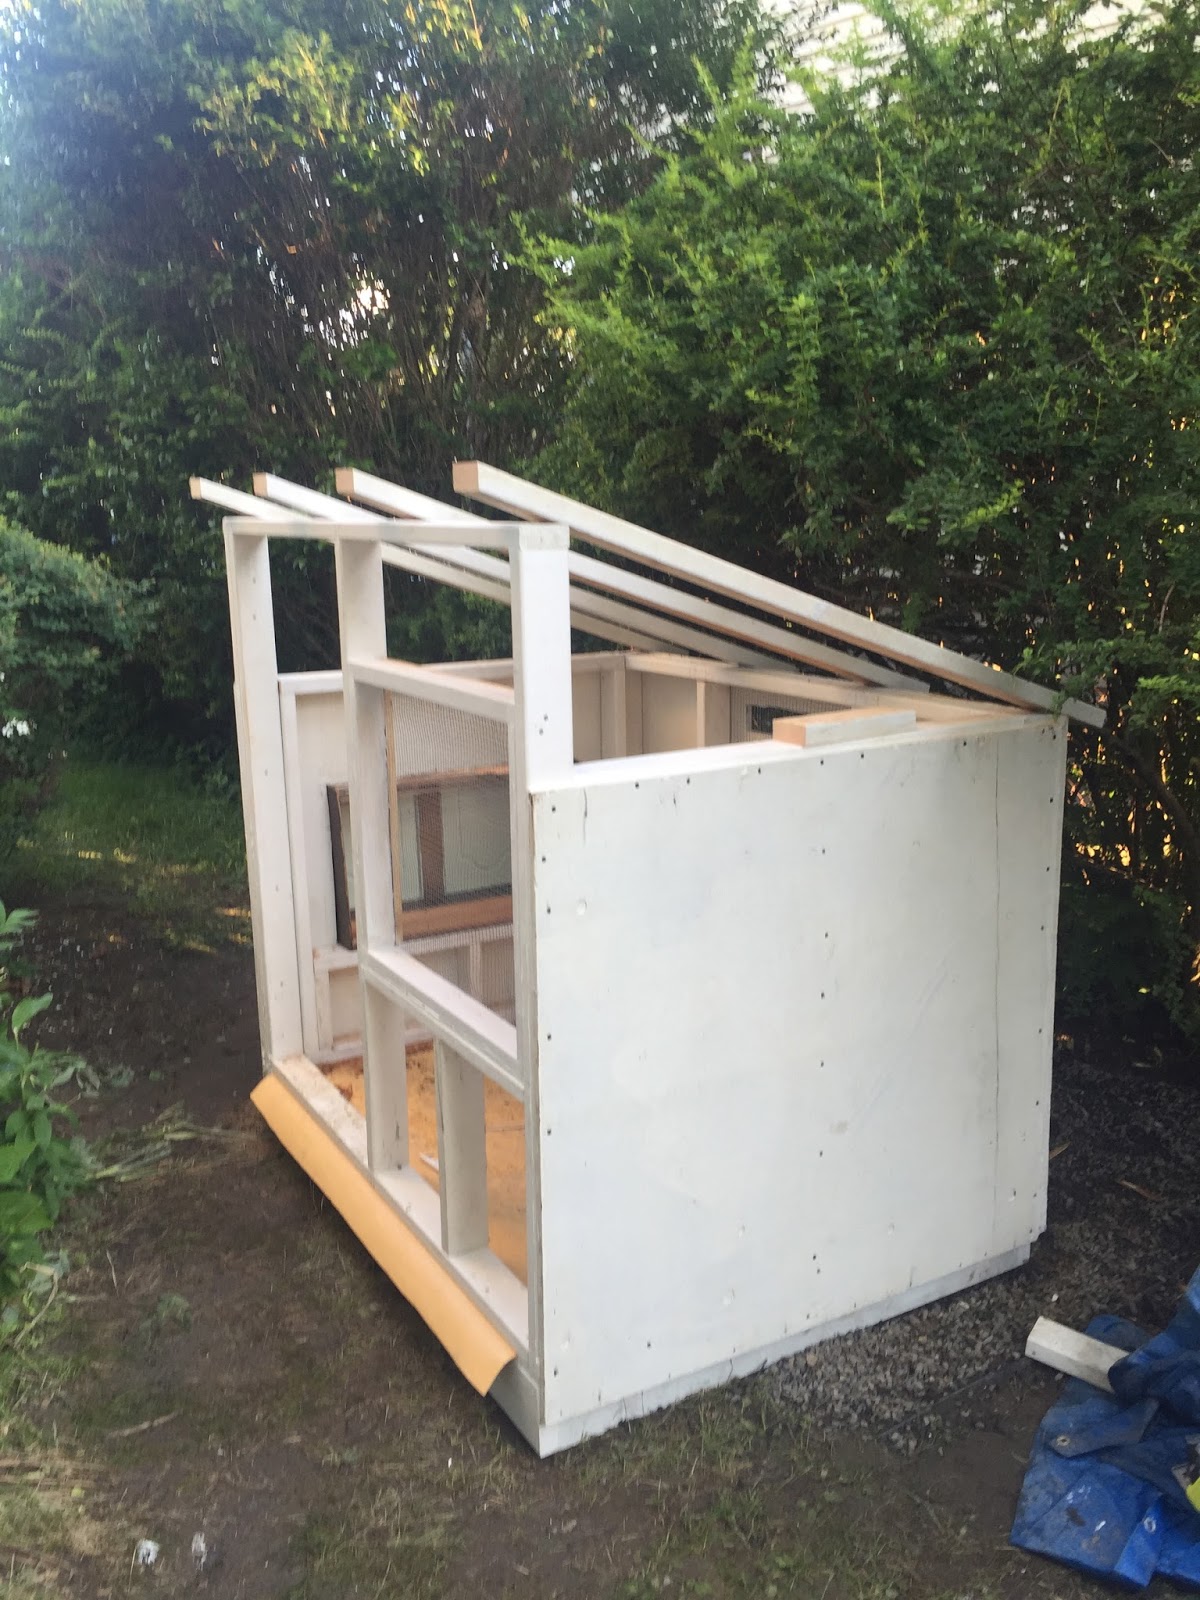
Plywood on three walls. Everything was primed before putting up. Husband used a jigsaw to cut the holes out. |
|
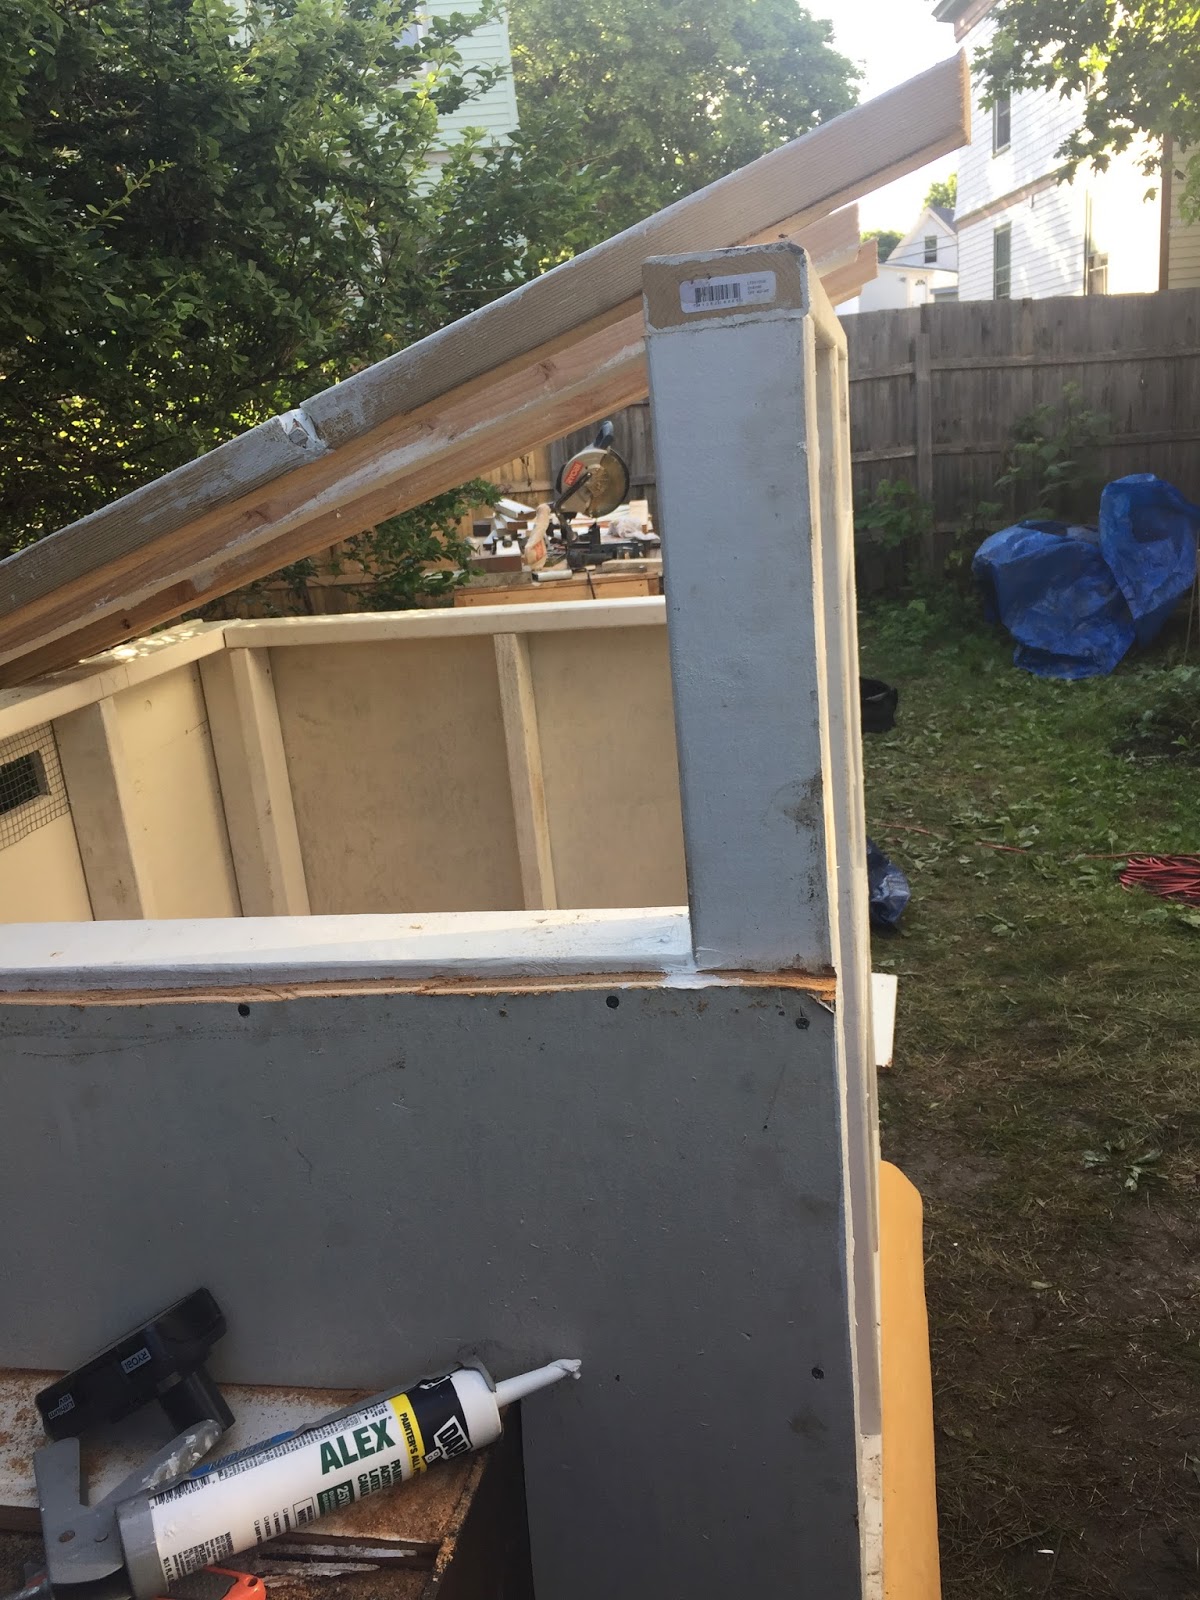
At some point the rafters went on. We had quite a debate on the "right" way to do this. In the end we couldn't handle bird's mouth math and just screwed those suckers onto the frame. By laying them flat, we kept the vertical profile a little lower. |
|
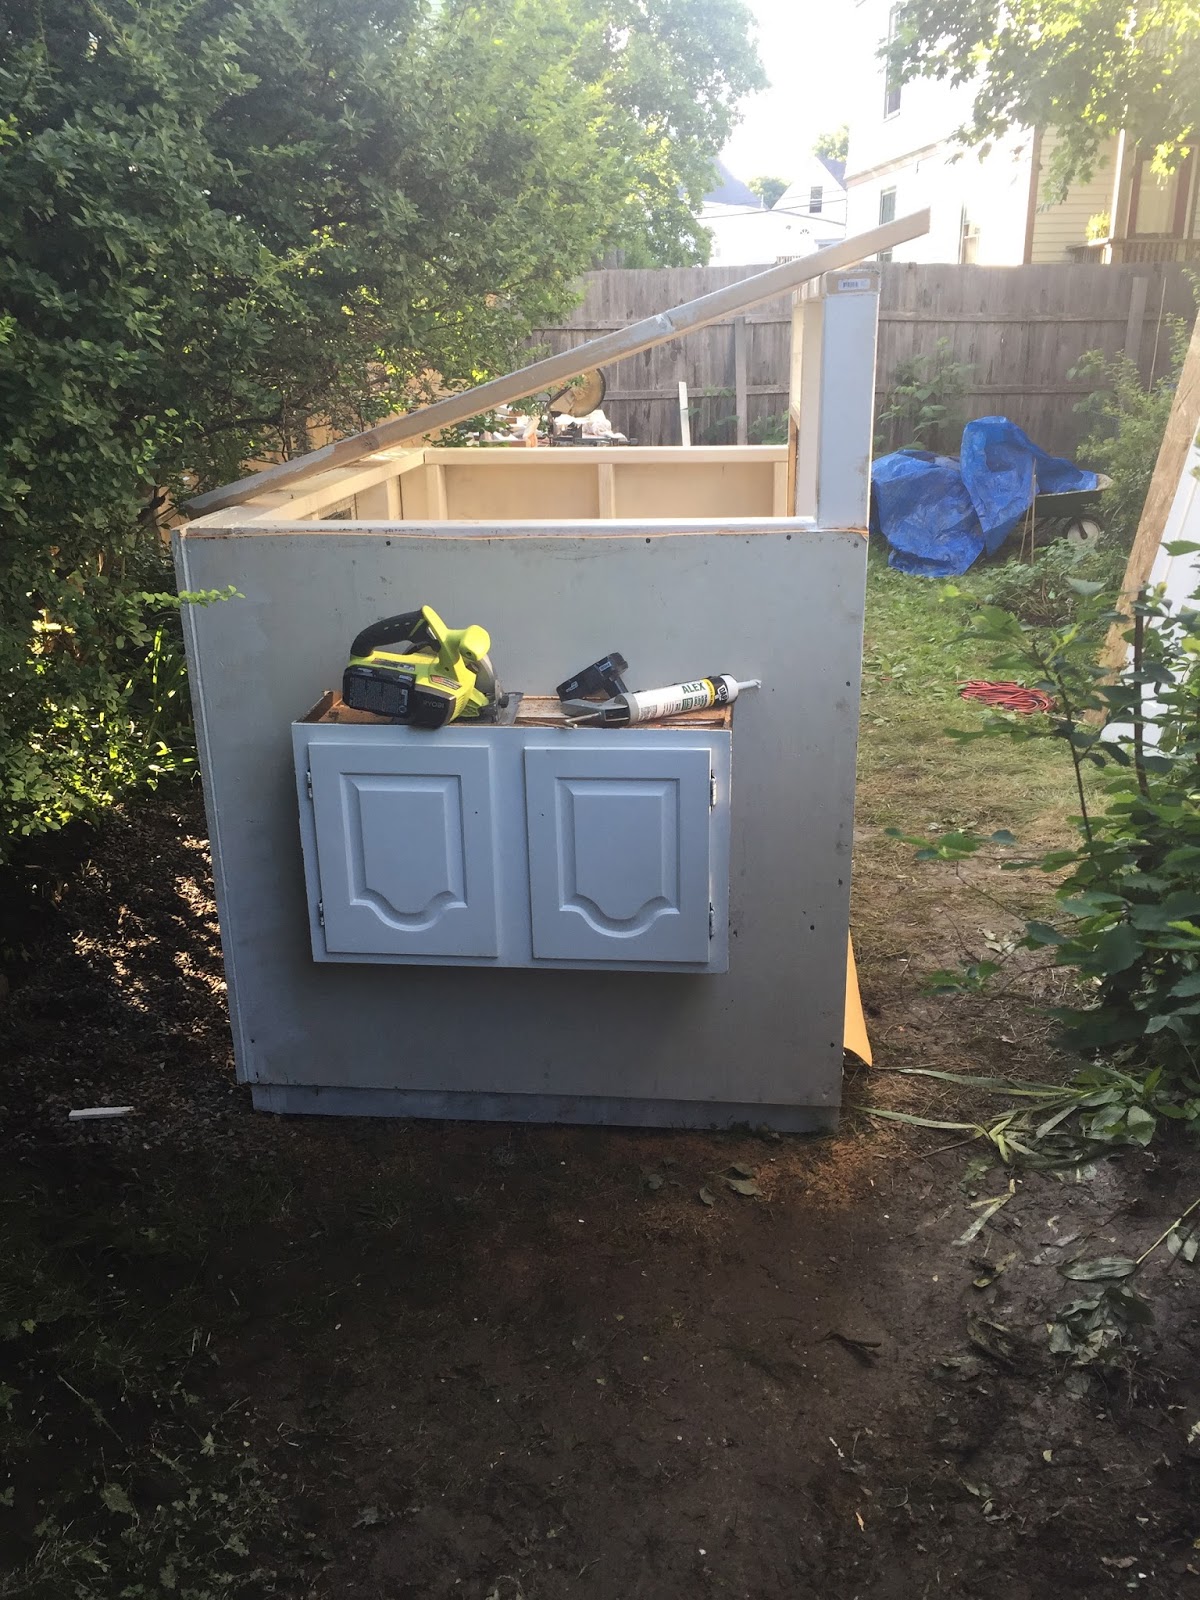
Nest box/cupboard doors are upside down, but will get fixed! |
| ||
The coop was really looking like a structure at this point. We covered the triangles and then the front pieces. |
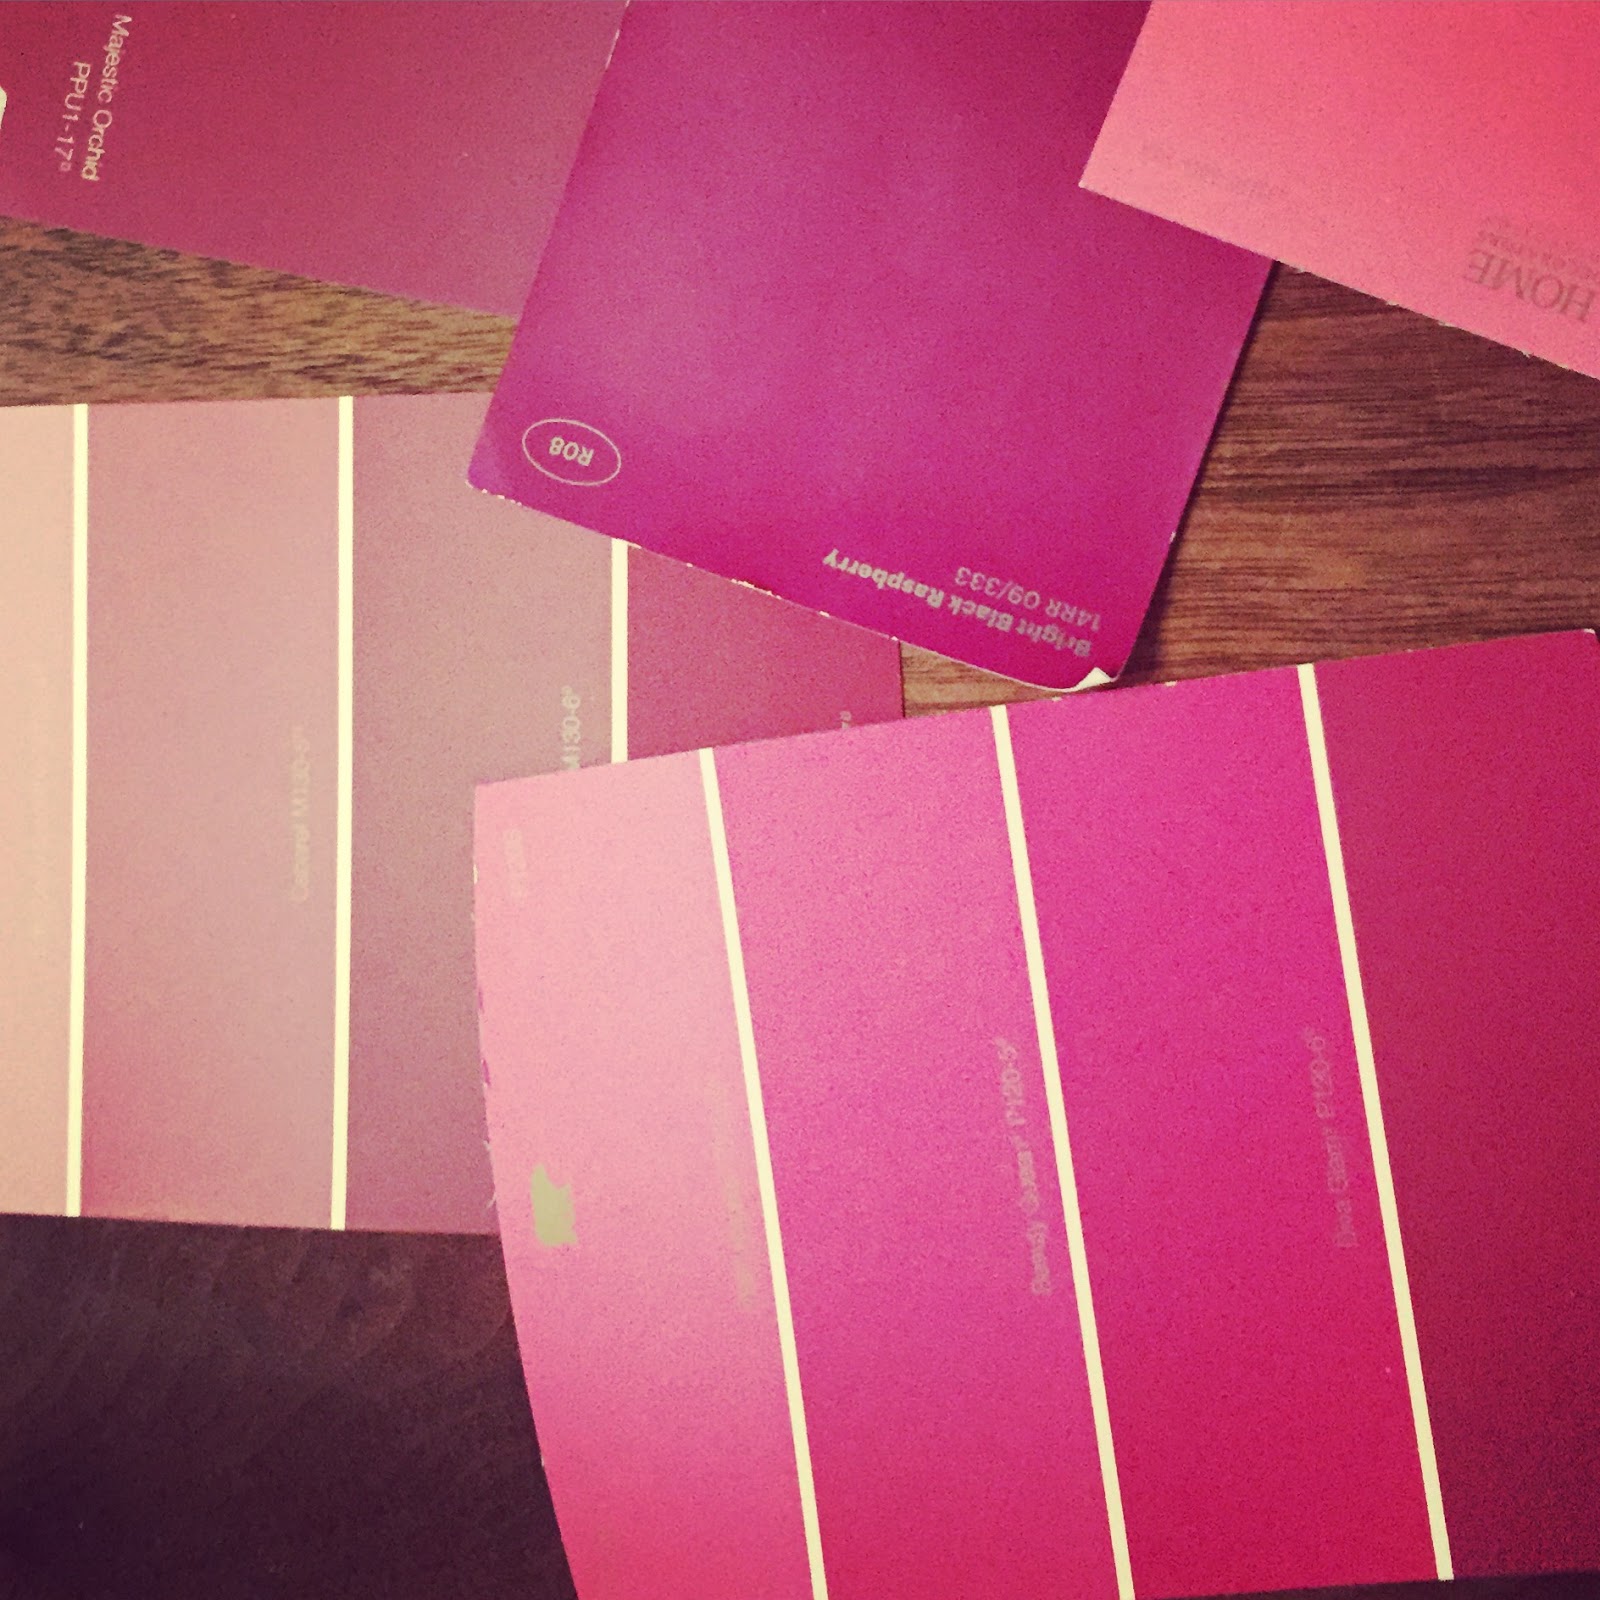
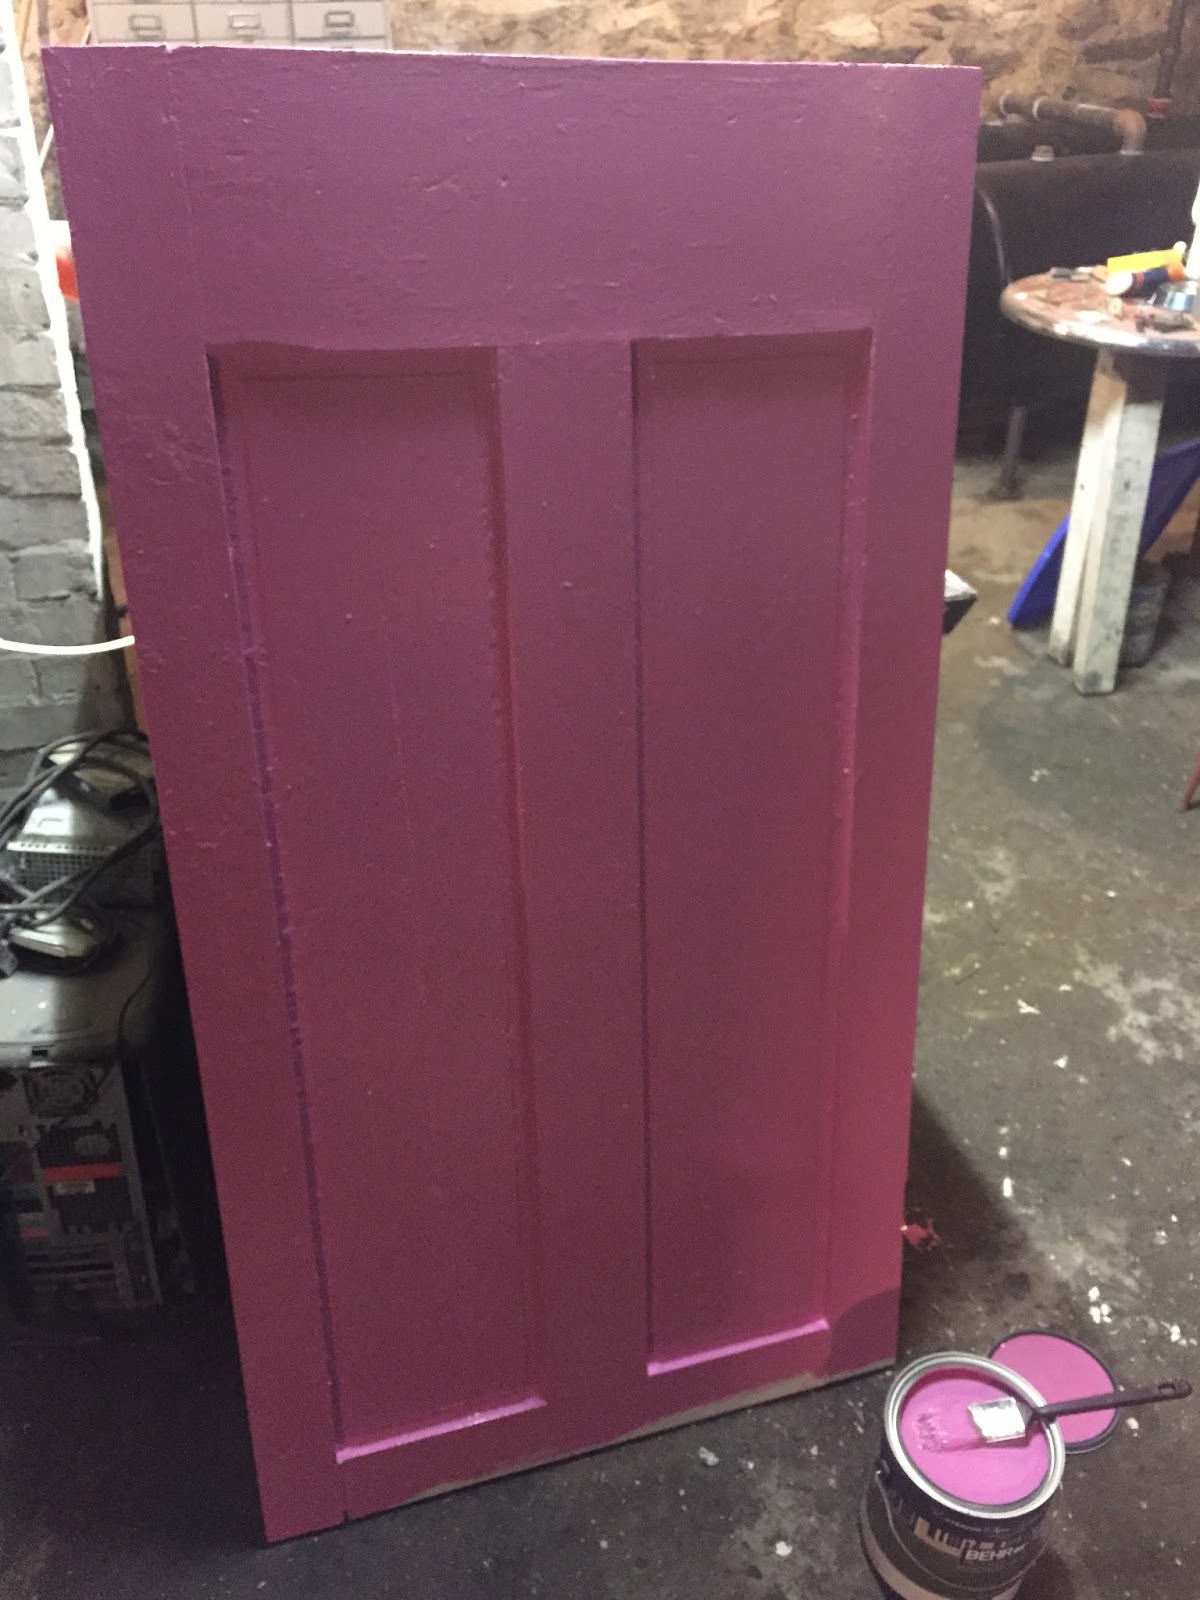
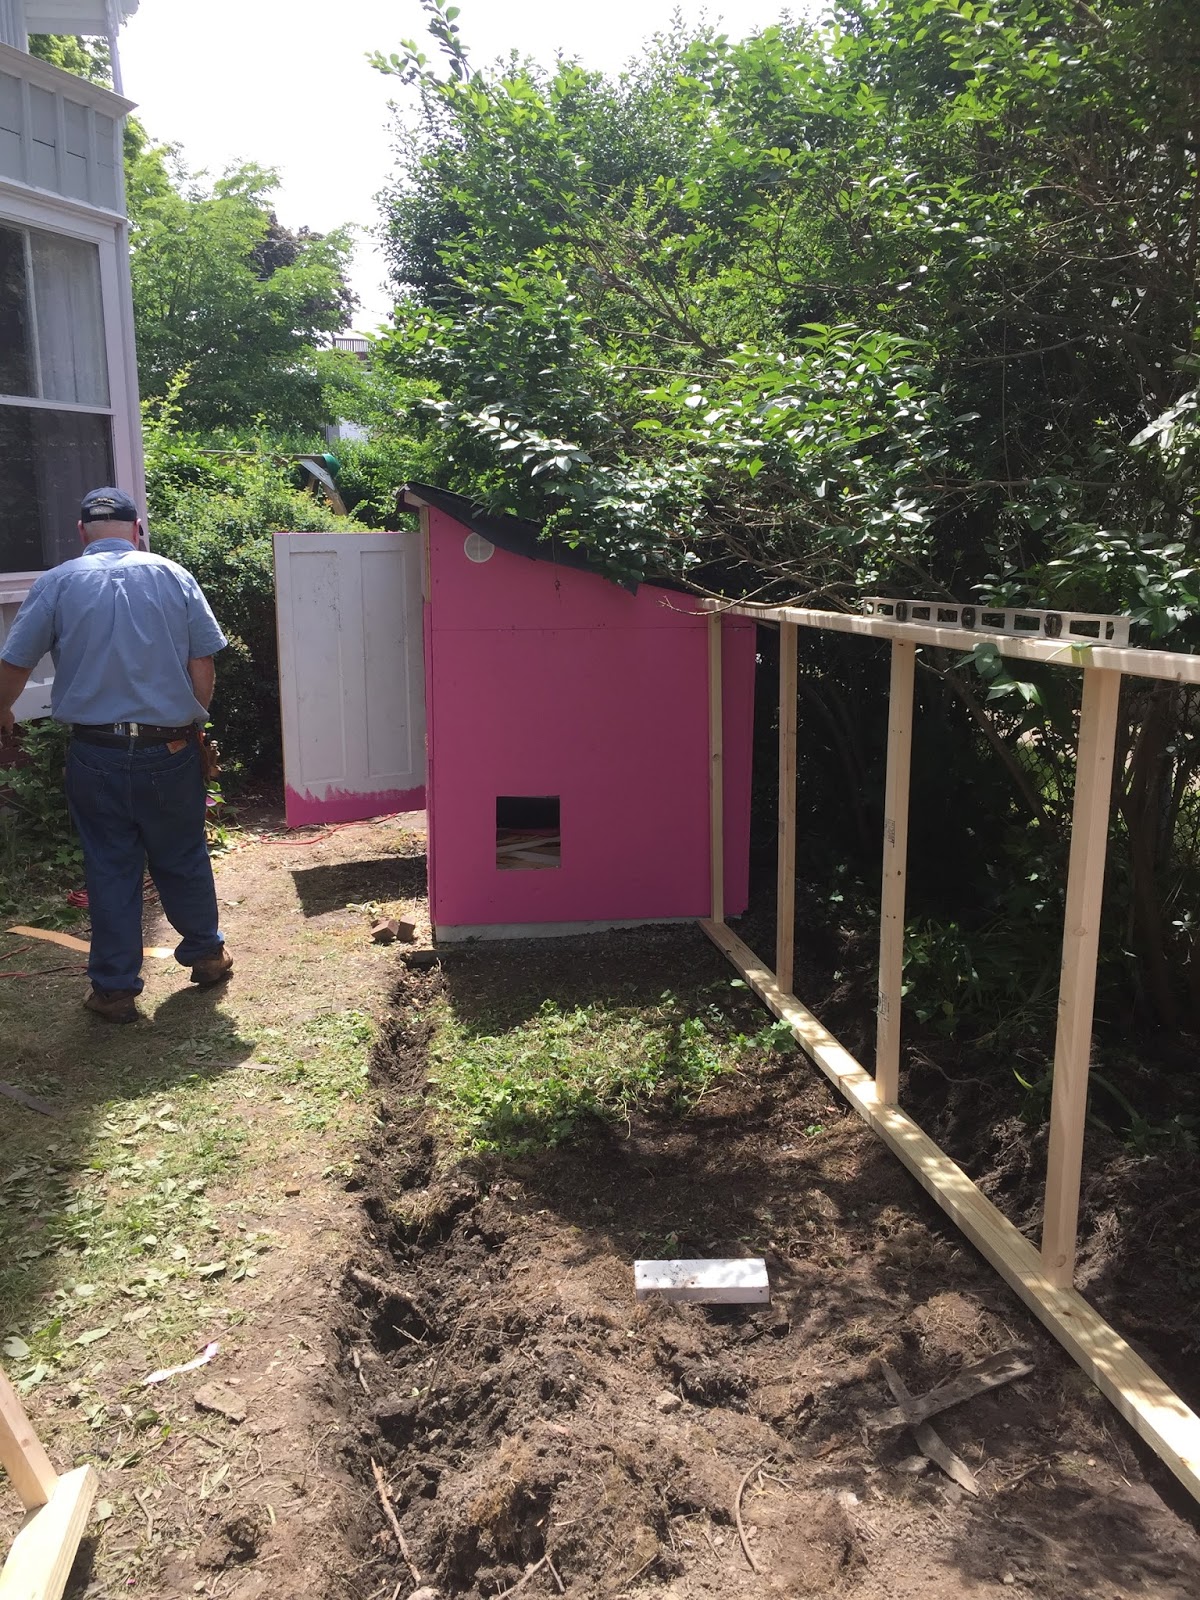
After the walls went up, we (my husband) chose the colors. PINK and PINKER. Small Girl was beyond thrilled! We also realized it was not going to be easy for her to come to terms with chickens living in her playhouse.
|
Final colors ended up being Behr Love Heart (or something like that) with Behr Glitterati for the trim. My husband wishes we had chosen something with a matching spray paint to make all the trim work a whole lot easier. |
|
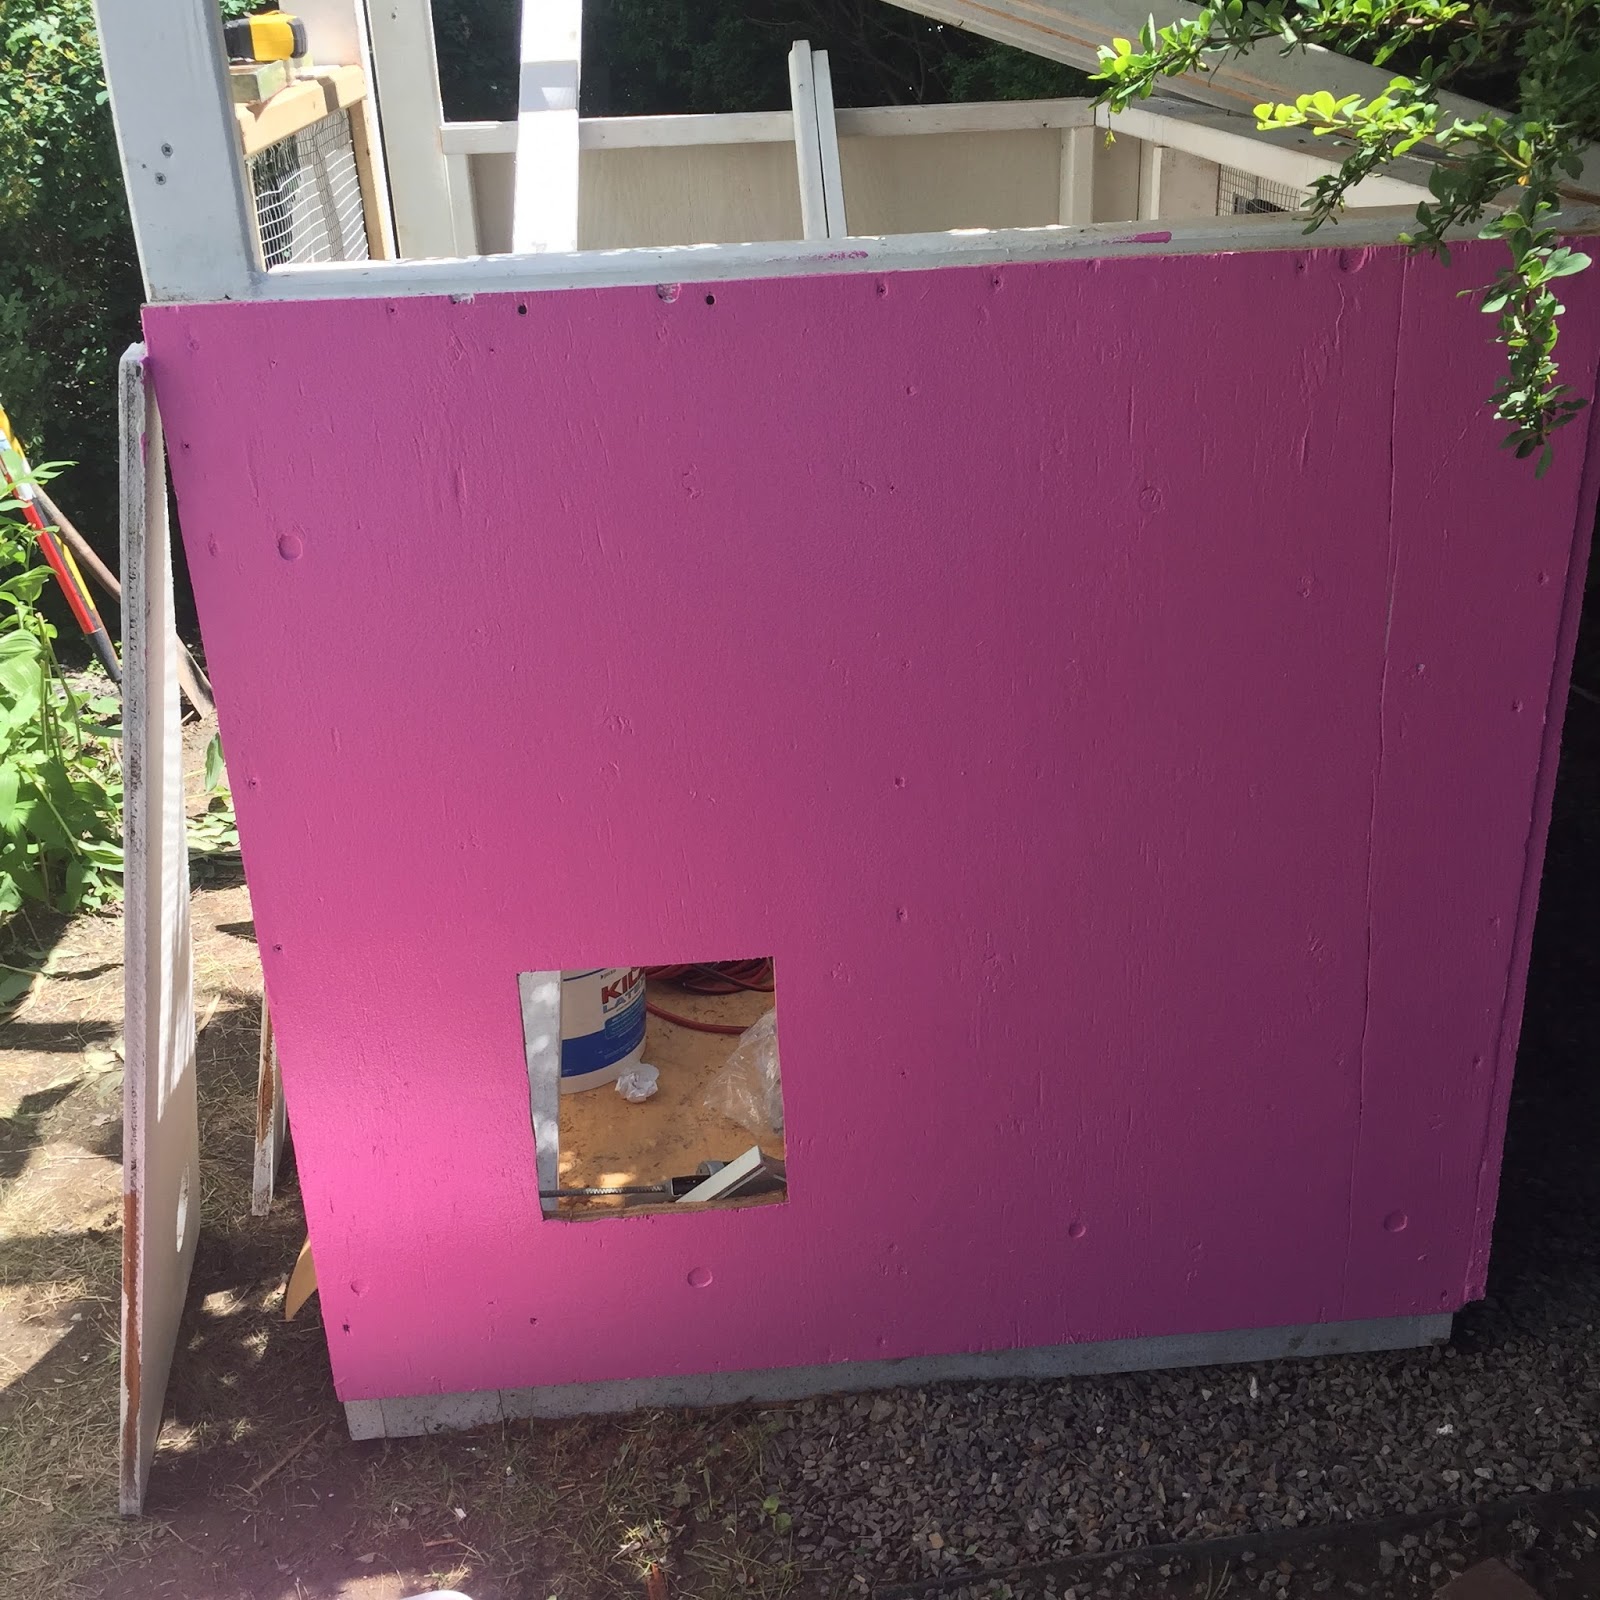
HOLY PINKNESS! |
|
Hole cut for the chicken door. |
|
Plywood is on the roof. |

|
Creative coverage on the front of the coop. |
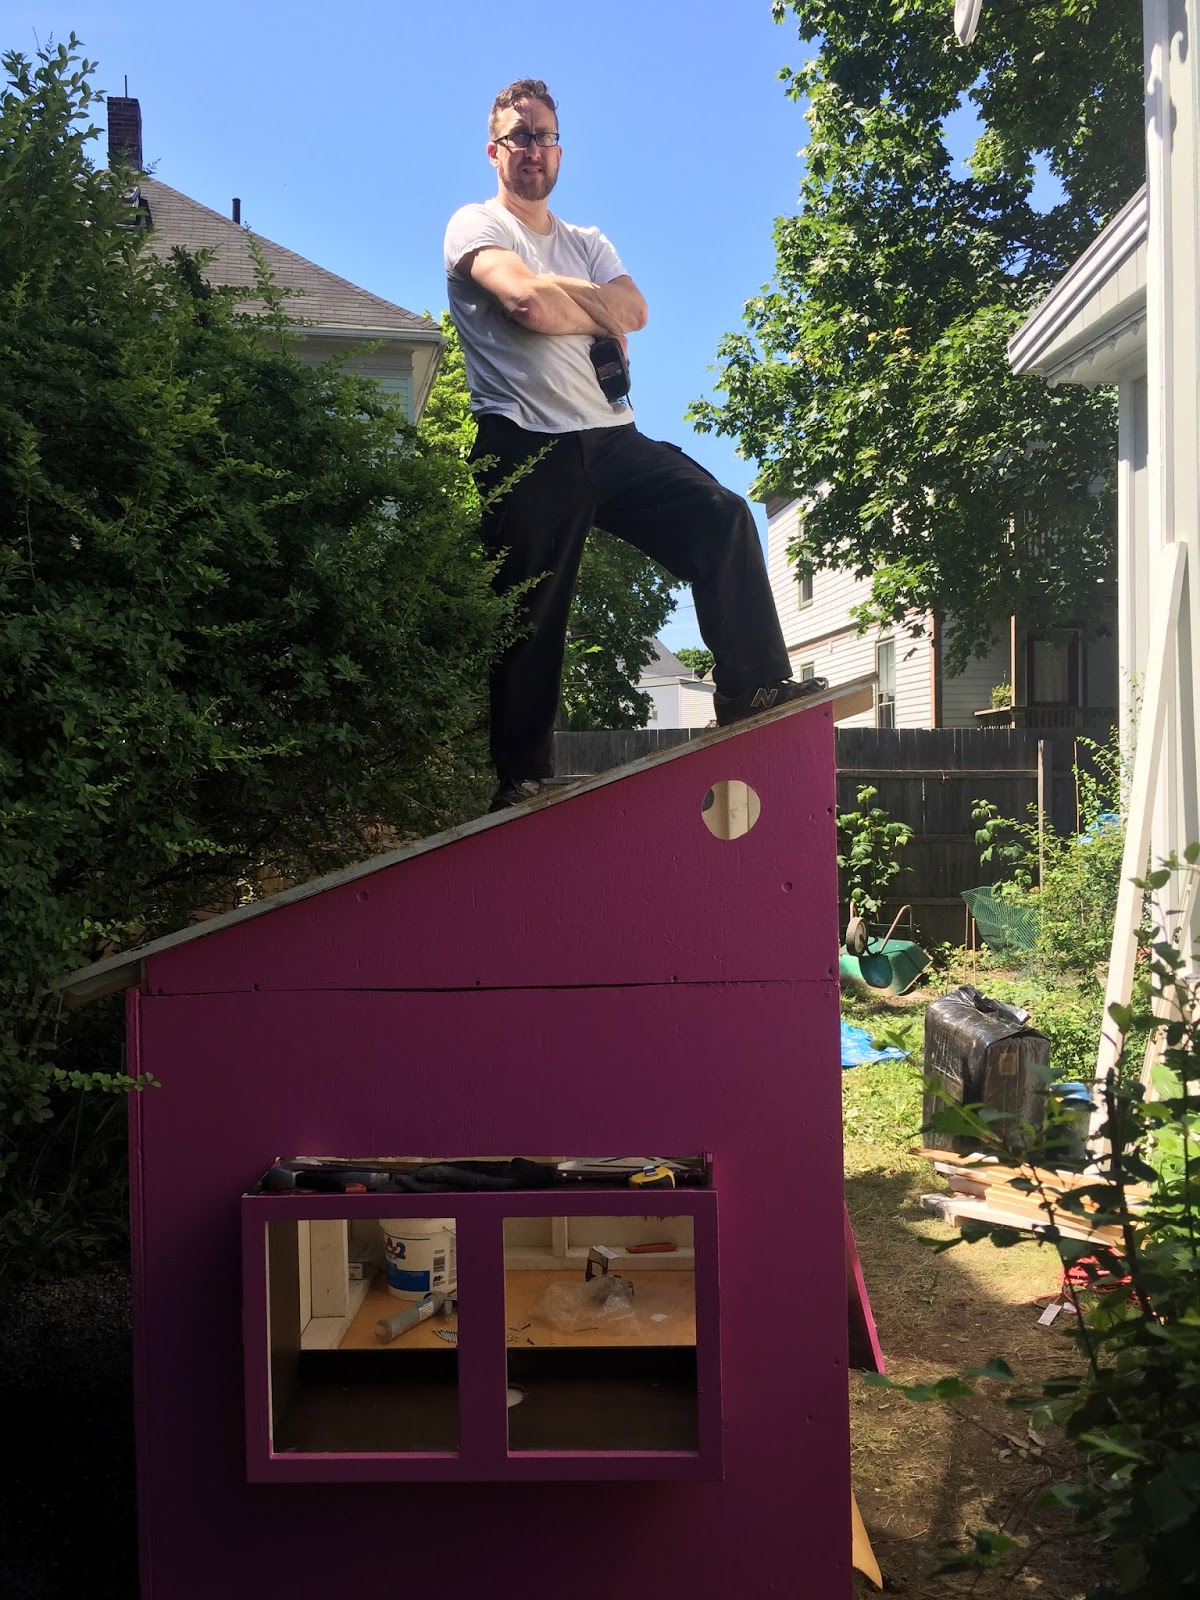
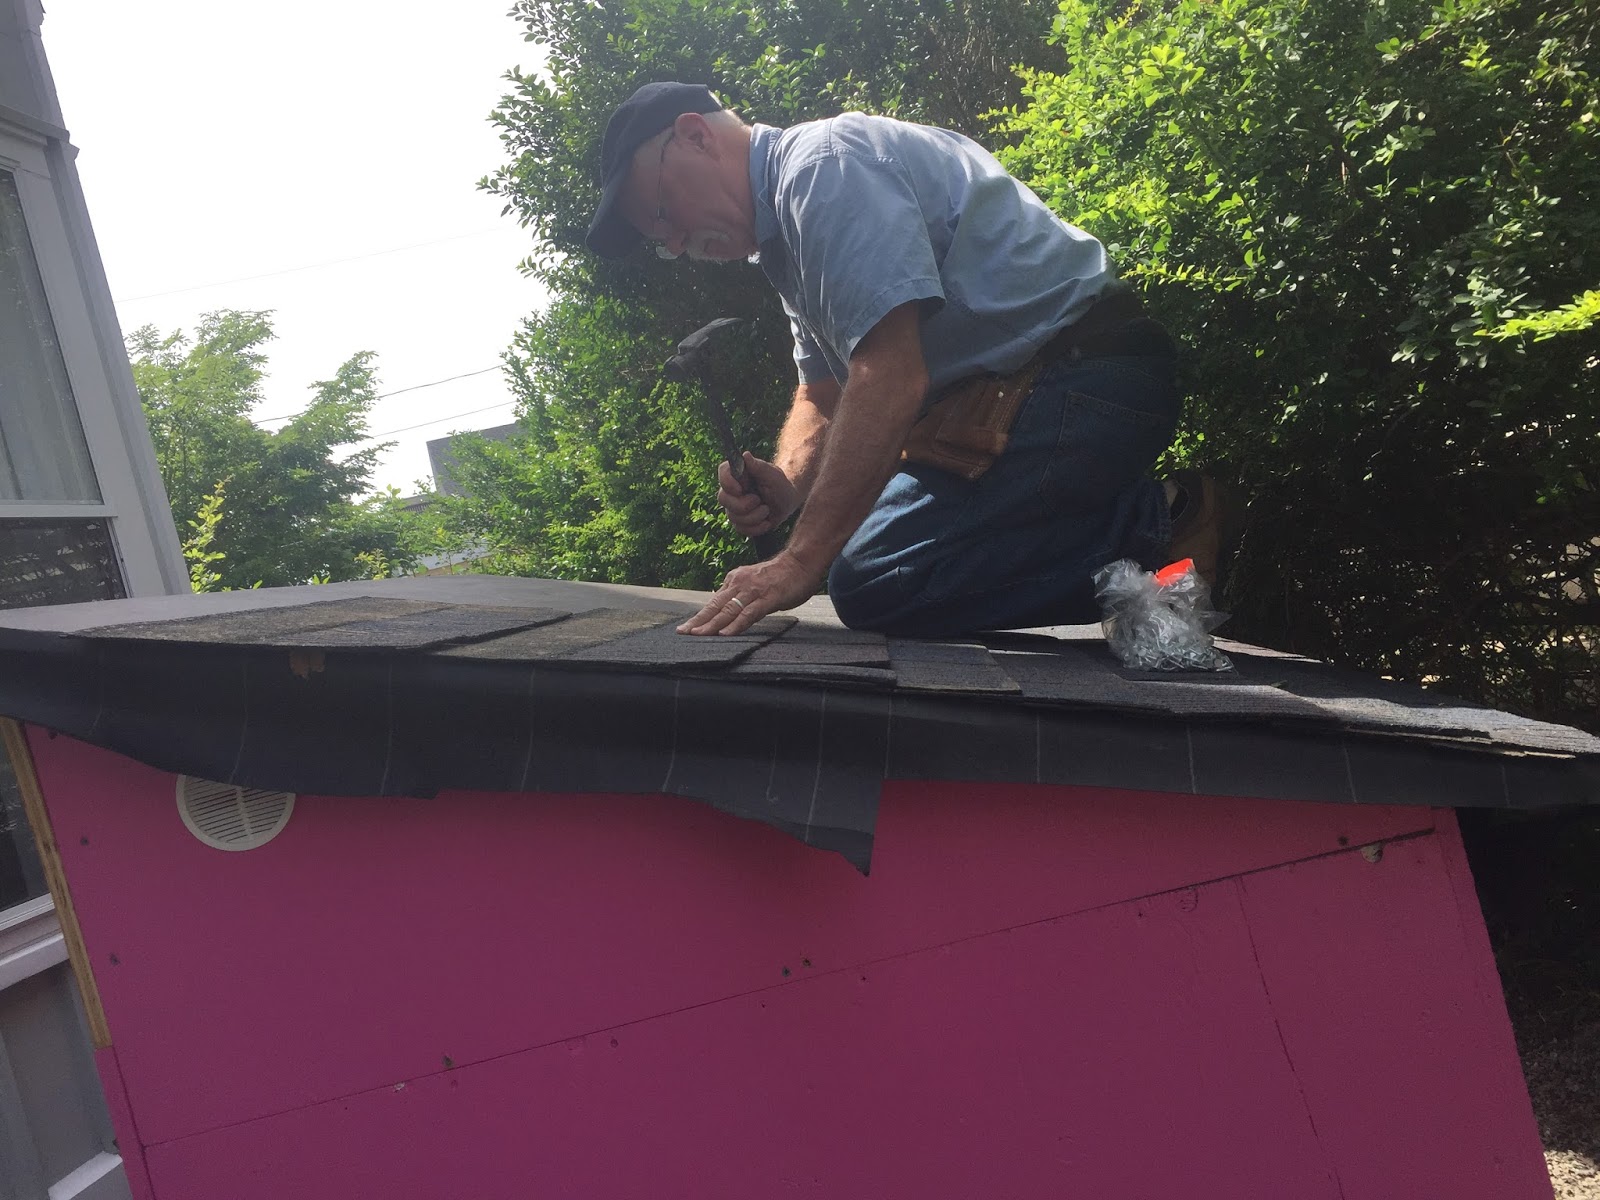
Darling Husband had to leave on work trips for two weeks right when things were getting good. My dad came to visit and help get things finished. We shingled the roof, moved the coop into position, and built the run.

|
My dad was actually impressed with the work we had done. "Not bad at'all" is high praise! |
|
Roof felt and some asphalt shingles (odds and ends from the basement) |
|
The run has a pressured treated frame of 2x4s on the ground and the rest is 2x3s. |
|
I started the trench around the perimeter before putting up the frames. |

|
We leveled and secured to the coop. |

| |
We were using 36" wide hardware mesh, so made the opening a little less than three feet wide to the center of each stud. |
After the run was framed, we just ran the hardware mesh up one side, over the top, and down the other side with about 8 inches to a foot extra going into the soil below. Using screws and fender washers worked best to secure the mesh. I would have liked to paint the frame, but time was short and that wasn't a necessity. Working with the hardware mesh was actually much easier than anticipated, but my dad still grumbled (something he likes to do). Roof and run took about six hours with a nice lobster lunch break!
As we worked, we also caulked. All the seams and some of the deep set screws got a generous amount of painters caulk.

| |
You can see that the door, window, and exterior of the nesting box have been added here. The white lines are the caulk. Our hope is that this will offer weatherproofing and keep the plywood from absorbing moisture. We'll see, I suppose! |
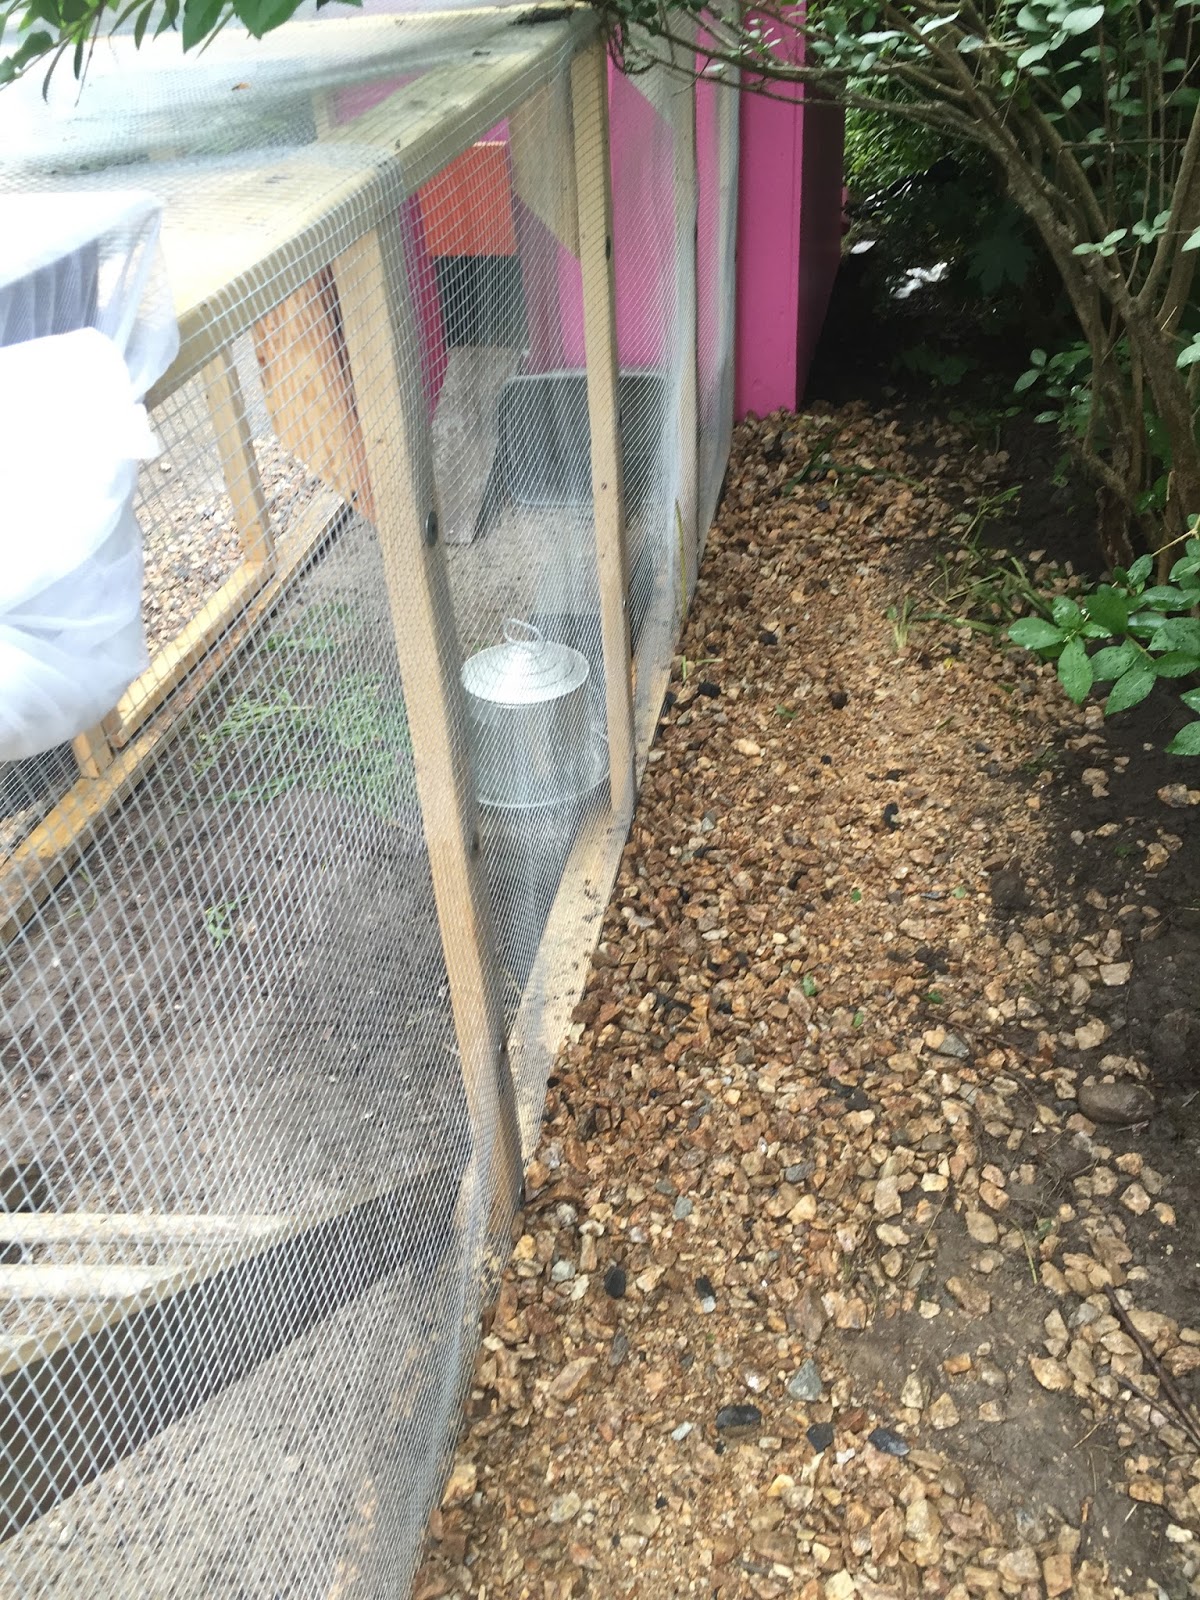
While my husband worked on the trim, I worked on the landscaping. The soil in this part of the yard is fine and subject to becoming slick, slippery mud. I made a trench roughly a foot deep by 6" to 12" wide (wider at the far end) all around the run. I ordered a cubic yard of 3/4" stone and a yard of larger rocks. Many wheelbarrow loads later the trench was full and the area directly surrounding both run and coop had a nice layer of rock. I had found that dumping out the chickens water or letting them mosey around resulted in mud and poop. Having rocks there means I can hose everything down. Perfect!
|
Filling the ditches around the coop took a ton (really) of rocks, but will, hopefully, mean a well drained run, less stink, and more comfortable chickens. |

|
The rocks make the space more clearly defined as well as easier to clean/use. |

|
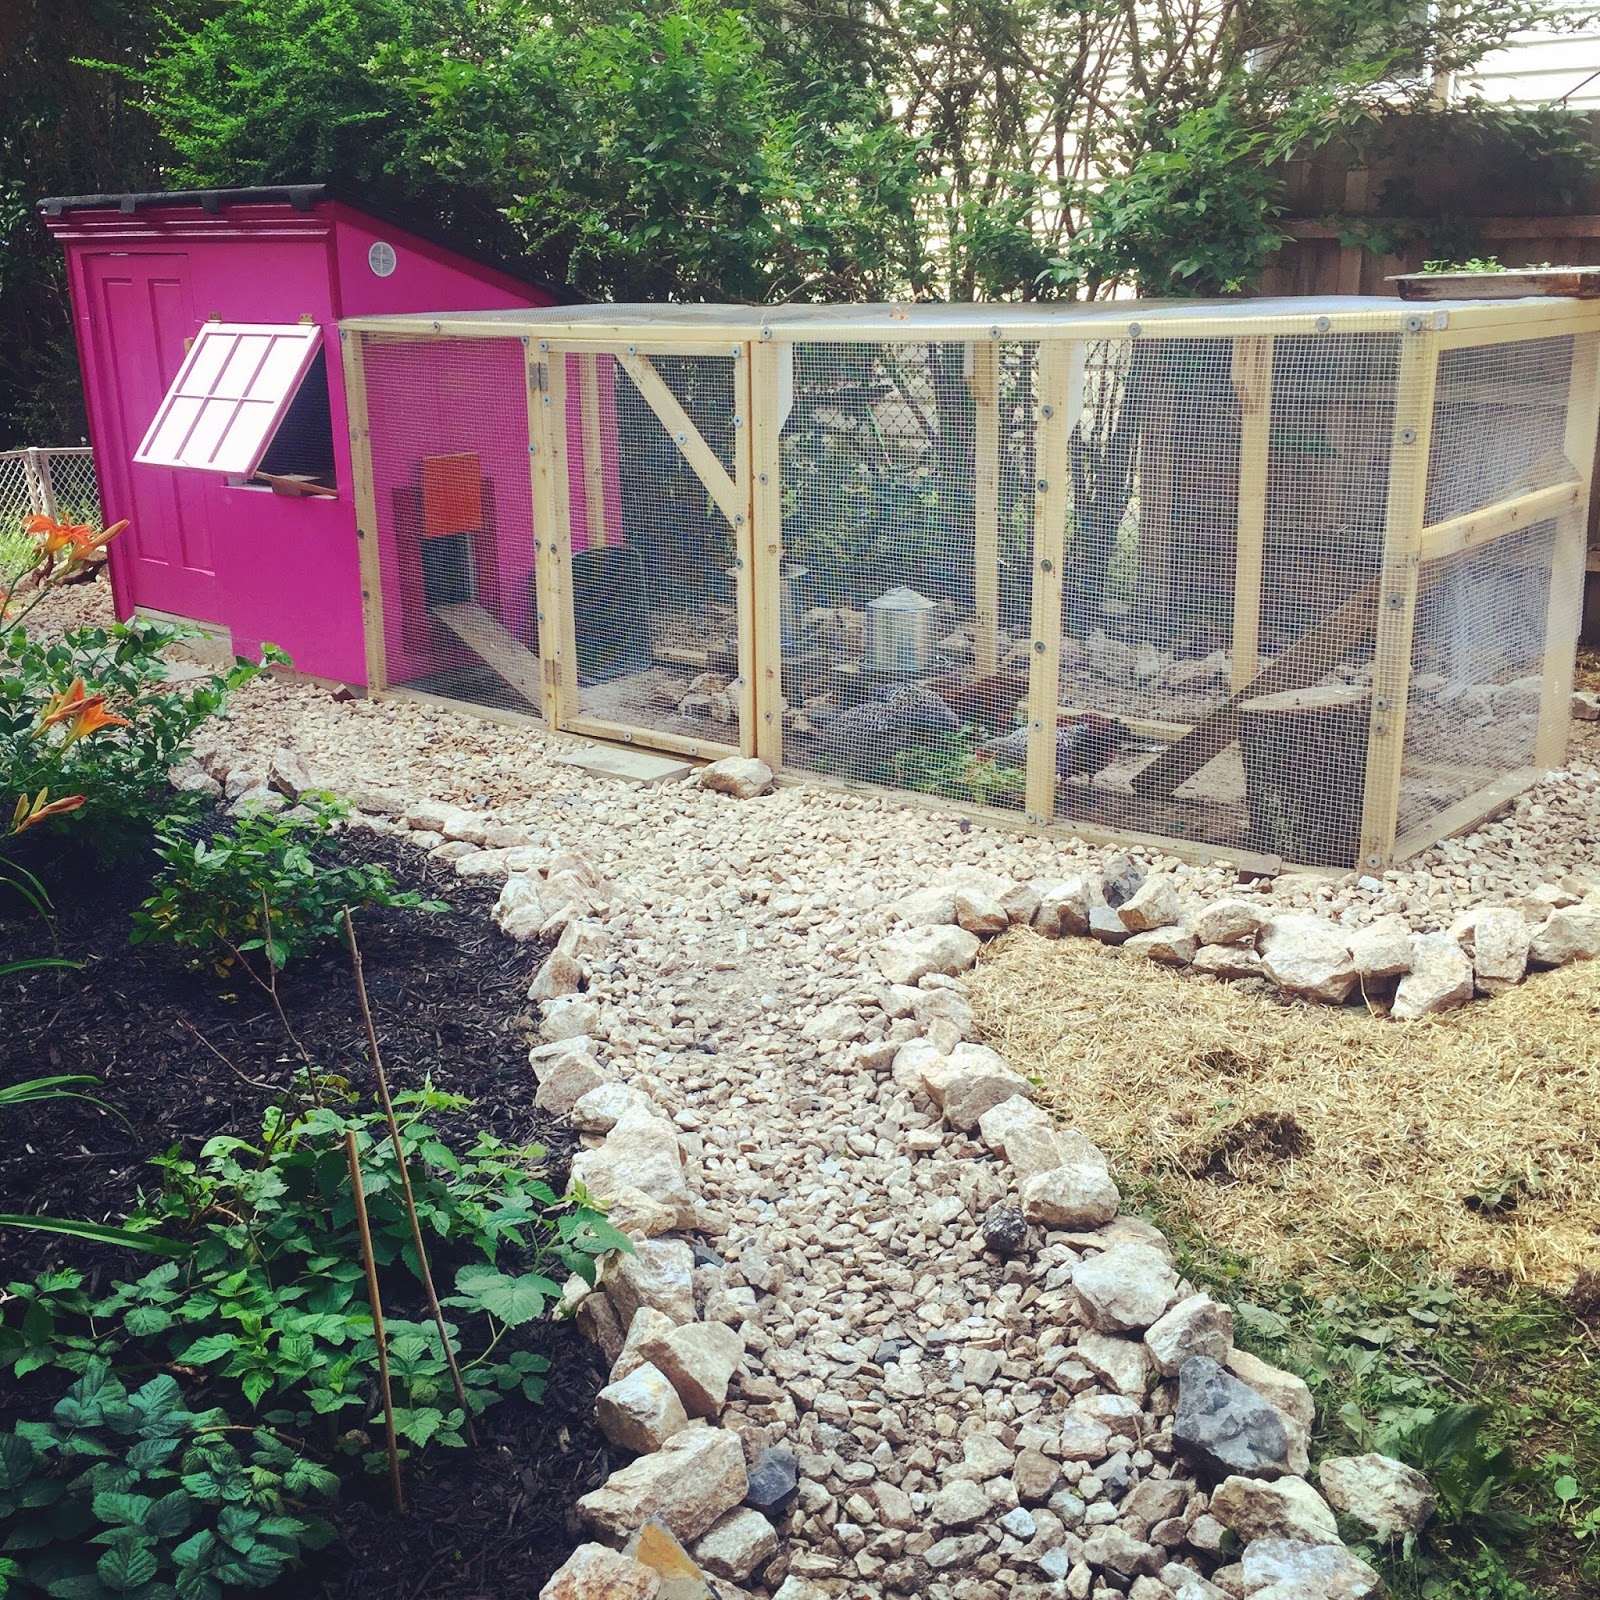
Club Cluck! We're still working on some trim and the nest boxes haven't been finished inside. A couple of high bush blueberries and raspberries on the side will add to the existing blackberry thicket to the other side. The area covered in straw has been seeded with winter rye in hopes we'll be able to grow either veggies or flowers there next spring. In the very corner is a sweet crab apple that flowers in a very similar color to the coop. It is going to be so pretty in the spring! |
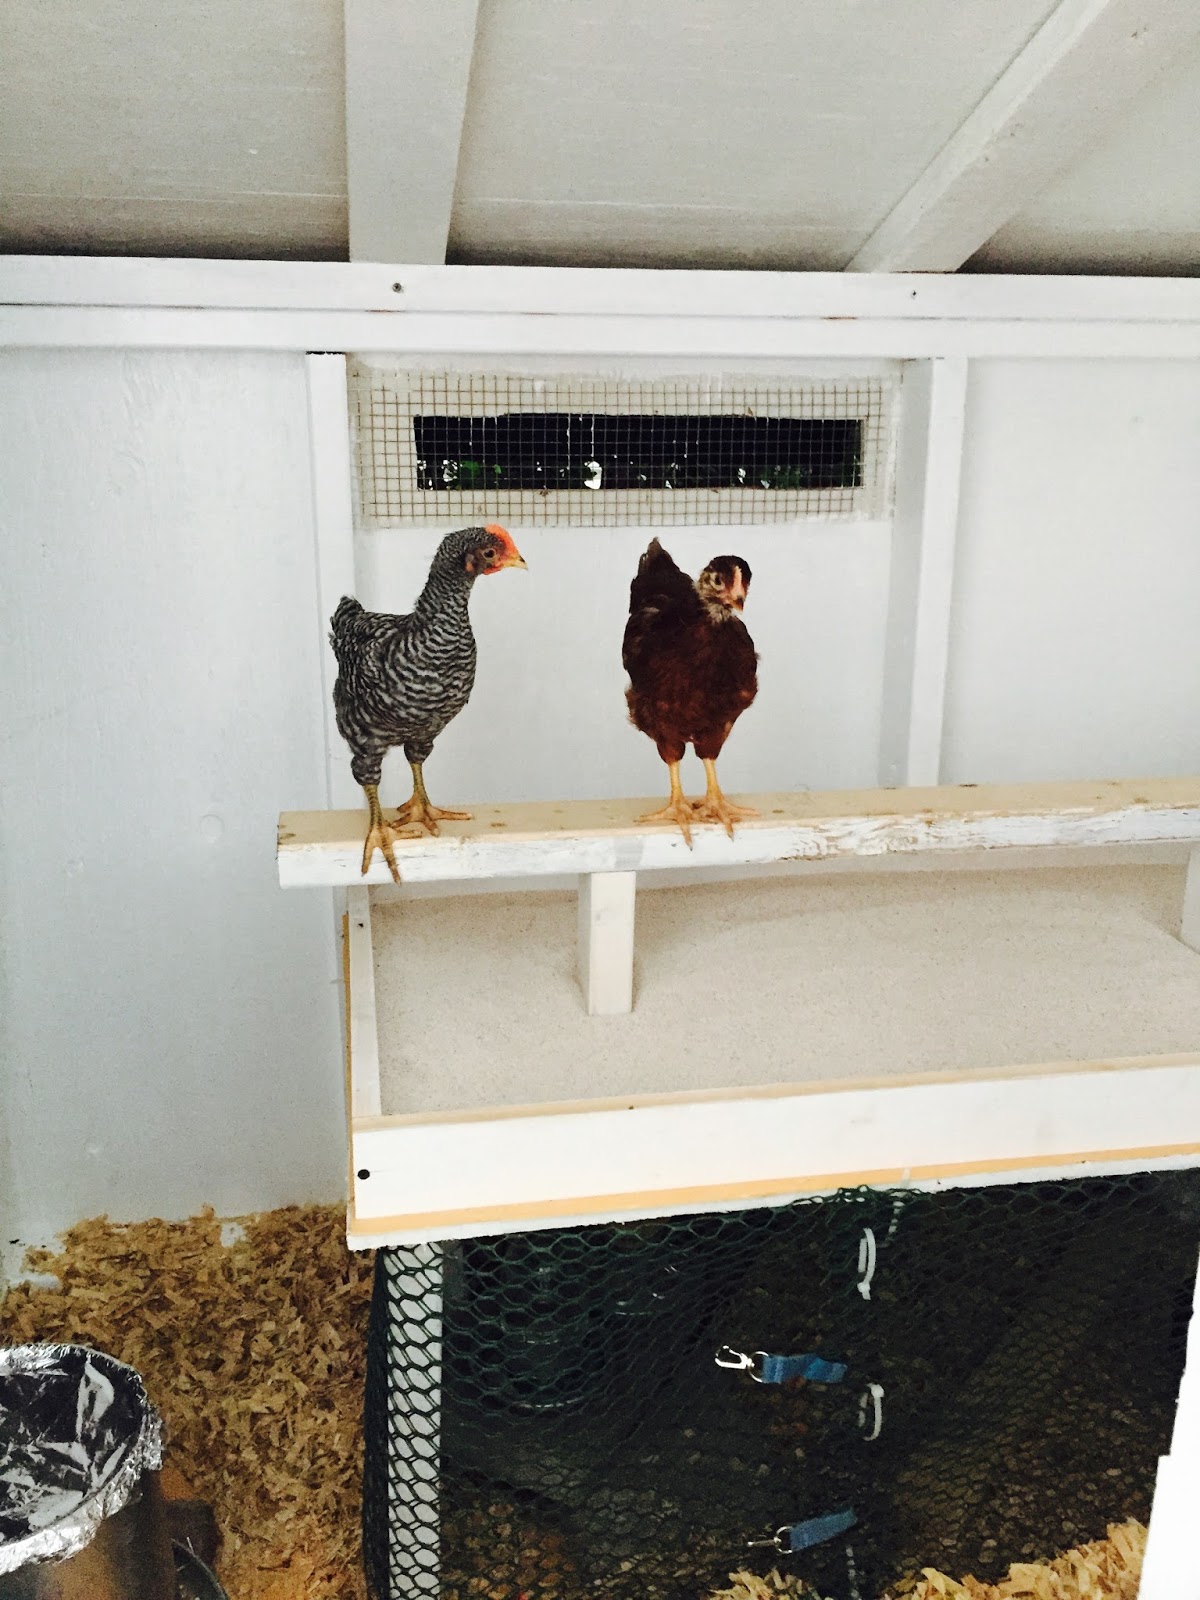
Inside the coop, everything that wasn't vinyl flooring was primed and then got at least two good coats of a high gloss exterior latex paint. I built a poop deck that can be taken entirely out of the coop making it and the coop much easier to deep clean. The roost sets on the deck over about half an inch to an inch of granular sweet PDZ. Every morning I scoop the chicken poop like a litter box. The floor of the coop is covered in pine shavings.
|
Here's where I want them to sleep at night. Looks great; right? |
|
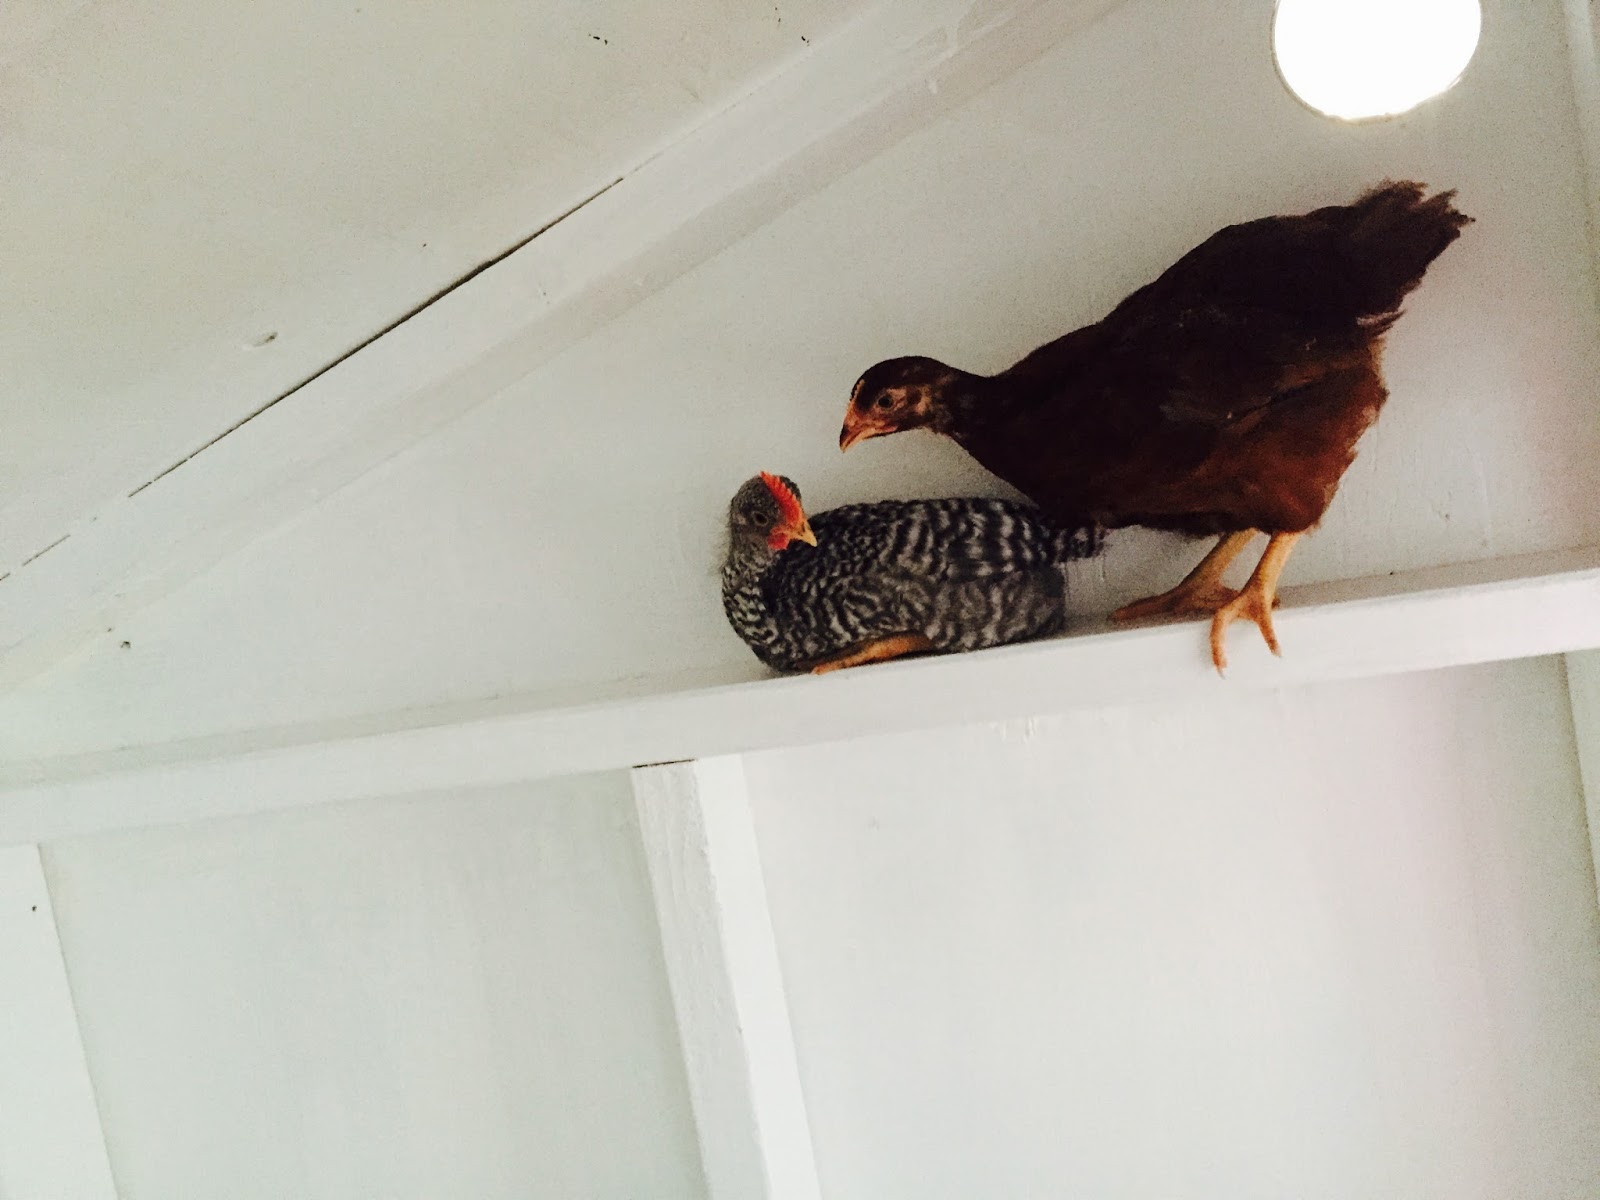
Here's where they want to sleep...and poop all night. Right now I've propped up boards so they can't get up there comfortably, but am working out a better solution. |
|
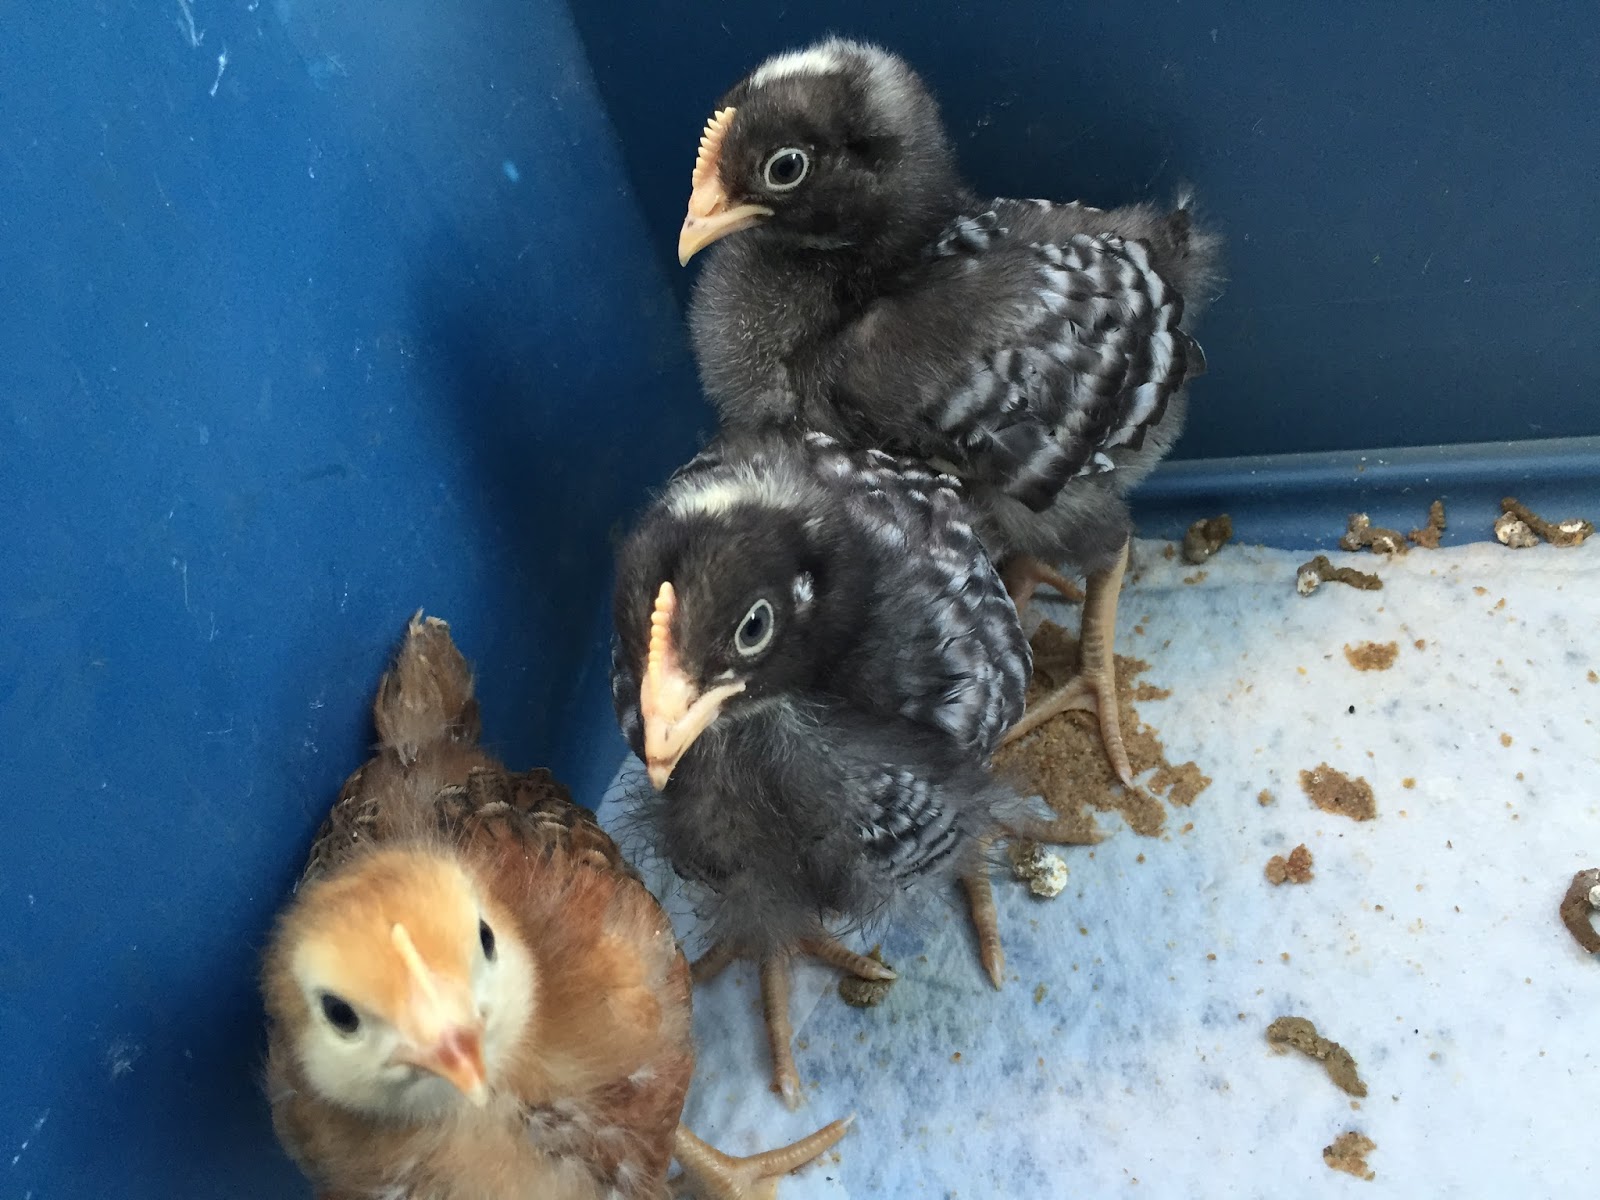
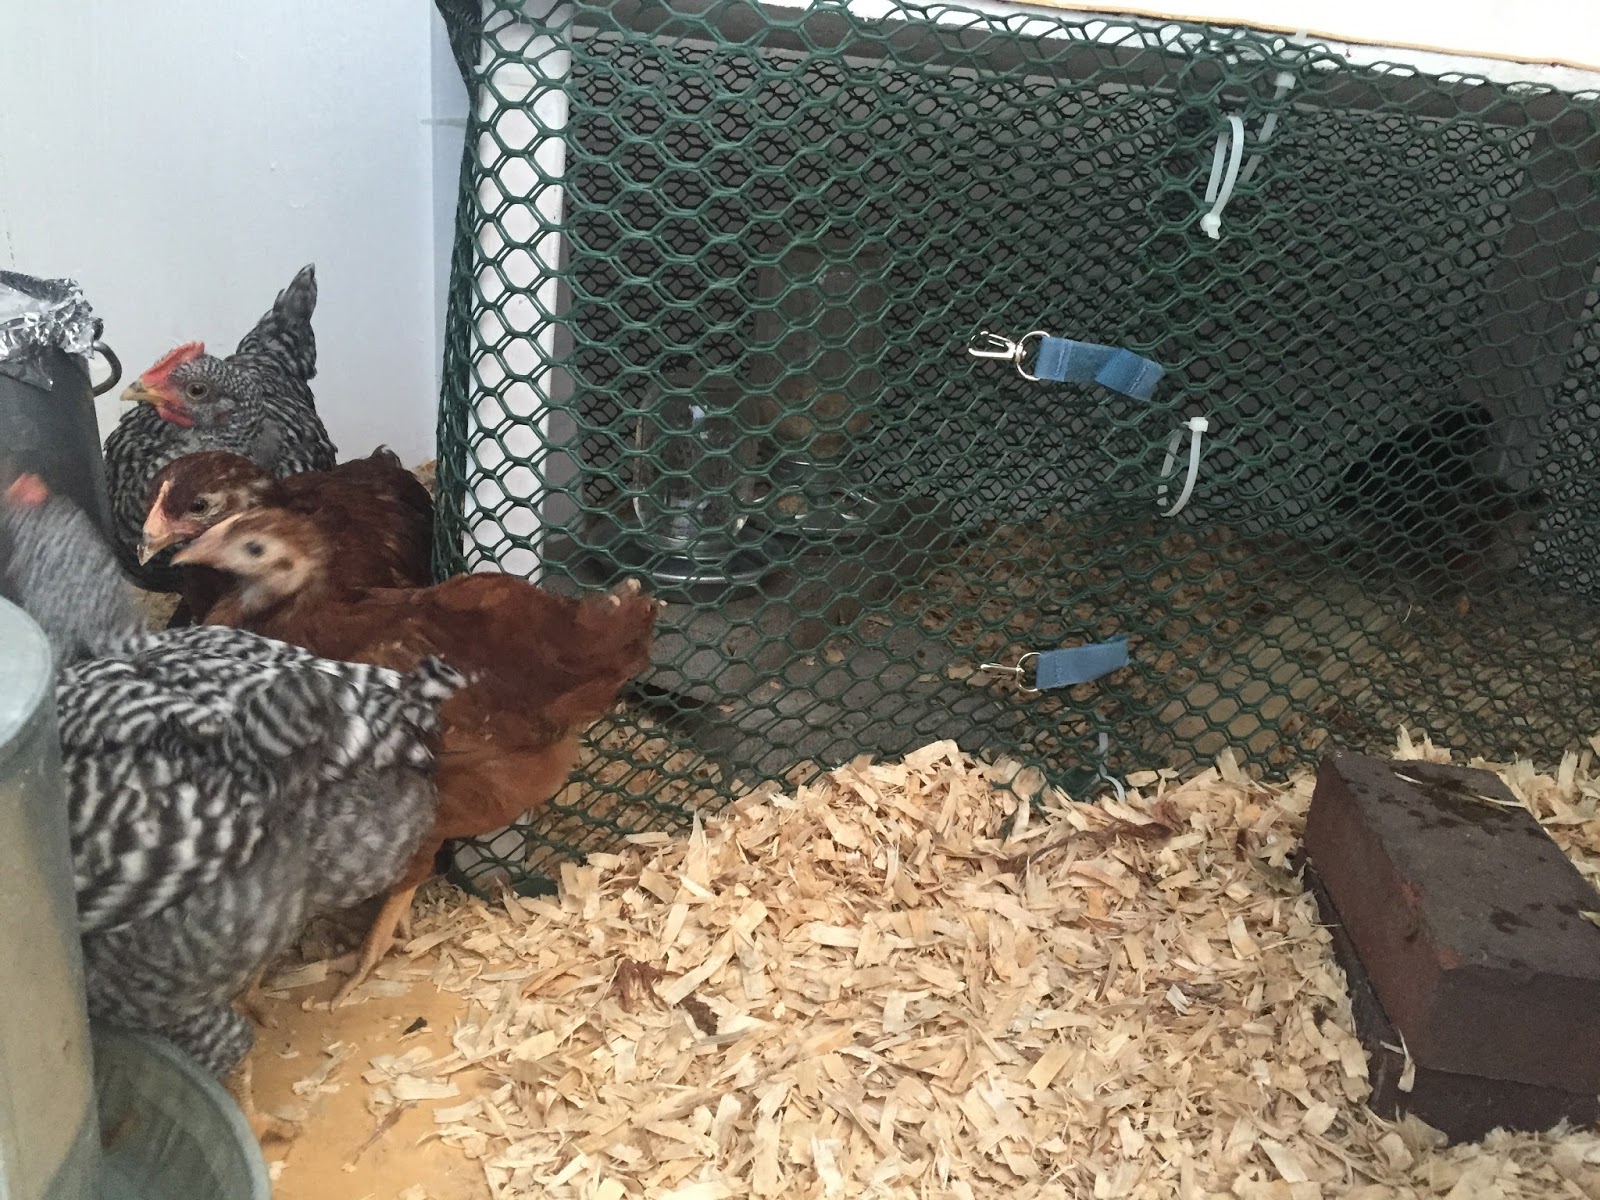
You can see the babies in their space, safe from the bigger chicks. I've opened the bottom so the littles can slip in and out but the bigger chicks can't get in. Below are some updated photos. (My husband worked so hard on the trim, I just had to share the finished facade...most was found at the Re-Store. He also loves antique doorknobs, so the coop has a fancy glass one!) The inside now has nest boxes finished as well as the indoor food and water tucked under the poop deck. I solved the chickens roosting in strange corners by hanging small plastic baskets that can be removed and scrubbed out. I keep the poop scoop, some gloves, and other supplies in them. We're starting to get excited about fresh eggs, but probably have another month to wait. At this time we have three barred rocks, two rhode island reds, a buckeye, and a black australorp. 
|