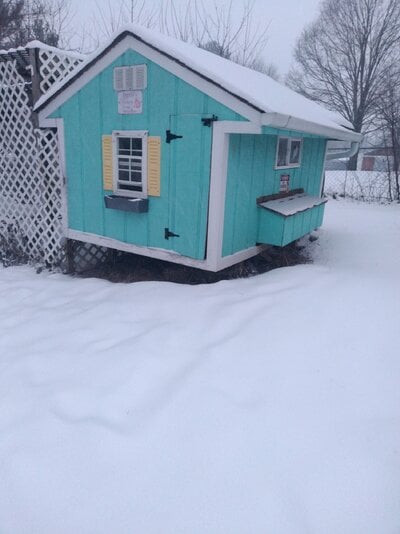
This beautiful blue coop belongs to my current flock of 5 hens. (Plus 19 more in spring)

The coop was built by me and (mostly) my Dad. The whole build took around 1.5 months to complete. It's 8'x10' and at the highest point, it's 6' tall.
Windows were added for extra ventilation on nice days but are often closed on cold days like in the photos.
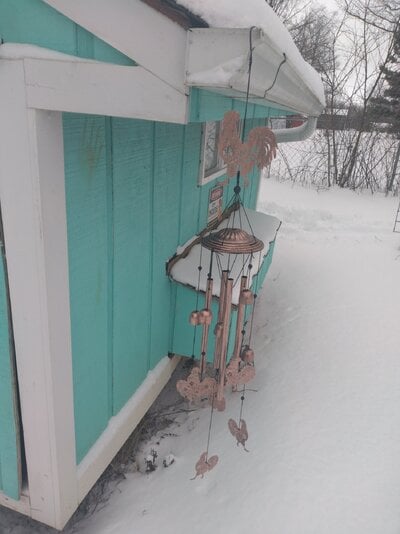
I added these adorable chicken wind chimes this morning. They're technically supposed to be for scaring off nearby animals but I really just added them for aesthetics

The coop has a built-in storage cabinet that mostly holds rarely used chicken supplies like pine pellets, calcium, etc.

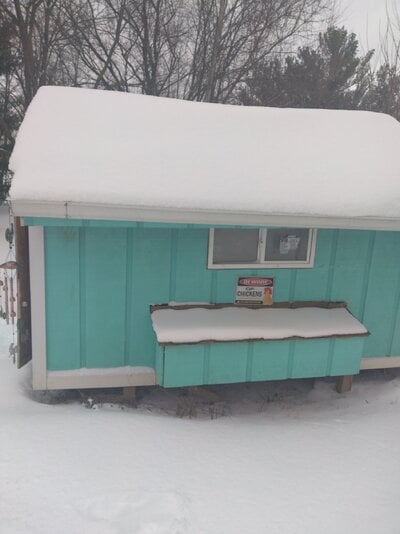
On the south side of the coop, we have our second window and 5 nesting boxes (which I no longer use for reasons that will be explained later on)

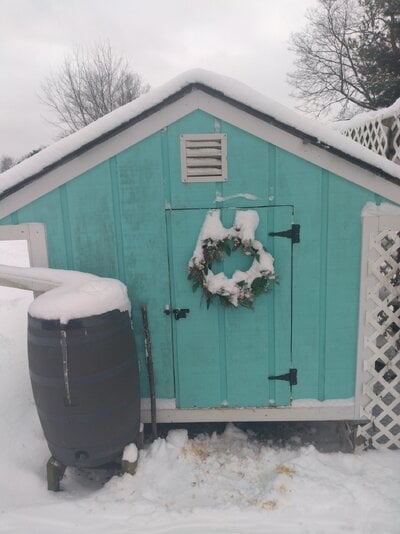
On the East side of the coop I have a rain collection system and my access door.

On the inside of the coop I have roost bars made from the wood of an old bedframe.

My exterior nesting boxes are no longer in use as I have switched to these roll-away boxes due to an egg eating problem. (Ignore the dirty roosts! I promise I cleaned them a few days ago )
)
I clean the nesting box of every day because I decided to place it under a roost for some reason
It will be moved soon.

The access door has a hook on the inside that allows me to keep it locked if I'm cleaning and want the door shut. The roof is insulated so it's nice to have it shut as it helps keep it a more comfortable temperature on cold days.
Right now it's being used to hold my poop scraper

BUILDING PROCESS:
Below is the earliest photo I have. 4 posts were inserted into the ground and concrete was poured around them. we didn't like the size so we ended up building out around the posts which you can see in the photo below.
Here you can see it start to come together. The first window was added and the walls are going up as well as the nesting boxes.

Here you can see the start of the roof. We added to temporary boards for support while it was still being built.

Roof is coming together and ramp was added.

Most of the walls are up and roofing was added.

Here is the inside just before insulation was added.

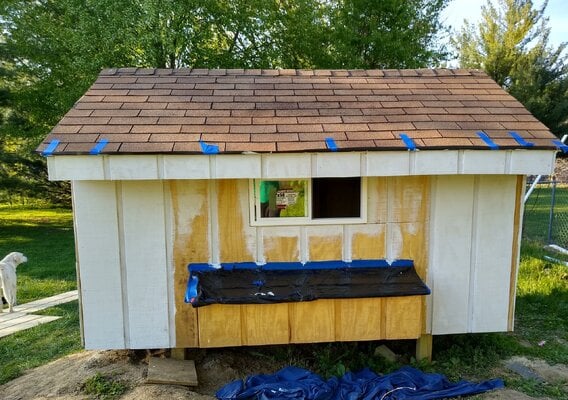
This is the last photo I have of the building process. Primer was going on and trim would be added soon after.

That's about it for the coop! Thank you for taking the time to read my article! I'm so happy with how it turned out and there's very few things I would change. Thanks Dad for building it!!
The coop was built by me and (mostly) my Dad. The whole build took around 1.5 months to complete. It's 8'x10' and at the highest point, it's 6' tall.
Windows were added for extra ventilation on nice days but are often closed on cold days like in the photos.
I added these adorable chicken wind chimes this morning. They're technically supposed to be for scaring off nearby animals but I really just added them for aesthetics
The coop has a built-in storage cabinet that mostly holds rarely used chicken supplies like pine pellets, calcium, etc.

On the south side of the coop, we have our second window and 5 nesting boxes (which I no longer use for reasons that will be explained later on)
On the East side of the coop I have a rain collection system and my access door.
On the inside of the coop I have roost bars made from the wood of an old bedframe.

My exterior nesting boxes are no longer in use as I have switched to these roll-away boxes due to an egg eating problem. (Ignore the dirty roosts! I promise I cleaned them a few days ago
I clean the nesting box of every day because I decided to place it under a roost for some reason
It will be moved soon.

The access door has a hook on the inside that allows me to keep it locked if I'm cleaning and want the door shut. The roof is insulated so it's nice to have it shut as it helps keep it a more comfortable temperature on cold days.
Right now it's being used to hold my poop scraper

BUILDING PROCESS:
Below is the earliest photo I have. 4 posts were inserted into the ground and concrete was poured around them. we didn't like the size so we ended up building out around the posts which you can see in the photo below.
Here you can see it start to come together. The first window was added and the walls are going up as well as the nesting boxes.

Here you can see the start of the roof. We added to temporary boards for support while it was still being built.

Roof is coming together and ramp was added.
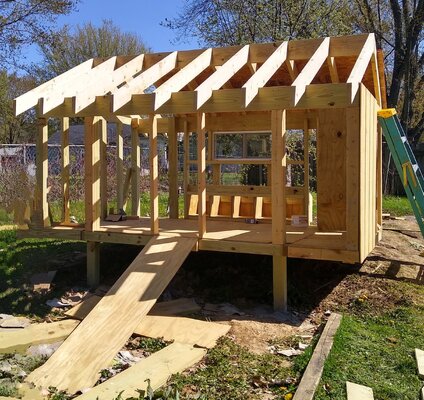
Most of the walls are up and roofing was added.

Here is the inside just before insulation was added.

This is the last photo I have of the building process. Primer was going on and trim would be added soon after.
That's about it for the coop! Thank you for taking the time to read my article! I'm so happy with how it turned out and there's very few things I would change. Thanks Dad for building it!!

