After reading a great deal on a coolerbator, I decided to give it a try and make my own. All credit for the design goes to Sally Sunshine and her Cooler Incubator Guide. Making this thread to share my experience of making this. Hopefully it help give people the boost they need to give it a try.
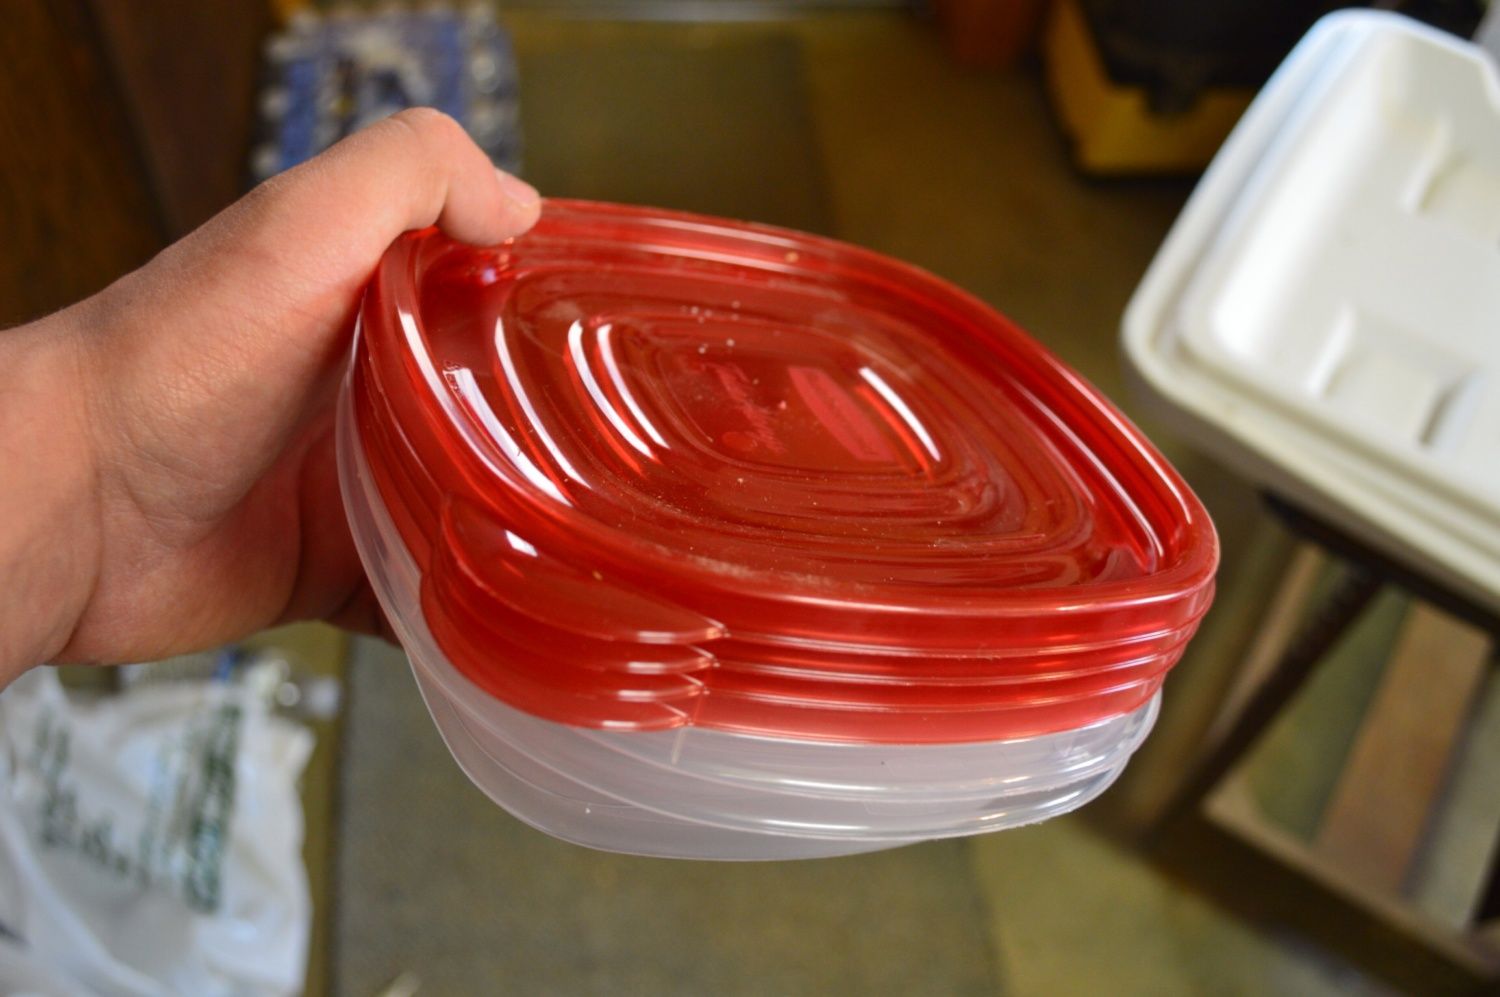
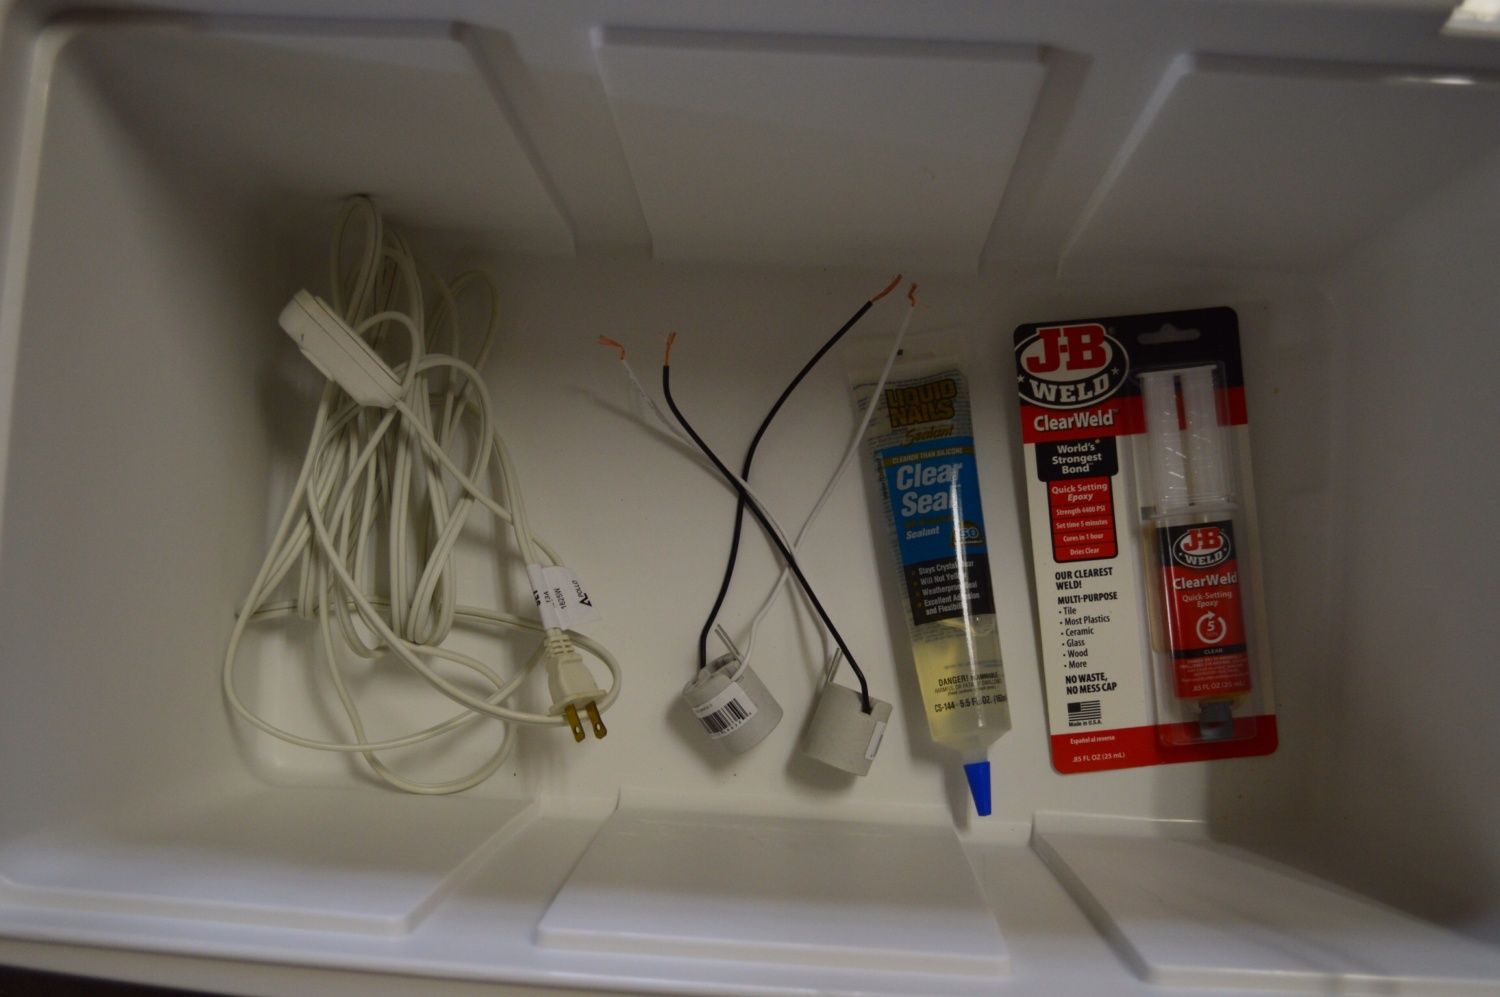
So to start it off, here were my materials I started with. Everything was purchased at Wal-Mart, EBay, and Amazon.

First task that I started was the viewing window. I purchased a cheap (hideous) picture frame, that I took great pleasure in destroying....I mean...using the glass. Could have used any old frame laying around the house, but...I like all of mine
 .
.

I also traced out the viewing hole so that I would have about an 1" to glue the glass on. I think it could have been down to .5" but I wanted to make sure it was going to stick on.
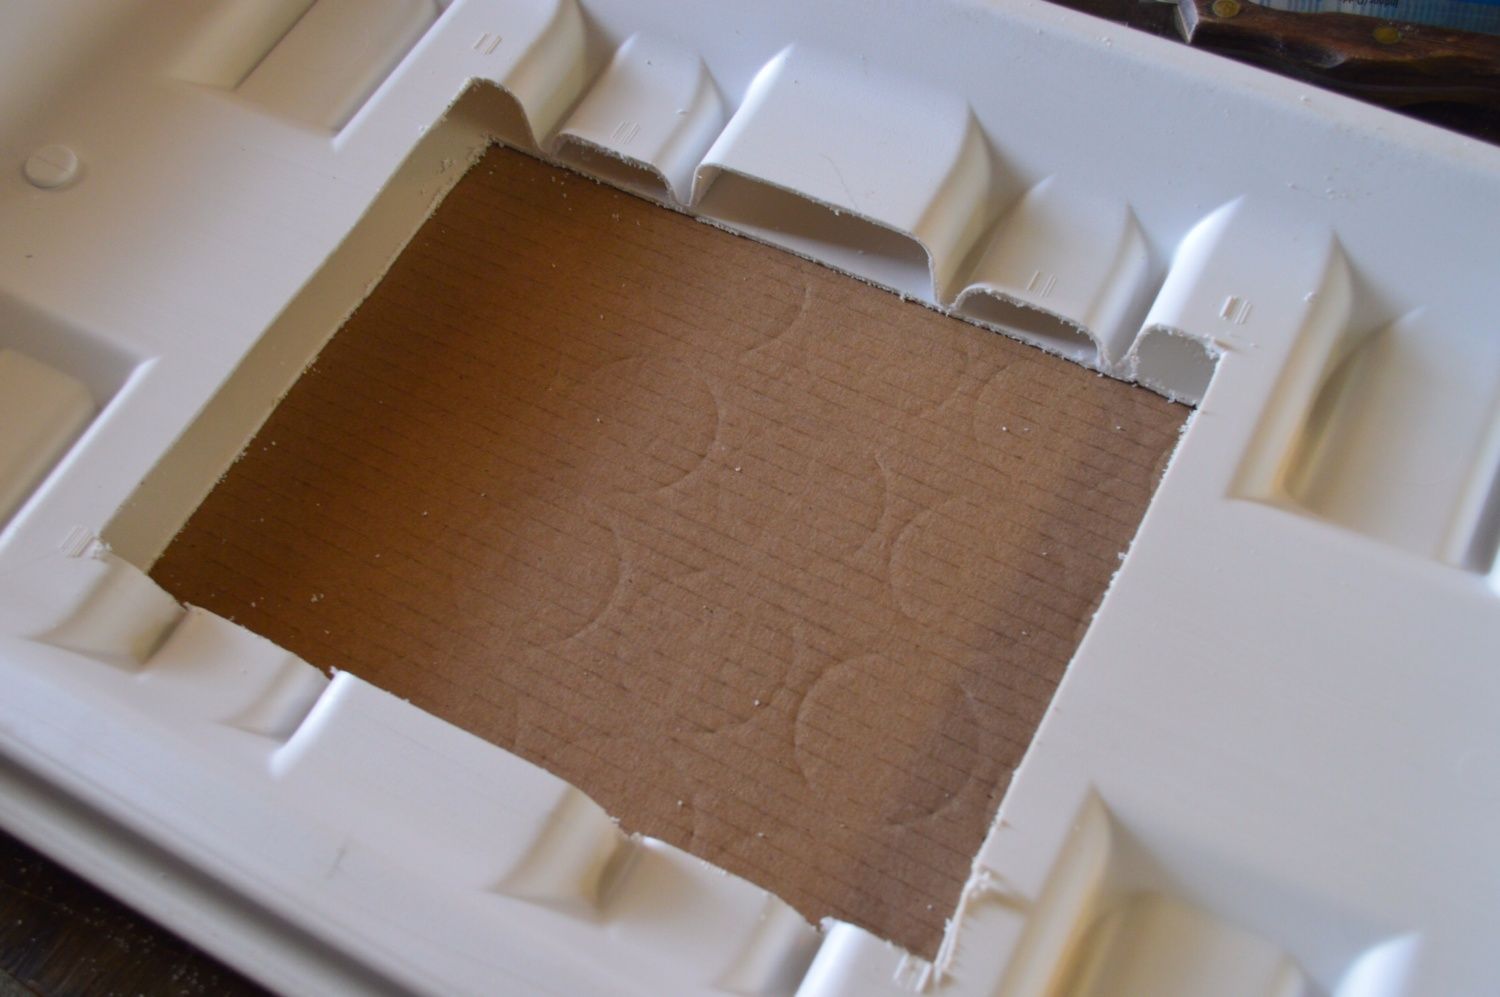
After cutting the hole, I taped a piece of cardboard on to it because I discovered the lid was hollow!!!! Decided to fix that....

....using
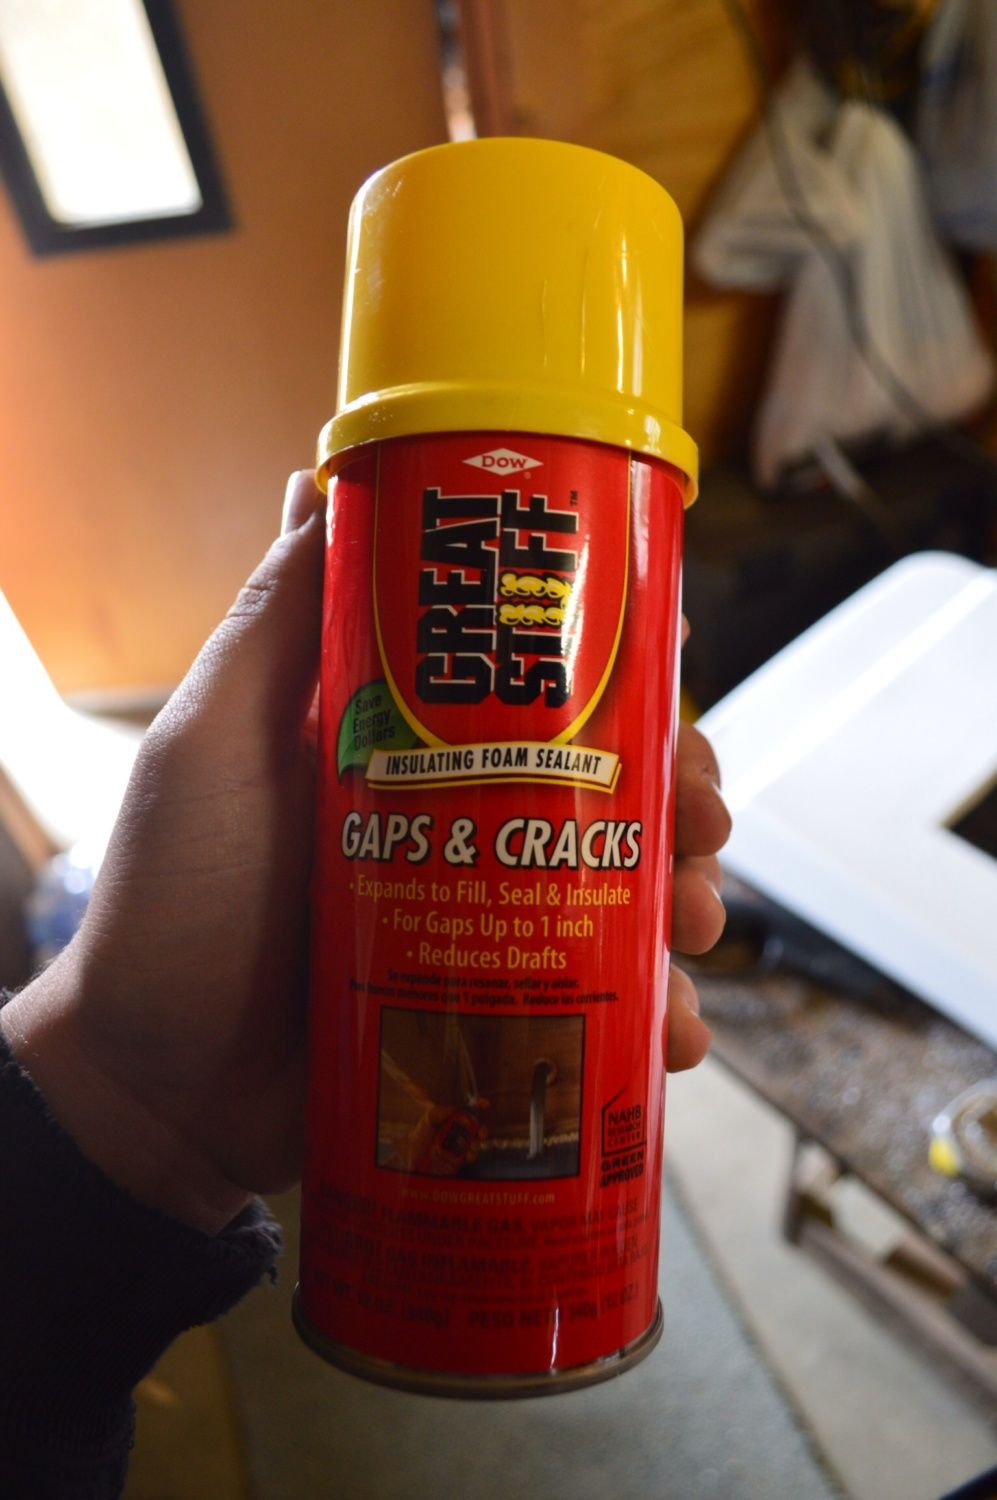
resulting in.....
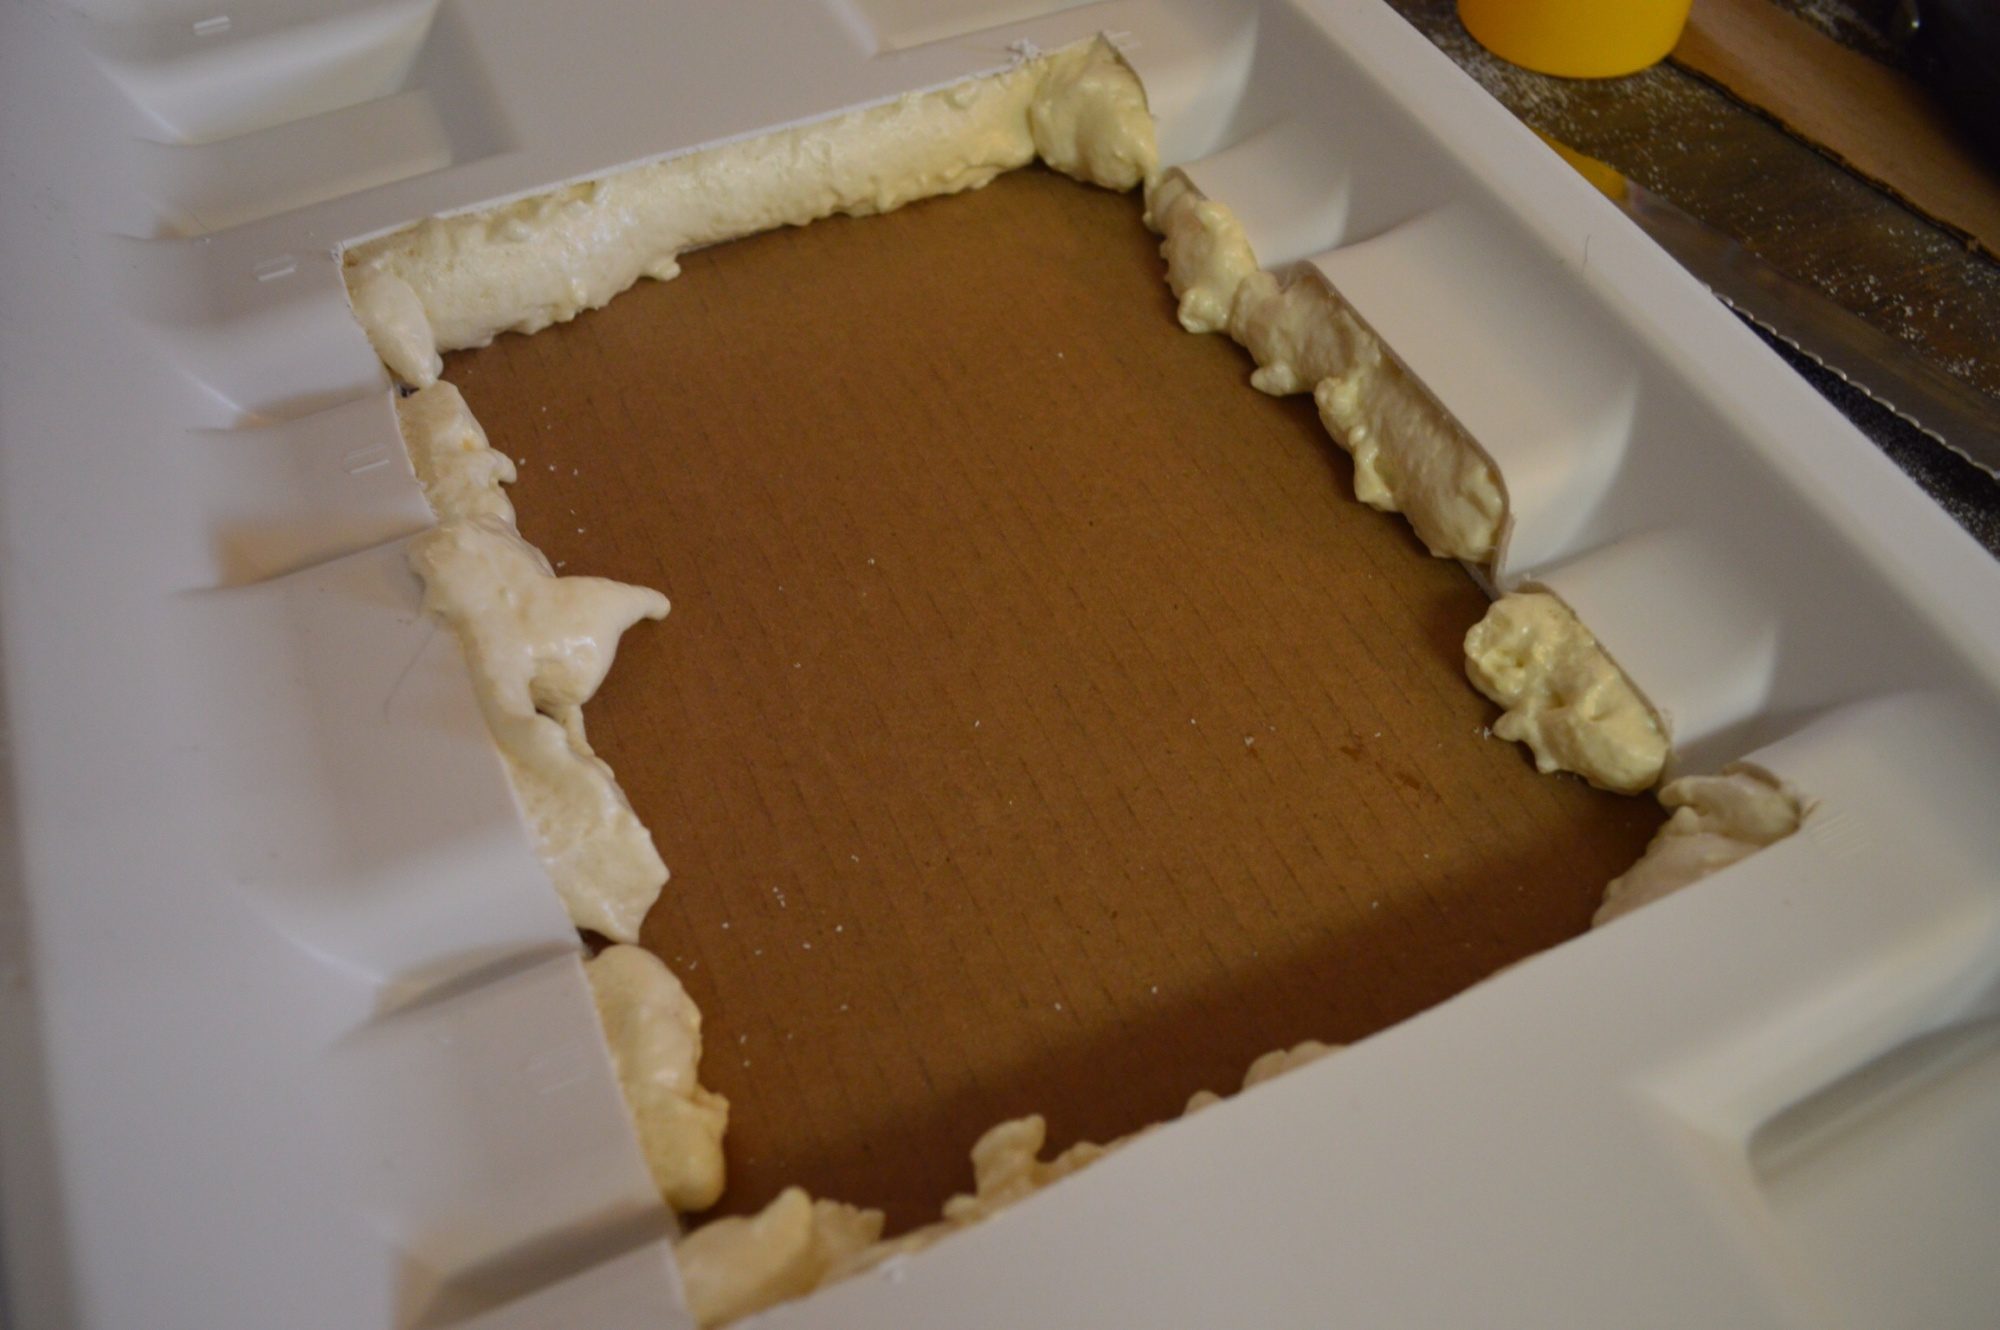
After getting that foam stuff all over inside the lid I let it get hard, took off the cardboard and sort of sawed off the excess with a knife. I used a JB weld (horribly smelly stuff, smelt like a skunk...recommend gluing it on outside or in a garage.) I did leave a couple of heavy phone books sitting on top of it overnight, just to make sure that I would dry in place.
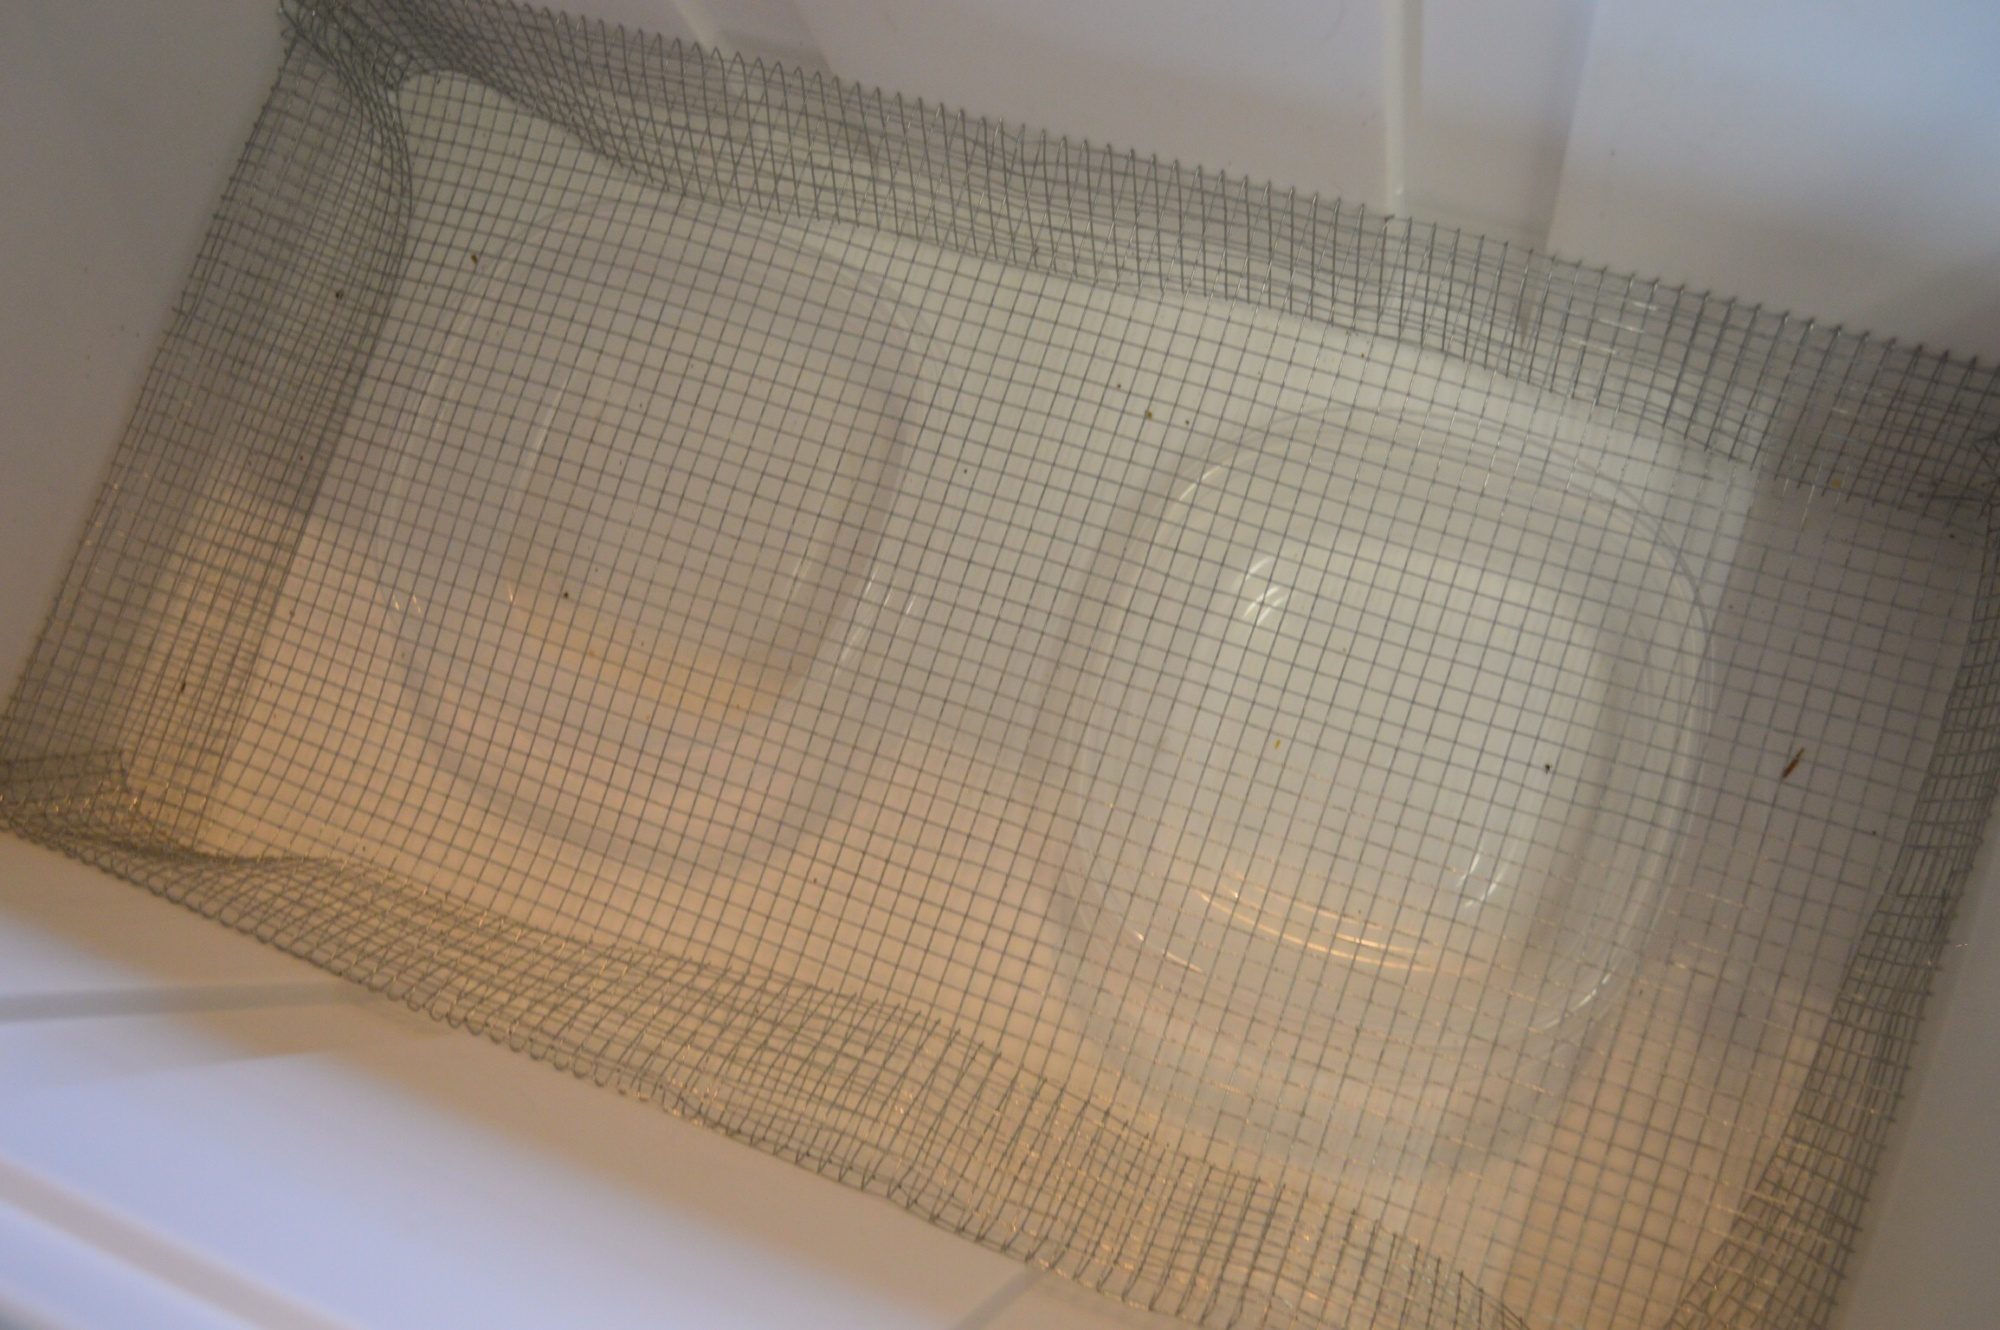
I then made the wire frame for the bottom, so that I would have a better idea of how high I would have to put the light bulbs and fan. I think the dishes that I used were about 1.75" - 2" tall, would have used shorter and more surface area dishes if I did this over, will probably do that eventually.
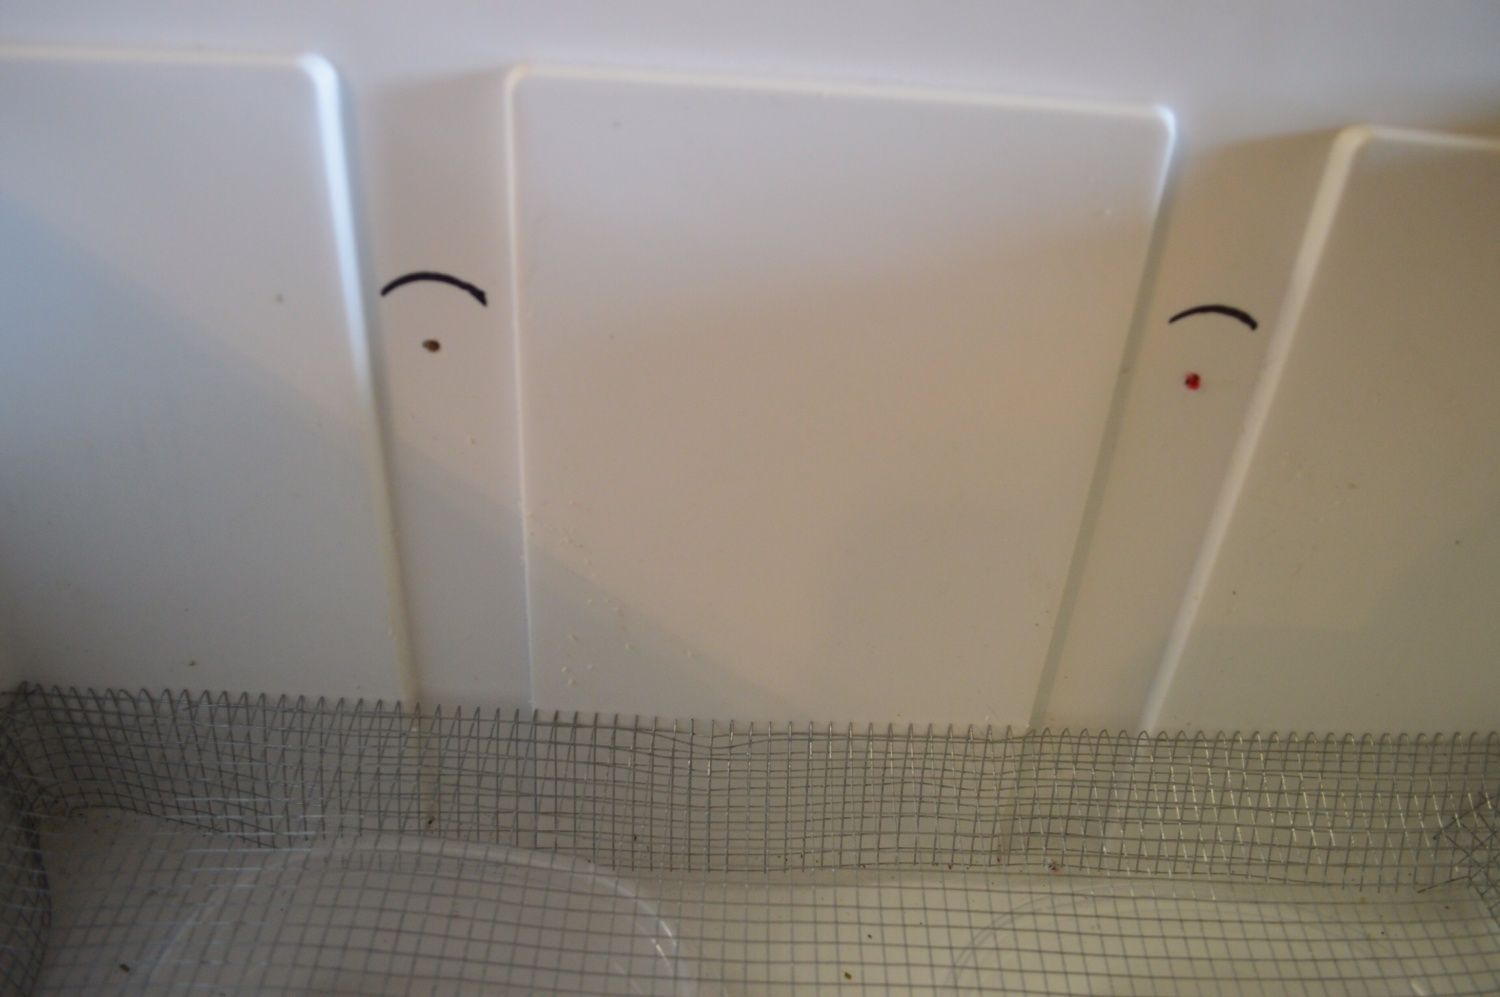
I marked where I was going to cut out the holes, it even had these spaces just for this! It was like the cooler was made with this in mind, who knew!
After getting the holes cut, I put the light sockets in. I was having trouble getting the glue I purchased to dry/harden, turns out it never really does, it just turns to a rubber. I ended up having to cover the entire back of the socket with JB Weld. Definitely make sure you get something that hardens when it dry's, over wise the sockets will keep slipping down.
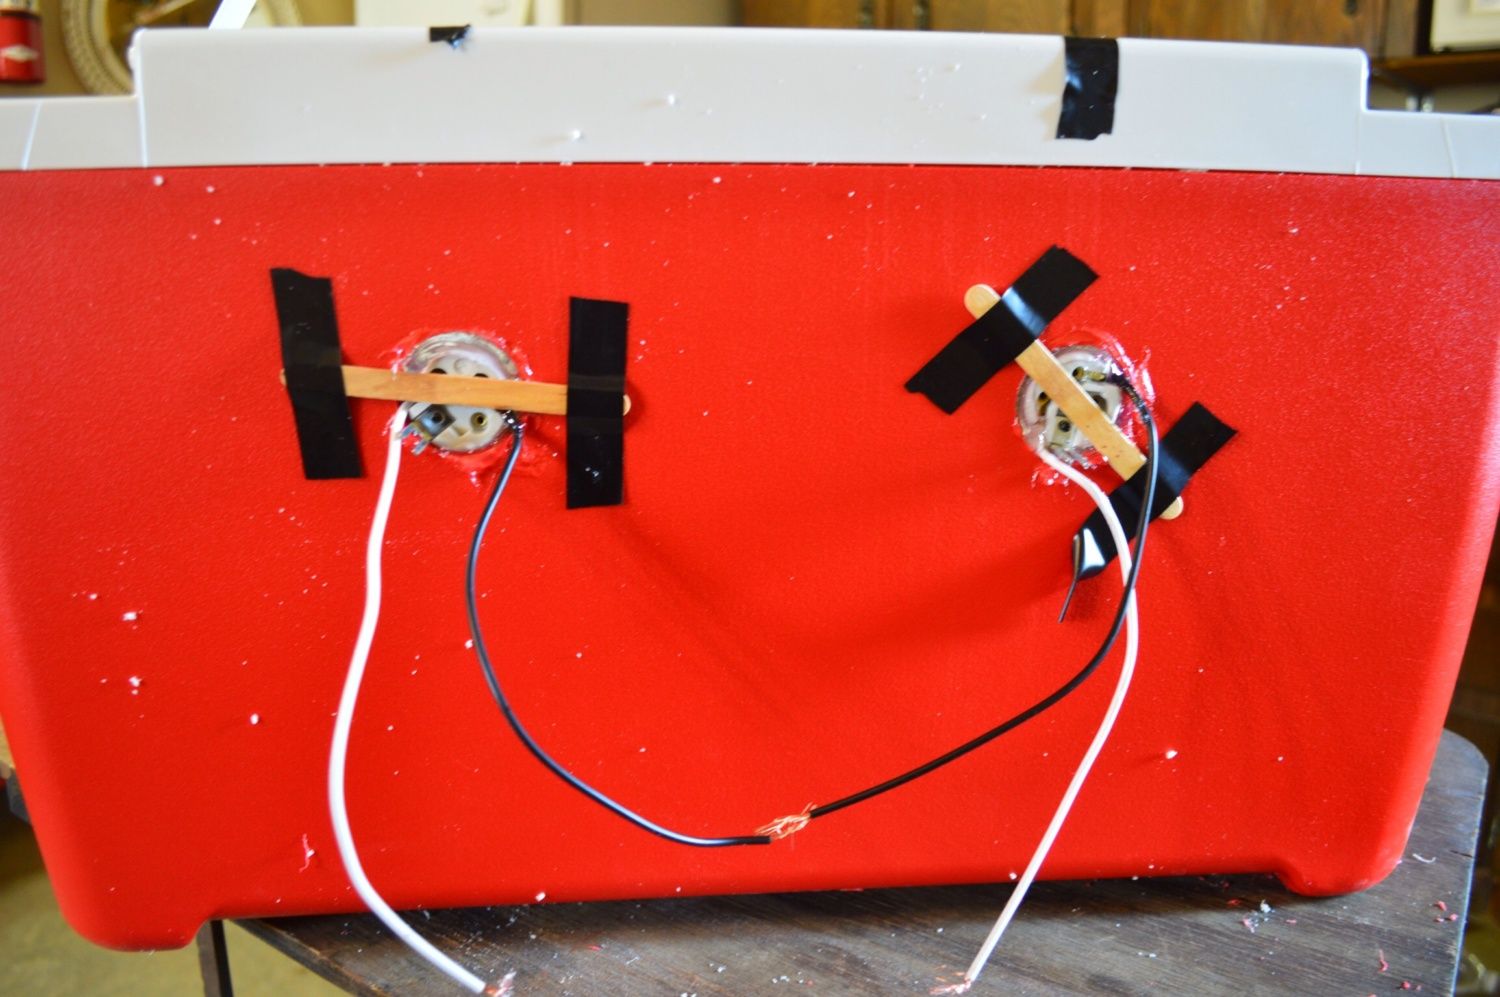
(hence the tape holding it up while I was waiting for it to dry)

~Realized that the rest of my pictures are at home and didn't make it to the phone yet, will continue to update this as I get pictures AND as my first batch of eggs I stick in progresses. ~
So to start it off, here were my materials I started with. Everything was purchased at Wal-Mart, EBay, and Amazon.
First task that I started was the viewing window. I purchased a cheap (hideous) picture frame, that I took great pleasure in destroying....I mean...using the glass. Could have used any old frame laying around the house, but...I like all of mine
I also traced out the viewing hole so that I would have about an 1" to glue the glass on. I think it could have been down to .5" but I wanted to make sure it was going to stick on.
After cutting the hole, I taped a piece of cardboard on to it because I discovered the lid was hollow!!!! Decided to fix that....
....using
resulting in.....
After getting that foam stuff all over inside the lid I let it get hard, took off the cardboard and sort of sawed off the excess with a knife. I used a JB weld (horribly smelly stuff, smelt like a skunk...recommend gluing it on outside or in a garage.) I did leave a couple of heavy phone books sitting on top of it overnight, just to make sure that I would dry in place.
I then made the wire frame for the bottom, so that I would have a better idea of how high I would have to put the light bulbs and fan. I think the dishes that I used were about 1.75" - 2" tall, would have used shorter and more surface area dishes if I did this over, will probably do that eventually.
I marked where I was going to cut out the holes, it even had these spaces just for this! It was like the cooler was made with this in mind, who knew!
After getting the holes cut, I put the light sockets in. I was having trouble getting the glue I purchased to dry/harden, turns out it never really does, it just turns to a rubber. I ended up having to cover the entire back of the socket with JB Weld. Definitely make sure you get something that hardens when it dry's, over wise the sockets will keep slipping down.
(hence the tape holding it up while I was waiting for it to dry)
~Realized that the rest of my pictures are at home and didn't make it to the phone yet, will continue to update this as I get pictures AND as my first batch of eggs I stick in progresses. ~
") so far 5 out 6 have very strong little chicks in them.
so far 5 out 6 have very strong little chicks in them.