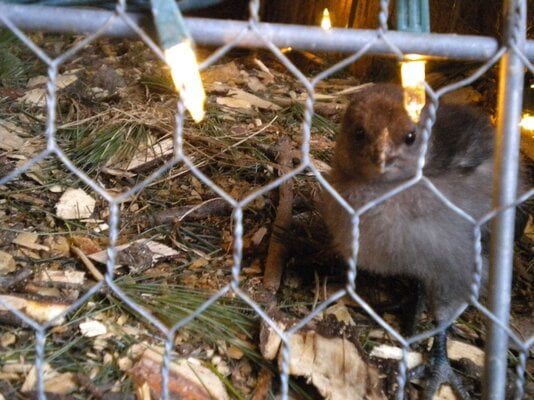
I am doing a continuous hatch of Svart Hona chicks. I am having great success with my incubator and hatcher that I built and I feel compelled to share.
I am using two styrofoam coolers that are the same size. For the floor I am using 1/4 inch galvanized mesh held up with two 3/4" CPVC rectangles which creates a space for the water. Under the mesh, in the water, I place a sponge below where the fan is pointing. On top of the mesh I have two closed jars of water for thermal mass and a thermpro temp/humidity gauge.
For heat I use two 25W bulbs in a tee. One 40W is probably sufficient but using two bulbs guards against one bulb burning out and having nothing. Also, there is a small fan near the top of the cooler. I have learned that a small fan is better for maintaining humidity for longer between water additions. The light is plugged into a thermostatic switch. I use a Inkbird ITC-308. I insert the thermometer probe through the side of the cooler about at egg height. There are also two vent holes; one in the lid and one on the side at egg height. The lid has a recesses glass window. The glass is from a 5x6 picture frame. The condensation can create water droplets on the glass so I keep it covered with a towel or the cut out styrofoam piece.
The light is a plastic single bulb fixture. I put hook wire terminals on the cord's wires so that I can dismantle the light easily if I need to change out coolers. For fire safety, I place an old CD between the wire connections and the styrofoam.
To add water without opening the lid I use a length of 1/2" CPVC pipe that goes through the lid and sits on the mesh floor, behind a water jar to block any splash. I use a pipe cap or similar to close this opening between fillings.
Now, on to the differences between the hatcher and incubator.
The incubator has an automatic egg turner for the eggs. There is only half a sponge in the water. I use multiple thermometers in the incubator and adjust the thermostatic switch setting based on the feel I get from all the readings. I have noticed that the more eggs I add the more thermal mass there is and I need to come down a degree or two on the setting.
The hatcher uses 1 1/2 PVC rings, .5 inches tall, for the eggs. There is a whole sponge to increase humidity. In the past I have used various things to hold the eggs for hatching. The notable thing I find with the little rins is when a freshly hatched chick pushes it around it just slides on the mesh and is not disturbed or knocked over.


I am sure I missed something so feel free to ask questions.
Thanks for looking.
I am using two styrofoam coolers that are the same size. For the floor I am using 1/4 inch galvanized mesh held up with two 3/4" CPVC rectangles which creates a space for the water. Under the mesh, in the water, I place a sponge below where the fan is pointing. On top of the mesh I have two closed jars of water for thermal mass and a thermpro temp/humidity gauge.
For heat I use two 25W bulbs in a tee. One 40W is probably sufficient but using two bulbs guards against one bulb burning out and having nothing. Also, there is a small fan near the top of the cooler. I have learned that a small fan is better for maintaining humidity for longer between water additions. The light is plugged into a thermostatic switch. I use a Inkbird ITC-308. I insert the thermometer probe through the side of the cooler about at egg height. There are also two vent holes; one in the lid and one on the side at egg height. The lid has a recesses glass window. The glass is from a 5x6 picture frame. The condensation can create water droplets on the glass so I keep it covered with a towel or the cut out styrofoam piece.
The light is a plastic single bulb fixture. I put hook wire terminals on the cord's wires so that I can dismantle the light easily if I need to change out coolers. For fire safety, I place an old CD between the wire connections and the styrofoam.
To add water without opening the lid I use a length of 1/2" CPVC pipe that goes through the lid and sits on the mesh floor, behind a water jar to block any splash. I use a pipe cap or similar to close this opening between fillings.
Now, on to the differences between the hatcher and incubator.
The incubator has an automatic egg turner for the eggs. There is only half a sponge in the water. I use multiple thermometers in the incubator and adjust the thermostatic switch setting based on the feel I get from all the readings. I have noticed that the more eggs I add the more thermal mass there is and I need to come down a degree or two on the setting.
The hatcher uses 1 1/2 PVC rings, .5 inches tall, for the eggs. There is a whole sponge to increase humidity. In the past I have used various things to hold the eggs for hatching. The notable thing I find with the little rins is when a freshly hatched chick pushes it around it just slides on the mesh and is not disturbed or knocked over.


I am sure I missed something so feel free to ask questions.
Thanks for looking.


