Everyday there seems to be someone asking questions about building their own incubator. I have seen designs rangeing from simple styrofoam coolers to kitchen cabinet conversions and even carboard boxes. I thought I would just post some pics of my homemade incubator, which isnt so much a simple design, and probably isnt something just anybody can build, but it should serve to get others creative juices flowing to create an even better design.
Warning, this post is going to be very pic heavy.
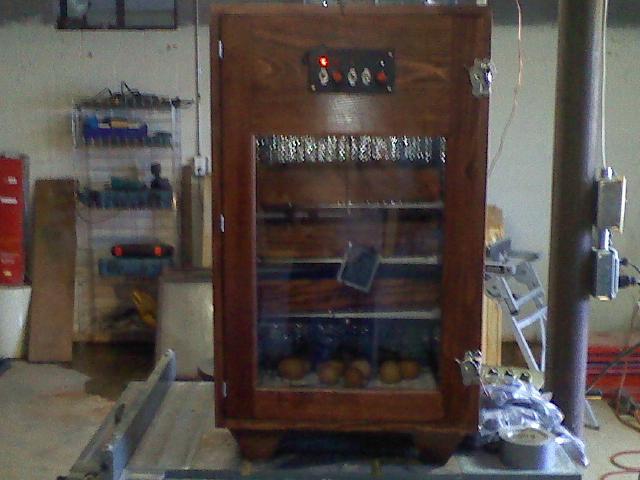
First a pic of the finished product.

This cabinet incubator will hold 144 eggs. It features, auto turning wood framed trays that hold the standard 48 egg hatching trays. It also features, an electronic thermostat and a humidstat for controlling humidity. So far we have been able to regulate temps to within 0.02deg and humidity to 1%rh. The cabinet is made of 3/4in cabinet grade plywood, trimmed in soft pine and insulted with doublesided foil insultation. It is finished with a custom color stain (meaning we mixed what we had on hand) and then sealed with multiple coats of clear lacqure.
The on/off,, thermostat, humistat and interior lighting and automatic turners controls are controled by this control panel locate in the top of the large woodframe glass door.
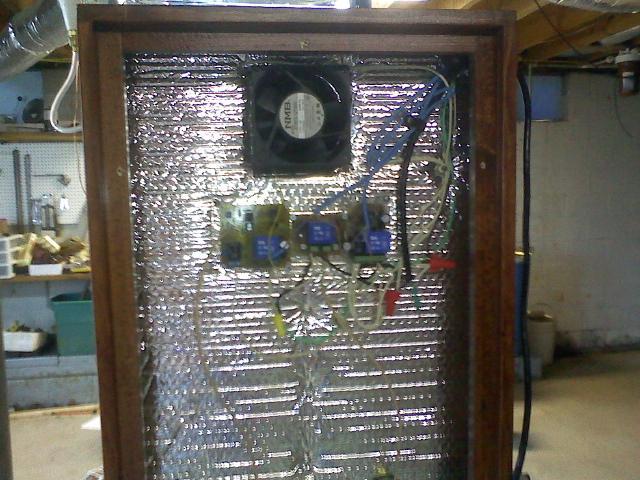
There are LED indicator lights above each switch. The lights are color coded for each operation. red for off/on, red for temp, yellow for auto turning, green for interior lights and blue for humidity. The blue light is actually white when it is not turned on but turns blue whenever the humistat is working. The control panel is connected to these three electronic circuit boards located in the back interior of the cabinet show here
.
Since this pic is the first design of the electronics, we have designed and built a much smaller circuit board that controls all three functions of the thermostat, humidistat and turner motor control. Size has been reduced to about 1/3 the size of the combined three circuit boards show in the pic.
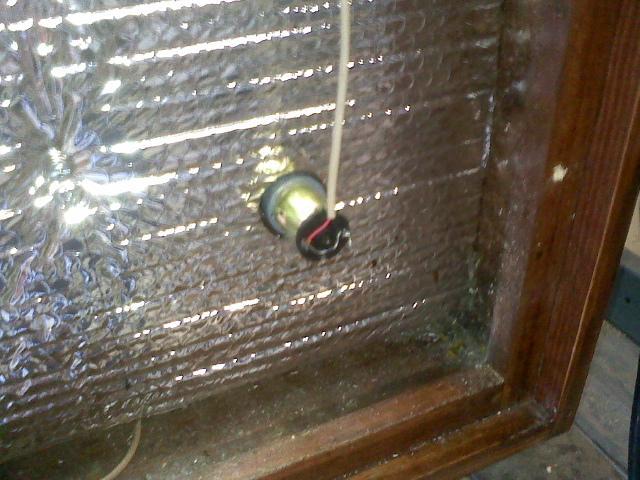
Humidity is measured by this small sensor located in the bottom back of the cabinet.
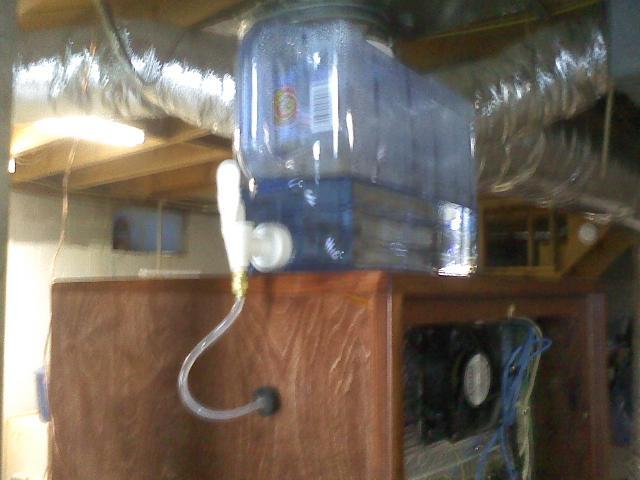
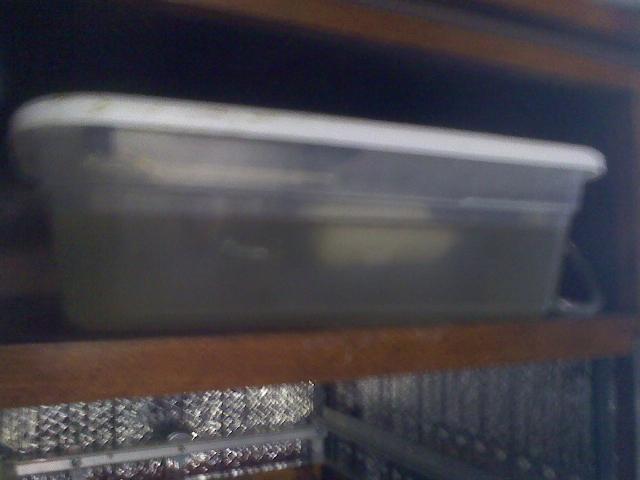
Water is supplied by this water bottle placed on top of the cabinet and connected by a 1/8in flexible clear plastic line to the water tray located in the top interior of the cabinet.
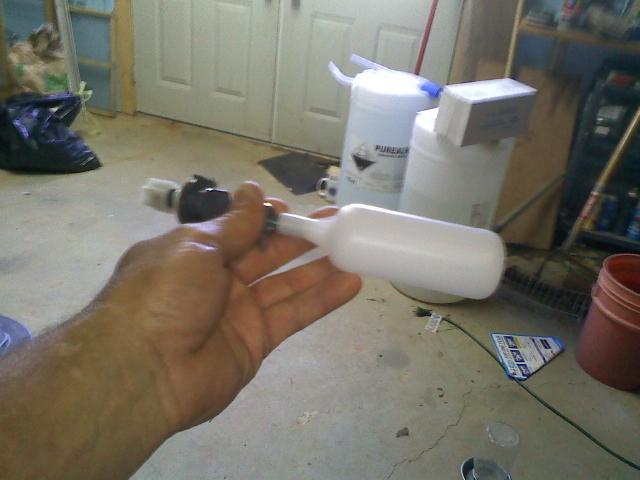
The tray contains a small float valve
which maintians the correct water height for humidity control.
The humistat operates this ultrasonic fogger also located inside the water tray
the fogger is 24vdc to advoid the risk of electric shock and is a off the shelf part used in many reptile enclosures.
Temps are measured by this sensor located in the back of the front door behind the control panel. If you can see the sensor it is the littel red dot extending by a wire behind the black circuit enclosure.
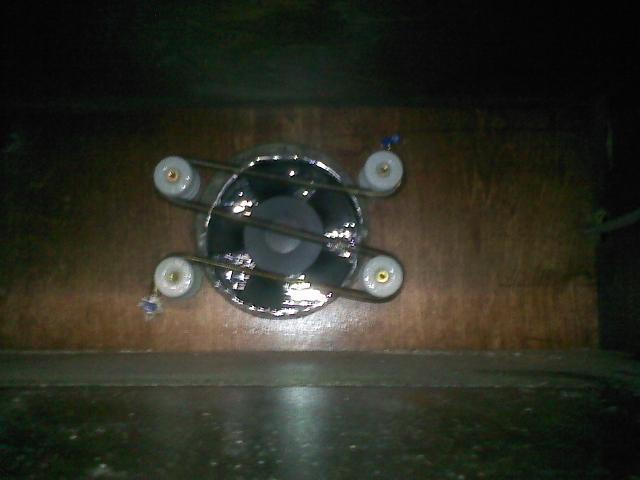
The heat is supplied using nichrome wire mounted on ceramic insulators in the top back of the cabinet. The wire is mounted directly infront of the 110V 100CFM fan.
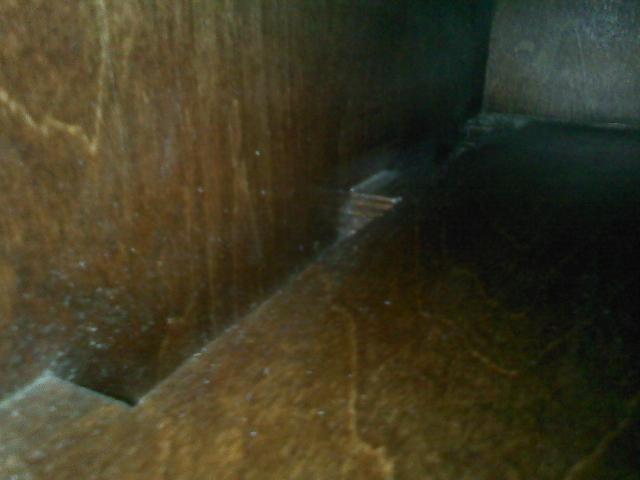
The fan doesnot blow the air thru a gap between the top shelf and the front door as is the model used for the Dickey and Sportsman cabinet incubators. Instead it blows the hot air down each side of the cabinet thru these gaps provided in the topshelf sides.
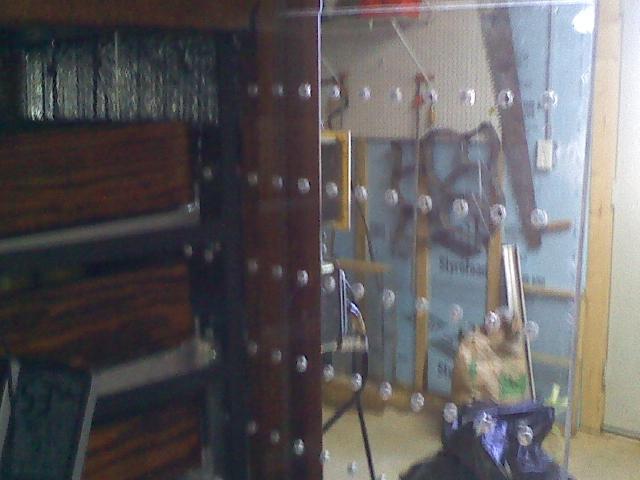
Warm air enters the tray areas thru these removable clear acrylic panels using a series of small holes drilled evenly throughout the side panels.
This insures even heat distribution and air circulation inside the egg tray area. The air is recirculated thru this removable bottom panel that is also drilled with holes so as to prevent all the air being pulled to just one area inside the tray compartment.
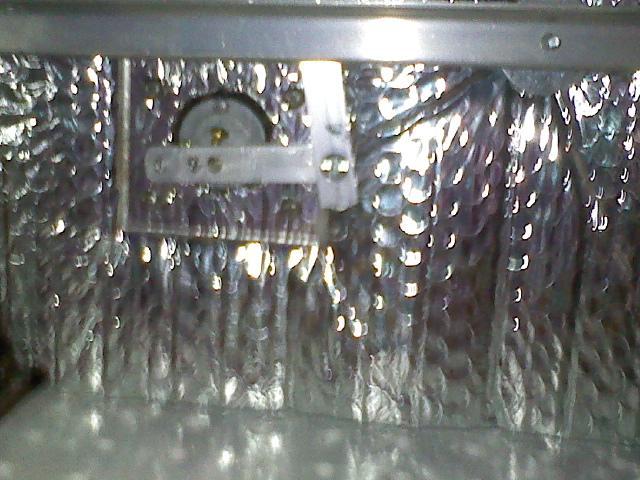
Here is a pic of the low voltage dc motor for turning the egg trays.
And how it is connected to the turning trays, using a simple wiper arm setup. similar to your cars windshield wipers.
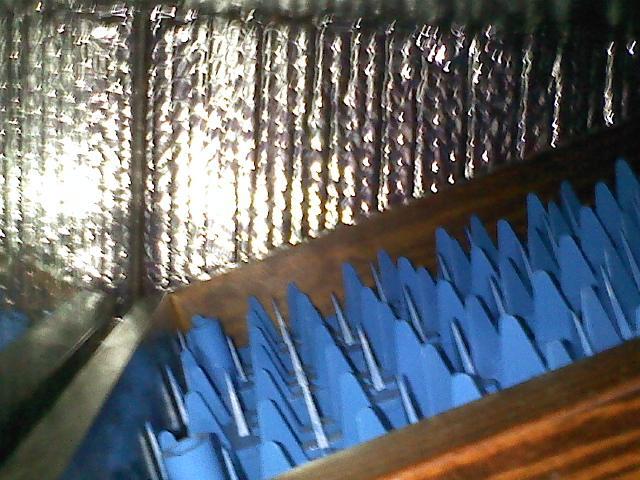
The metal turning trays are made using 1/8x1inx1in aluminum angle that is simply cut to lenght and rivited together. Each tray is connected to the next tray using1/4x1/2 inch aluminum barstock and are connected on each end to prevent the trays from flexing and warping when turning.
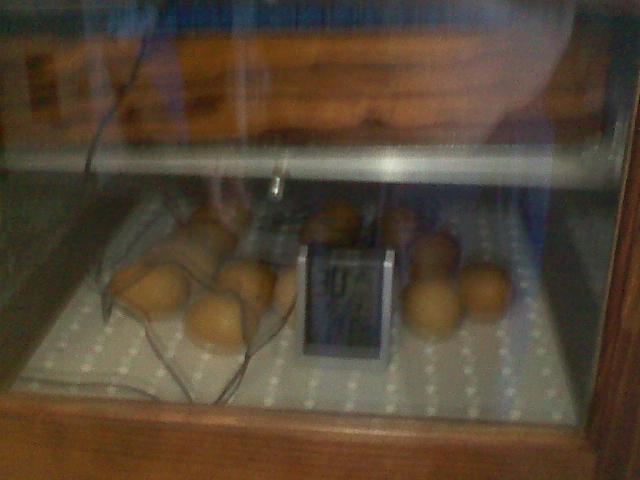
Egg trays,
Accurite temp/ hydgrometer,
A lot of thought, time and money went into designing and building this incubator. Chris Biblis (Cbiblis), did most of the actual building and designed and built all the electronic circuits. He is offering to custom build more of these incubators on a per order basis. Chris and I started this project back in Sept of 09. After getting burnt, taken, swindled or what ever you want to call it, by a electronic maker overseas, we had to design and build all the electronics to make this work. This in itself was a huge task considering neither Chris or I had any sort of electronics backgrounds. Because of trial and error, I dont even want to guesstimate how much I have in my incubator, certainly more than what I would have paid for a Dickey or Sportsman of similar capacity, but I feel, and the results have shown, dollar for dollar, it was money well spent.
Future plans call for digital readouts of the temps and humidity but this has got to wait until we can learn how to build and computer program all the chips necessary to make it work. For now, we are just using the Accurite temp hydgrometers which work ok as long as you keep them calibrated.
Warning, this post is going to be very pic heavy.
First a pic of the finished product.
This cabinet incubator will hold 144 eggs. It features, auto turning wood framed trays that hold the standard 48 egg hatching trays. It also features, an electronic thermostat and a humidstat for controlling humidity. So far we have been able to regulate temps to within 0.02deg and humidity to 1%rh. The cabinet is made of 3/4in cabinet grade plywood, trimmed in soft pine and insulted with doublesided foil insultation. It is finished with a custom color stain (meaning we mixed what we had on hand) and then sealed with multiple coats of clear lacqure.
The on/off,, thermostat, humistat and interior lighting and automatic turners controls are controled by this control panel locate in the top of the large woodframe glass door.

There are LED indicator lights above each switch. The lights are color coded for each operation. red for off/on, red for temp, yellow for auto turning, green for interior lights and blue for humidity. The blue light is actually white when it is not turned on but turns blue whenever the humistat is working. The control panel is connected to these three electronic circuit boards located in the back interior of the cabinet show here
Since this pic is the first design of the electronics, we have designed and built a much smaller circuit board that controls all three functions of the thermostat, humidistat and turner motor control. Size has been reduced to about 1/3 the size of the combined three circuit boards show in the pic.
Humidity is measured by this small sensor located in the bottom back of the cabinet.

Water is supplied by this water bottle placed on top of the cabinet and connected by a 1/8in flexible clear plastic line to the water tray located in the top interior of the cabinet.
The tray contains a small float valve
which maintians the correct water height for humidity control.
The humistat operates this ultrasonic fogger also located inside the water tray

the fogger is 24vdc to advoid the risk of electric shock and is a off the shelf part used in many reptile enclosures.
Temps are measured by this sensor located in the back of the front door behind the control panel. If you can see the sensor it is the littel red dot extending by a wire behind the black circuit enclosure.

The heat is supplied using nichrome wire mounted on ceramic insulators in the top back of the cabinet. The wire is mounted directly infront of the 110V 100CFM fan.
The fan doesnot blow the air thru a gap between the top shelf and the front door as is the model used for the Dickey and Sportsman cabinet incubators. Instead it blows the hot air down each side of the cabinet thru these gaps provided in the topshelf sides.
Warm air enters the tray areas thru these removable clear acrylic panels using a series of small holes drilled evenly throughout the side panels.
This insures even heat distribution and air circulation inside the egg tray area. The air is recirculated thru this removable bottom panel that is also drilled with holes so as to prevent all the air being pulled to just one area inside the tray compartment.
Here is a pic of the low voltage dc motor for turning the egg trays.
And how it is connected to the turning trays, using a simple wiper arm setup. similar to your cars windshield wipers.
The metal turning trays are made using 1/8x1inx1in aluminum angle that is simply cut to lenght and rivited together. Each tray is connected to the next tray using1/4x1/2 inch aluminum barstock and are connected on each end to prevent the trays from flexing and warping when turning.

Egg trays,
Accurite temp/ hydgrometer,

A lot of thought, time and money went into designing and building this incubator. Chris Biblis (Cbiblis), did most of the actual building and designed and built all the electronic circuits. He is offering to custom build more of these incubators on a per order basis. Chris and I started this project back in Sept of 09. After getting burnt, taken, swindled or what ever you want to call it, by a electronic maker overseas, we had to design and build all the electronics to make this work. This in itself was a huge task considering neither Chris or I had any sort of electronics backgrounds. Because of trial and error, I dont even want to guesstimate how much I have in my incubator, certainly more than what I would have paid for a Dickey or Sportsman of similar capacity, but I feel, and the results have shown, dollar for dollar, it was money well spent.
Future plans call for digital readouts of the temps and humidity but this has got to wait until we can learn how to build and computer program all the chips necessary to make it work. For now, we are just using the Accurite temp hydgrometers which work ok as long as you keep them calibrated.
Last edited:

