This coop building story started Good Friday....for some reason my wife suggested that we go to Tractor Supply to "look at chicks". She even called the TSC to see if they had any chicks in stock. I was a bit taken aback, as usually SHE is the one offering resistance to adding more chickens to our flock. So I was surprised, but happy nonetheless, as I always like to see ANYTHING that has to do with chickens. As we were making the 30 minute drive out to our local TSC, I thought to myself that this was a bad sight-seeing idea to have our 7 and 10yr old girls along, who are suckers for chicks and as as soon as they saw some....it was gonna be all over,,, resistance would be futile! So we got there and the girls were in heaven holding chicks and BEGGING to get some! They had Buff Orpingtons (we have two) and AmberLinks, which I had never heard of, and so I was intrigued. I quickly looked some pictures up online on the handy i-phone...and liked what I saw. Wifey did too and surprised me again, saying..."OK, lets pick out six". YAAAAAYYYYYYYY, the girls were literally jumping up and down with excitement. So we picked out six Amberlinks and brought them home. We settled them in to the handy rubbermaid which we had used to raise our current flock of layers...

Here's a chick close-up...sorry its blurry but it is a cellphone pic...

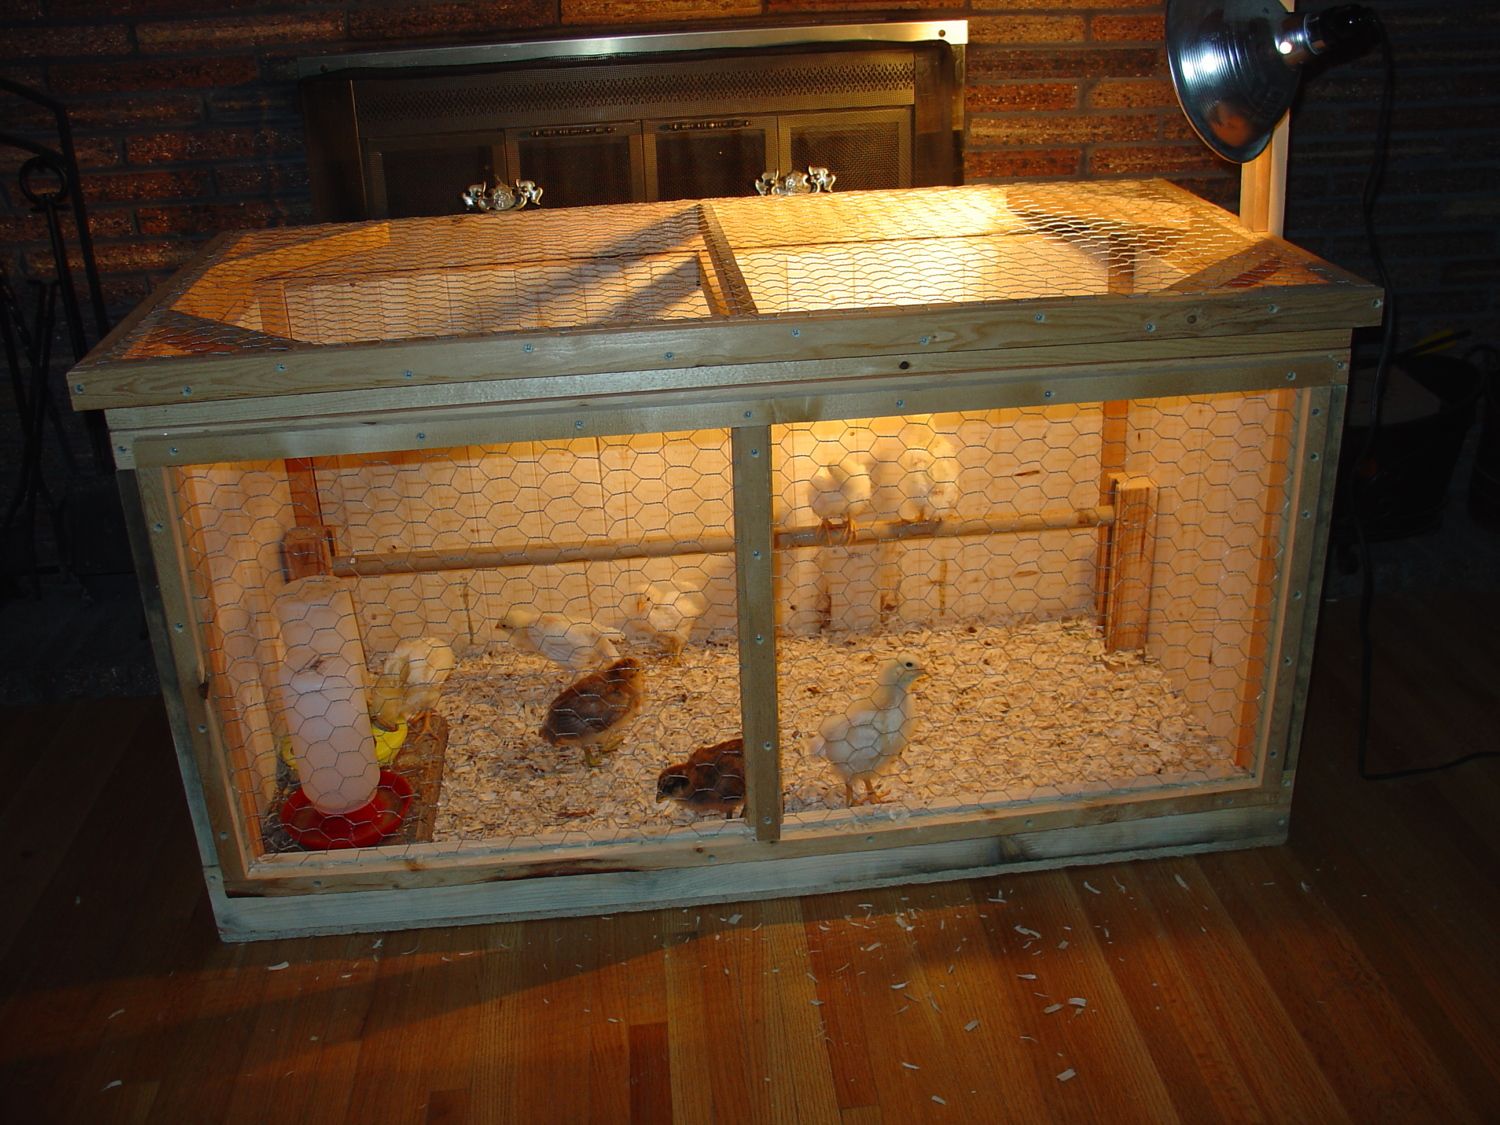
So you are saying "please tell me his rubbermaid is not the 'New Brooder Coop' he posted about!" No, its not. Here's what happened...the next day I went to buy seeds for my garden at the farm supply store, and THEY HAD CHICKS TOO! Plus, they had Americauna's (or maybe EE's but the sign said Americaunas) advertised as blue-egg layers and I want blue eggs.....yep, you guessed it I HAD to buy two! They were within a day or so in age of my six amber links so I thought they would no doubt get along famously....and after an initial intense stare-down...they did (it was quite comical, actually). After about a week (CHICKS GROW FAST), we realized that the rubbermaid just wasn't roomy enough. Which brings me to the point of this thread....it was time to build a bigger brooder! This will have to suffice as a teaser...its bedtime. I will post pics of my new home-built brooder soon...stay tuned.
Here's a chick close-up...sorry its blurry but it is a cellphone pic...
So you are saying "please tell me his rubbermaid is not the 'New Brooder Coop' he posted about!" No, its not. Here's what happened...the next day I went to buy seeds for my garden at the farm supply store, and THEY HAD CHICKS TOO! Plus, they had Americauna's (or maybe EE's but the sign said Americaunas) advertised as blue-egg layers and I want blue eggs.....yep, you guessed it I HAD to buy two! They were within a day or so in age of my six amber links so I thought they would no doubt get along famously....and after an initial intense stare-down...they did (it was quite comical, actually). After about a week (CHICKS GROW FAST), we realized that the rubbermaid just wasn't roomy enough. Which brings me to the point of this thread....it was time to build a bigger brooder! This will have to suffice as a teaser...its bedtime. I will post pics of my new home-built brooder soon...stay tuned.