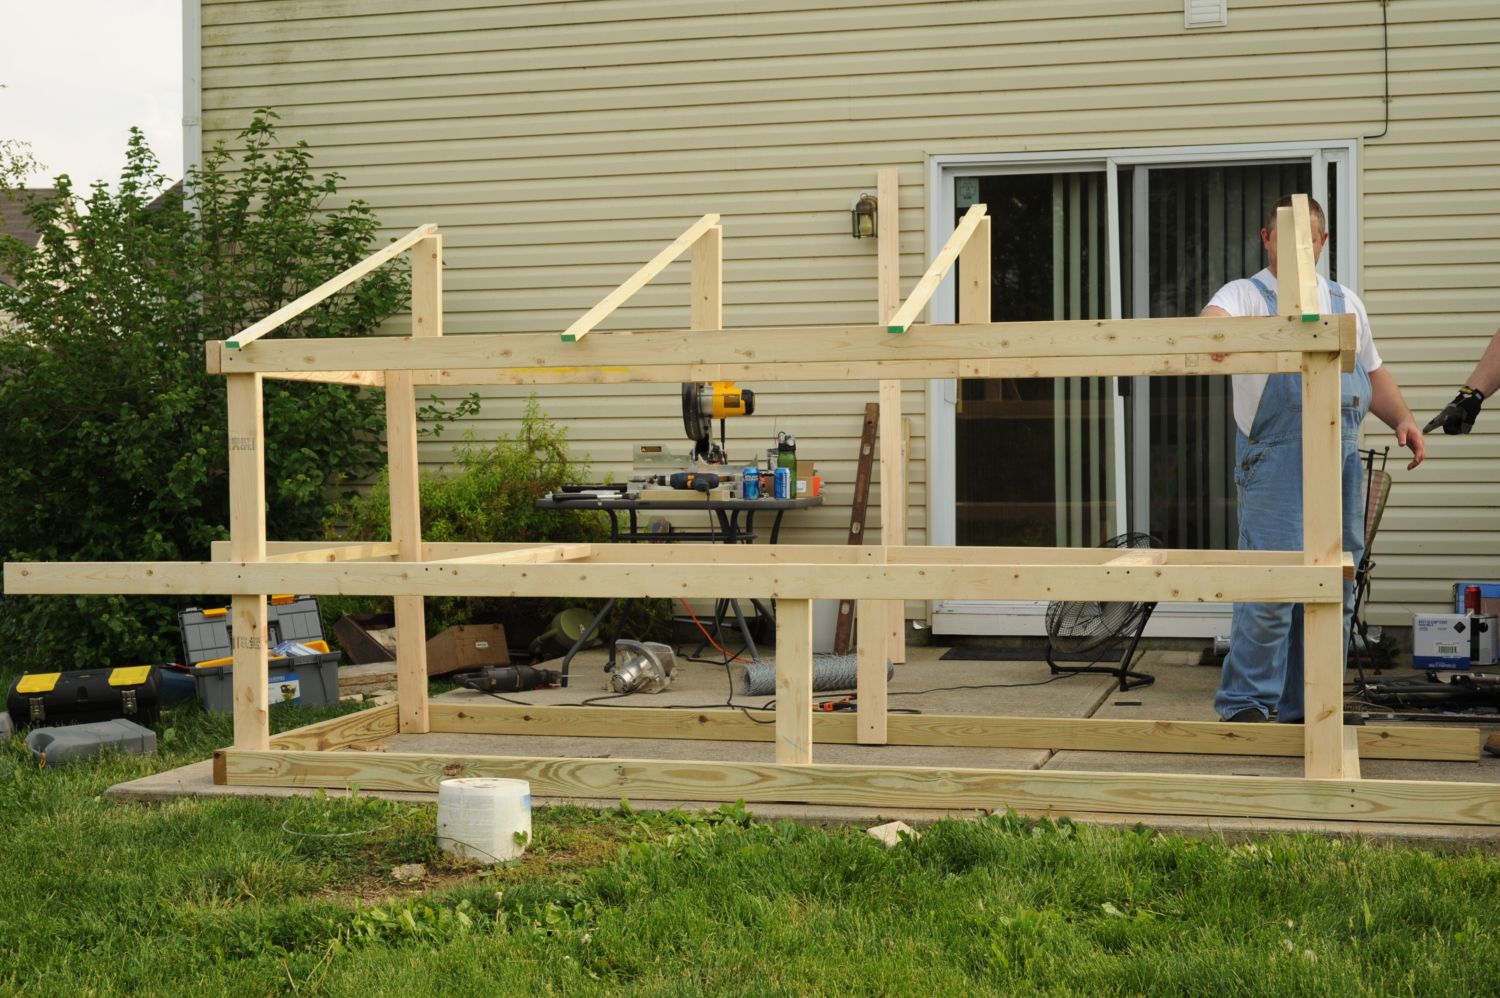
Our Chicken Tank (Very Pic Heavy)

RMo2

Songster
7 Years
Apr 22, 2012
564
47
148
Ohio
My husband and I had been discussing getting chickens for a while, and we finally took the plunge. I wish I would have listened to everyone's warnings about building the coop BEFORE getting the chicks, but my excitement got the best of me. Our initial plans were to build a small, basic chicken tractor to serve the chicks immediate needs and then build a permanent coop and enclosed run for long term use. Out chicken tractor quickly became what I call it-- a chicken TANK-- this thing is heavy duty!

The coop underwent numerous revisions and rebuilds as we went along. I will share our construction in several posts.

Day One
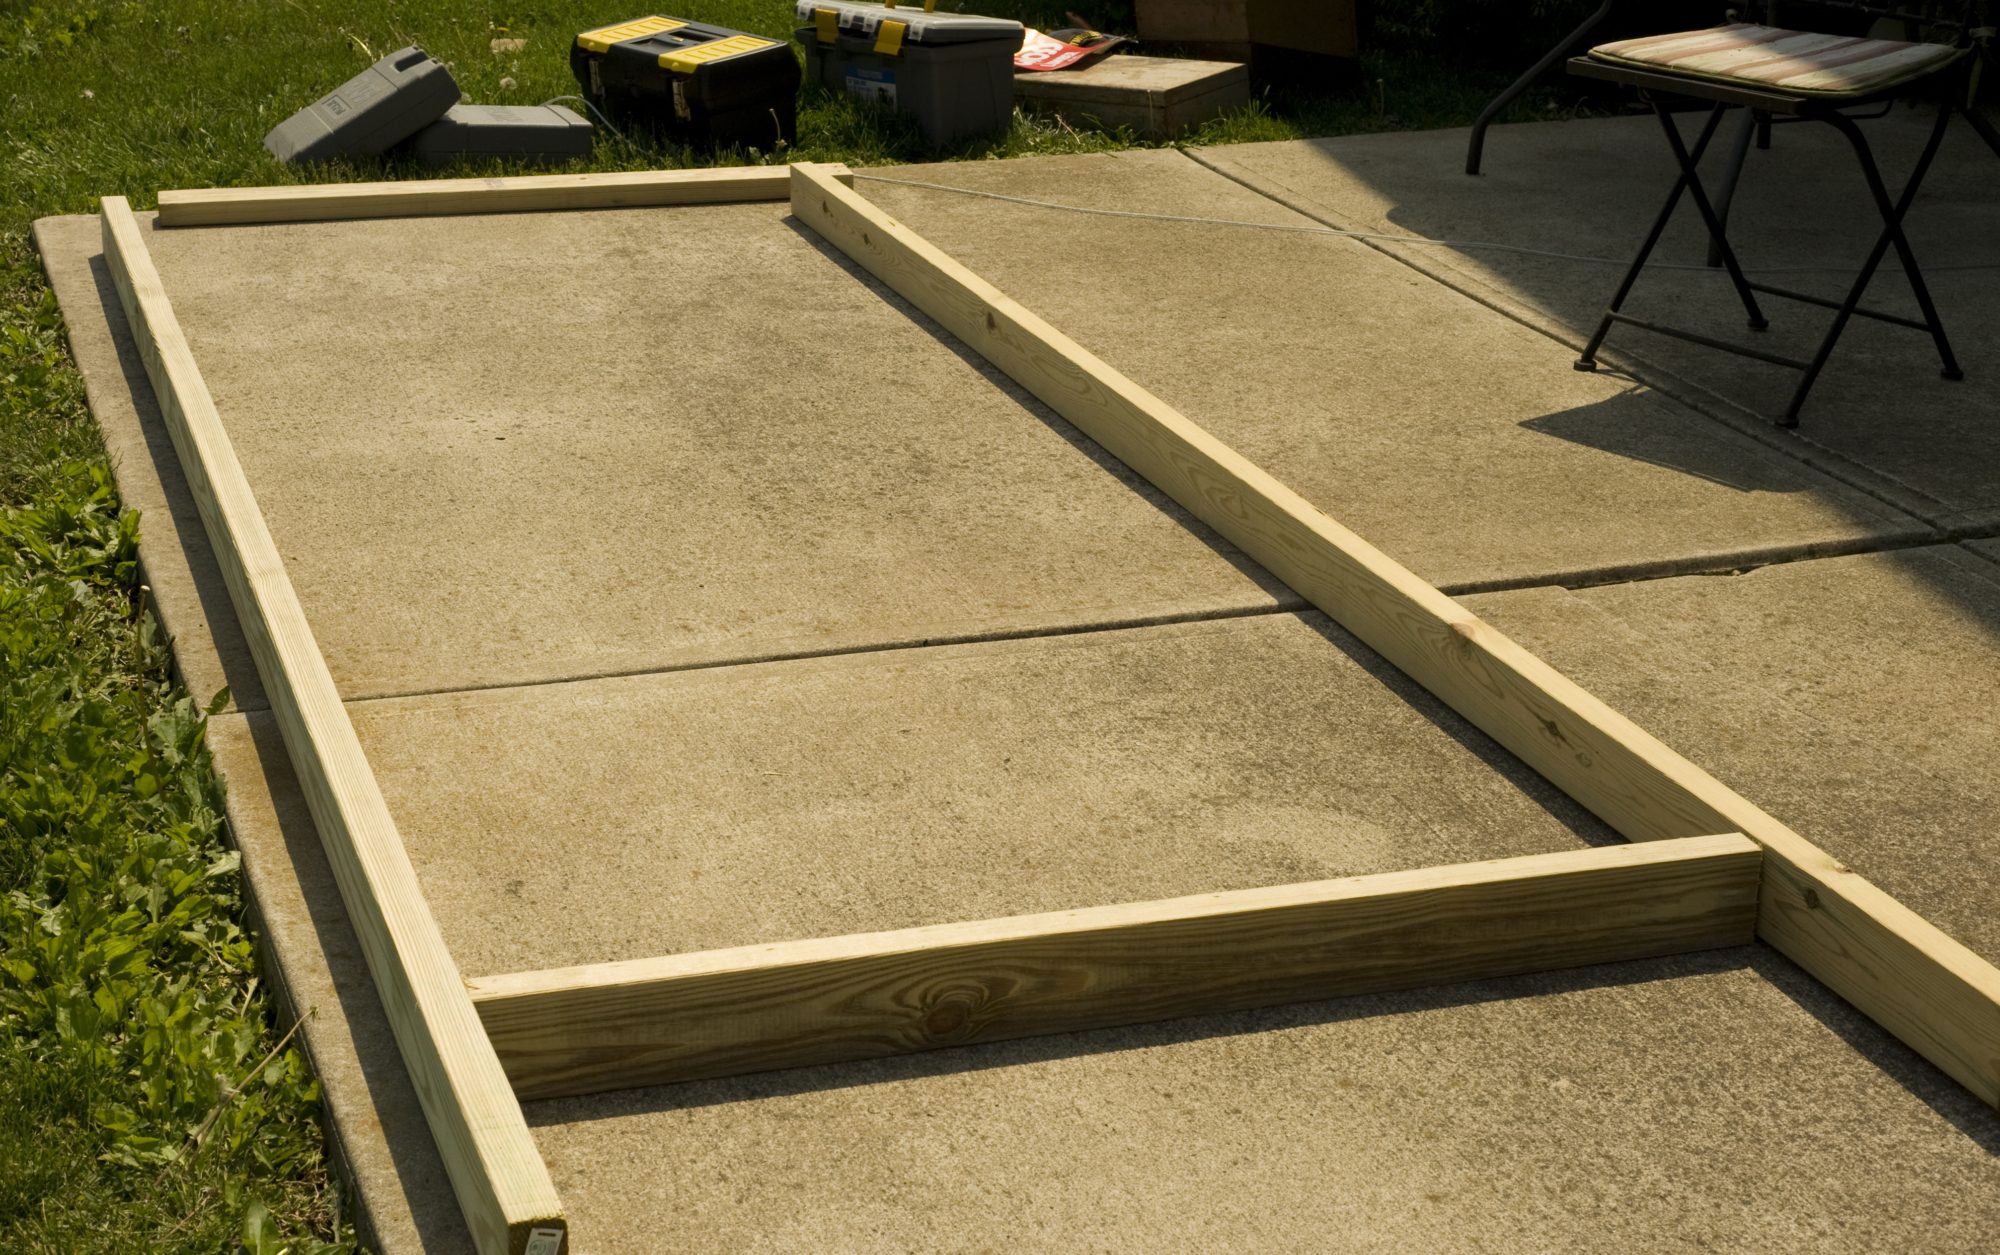


I would definitely NOT recommend the peel and stick squares for the floor. We later revised this into a single piece of vinyl floor because the squares would not stay tacked down for anything! I got the squares on clearance --- cheaper isn't always better!!


This was the progress at the end of the first day!


Of course no post would be complete without pics of the chicks! They were about 3 weeks old when we started the coop.


More posts to come.......
 
Last edited:
th.gif
lau.gif
How do you plan on moving your tank? It looks fab, but more permanant than tractor-ish! I love how big it is. How many chicks have you got?
 
Thank you! This is written in hind-sight, so it does move :) That was quite the obstacle! But the coop has six wheels on it now! More photos to and a new post coming up!
 
th.gif
lau.gif
How do you plan on moving your tank? It looks fab, but more permanant than tractor-ish! I love how big it is. How many chicks have you got?
The coop is finished with the exception of trim work and paint, I just never had the chance to post until now. We have 6 large wheels on it and I can move it around the yard myself. Getting the tank to move was by far the biggest challenge. :) We have 6 chickens-- 2 RIR, 1GLW Roo, 2 EE and a Partridge Plymouth Rock.

Thank you for the compliment--- more pics coming up!
 
So I feel like I have misplaced some of the photos of our progress, but I cannot remember if I for sure took any at this point, because another friend of mine who is a wood worker came over and decided that the tank needed some serious help while I was at work one day. The improvements included tearing the roof down and the sides of the coop down to the floor and rebuilding it. A better support system was put in place to bear the weight of the roof. If you ask my husband what the hardest part of the process was, he would say tacking down the rubber roof-- it slightly shifted under the tarp due to a rain storm that blew in before it was 100% secured which made it very difficult to make it straight again and line it up perfectly with the underlying support beams.

The coop has some boards that are painted because I primed and painted the coop after our first build, but then so much of it had to be redone, that there are only random painted boards on the exterior here. Also, I had painted a mural on the inside of the first plywood roof, that was removed. In order to save cost on wood, those boards were repurposed and used inside the coop-- that is why there are some boards in the coop with clouds on them. I am hoping to finish a mural once we get a lot of the exterior cosmetic work completed.

Here are photos of the new rubber roof:


Below is a view of what the roof looks like inside as well as the support system. It is difficult to get an overall picture from the inside without being close to the structures!


There was space left for ventilation under the roof on both the front and back of the coop. These vents were covered by both hardware cloth and mesh screening to keep predators and bugs out of the coop, while allowing for air to escape the coop.


My niece and nephew came to stay with us, and helped us get the coop ready. They put the doors onto the coop.


Then the locking system was put into place.


The cat decided this was a great place to relax... especially with the new single piece of flooring that was installed (previously, just no pictures until now).


My husband decided to make the lower portion of the coop's screens removable in case we would need access. They are very snug, and the wheels and trim boards make most of them hard to remove, but the screens on each end and one on the back are easily removed (by us, not predators!).


This was the first night the chickens spent in the coop. At this point it was not mobile, but they were too big to spend any more nights in the house! We moved them to a pen during the day, and secured them in the upper level of the coop at night. Here they are-- scared-- but ready to spend their first night in their new home!


It didn't take long for them to explore their new home and have a little snack!


Again, a lot of progress happened while I was at work and my husband did not stop and take pictures. Below you can see that we added six wheels and trim boards to cover the vents to keep water out of the coop. The vents are still open up underneath of the edge of the coop and are at least 10 inches wide.


Here is a closer view of the wheels.


The roosts we installed....


Of course they like the rafters too! :)


More posts to come--- this is pretty much as far as we have gotten. The coop is fully functional, but there is still a lot of cosmetic work to be completed. We still need to prime and paint the exterior, add the trim work and seal the beams that cover the vents (they are cedar, so we will just use Thompson's water seal).

Thanks for reading this
smile.png
 
We also need to decide where to place nesting boxes. We just aren't sure where/what kind, since we do not have build out that allows us to access the boxes from the outside of the coop.Any ideas?
 
You can create solid back walls with center holes to reach in through for egg collection. Do the same on the inside to create a spot for the hens to come and go from the nest through. Darker nests seem to be preferred by hens for laying.

be3ca003.jpg
 
Great idea!! The only thing we will need to do is find a new location for the water that hangs from the rafter there.

We also need more ventilation. We are looking into solar powered vent fans for air circulation. We also want to build screens for the drop doors on the front so that more air can get in. Currently we have been putting a box fan in the coop 24/7, but that is not a long term solution.
 

New posts New threads Active threads

Back
Top Bottom