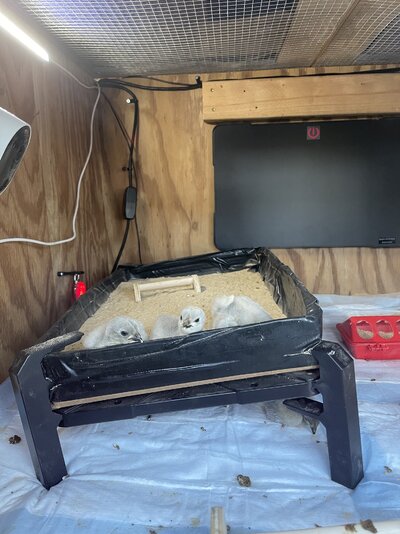
Gammas Bearded Babies
Crossing the Road
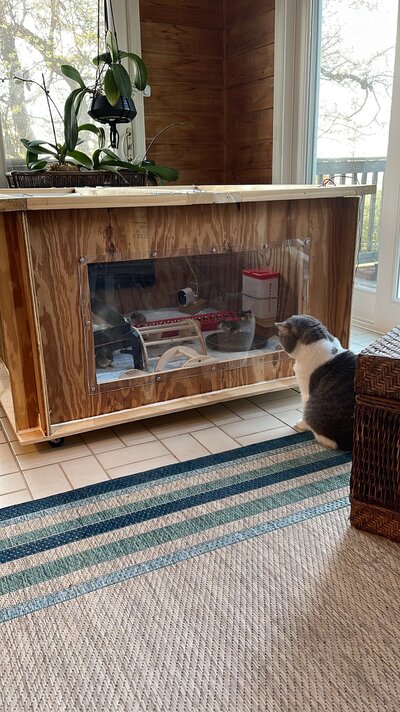
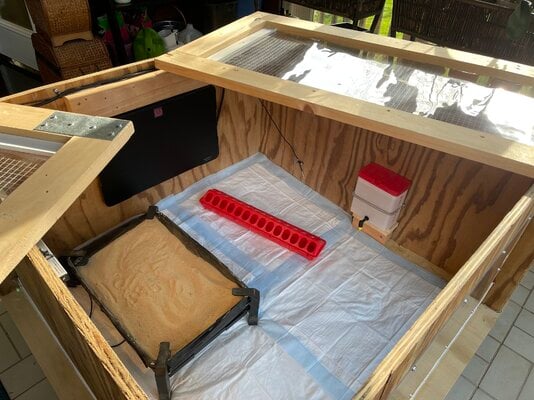
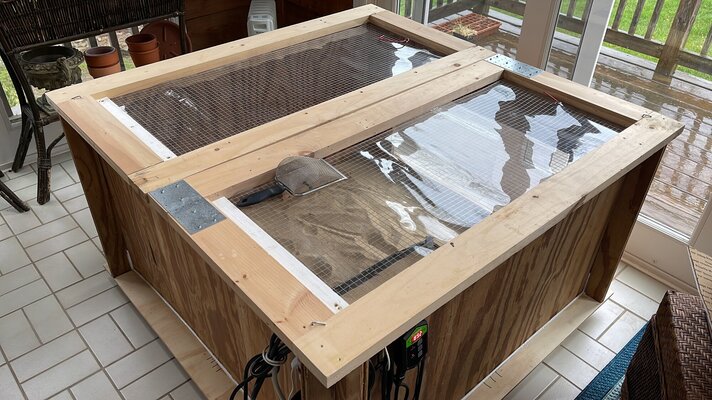
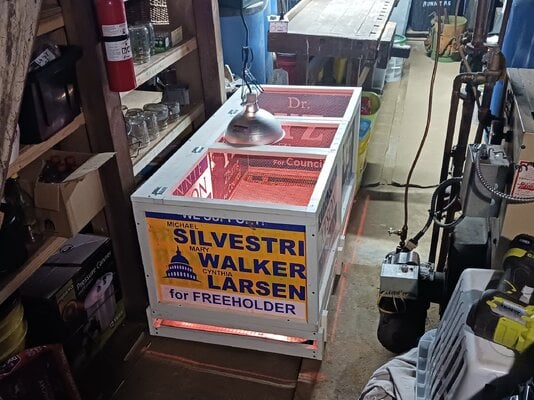
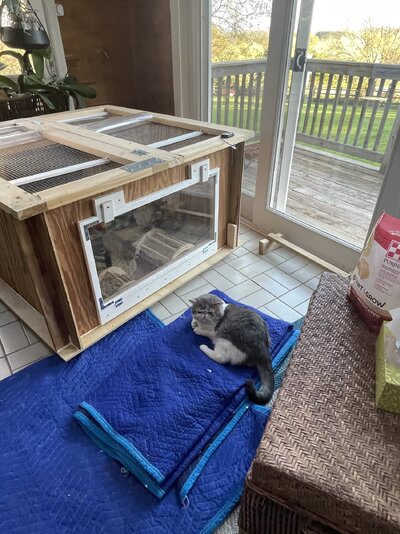
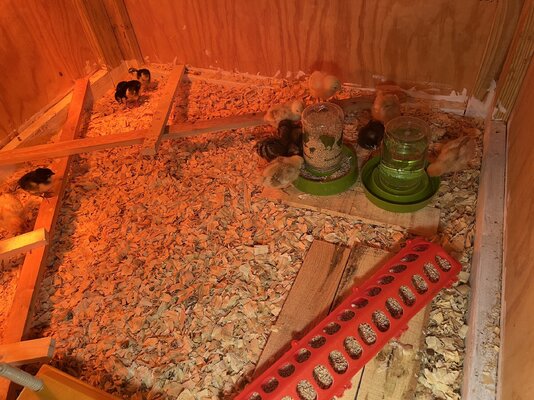
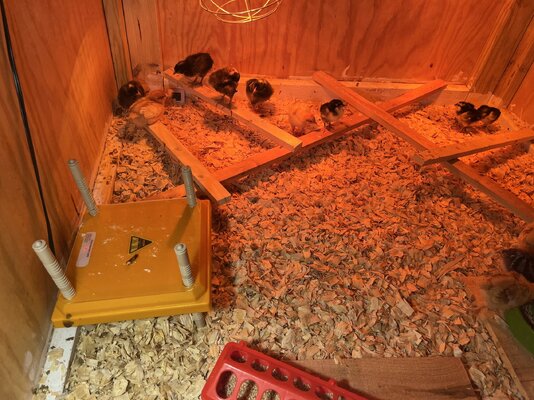
Got the brooder finished and pretty happy how it turned out using all free wood and scraps I had on hand!!!
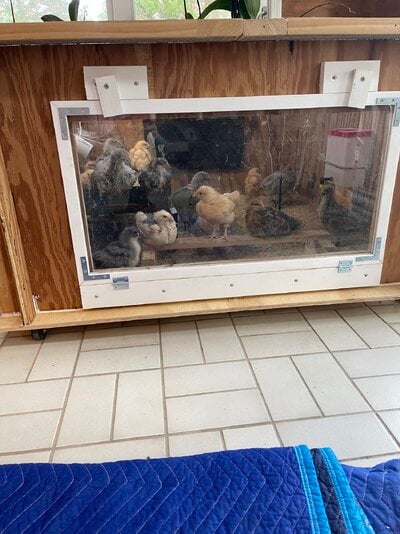
I do need suggestions as to how to go about keeping the chicken wire front pulled up once babies are integrated fully like they are now. I had hardware cloth across there and it was eating me up. It wasn't necessary so I swapped it out for chicken wire i had. Much better! I also had it opening from top to bottom and switched that so the babies didn't have to walk/climb over the netting. So now it opens up from bottom to top - also much better.
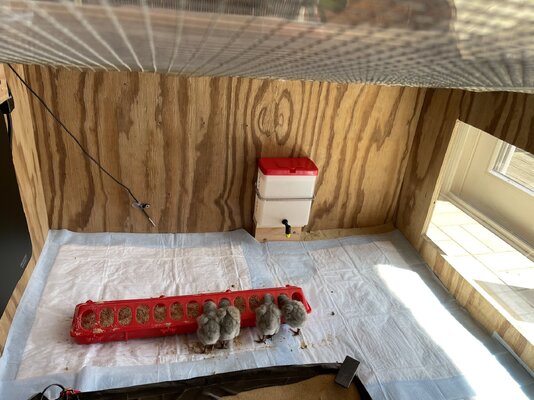
Any suggestions what I could use besides screws to hold the netting back? It is screwed into a 1x2 then pulled back currently.

I do need suggestions as to how to go about keeping the chicken wire front pulled up once babies are integrated fully like they are now. I had hardware cloth across there and it was eating me up. It wasn't necessary so I swapped it out for chicken wire i had. Much better! I also had it opening from top to bottom and switched that so the babies didn't have to walk/climb over the netting. So now it opens up from bottom to top - also much better.
Any suggestions what I could use besides screws to hold the netting back? It is screwed into a 1x2 then pulled back currently.