We had a perfect 60 plus degree sunny day in Indiana, definitely not typical this time of year.
Me and a good friend of mine (he's the carpenter) got a great start on my coop today.
Details. The coop is 8x6 with 7 foot walls and 8 foot at the peak. I went with those sizes for a couple reasons. I wanted to minimize the number of sheets of smartside I had to buy. I also plan on making my run 6 foot tall, so this would allow me to get the top of my run under the overhang coming off the front. I might have to modify this because that is one mistake I made, I think the tops of the two front windows are over 6 foot, So I will have to angle mire HC top up when I attach to the front, should be no big deal. I had initially planned to have 6 foot walls so the gable vents I bought were too big once I changed to 7 foot walls. So I am going to buy new vents and install them later.
I framed my walk in door and the pop door ten inches off the floor to make room for litter. I made a small 4 foot by 1 foot clean out hatch on the back that is flush with the floor so I can sweep out if needed. The windows were recently taken out by my friend on another job so they were free. The canopy windows on the front were brand new and still had the stickers on them. I also got the metal I am putting on the roof for free from a barn that was taken down.
I still need to put the metal roof on, frame and build the doors, build external nest boxed to go off the back, and frame the corners and along the rafters. I am just going to put chicken wire under the overhangs instead of soffit for ventilation.
Floor

Wall under construction

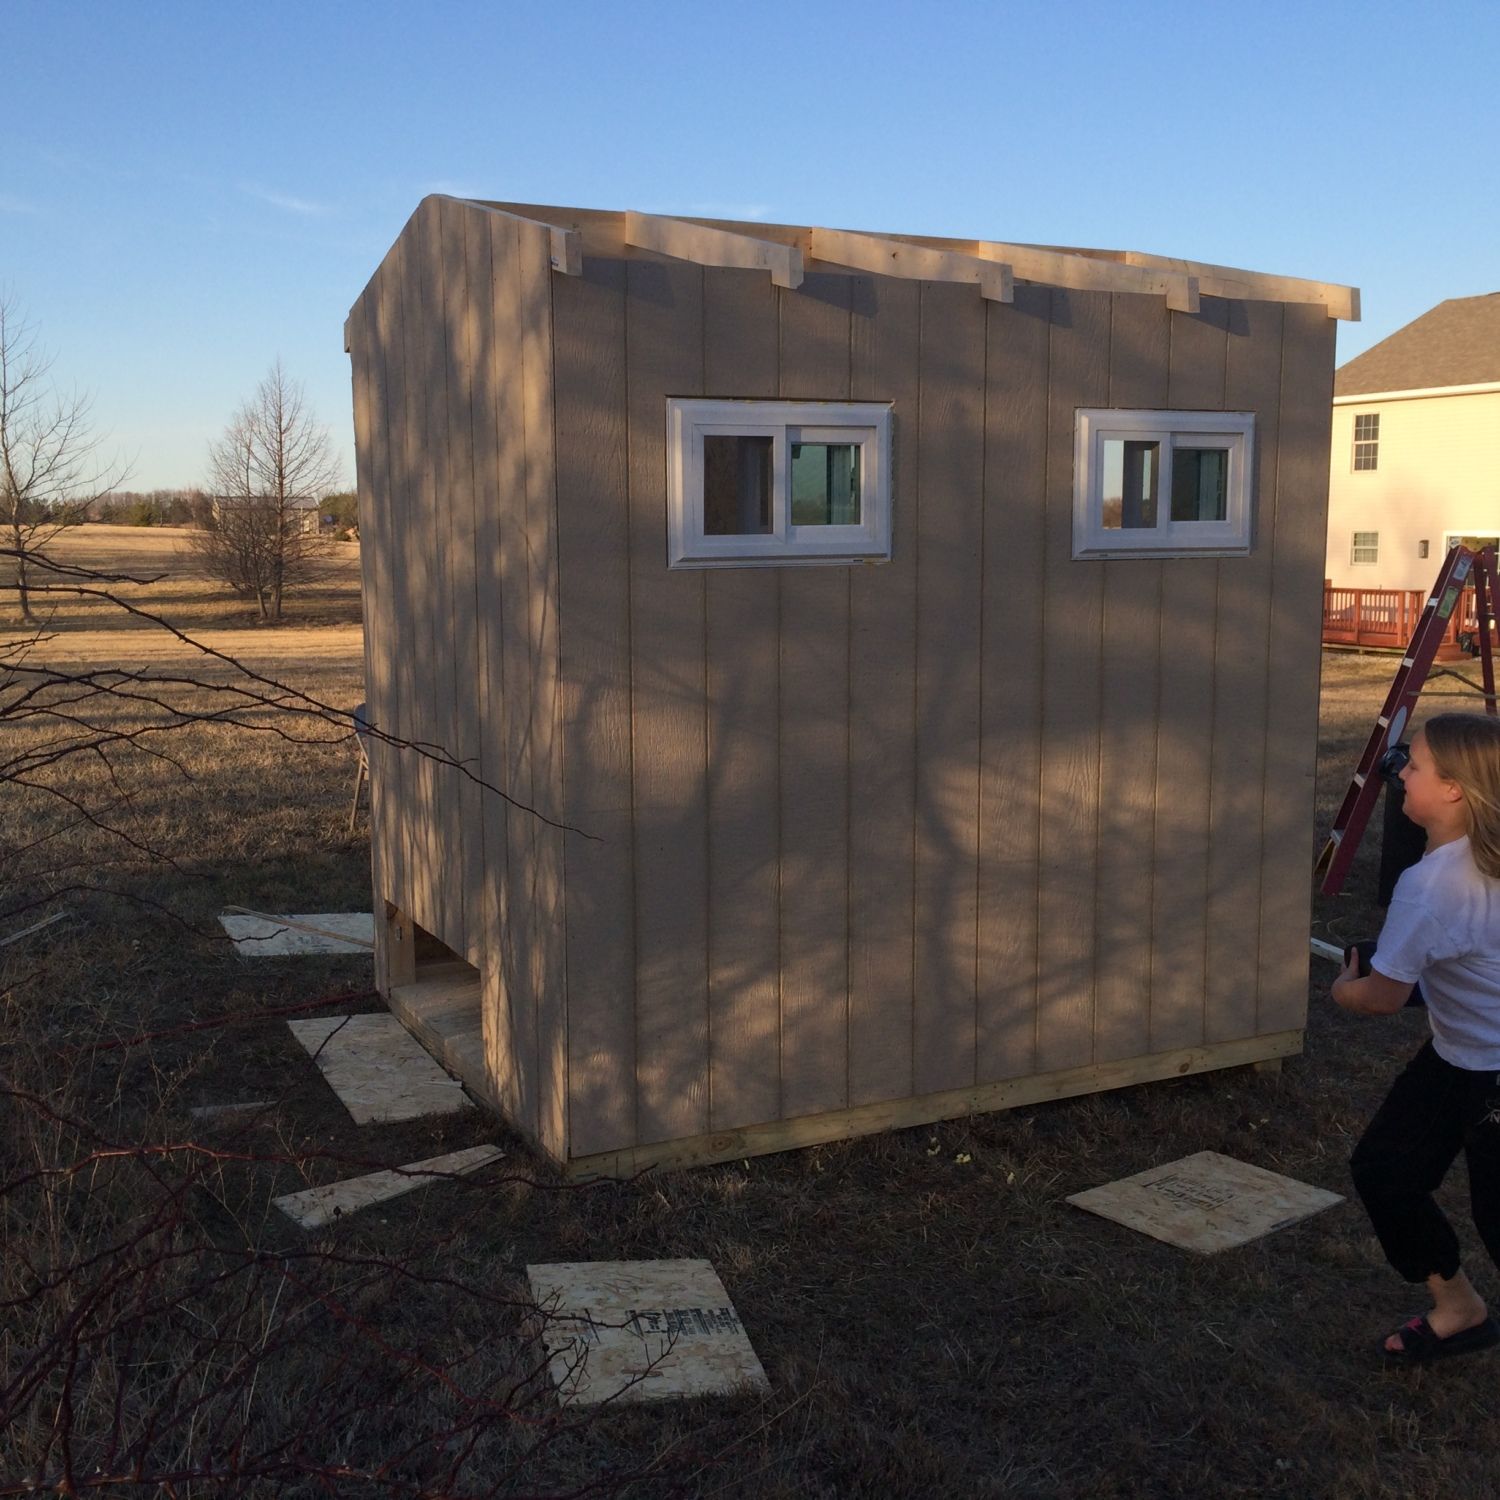
Walls up

Front and walk in door.
Back side and clean out, nest boxes will go under these windows.
Me and a good friend of mine (he's the carpenter) got a great start on my coop today.
Details. The coop is 8x6 with 7 foot walls and 8 foot at the peak. I went with those sizes for a couple reasons. I wanted to minimize the number of sheets of smartside I had to buy. I also plan on making my run 6 foot tall, so this would allow me to get the top of my run under the overhang coming off the front. I might have to modify this because that is one mistake I made, I think the tops of the two front windows are over 6 foot, So I will have to angle mire HC top up when I attach to the front, should be no big deal. I had initially planned to have 6 foot walls so the gable vents I bought were too big once I changed to 7 foot walls. So I am going to buy new vents and install them later.
I framed my walk in door and the pop door ten inches off the floor to make room for litter. I made a small 4 foot by 1 foot clean out hatch on the back that is flush with the floor so I can sweep out if needed. The windows were recently taken out by my friend on another job so they were free. The canopy windows on the front were brand new and still had the stickers on them. I also got the metal I am putting on the roof for free from a barn that was taken down.
I still need to put the metal roof on, frame and build the doors, build external nest boxed to go off the back, and frame the corners and along the rafters. I am just going to put chicken wire under the overhangs instead of soffit for ventilation.
Floor
Wall under construction
Walls up
Front and walk in door.
Back side and clean out, nest boxes will go under these windows.
Last edited:
