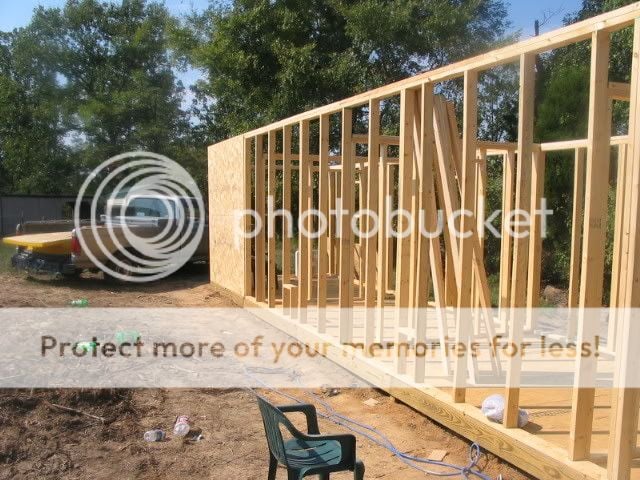
I have started building a "MONSTER" of a coop and run!2

Coop looks like it will be great!!!
I am contemplating running water and electricity to my coop. In regard to the flooring...I bought some cheap linleum remnants from Lowe's and glued them to my plywood floor. It works great with deep litter and makes clean-up real easy.

It's a shame you had to retire so young due to health reasons...it seems like you have the energy and skills for construction or carpentry...
I am looking forward to my retirement years...
smile.png
 
Impressive.

Only thing I can think to mention is covering on plywood. We used treated plywood in turkey shed. Kept visiting carpet outlet places until we found a large remnant of Congoleum (kinda like tough linoleum). This was secured to the floor. We then added large grained sand ~2.5" deep mixed with DE, and then added wood chips and straw.

Turkeys are much bigger stinkers than chooks and simply raking out soiled wood chips and straw does the trick (no odor/no flies/stays very dry), also easier on their legs when hopping down from roosts.

Keep us posted!
 
Thank you everyone, for the positive encouragement and comments! I may be implementing a few ideas suggested.

I have not been working as many hours the last 4-5 days on the coop. But I have still gotten quite a bit done doing it by myself.

Here are a few updated pictures and descriptions:

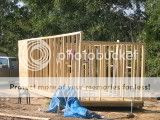
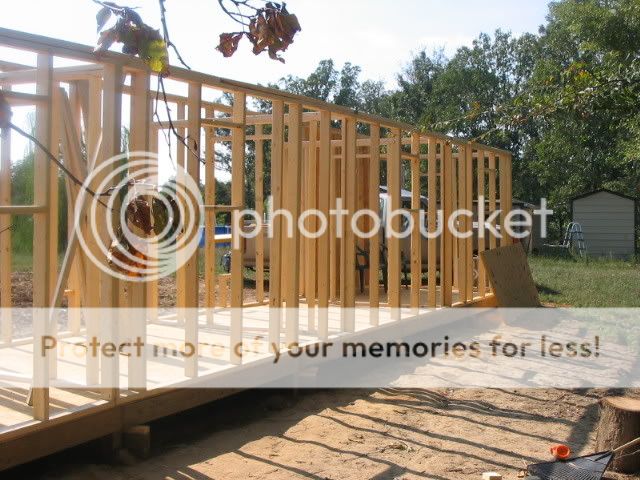
I finished framing out the exterior walls:
IMG_0424.jpg


using precut 92 5/8 2x4's and 8' 2x4's.

I framed out 1 window at the far end of the coop, where I will be mounting a box fan, to vent out hot stale air from inside the coop. I also framed out 4 windows on the back wall of the coop and 1 on the front to draw in fresh air during the summer. When finished the all will have hinged plywood shudders to keep out cold air in the winter.
IMG_0425.jpg


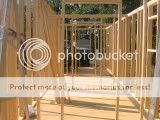
I also framed out the partitioning walls and doors leading from one section to another. The dividing walls and doors will be covered with chicken wire. To allow plenty of ventilation through out.
IMG_0426.jpg


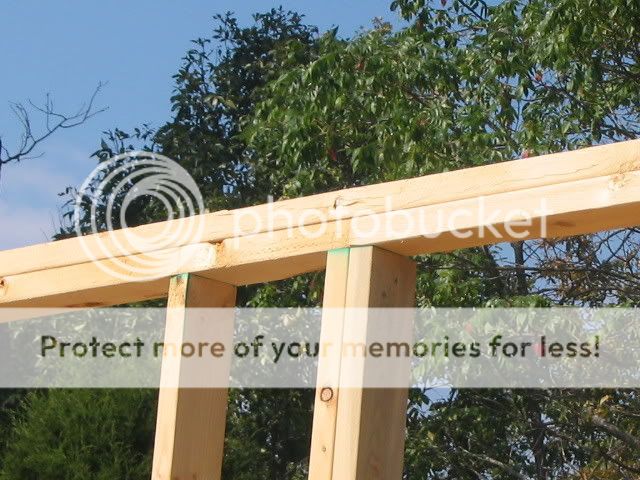
After farming out the walls, I added a second(top plate)2x4 along the top of the walls, over lapping the seams of the 8' x 8' wall panels to help strengthen the walls.
IMG_0428.jpg


Today, I began putting up the 7/16 OSB sheeting on the exterior walls. I tell you that was not an easy task by myself.
IMG_0427.jpg


That is where I have stopped for the day. Tomorrow 9/20, I plan to start cutting and placing the roof rafters/joyces and more of the plywood to the walls.

Does anyone have any suggestions on how to put up the ply wood by ones self with some ease? I really can use what ever help anyone can give.
 
Gregg'sEggs :

Does anyone have any suggestions on how to put up the ply wood by ones self with some ease? I really can use what ever help anyone can give.

Either nail a temporary board across the bottom or drive several framing nails to set the panels on while you nail them.​
 
What are you using for siding? Or is that going to be the exterior?

I'm just looking at the details... To use 8' sheathing the height of your cap
plate should be no more than 8' above the floor. The sheathing needs to be placed
even with the top of the lower cap plate. This gives an 1 1/2" past the bottom of the
wall overhanging the foundation 3/4" to cover the seams at the bottom of the wall.
An alternate way to run the panels would be to lay them horizontally, two high
with the vertical seams alternating between the top and bottom row. The panels
should have an 1/8" gap between them to allow for expansion. By laying the panel
horizontally the extra 1/8" doesn't add up so quick until you run off the studs as you
lay the panels down the wall.

And a little more... I got out my framing reference book. It is a book with hundreds
of engineer drawings of construction details. It confirmed what I said above. With the
1/8" gaps the panels are expected to get out of sync with the studs, but it says blocking
behind the joints is not required, for the most part.
 
Last edited by a moderator:
OK heres a question Does the plywood/osb hang over the sill or is it sitting on top and nailed to the bottom plate. Hanging it over even just a little is better to shed rain and such. And the temp board will make hanging the siding a lot easier if you're alone. Mac is right !

Wish you were closer I love projects like that. keep up the good work
 
Last edited:
mac in abilene wrote:What are you using for siding? Or is that going to be the exterior? To use 8' sheathing the height of your cap
plate should be no more than 8' above the floor. The sheathing needs to be placed
even with the top of the lower cap plate. This gives an 1 1/2" past the bottom of the
wall overhanging the foundation 3/4" to cover the seams at the bottom of the wall.
An alternate way to run the panels would be to lay them horizontally, two high
with the vertical seams alternating between the top and bottom row.

The OSB will be the exterior wall, I plan to prime, paint, and seal it.
The sheet is overlapping the top and bottom plate, thats why I used precut 92 5/8 studs to compensate for the two top plates and bottom plate. The sheets of OSB are being stacked horizontally.
When I was framing the walls I did it in 8' by 8' panels. when two panels meet there are two stud joining them. I hope that will help compensate for the 1/8" gaps?

TxChiknRanchers WroteDoes the plywood/osb hang over the sill or is it sitting on top and nailed to the bottom plate.

Yes. kinda sort of..... it sits pretty flush with top plate and the bottom of the bottom plate.

BTW, I used 16p nails between the stacked OSB's to create the the gaps for expansion.

I used framing nails to hold up the bottom sheet. It helped but it still wasn't easy tacking it up.

Thank you guys, it seems I might be doing it right.

Who knew?​
 

New posts New threads Active threads

Back
Top Bottom