CLUB CLUCKY
I started my chicken adventure with 8 5 week old Isa Browns and 2 very small chicken coops that cost a fortune, not realising that they would only use the one coop! (and the guy who sold them to must have been laughing at me) so one never got used and they all cramed into the one. I knew I had to do something quick.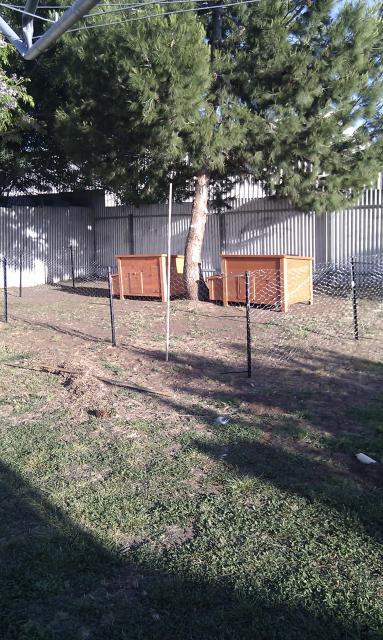
Not having the ready cash I decided to use as much recycled materials as possible, and not having the experience with building anything I was more worried whatever I did build wasnt going to last, but I thought until there was more cash It will have to do! Im actually quite pleased with the result, I did require some help on the what to do next, so my son and exhusband helped a bit. I didnt have any plans, it was just whatever fitted where and it came together ok
")
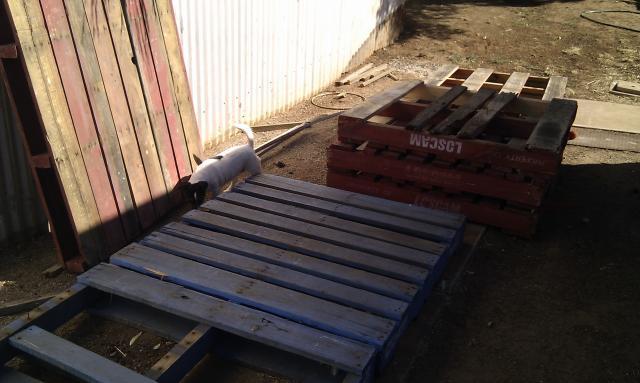
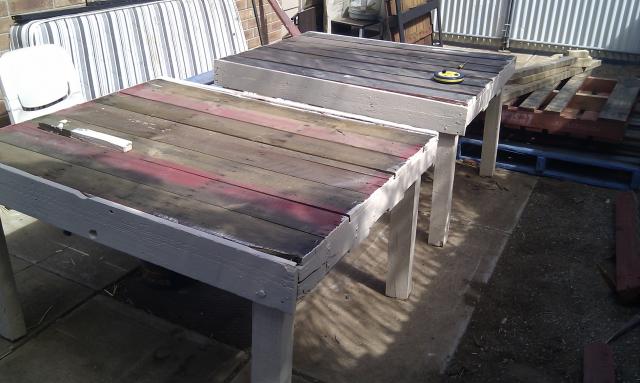
It took a lot of effort with a crow bar to demolish the pallets without damaging them. It took me a week going out and tearing them apart, and then I thought 'now what' lol. 2 of the pallets were really good and didnt have the gaps inbetween, so I used them for the base, using the support parts of the other pallets I made the legs.
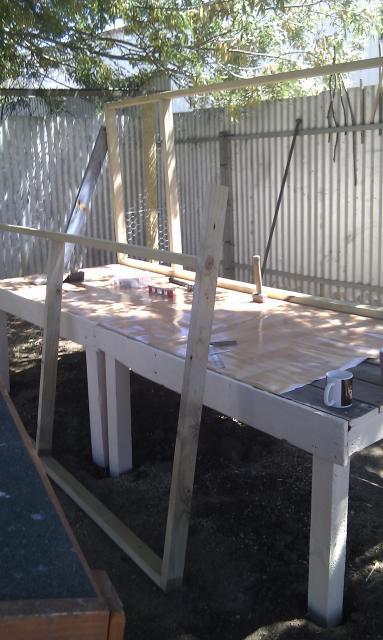
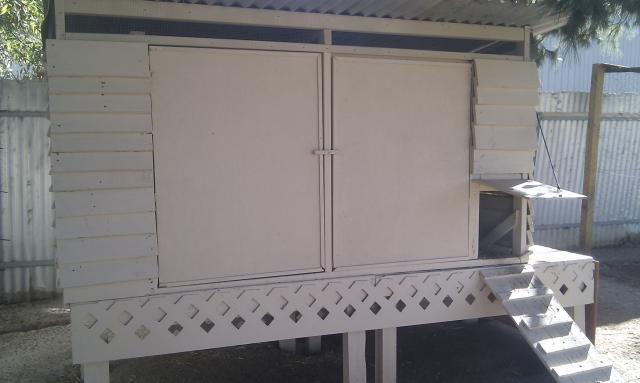
Once in the run and placed where I needed them to be, they were joined together with bolts, It was leveled as best as I could. The vinal was placed and stappled on. I had to purchase some wood to do the frame as I didnt have any long enough.
next were the frames, I was quite pleased that I actually worked out how to measure them up and put them together, with the help of my son inlaw (with no experience either, who had come around for a visit) we made the frames.
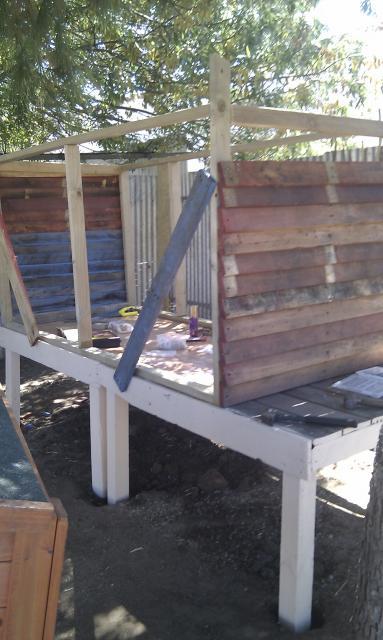
I had decided to place the planks on an angle to allow some extra ventilation,we get up to 45oC here, I blocked the lower half of the inside and left the upper part unblocked.
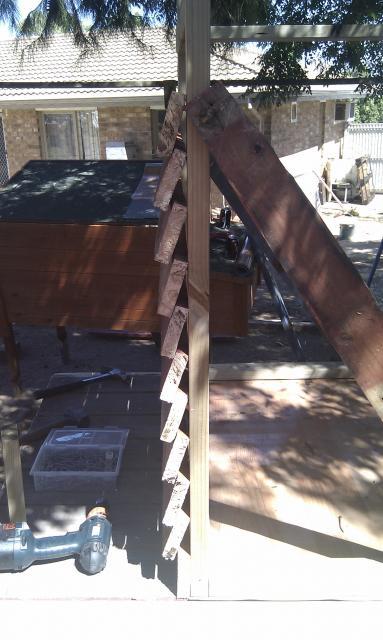
Id managed to get a piece of cement sheeting very cheap. I wasnt sure about how to do a window for light, so I cut out a pattern (using a very blunt jigsaw blade) I bought a piece of perspex from a garage sale for $3 and used that to go over the pattern, It was bolted and siliconed on so no water can get through.
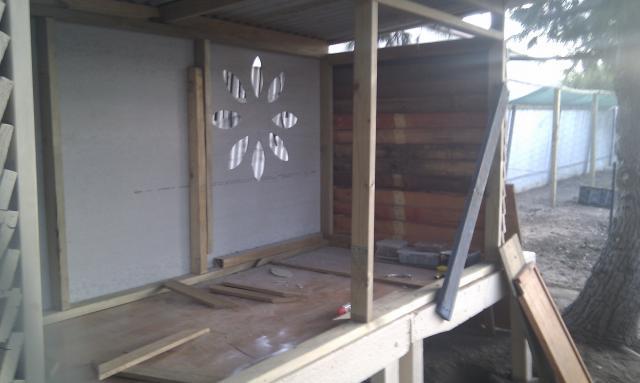
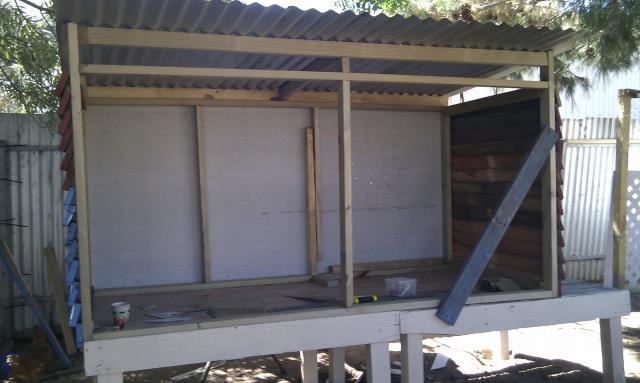
Th roof is just galvanised sheeting which I got from the back of my sisters shed, that I had traded for the first dozen eggs I would get (the girls were only 18 weeks old at this stage)
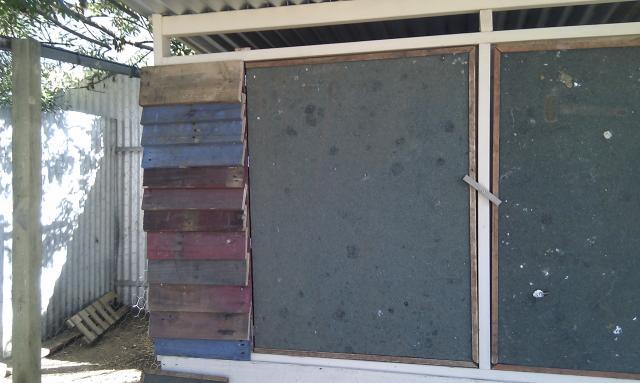
The mistakes that I bought before well they wernt as usless as I thought, I used a few bits from them, all the hardware apart from 4 bolts was scrounged from my Dads shed and my father in laws garden. The hinges were from an old wardrobe that I had already demolished.

The pop door was attached and the top I used the same technique as the sides. A coat of paint which is left over interior paint, I wasnt to fussed as the materials used should be weather proof, Im planning on getting some exterior paint as soon as the finances allow.
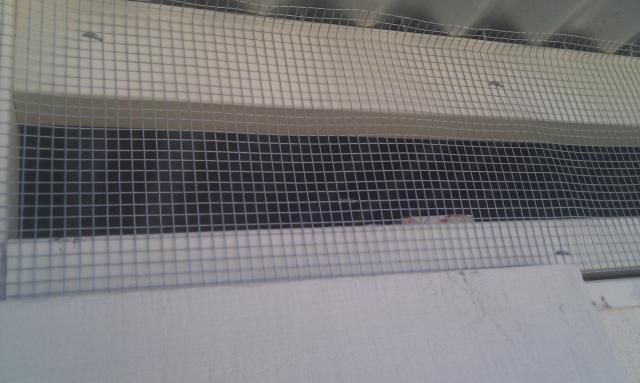
we dont have problems with predators here thank goodness but I still wanted to put something up across the top to cover over where Id left for the ventilation, I bought a roll of gutter guard and it was perfect for what I needed it for. I put some flashing on the side to keep the rain and wind out.

A few cosmetics and all done, well for now!
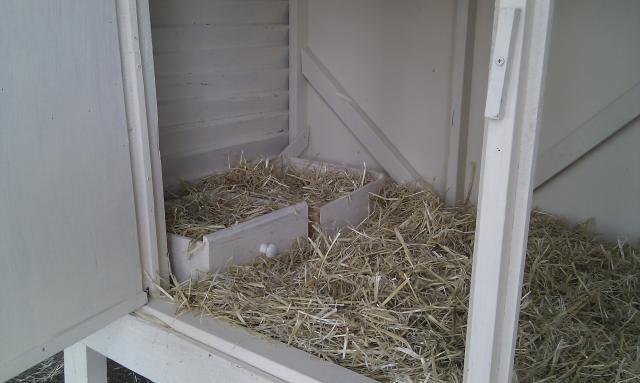
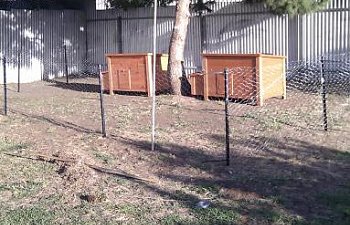
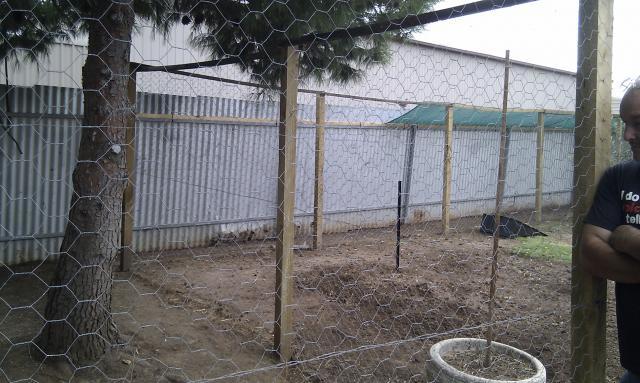
I still want to add a few things inside, Im going to close the nesting boxes in a bit by putting a shelf over them with another roost, the underneath of the coop at the back will be closed in before the wet weather comes. The run.... well its muddy as hell when the rain hits it so Im getting some quarry sand to hopefully fix that problem, A neighbour told me of a friend that had their chickens run along their fence so it kept the weeds down, so I took that suggestion and it gave them a lot more room.
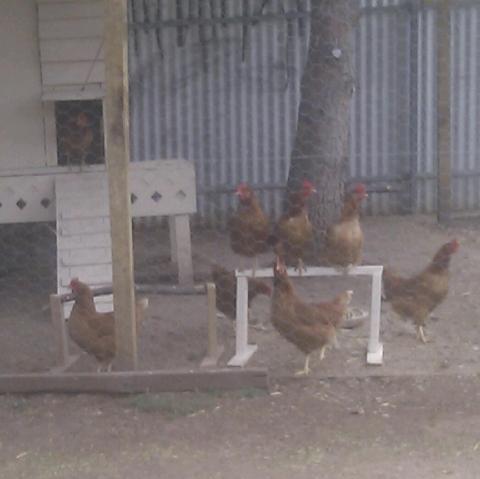
I wouldnt do anything different really appart from build the coop first then the pen and maybe a bit of research before I got the girls!, Im quite pleased with the result. They havnt told me otherwise yet and all are laying everyday now. Total cost of this including the pen would have been around the $300 AU I didnt really keep track, most of that was the wire and posts!
This pic was taken while watching them from the kitchen window, think I need to clean my windows!
Thanks for looking