
After reading some Self-Sufficiency books and surfing the Internet I got bit by the chicken bug. We decided to order from a hatchery and I started dreaming of building a coop. As a family on a budget, we knew we would need to do this on the cheap and we are renters, so we had to make sure that nothing was permanent.
We began to gather pallets from my husband's work and completed our coop and run in two weekends (and some choice words along the way).
This is the original thought process. Using the large pallets "as is", one for the floor of the coop (the one laying down), and using two for the fence to enclose this little portion of the privacy fenced in area of the yard. All the pallets and even the 4x4s were free, as well as most of the 2x4s we used.
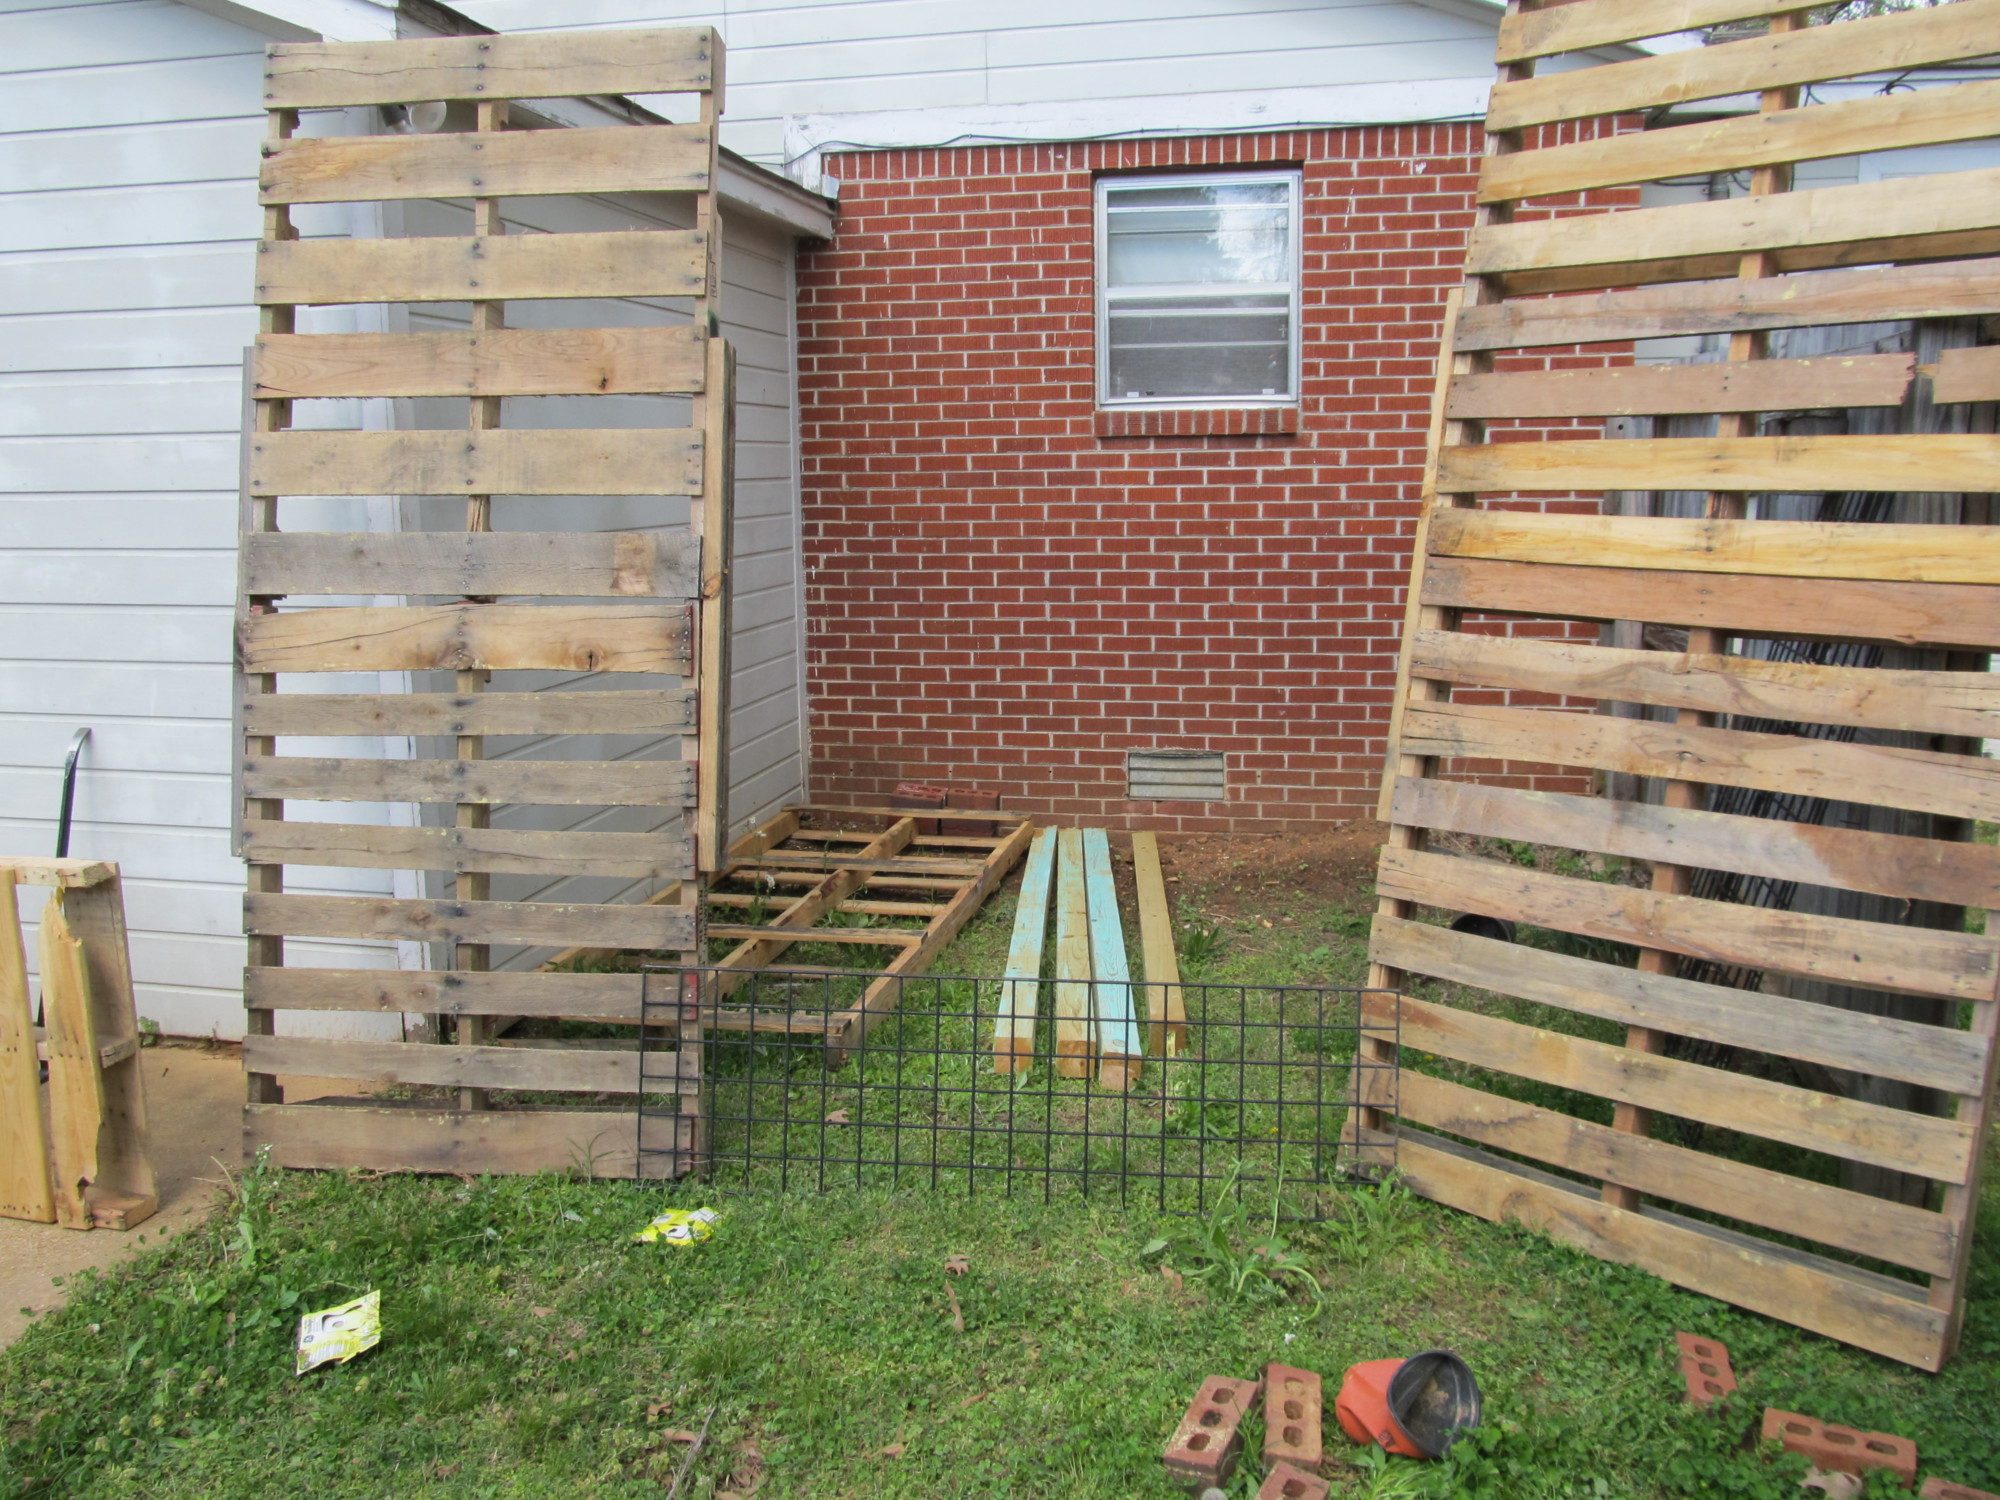
My husband sawing some pieces. By the way, we did not use an electric saw on any of this (which lead us to use most of the pallets as is). One of the large pallets is connected to the privacy fence and we cut it to be the same height. The coop floor is now 2 feet of the ground on the 4x4 posts.
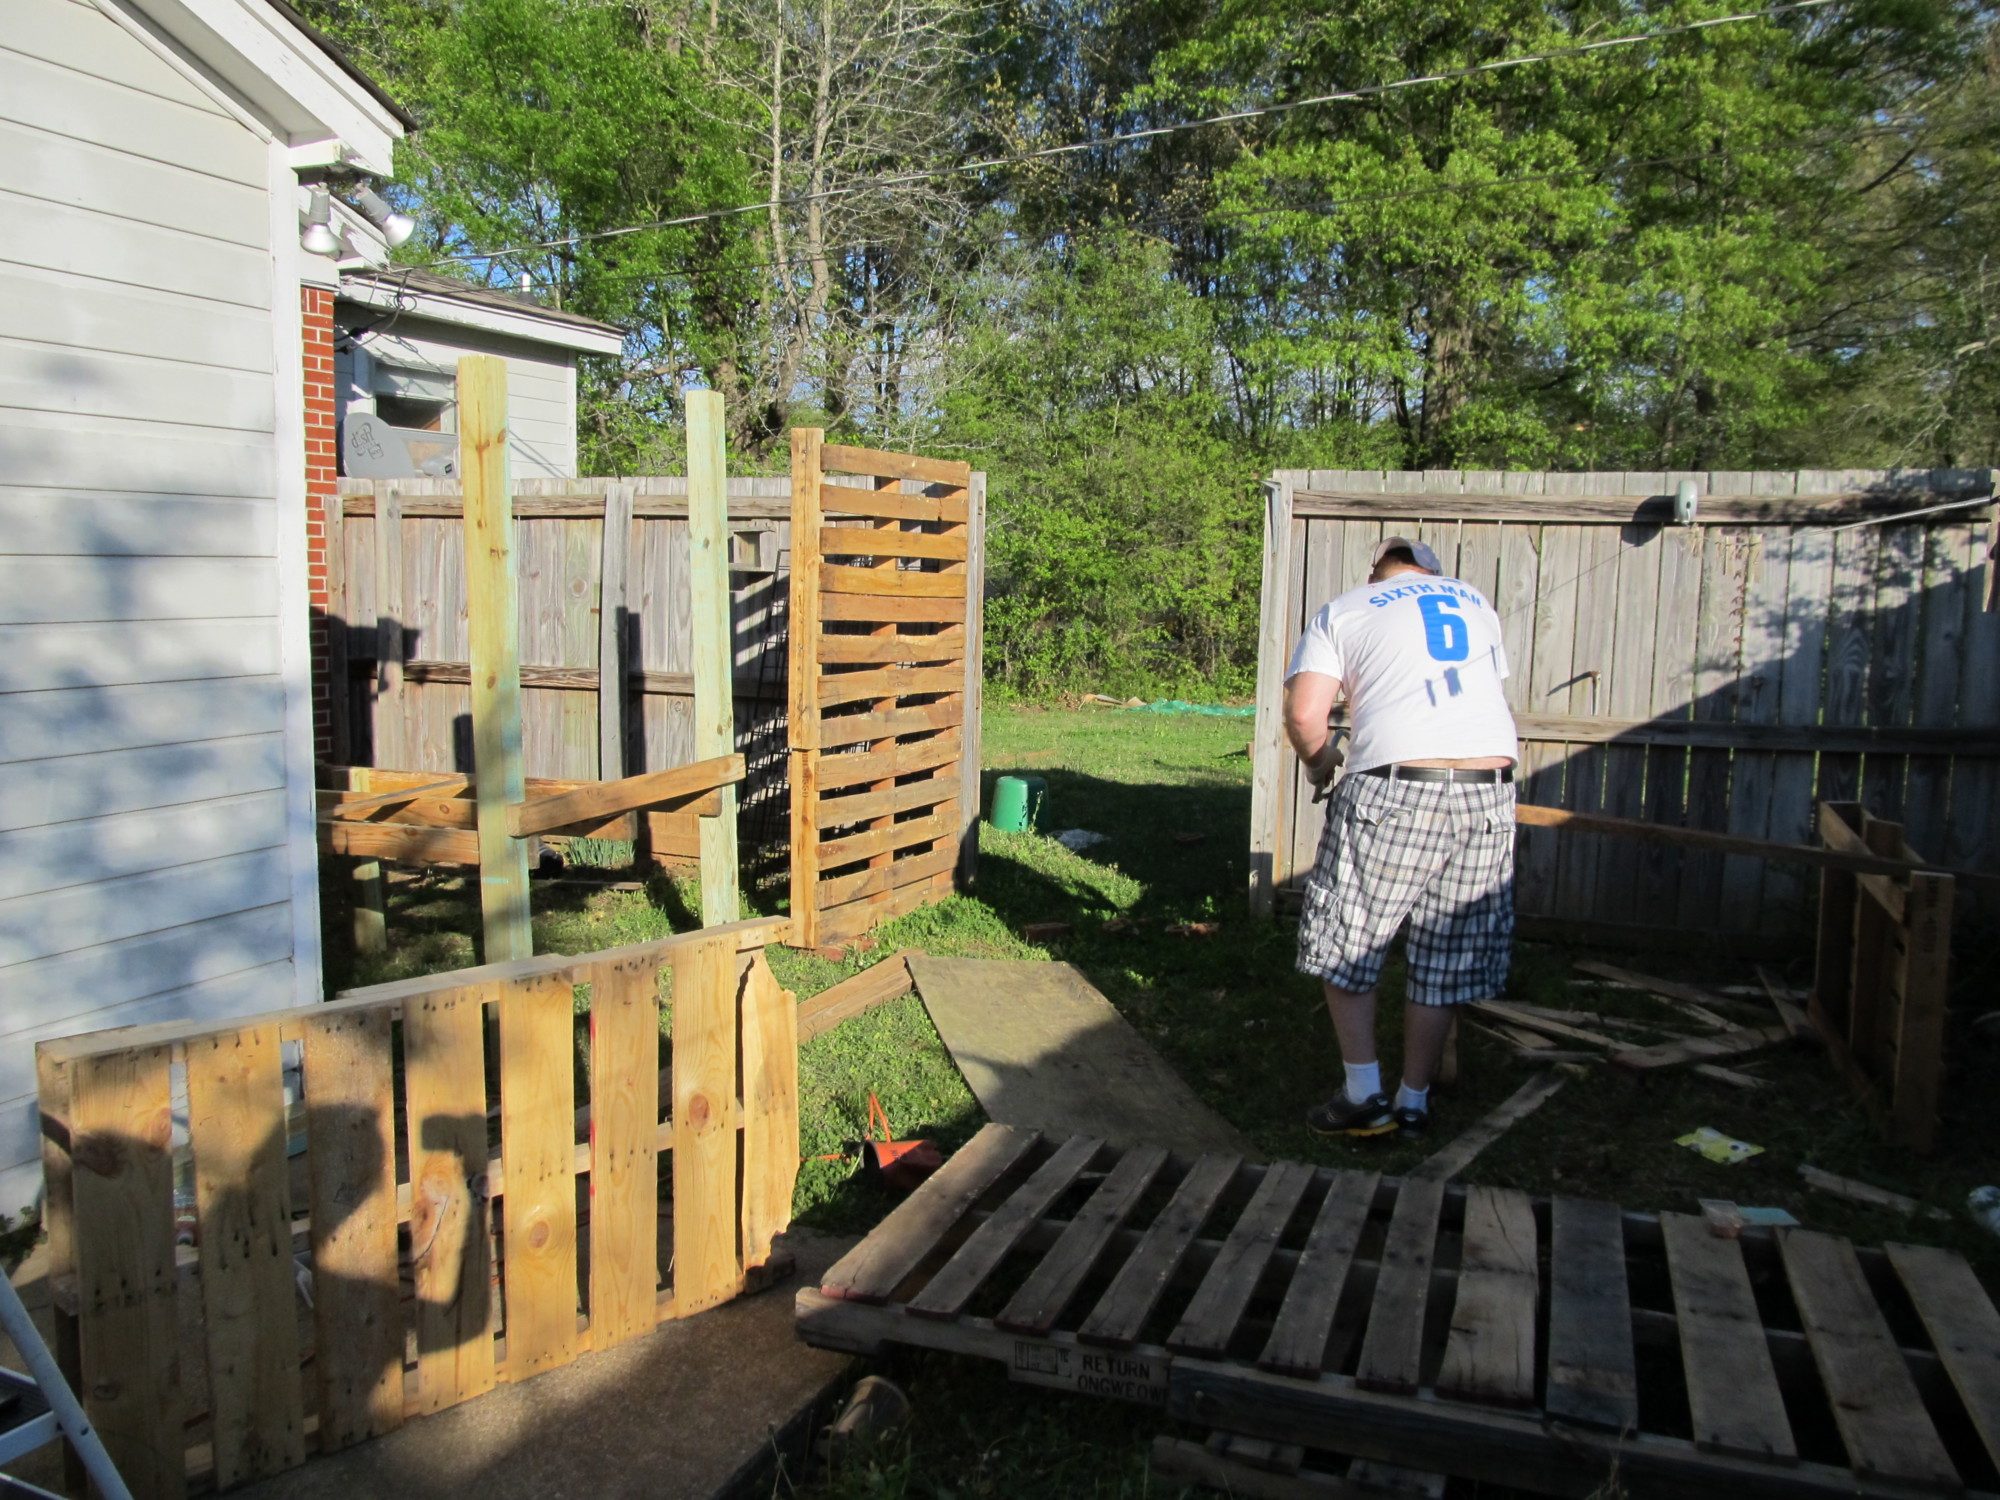
This was the end point of one day of work and the first weekend (we only got to work on it on Sunday). You can see the coop on the left, the door to go into the run in the middle, and the pallet fence connected to the privacy fence on the right.

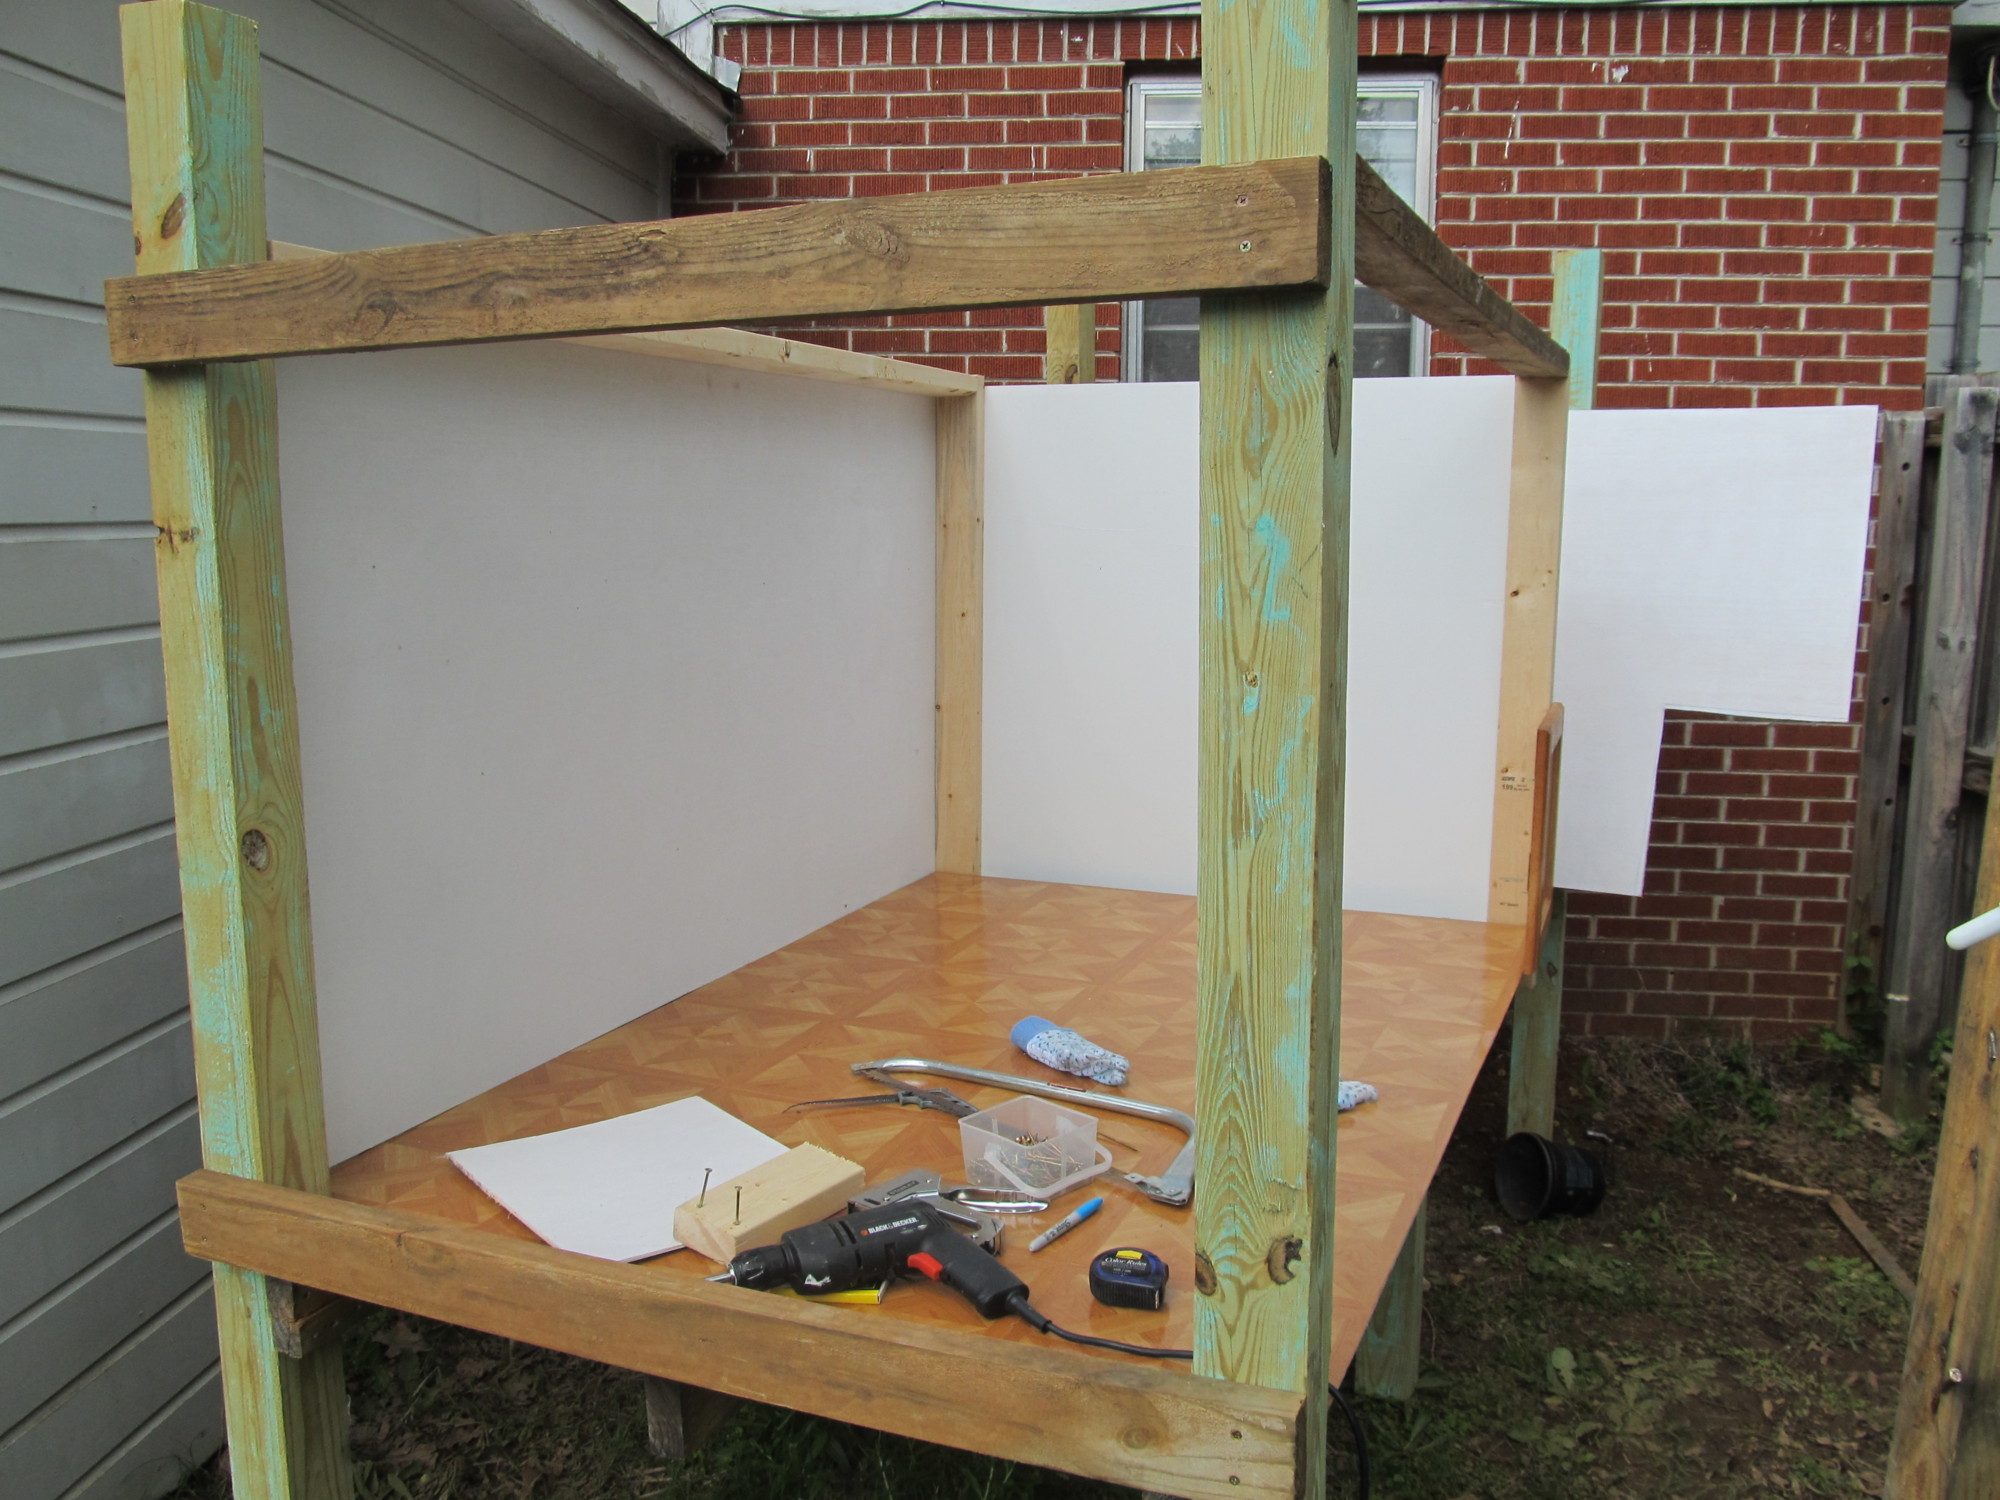
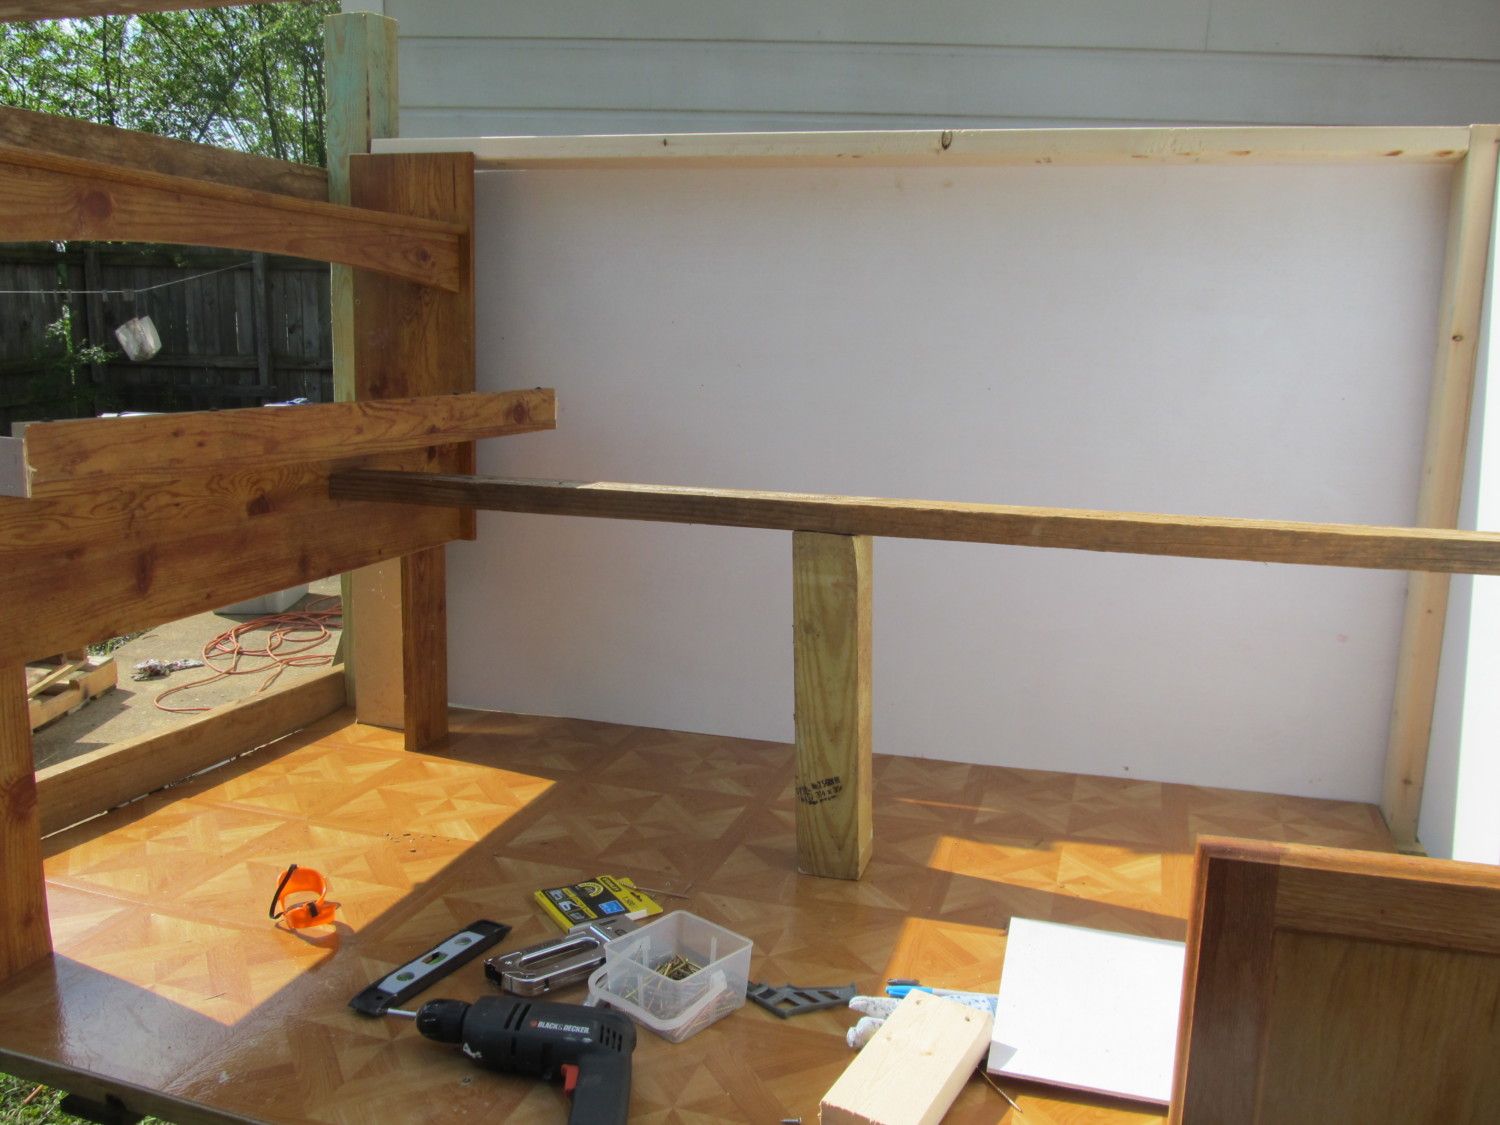
Here is the floor in (we covered it with peel-and-stick linoleum tiles) and two of the walls. The piece with the cut out is the door side of the coop, which is not attached in this photo, it is just leaning at the back of the coop while we work. The chicken door is a salvaged oak cabinet door we got for $5.
Here is the inside. Nesting box to the left - that is an old headboard we got for free. We modified it a little by taking pieces off the back and making the floor of the nest deeper. The roost is two scrap pieces of 4x4 and 2x4.
The finished coop! The first roof we put on did not have enough over hang, so we added tin over the top. This insulates from the heat of the metal (we live in MS so we get MAJOR heat and humidity). We have about a foot of vent all the way around the top b/c as I said, we have horrible heat and with this area being so blocked in (by the two sides of the house), we wanted to catch all the breeze we could for the girls. In the winter we will cover a couple of them. The door is just chicken wire that we stretch back and forth for the moment. We will make a proper door soon.

So that's it! I hang the water at the end of the coop base (which is not enclosed, there is about 2 ft of roost space outside the coop for them to rest on during the day). The food is hanging under the middle of the coop. I made the hangers out of wire hangers that we don't use. We still need to A) make a proper door to get into the run, B) Cut in our egg door (I have to borrow my dads saw, but we have time, they are months from laying still), and C) cut in a cleaning door on the same side as the chicken door.
Floor Space: 6x4=24sq ft, so enough for 12 hens if you stand by 2sq ft per hen. We will have 5 girls in here, but may get a grown hen or two to add to the flock.
Cost:
Plywood for walls: $40
Extra 2x4s (2): $5
Chicken Wire roll: $25
Exterior paint: $20
Chicken Door: $5
Deck Screws: $5
Original Roof: $25
Re-done Tin Roof: $30
Total: $155
