4. Construction (Part 2)

Now cut your two massive ceiling panels. They will need a few holes jigsawed into them to make-room for the vertical posts. This will take measurement care and patience. Also, you will notice that I have positioned each vertical post to join, at the top, with a lateral roof-beam:

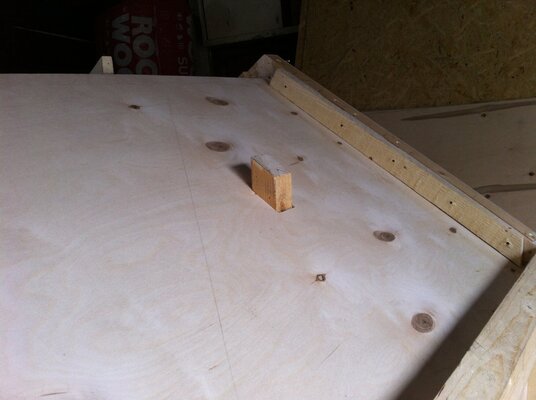
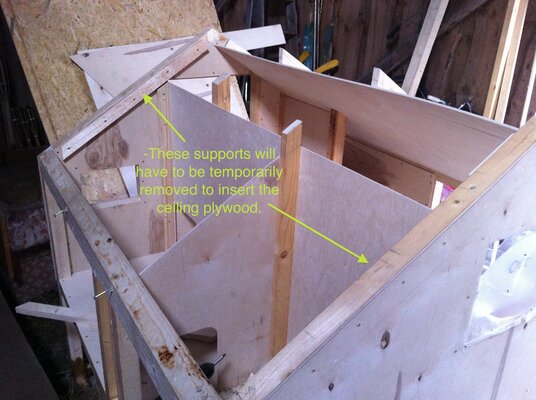


You can now fully attach your top/peak-beam (-if you have one) and lateral supports, as well as the ceiling panels to those supports from below with screws, of course. Before adding the roof/ceiling insulation, this is a good time to build the electrical system. I mounted 2, 2-plug boxes within what will be the food-storage compartment. Add however many you want:

Here are the wires routed towards the front of the house (-the ones in the 'chicken area'). I decided to put one ceramic lightbulb socket towards the front and lower, and one towards the back but above where the roosting bars will be. Place them wherever you prefer. Within the ceiling, I left a little excess wire if more needs to be pulled-out later for repairs, etc.:
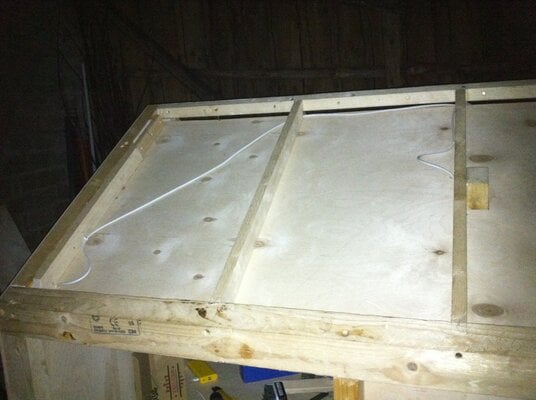


Here you can see the finished electrical boxes with the back-wall of the food-storage area finally added. Eventually male-ends will be added to the three wires, and they can be plugged-into timers for wintertime lighting/heating:

And here's another outer view:

Eventually, this is what the electrical system on the outside will look like. An extension cord is run to the corner of the coop-hutch, and it is simply plugged-in like any other device. Notice the screw-eyes helping support the cable down its length. There is also one screw-hook for keeping the extension-cord in place. The idea is to mount the cord and plug well out of the way of rain and snow:

Once any wires are set to your liking, pack the entire top with a layer of insulation:
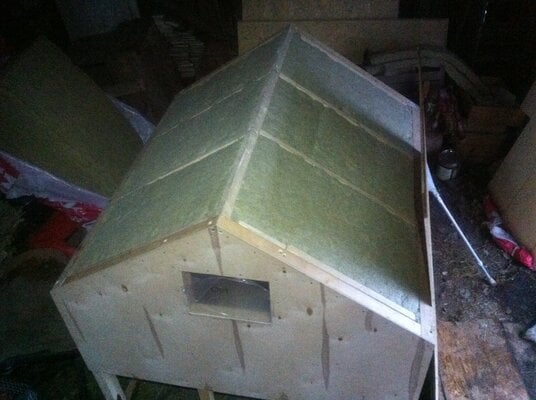
Next, you will need to cut-out 2 large roof panels from the =1cm, ±3/8" OSB. I beveled the top edge of both to form a snug peak at the top, -but this is unnecessary. I gave the entire house an =8cm, ±3" overhang, which gave me a width (-front-to-back-) of =166cm, ±65.5". (-This =166 in centimeters was coincidentally almost exactly 1 & 2/3 the width of a single shingle, which were =100cm wide/long. I should have made the OSB =166.66...cm wide for extra simplicity when it would come to cutting and installing the shingles, which cut and fit best in thirds, in my case.) Once cut, it is best to seal what will be the overhanging portion of the roof before attaching it to the house. It is much easier to do it now than later with gravity working against you:

Align and screw the OSB panels to the house. Now, before attaching the shingles, we should further protect the edges of the OSB, which are highly susceptible to water damage. People who shingle houses have special products for this sort of thing. -But I just nailed-down old scraps of greenhouse-plastic, which turned-out well enough for this project:
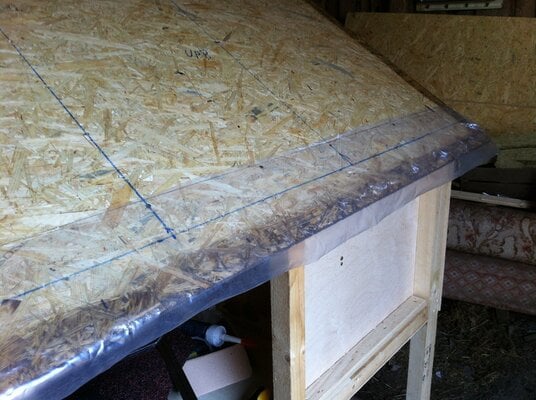
Tuck the edge around and secure it somehow (-I used very-short screws and washers):

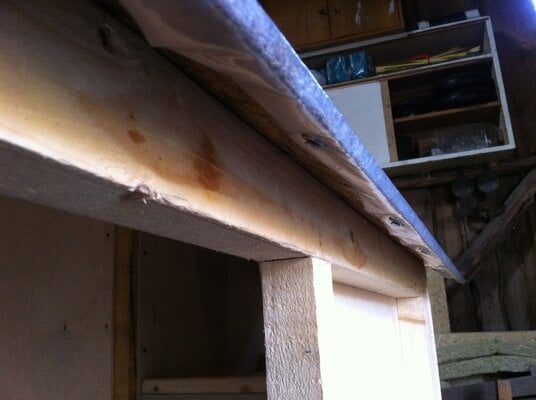
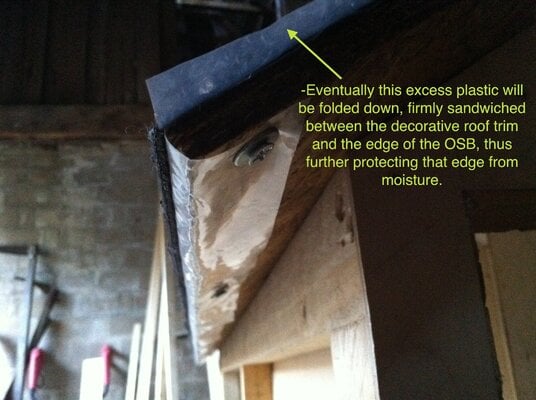
-Do a similar thing for the front and back edges. -Although this time securing it all the way around might be ugly, so you can skip that. Simply trim it to about 1.5cm, ±5/8", and have it fold-down later when we attach the decorative trim:

Now you can cut and attach your shingles. It always helps to test your shingles beforehand:
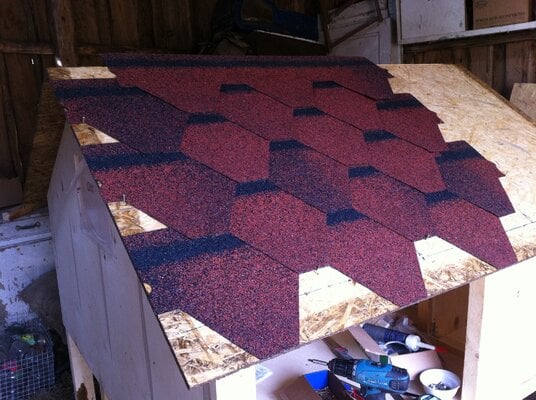
I had only bought one pack of 22 shingles, =100cm wide/long (±39.5"). This was barely enough to do the entire roof. I had to use clever cutting for my '1st' row on either side:


But eventually, everything worked-out fine:

You will also want to protect the OSB peak of the house. -This is especially important as sometimes water can get under the peak shingles you will be adding soon. Again, a strip of 'thick' greenhouse-plastic is suitable:


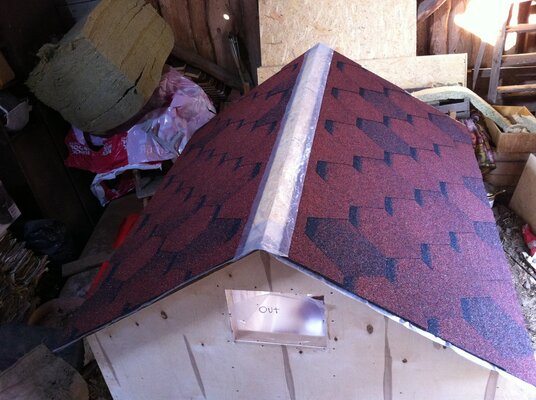
Cut any scraps into rectangles to use for covering the peak. Make sure they are wide-enough to cover the entire peak, and plastic, side-to-side. An alternative to all of this would be to just use a metal peak cover, or something like that:


-Jack, inspecting my work:

Try to cover the nails of each shingle with the next:

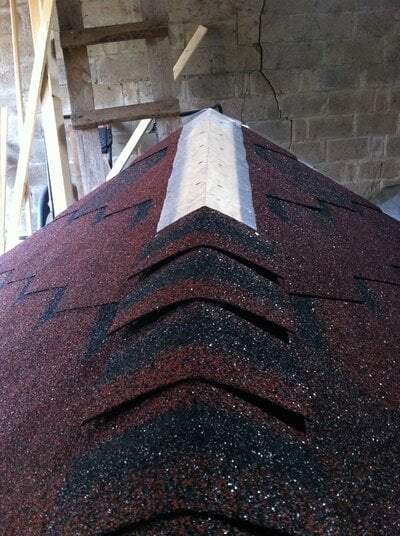

-Great job! -Another step done... Next, you must insulate the remaining walls, and cut and install matching plywood pieces. Here's the larger panel on the 'chicken-side' being dealt-with. Notice the slight overhang (=.5cm, ±1/4") I left to the left of the plywood panel. This leaves room for a small lip on the door. This lip will help reduce airflow from the slight crack that will eventually be there. I built every door with this kind of consideration:


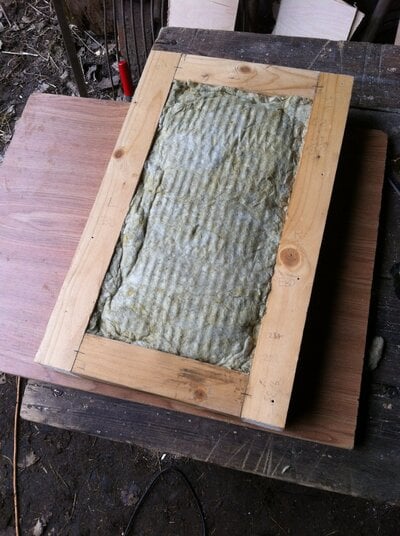
The main "cleaning-doors", -one on either side of the house, are about 45x70cm, ±18x27.5" big. -And within them are vents of =20x40cm, ±8x16". -The basic construction of which looks like this:


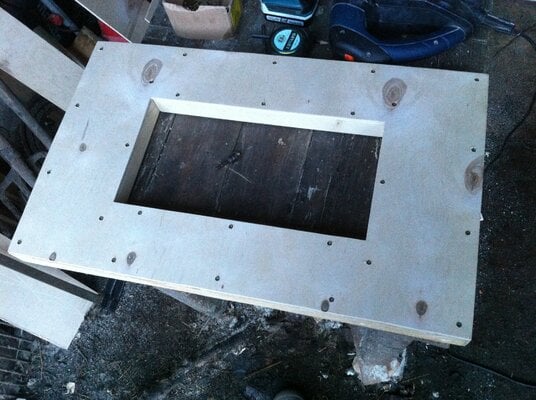
Then, to cut-out matching plywood, simply place your frame on a large enough piece of plywood and drawn some lines for your saw(s), etc.:

The plywood on the inner-side should not exceed the size of the frame, or the door just won't fit, of course. However, the outer plywood can have whatever overhangs/lips you deem necessary. On mine, the bottom-overhang was substantial, at about 5cm, ±2" of free-hanging, thin plywood. -This design is certainly not ideal. I'm sure someone can design something better. I did what I did for aesthetics and water-protection reasons. Anyway, here's what the inside plywood looks like:
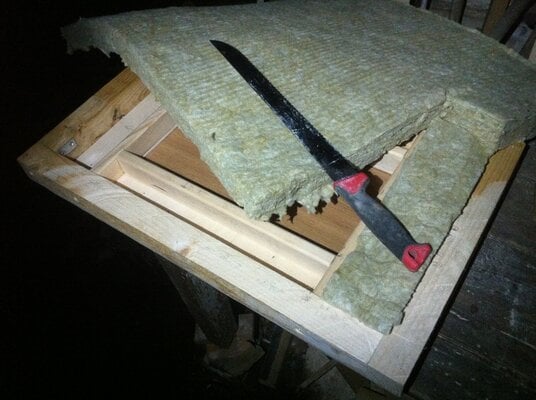
Once one side of a door is covered with plywood, fill it with insulation:

Towards what will be the outside of the door, install some of your wire-mesh using u-nails, or something else:

Build and pack any remaining doors. Here, for example, is the egg-box door being worked-on. You can see it's just a simple construction using =45x45mm, =2x2"'s:
Here are what the completed, 5 upper-doors look like, ready for sealing!:

I tried to keep 'cool' wood-patterns on all sides of the house:

-And now seal! Give your doors at least 2 coats of your pine-tar-linseed-oil sealer. Now might also be a good time to seal the rest of the outside of the house, and the floors, etc.. A linseed-based sealer should be applied to the outside of the house maybe once a year. This will take no more than 30min of your time and will significantly lengthen its lifespan:

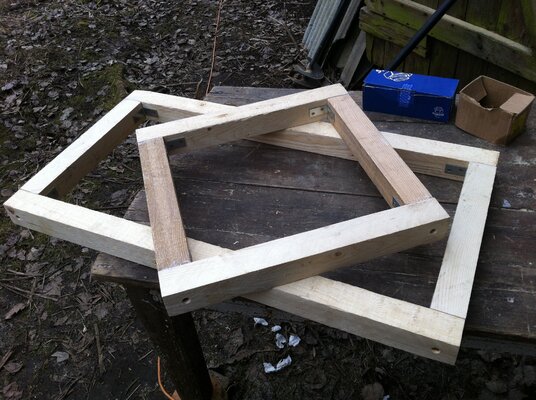
Making your two pen doors couldn't be simpler. -Use =45x45mm, =2x2" boards and secure them with screws and brackets at a minimum, and glue if you're like me. This is also quite possibly overkill. Some =21x45mm, =1x2" boards could be used instead. -Whatever you prefer:
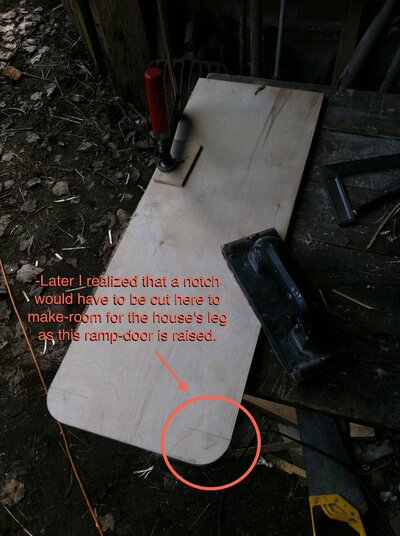
-Next is cutting and fitting your ramp. Mine was about 28cm, ±11" wide and ±70cm, ±28" long. -But make yours according to your door size, etc.. Still, use the thicker plywood:
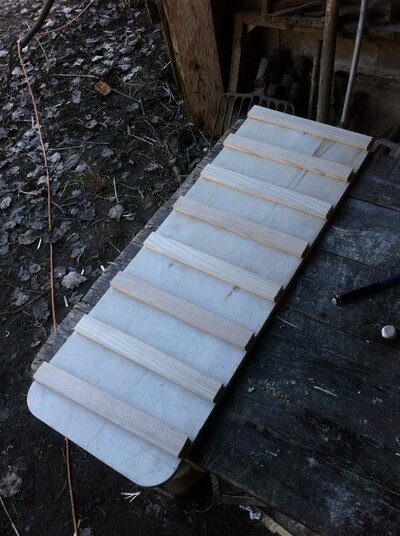
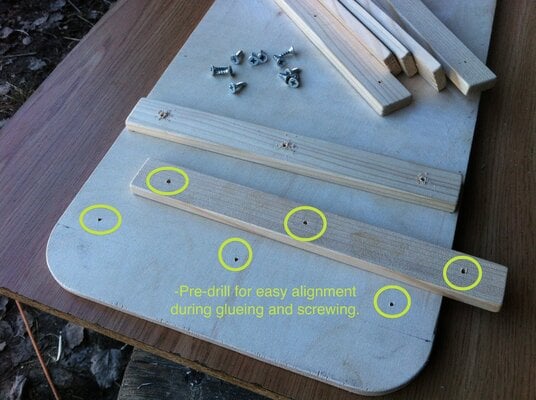
Cut and lightly sand the corners of your =10x29mm, ±3/8x1&1/8" boards into steps that match the width of your ramp, and then screw and glue them on:
Once sealed, attach some hinges and install it into place. Here's Fashion, blissfully unaware of the awesome ramp-door that lay behind her:

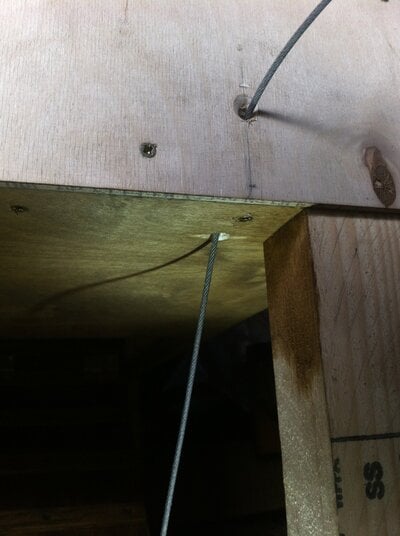
Attach the cable to the bottom of the ramp, and drill a hole through your framing at roughly a 45° angle that will align with where the cable first enters the ramp. More detail on this design can be seen in the "The Completed House" page of this post:
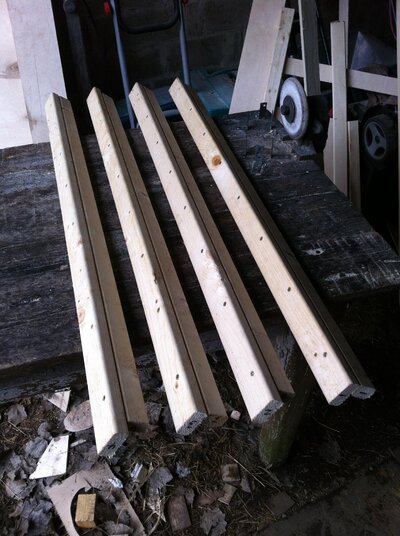
The decorative roof-trim could be made so many different ways. It also can just be bought as a single, angled piece that will wrap-around the edge of the roof nicely. This, however, is how I made mine. -By joining lengths of =21x45mm, =1x2" and =21x34mm, =1x1.5" boards. (-Refer to the simple drawing in the "Design" part of this tutorial.) I made them a bit longer on each end so they can be trimmed later to fit nicely:

Here is what they look like trimmed and sealed, and then installed. To secure them to the roof, screw up through the OSB and shingles into the =21x45mm, =1x2" part of the trim. I lightly pre-drilled those holes, of course. -And before final installation, I injected a bit of silicone caulk into the holes. -This will hopefully prevent water from dripping-down along the path of the screws and into the OSB:


Adding simple, decorative framing to the vents is easy. -Cut some =5x29mm, ±3/16x1&1/8" wood to the various lengths at 45°. Repeat this for the front and back windows, and them seal them all. Here's Tammy inspecting me:
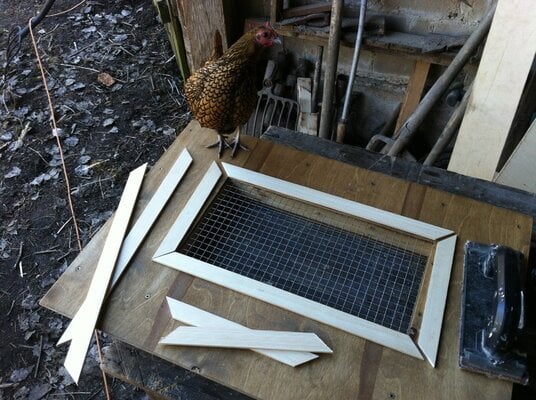

Next, attach your trim with small nails. Glue is unnecessary as far as I'm concerned. Also, you may want to pre-drill with a bit only slightly smaller than the diameter of your nails, to prevent this thin wood from splitting:
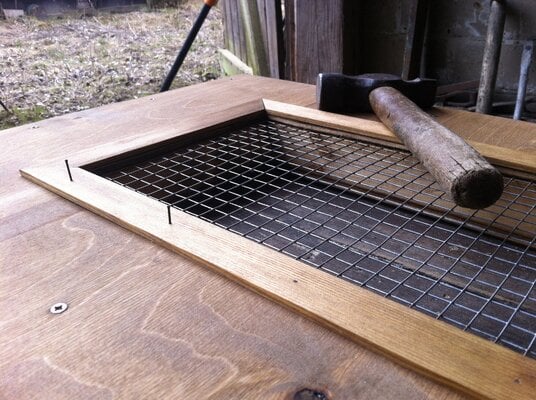
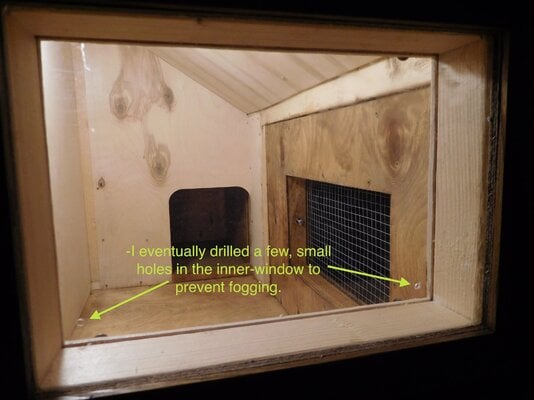
-Inside the house, attach your inner window pieces. I gave them a =1cm, ±3/8" overlap on all sides:

Attaching whatever roosting bars you have is simple enough. Screw through the additional support boards within the wall you hopefully placed earlier. If you didn't do that, -no worries. -They should still be held in place fairly strong. Here's the first bar going in:

At this point, it is preferable to move the house into its final location, on a set of bricks/blocks/etc.. -Because once you attach the pen's mesh, it will be much harder to lift. -You will have much less room to put hands underneath to lift it. I suggest having one person at each corner to lift it. It is very heavy. For lifting this coop-hutch after the pen is installed, I wanted to have beveled handles at each corner, of some sort. They turned-out like little tumors, so I quickly abandoned that in favor of temporary, metal handles that can be screwed in and out-of the legs, as follows. -All of this is unnecessary for someone who builds or completes this project in its final location:


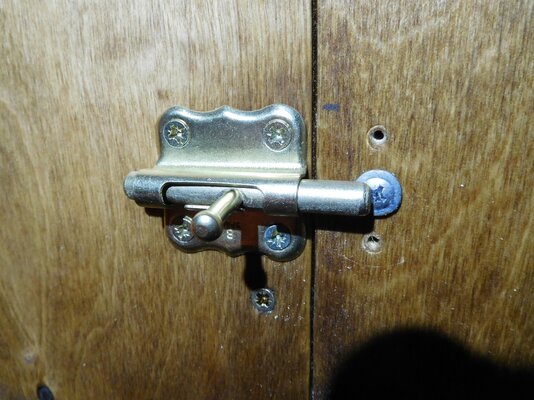
You're near the 'finish-line'! Install all hinges, locks, and handles. If you make handles like I did, make sure to test one on a spare block of wood first to get the size, etc., right. I used sisal or jute rope, -can't remember. I simply tied a loose knot at either end, then fed the rope through the eye of the screw-eye and then back-through the same knot, retracing it's original path. Afterwards, I trimmed the excess and used a bit of superglue to prevent fraying at the ends. They look alright:

To partially cover your vents for the sometimes severely-cold winters (-if you have them), cut-out some plywood rectangles slightly smaller than the opening of your vents, and drill large holes in them to preserve at least some ventilation. After that, figure-out a way to keep them in place. I installed a couple of threaded nuts I had with matching bolts that can be easily unscrewed by hand:


Attaching your mesh is fairly straight-forward. And the reason I chose to make the pen =50cm high was because the roll of metal-mesh I bought was =100cm wide. -Cut this lengthwise down the center and this results in very little waste. Then use screws and washers to secure it down to the pen's frame. You will notice that at the top of the pen I had to cut, seal, and install some more =21x45mm, =1x2" boards, giving me an adequate edge to secure the mesh to:


And here's a final tip on door-tightness:

-AND YOU'RE DONE!
-YEY!...

"(2022-3-4) Update/Clarification:
Since many people have pointed-out a size 'problem' with this coop, it is worth strongly emphasizing that this coop is designed to be placed within a giant, 9x9m (~30x30ft), 81m² (~900ft²)(!), predator-proof pen, -far more 'round-the-clock space per bird/rabbit than countless setups I've seen. Under ideal conditions, the bottom, boutique "pen" of this house should remain open at all times. Overall, if you believe only 3 chickens, say, should sleep inside this particular house at any one time, than that's your prerogative. Regardless, this was the first time I had attempted something like this, and of course I would change many, many things in future builds. ~Thanks for looking!"