So I had the great idea of giving my 4 year old daughter the summer project of raising two hens. With summer drawing too near I didn't have the time to order chicks, so....off to the local farm store we went!

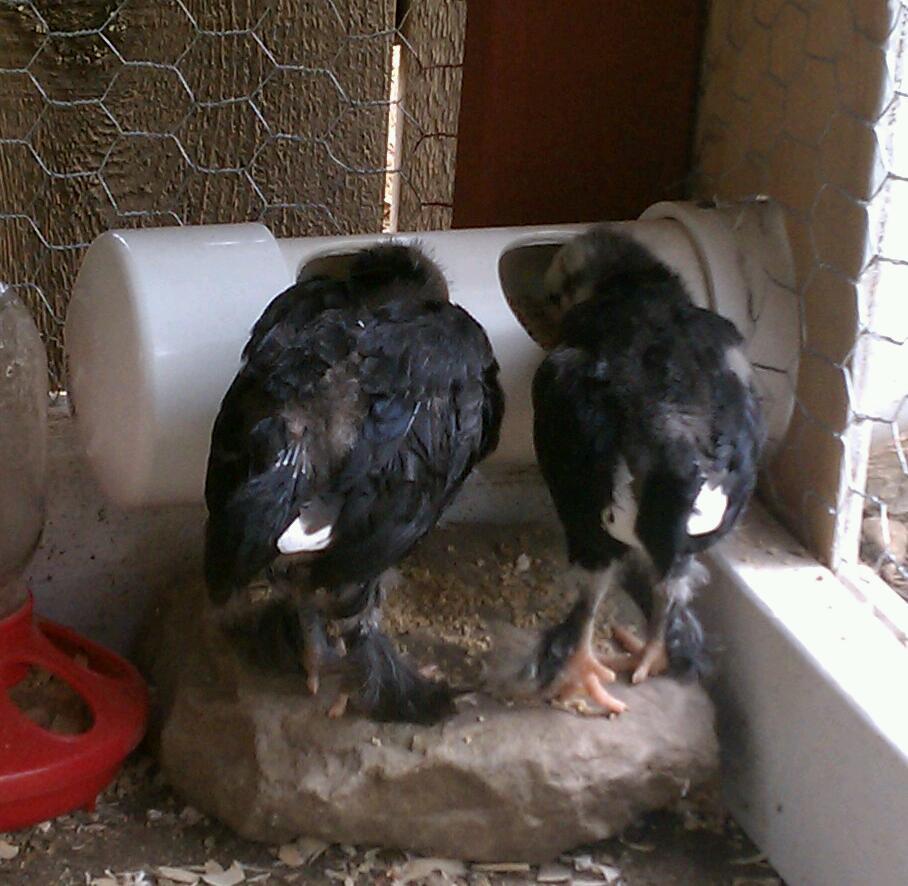
The FFA and Agriculture teacher at my school says they could be Cochins, but it's too early to tell for sure. Nobody at the farm store had any idea, that's what I get for going to the farm store I suppose.
Abigail loves her chicks!
Here is the basic frame, I used 2x4s for the entire frame. I wanted it to be heavy enough that a predator couldn't move it, but not too heavy to move in the future. Frame dimensions are 63 inches x 51 inches. The eves extend 4 inches. Please excuse the back lawn, it will be lush and green very soon...the new grass has already sprouted!
The nesting and roosting area is framed.
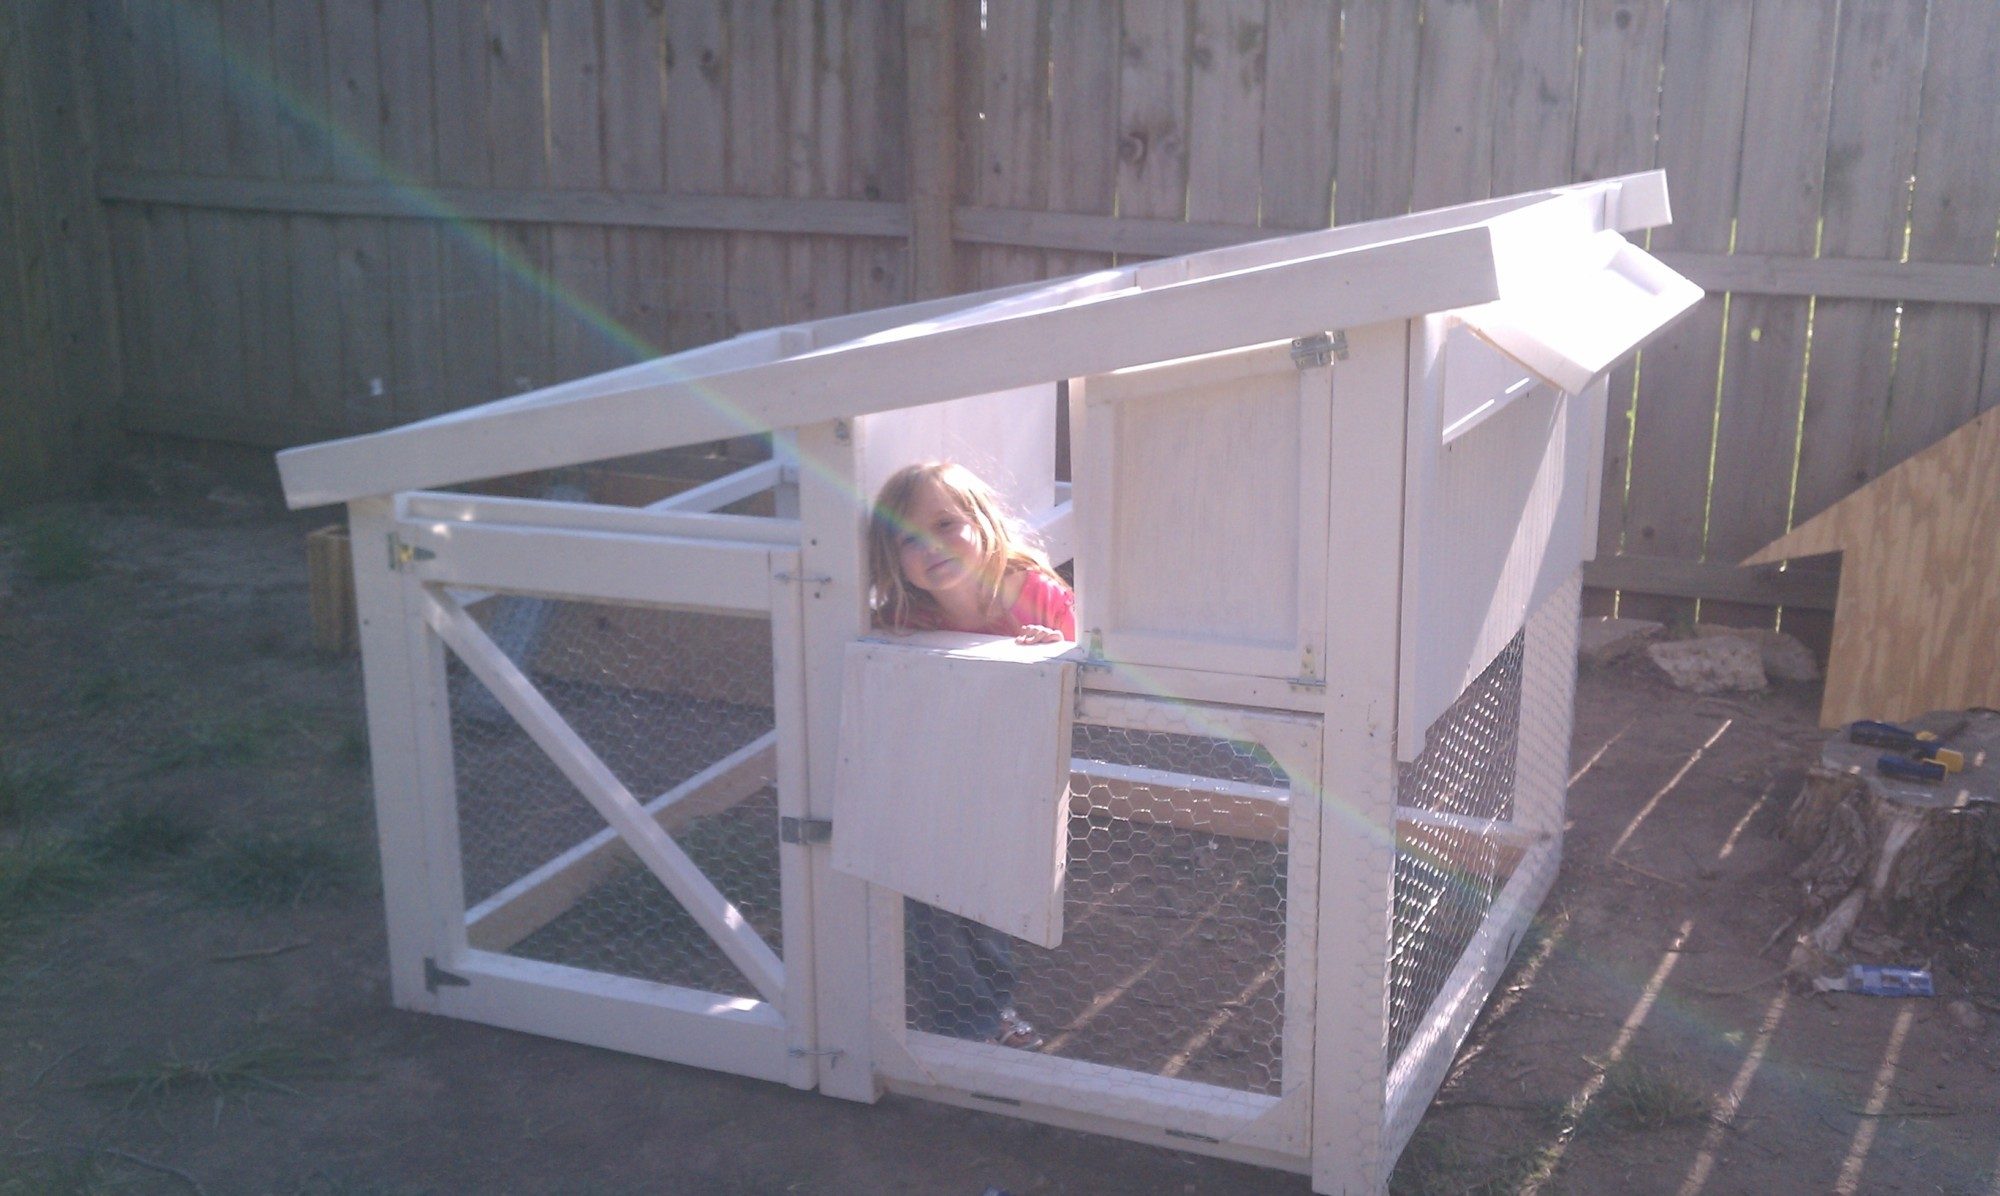
Bottom access doors built and attached. From here I started using furring strips. They are cheaper and lighter. The door on the left opens out, the door on the right opens down. I wanted the entire front accessible for cleaning without the entire front being open at once.
The nesting doors are built and attached. We caught our first predator! The greatest "Ah-Ha!" moment up to this point was when I realized this could be used to confine children as well! (just kidding!...mostly...) I also added a door for summer ventilation. I primed everything with an exterior primer hoping it will help the building weather.
Nothing new here but paint. It took about 4 coats per panel. The paneling is some stuff that was laying around when we bought the house. It is somewhat hard to see, but it has vertical lines which give it a barn look") I got lucky with the paint, I went to the local retailer and they happened to have a gallon of "barn finish" on clearance...what a bargain for me!
I got lucky with the paint, I went to the local retailer and they happened to have a gallon of "barn finish" on clearance...what a bargain for me!
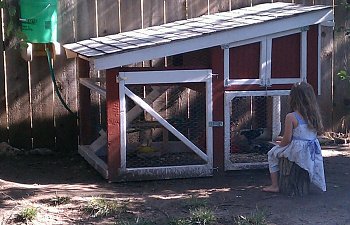
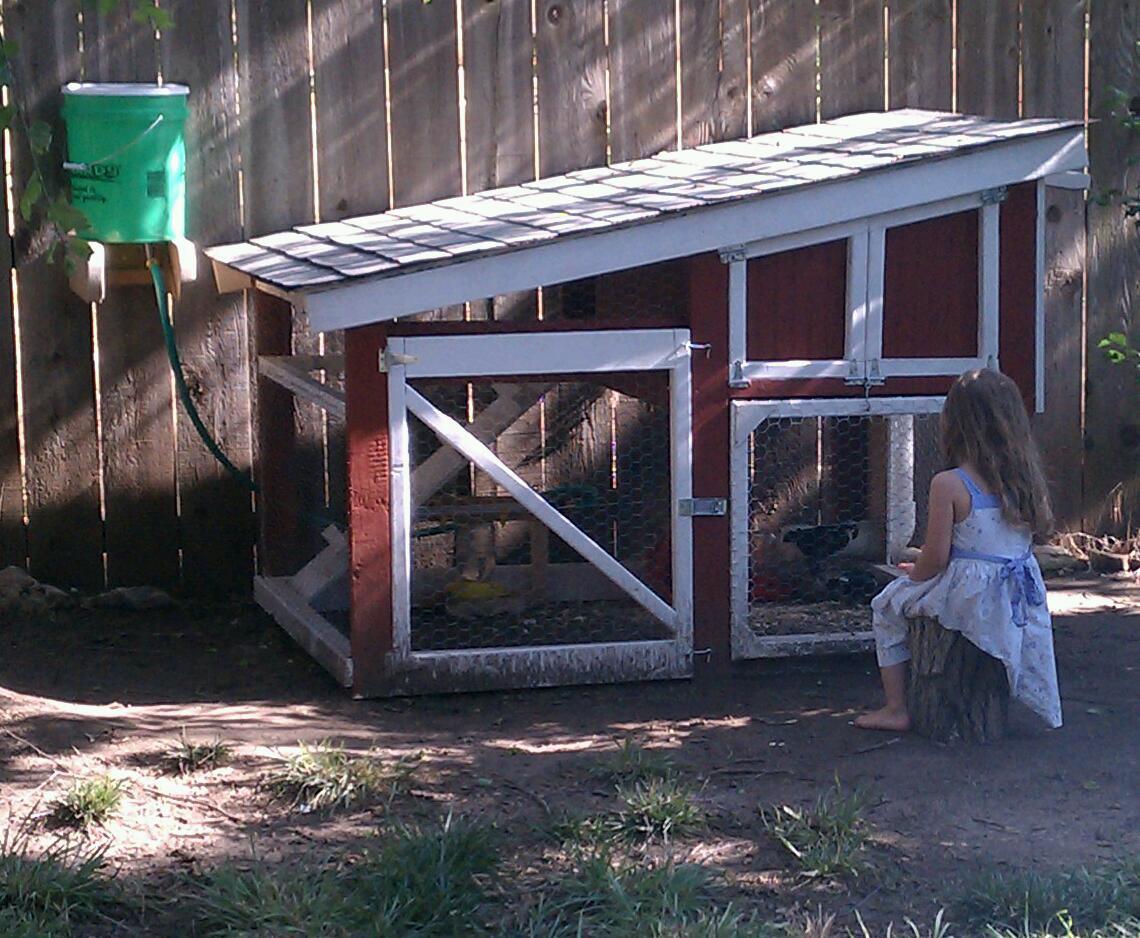
This is the aerie's intended destination. Oh yeah...that's right... Our backyard aerie even has a tractor!
This is the roosting area. I decided to make it an open bottom for cleanliness. If it turns out to be too cold during the winter I have some plywood cut to become a floor.
Here are the nesting boxes and roosting area as viewed through the front doors.
And....Finished! This was the first time I had ever done any sort of shingling. Luckily my dad has shingles left over from rebuilding his well pump house.
They are now permanent residents outside. My daughter has to "check the chicks" about 5 or 6 times a day.
Overall it has been a fun project. The chicks will probably go out this week. I have a few minor things to do still, I need to build the feeder (I'm going to build one out of 4 inch pvc I think), I think I'm going to attach 1x2 strips around the base so that the chicken wire is compressed between 2 pieces of wood...I'm a little concerned about my dog pawing at the wire and pulling it off of the building. I did this for all of the paneling and doors, I really like how secure it made the chicken wire. I built it with with the intent that I could more ground space at the end of the coop if I wanted to add another hen in the future. I'll be adding pictures of the feeder, modifications and birds once they are on the ground and running!
This is the first chicken coop I've ever built, if anyone can see any obvious flaws in my design I'd be open to feedback!
Updates:
The PVC feeder, I thought I was being original...then I saw that there are dozens of different PVC feeder designs.
The outside of the feeder. I put a threaded clean-out for ease of filling.
First day out in the run.
It doesn't take long to figure out where the food is.
Updates, November 2012:
I have done some minor work on the coop. I had some predators trying to dig in (and the chickens like to dig as well) so I added a makeshift foundation using 7x11x2 patio blocks. First I dug a narrow trench, matching the base of the coop. I then buried the bricks on their side, vertically, and placed the bricks around the perimeter of where the coop sits. A little leveling and backfilling later and I have a secure foundation. It serves several purposes besides the obvious foundation, it also elevates the coop 2 inches and protects the lumber from weathering as quickly.
With freezing temps nearing I decided to build a modest water heater. While I've been at hardware stores for various home repairs I found a large clay pot and a 10 inch clay saucer, both on clearance. I drilled a hole in the bottom of the saucer and put a ceramic light fixture (25w bulb) between the saucer and the upside down pot. So far it has been successful in thawing the water in mornings and evenings (I only have it turn on for a few hours at a time)
Here are the girls all grown up! They haven't started laying yet. I think I got them about a month too young. With daylight hours dwindling I fear they won't start laying until spring
Predator deterrent: I have done a few things since the original design to help deter predators. With my back fence being the city limits and with the 2 miles behind my house consisting of: milo, wheat, prairie grass, a creek and randomly wooded areas, I have all manner of predators. So far I have seen red foxes, coyotes and of course your typical raccoon, skunk, cat and opossum population. I have a large Australian Shepherd in the back yard and he has been quite effective at keeping the predators at bay. There have been many nights I have heard him come unglued followed by a critter frantically scurrying over the fence. Regardless of the dog, predators have still been trying to burrow in.
To help keep the chicken wire secure I have sandwiched all chicken wire between the 2x4 frame and 1x4 furring strips. This also helps improve the rigidity of the coop.
I have also added a patio brick foundation with the same patio bricks buried vertically underneath the foundation, pics can be viewed above. It has been since May and I have not had any fatalities, knock on wood!
I have caught a few black-rat snakes near the coop, but with no eggs yet they haven't been too interested in the coop. I assume they are after the mice that come for scrap scratch/layer. That might change come spring.

The FFA and Agriculture teacher at my school says they could be Cochins, but it's too early to tell for sure. Nobody at the farm store had any idea, that's what I get for going to the farm store I suppose.
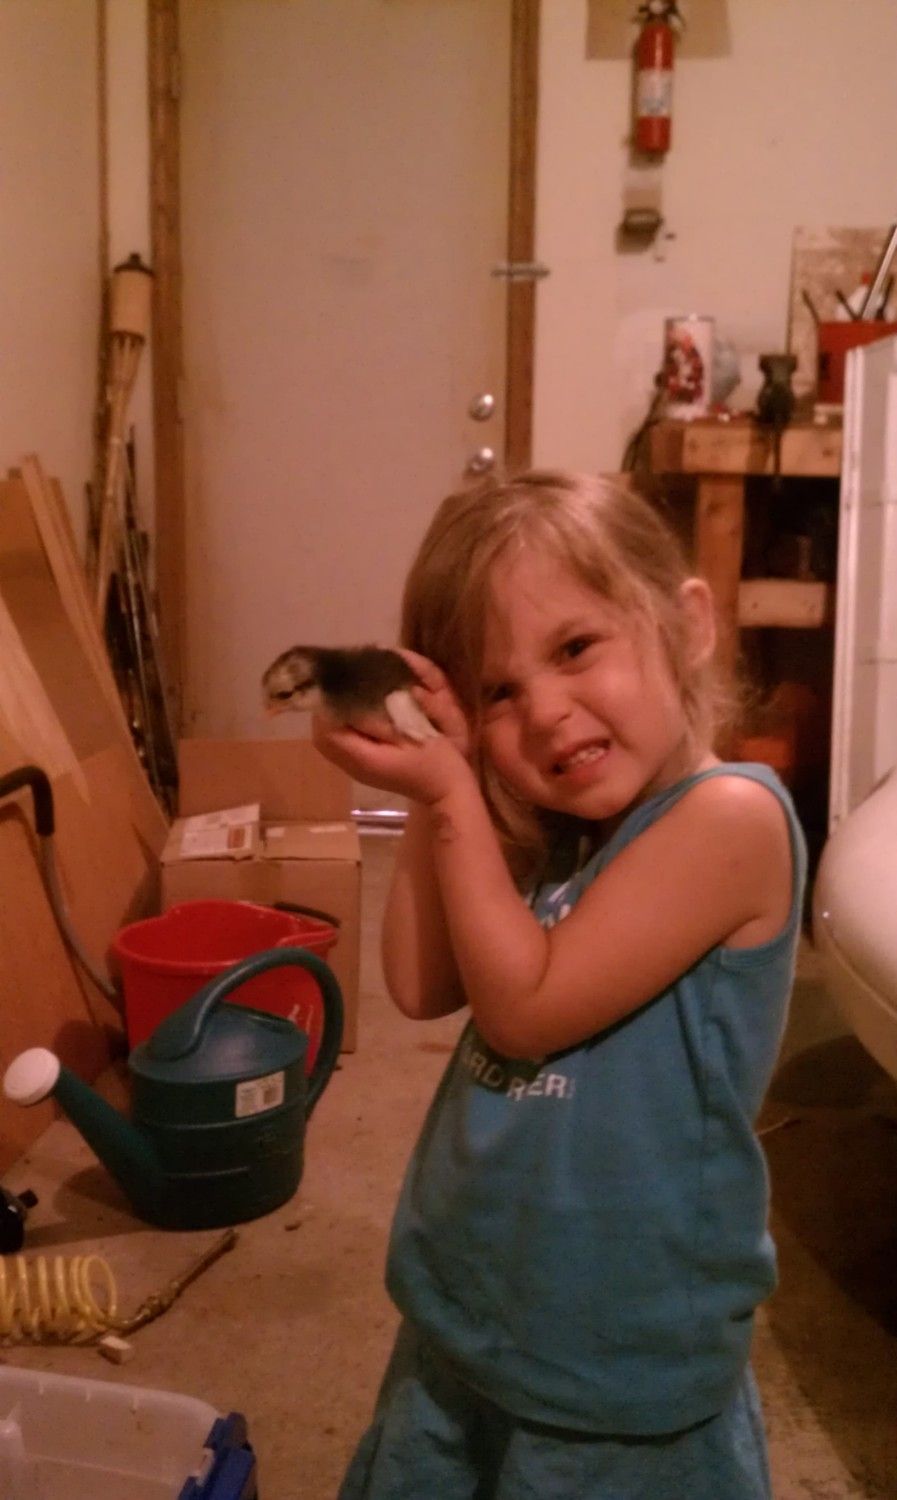
Abigail loves her chicks!

Here is the basic frame, I used 2x4s for the entire frame. I wanted it to be heavy enough that a predator couldn't move it, but not too heavy to move in the future. Frame dimensions are 63 inches x 51 inches. The eves extend 4 inches. Please excuse the back lawn, it will be lush and green very soon...the new grass has already sprouted!

The nesting and roosting area is framed.

Bottom access doors built and attached. From here I started using furring strips. They are cheaper and lighter. The door on the left opens out, the door on the right opens down. I wanted the entire front accessible for cleaning without the entire front being open at once.
The nesting doors are built and attached. We caught our first predator! The greatest "Ah-Ha!" moment up to this point was when I realized this could be used to confine children as well! (just kidding!...mostly...) I also added a door for summer ventilation. I primed everything with an exterior primer hoping it will help the building weather.

Nothing new here but paint. It took about 4 coats per panel. The paneling is some stuff that was laying around when we bought the house. It is somewhat hard to see, but it has vertical lines which give it a barn look
I got lucky with the paint, I went to the local retailer and they happened to have a gallon of "barn finish" on clearance...what a bargain for me!
This is the aerie's intended destination. Oh yeah...that's right... Our backyard aerie even has a tractor!

This is the roosting area. I decided to make it an open bottom for cleanliness. If it turns out to be too cold during the winter I have some plywood cut to become a floor.
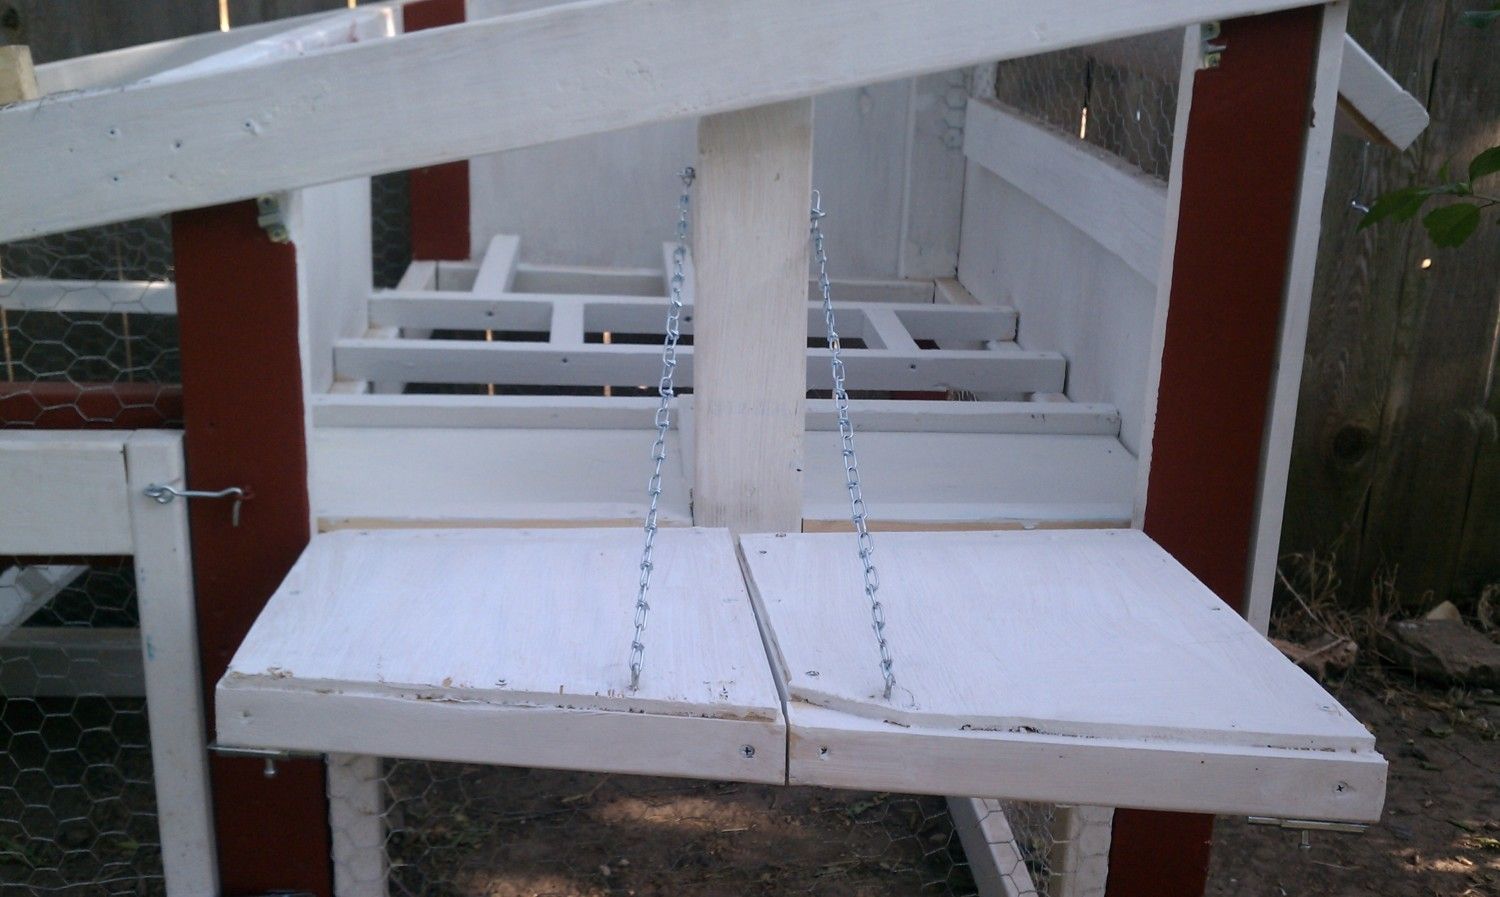
Here are the nesting boxes and roosting area as viewed through the front doors.

And....Finished! This was the first time I had ever done any sort of shingling. Luckily my dad has shingles left over from rebuilding his well pump house.
They are now permanent residents outside. My daughter has to "check the chicks" about 5 or 6 times a day.
Overall it has been a fun project. The chicks will probably go out this week. I have a few minor things to do still, I need to build the feeder (I'm going to build one out of 4 inch pvc I think), I think I'm going to attach 1x2 strips around the base so that the chicken wire is compressed between 2 pieces of wood...I'm a little concerned about my dog pawing at the wire and pulling it off of the building. I did this for all of the paneling and doors, I really like how secure it made the chicken wire. I built it with with the intent that I could more ground space at the end of the coop if I wanted to add another hen in the future. I'll be adding pictures of the feeder, modifications and birds once they are on the ground and running!
This is the first chicken coop I've ever built, if anyone can see any obvious flaws in my design I'd be open to feedback!
Updates:

The PVC feeder, I thought I was being original...then I saw that there are dozens of different PVC feeder designs.

The outside of the feeder. I put a threaded clean-out for ease of filling.

First day out in the run.
It doesn't take long to figure out where the food is.
Updates, November 2012:
I have done some minor work on the coop. I had some predators trying to dig in (and the chickens like to dig as well) so I added a makeshift foundation using 7x11x2 patio blocks. First I dug a narrow trench, matching the base of the coop. I then buried the bricks on their side, vertically, and placed the bricks around the perimeter of where the coop sits. A little leveling and backfilling later and I have a secure foundation. It serves several purposes besides the obvious foundation, it also elevates the coop 2 inches and protects the lumber from weathering as quickly.
With freezing temps nearing I decided to build a modest water heater. While I've been at hardware stores for various home repairs I found a large clay pot and a 10 inch clay saucer, both on clearance. I drilled a hole in the bottom of the saucer and put a ceramic light fixture (25w bulb) between the saucer and the upside down pot. So far it has been successful in thawing the water in mornings and evenings (I only have it turn on for a few hours at a time)
Here are the girls all grown up! They haven't started laying yet. I think I got them about a month too young. With daylight hours dwindling I fear they won't start laying until spring
Predator deterrent: I have done a few things since the original design to help deter predators. With my back fence being the city limits and with the 2 miles behind my house consisting of: milo, wheat, prairie grass, a creek and randomly wooded areas, I have all manner of predators. So far I have seen red foxes, coyotes and of course your typical raccoon, skunk, cat and opossum population. I have a large Australian Shepherd in the back yard and he has been quite effective at keeping the predators at bay. There have been many nights I have heard him come unglued followed by a critter frantically scurrying over the fence. Regardless of the dog, predators have still been trying to burrow in.
To help keep the chicken wire secure I have sandwiched all chicken wire between the 2x4 frame and 1x4 furring strips. This also helps improve the rigidity of the coop.
I have also added a patio brick foundation with the same patio bricks buried vertically underneath the foundation, pics can be viewed above. It has been since May and I have not had any fatalities, knock on wood!
I have caught a few black-rat snakes near the coop, but with no eggs yet they haven't been too interested in the coop. I assume they are after the mice that come for scrap scratch/layer. That might change come spring.