The Taj-Ma-Coop
The plans started out as a 10x12 shed with a conventional roof. Then I found a link to a 10x12 chicken coop (https://ag.tennessee.edu/BESS/Extension/ExtPubs/Plans/6248.pdf ), but I didn't like the height, the roofline, and the side walls.
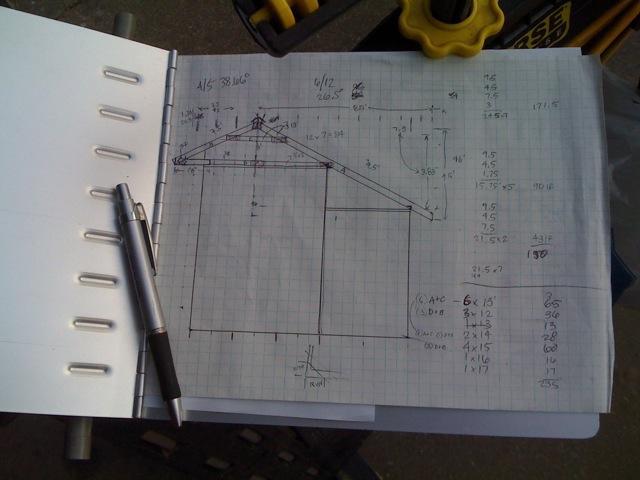
The Rough Design - I decided to mix it up a bit and ended up with this rough design:

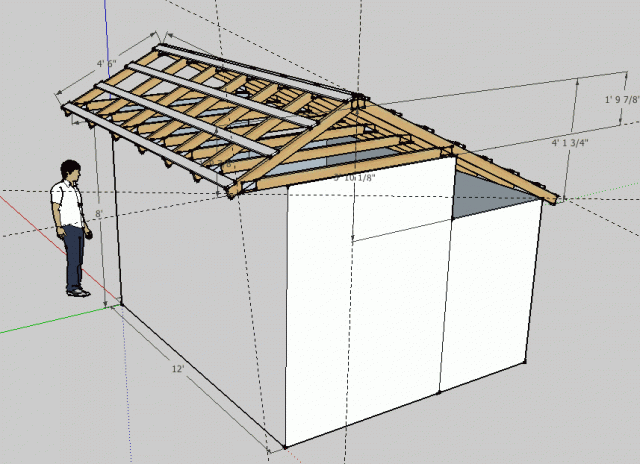
I used Google Sketch-Up to help figure out the truss design:
Here is how it is coming together...
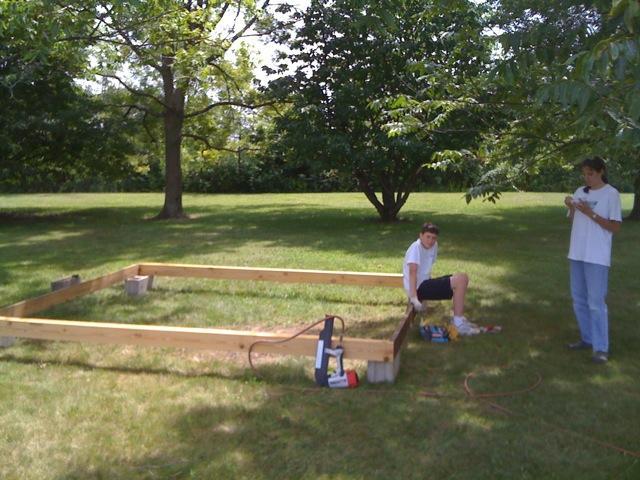
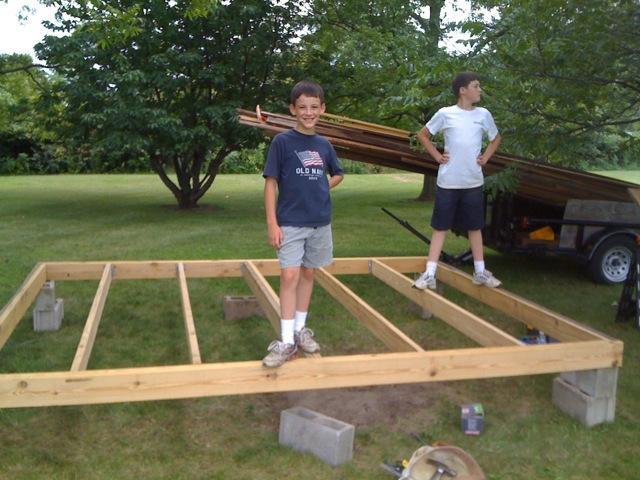
The Frame - Doubled 2x6 rim joists
The Joists - 2x6 with doubled center span
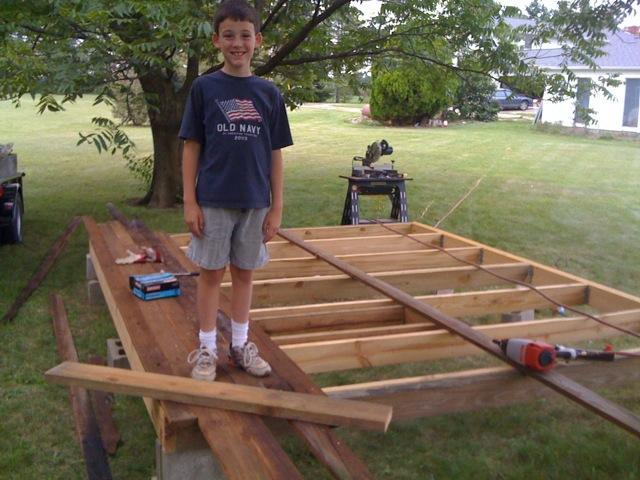
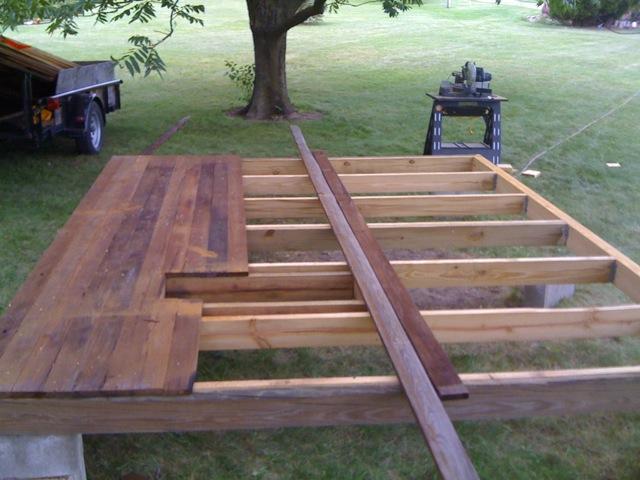
The Floor - true 1x4 lumber
The Floor & Ramp Opening - I decided to drop the ramp down to the space under the coop for Winter shelter.
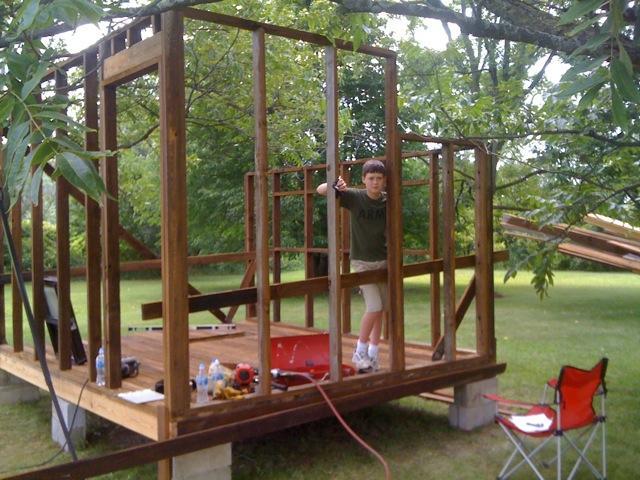
Framing - the front wall
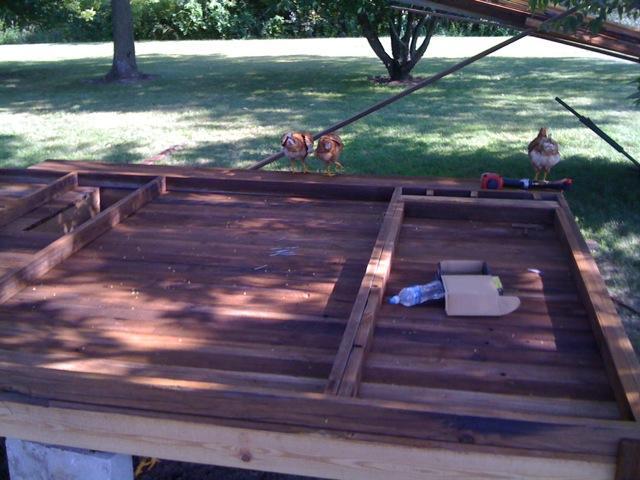
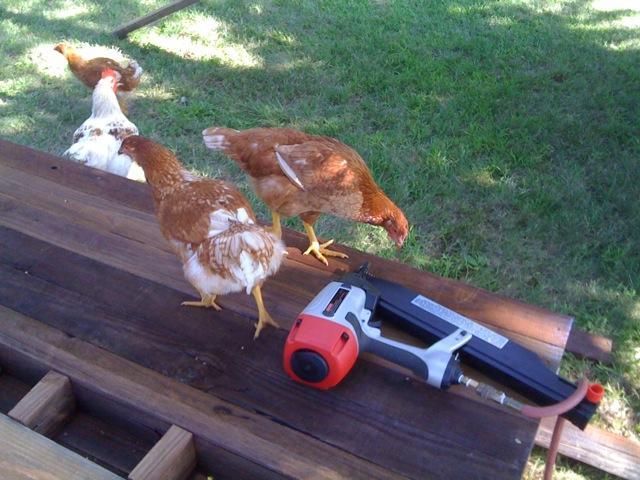
The Helpers - Ever-present, the Chickens, inspecting every phase of construction
The Walls - 3 of the 4 exterior walls up
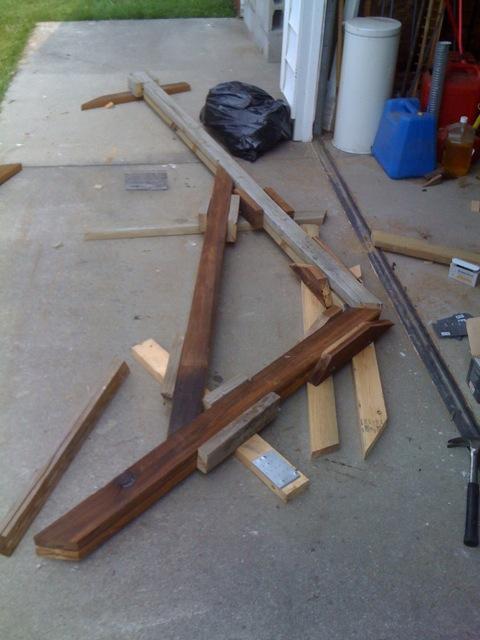
The Truss Jig - Assembling the trusses
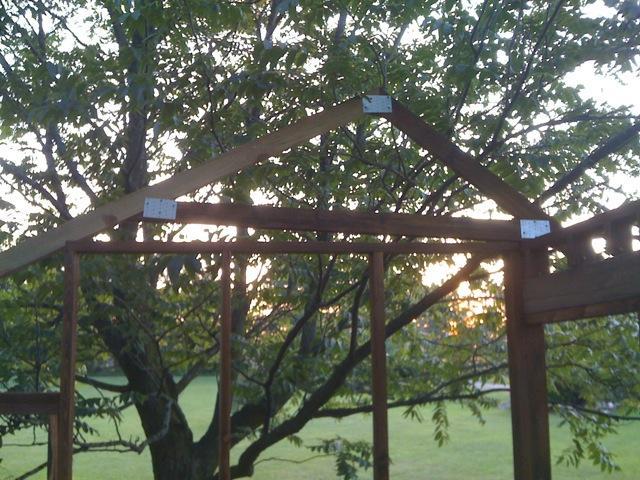
One Truss Up - Not in place, but balanced on the front and back walls.
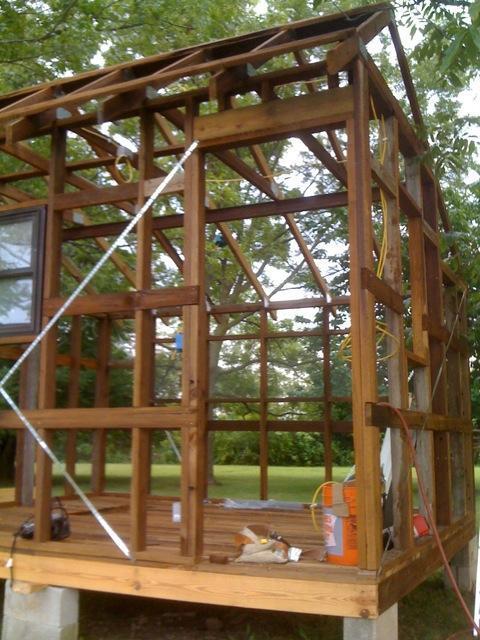
95% Framing Completion - The purlins not yet installed, all major structural components are complete.
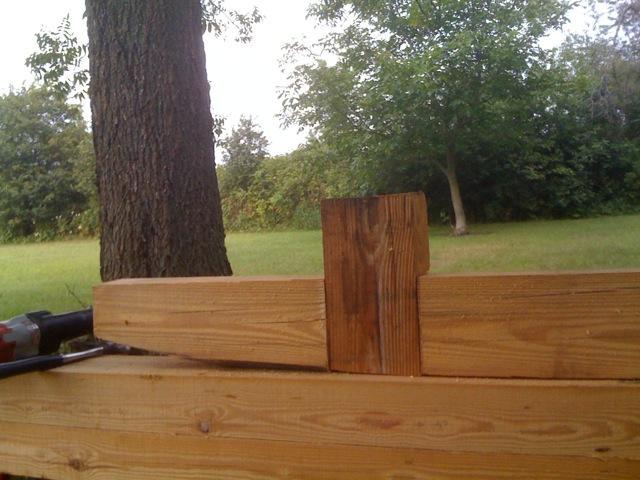
The Skids - For mobility and tax purposes, the structure is mobile. I decided on three skids. True 4x6, center-cut telephone pole lumber.
Resting on the Skids - Luckily my 3 ton floor jack can move the building on and off the blocks easily.
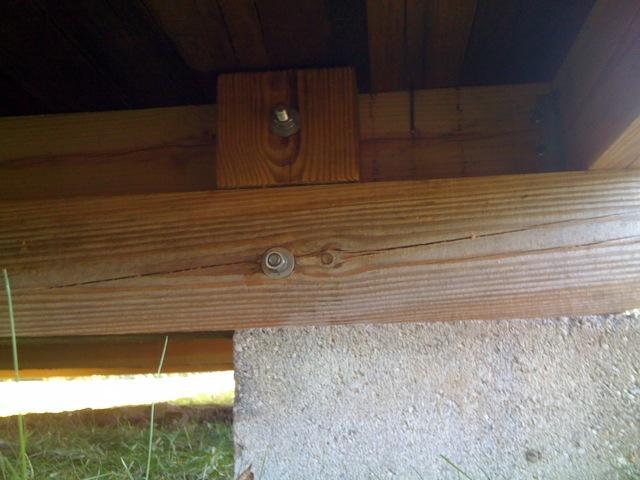
The Skid Bolt-Up - The rim joists carry most of the load, resting directly on the skids.
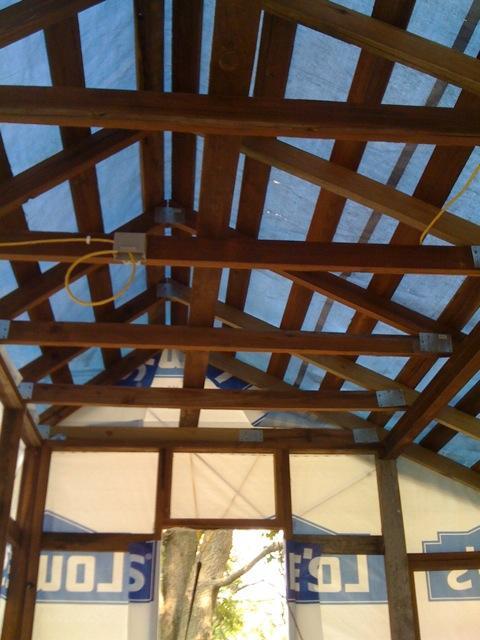
The Interior Roof - Purlins in place. You can also see the 4 inch I-beam that spans the structure to eliminate the need for vertical truss supports.
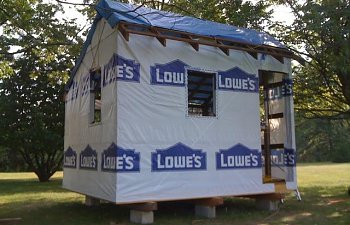
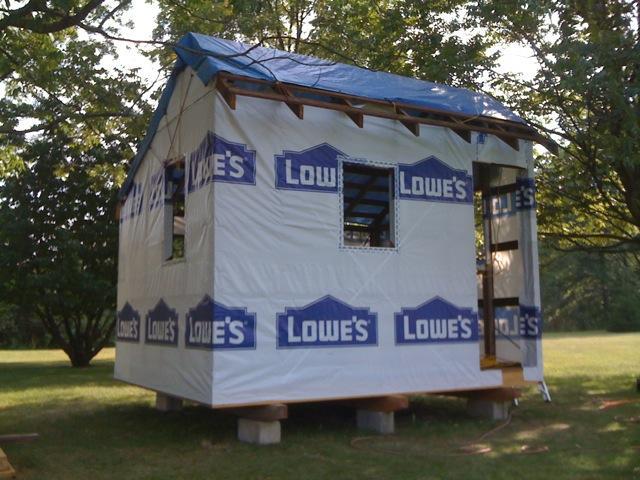
The Wrapped Body - I decided to use house wrap (guess the source), to help control drafts. We do get some wind in the Winter.
Looking in the Front Door - The back 8 x 2 foot screened windows can be seen. There will be a hinged door on the outside, for controlling ventilation. In the Winter I will have foam/plywood inserts for the inside.
Next steps & Photos:
1. Siding (board and batten)
2. Roof
3. Interior walls: Insulation and plywood paneling
4. Gutters and water collection system for semi-auto watering
5. Nest boxes, roosts, interior partition walls
The plans started out as a 10x12 shed with a conventional roof. Then I found a link to a 10x12 chicken coop (https://ag.tennessee.edu/BESS/Extension/ExtPubs/Plans/6248.pdf ), but I didn't like the height, the roofline, and the side walls.
The Rough Design - I decided to mix it up a bit and ended up with this rough design:
I used Google Sketch-Up to help figure out the truss design:
Here is how it is coming together...
The Frame - Doubled 2x6 rim joists
The Joists - 2x6 with doubled center span
The Floor - true 1x4 lumber
The Floor & Ramp Opening - I decided to drop the ramp down to the space under the coop for Winter shelter.
Framing - the front wall
The Helpers - Ever-present, the Chickens, inspecting every phase of construction
The Walls - 3 of the 4 exterior walls up
The Truss Jig - Assembling the trusses
One Truss Up - Not in place, but balanced on the front and back walls.
95% Framing Completion - The purlins not yet installed, all major structural components are complete.
The Skids - For mobility and tax purposes, the structure is mobile. I decided on three skids. True 4x6, center-cut telephone pole lumber.
Resting on the Skids - Luckily my 3 ton floor jack can move the building on and off the blocks easily.

The Skid Bolt-Up - The rim joists carry most of the load, resting directly on the skids.
The Interior Roof - Purlins in place. You can also see the 4 inch I-beam that spans the structure to eliminate the need for vertical truss supports.
The Wrapped Body - I decided to use house wrap (guess the source), to help control drafts. We do get some wind in the Winter.
Looking in the Front Door - The back 8 x 2 foot screened windows can be seen. There will be a hinged door on the outside, for controlling ventilation. In the Winter I will have foam/plywood inserts for the inside.

Next steps & Photos:
1. Siding (board and batten)
2. Roof
3. Interior walls: Insulation and plywood paneling
4. Gutters and water collection system for semi-auto watering
5. Nest boxes, roosts, interior partition walls