Cluckridge Farm Chicken Coop
Unfortunately we did not create a blueprint
~.~.~.~.~.~.~.~.~.~.~.~.~.~.~.~.~.~.~.~.~.~.~.~.~.~.~.~.~.~.~.~.~.~.~.~.~.~.~.~.~.~.~.~.~.~.~.~.~.~

We spent less than $20 on this brooder and light for 5 chicks
Unfortunately we did not create a blueprint
~.~.~.~.~.~.~.~.~.~.~.~.~.~.~.~.~.~.~.~.~.~.~.~.~.~.~.~.~.~.~.~.~.~.~.~.~.~.~.~.~.~.~.~.~.~.~.~.~.~
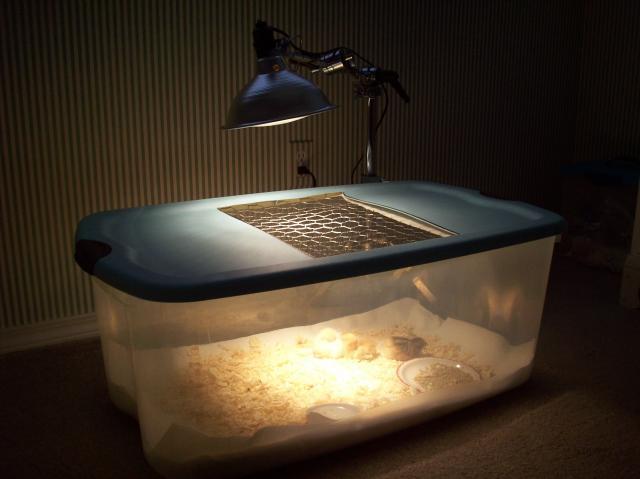
We spent less than $20 on this brooder and light for 5 chicks
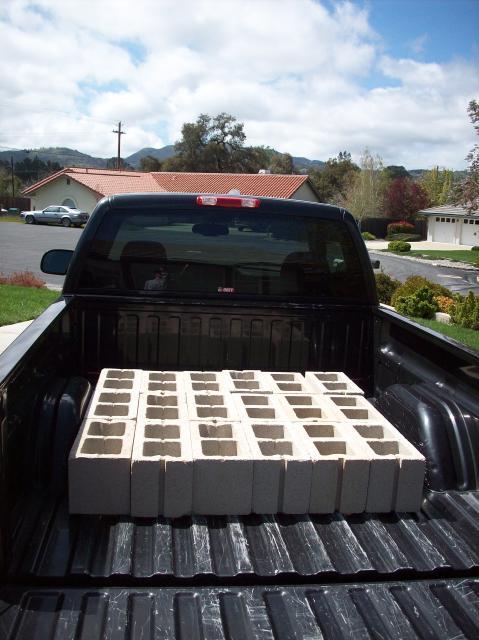
We began our coop project in March of this year, about a week after we got our chicks from the local Hay & Feed. My husband finally gave into owning backyard chickens, based on the fact that he got to build something. We researched BYC coops for about a month and came up with our own plans. We (my husband did most of the digging) spent a weekend digging the coop foundation and laying the cinder blocks. My husband spent hours perfectly leveling the foundation....while I sat on the sideline gently reminding him that,
“It’s just a chicken coop!”
“It’s just a chicken coop!”
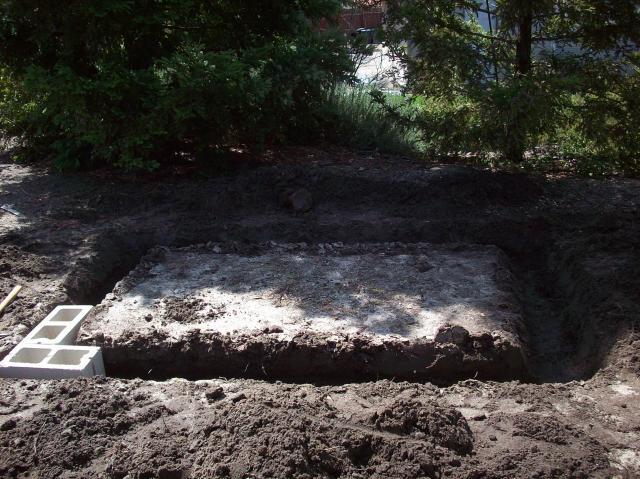
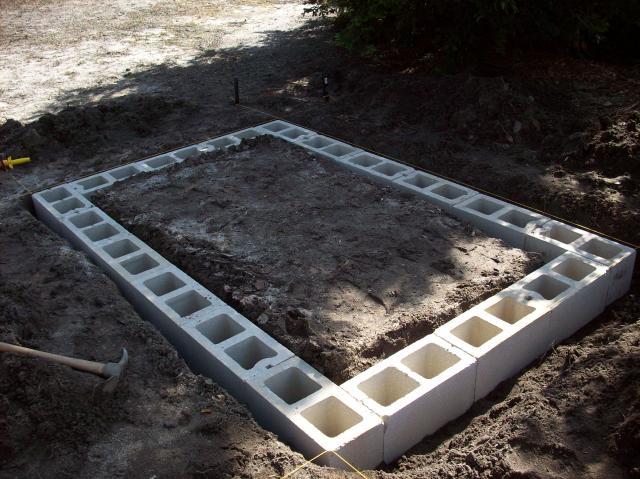
I must say all of his hard work payed off. This is probably the most level coop foundation ever!
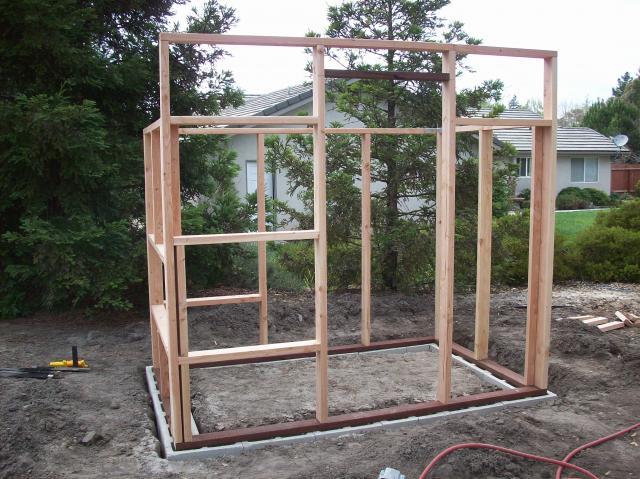
The following weekend was spent again on constructing the coop. We began framing the structure and raising walls.

The walls are not fastened to the concrete. We filled the cinder blocks in with concrete and then stood the wall up ontop of the foundation. We wanted to be able to easily take down the coop if we ever move. This structure is so heavy...it won't budge.
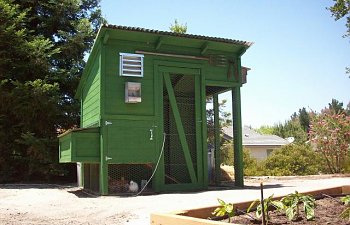
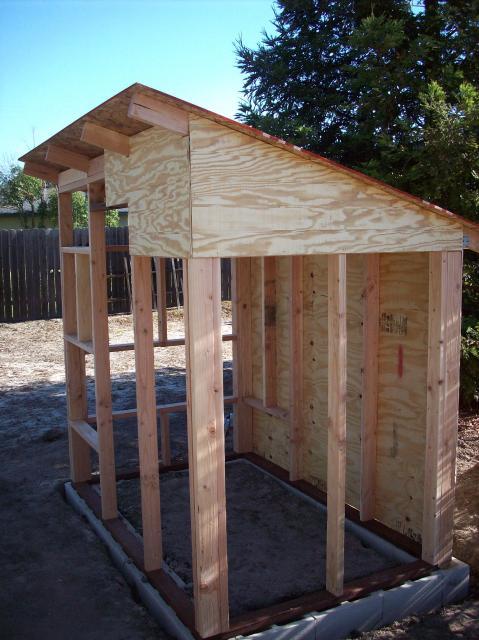
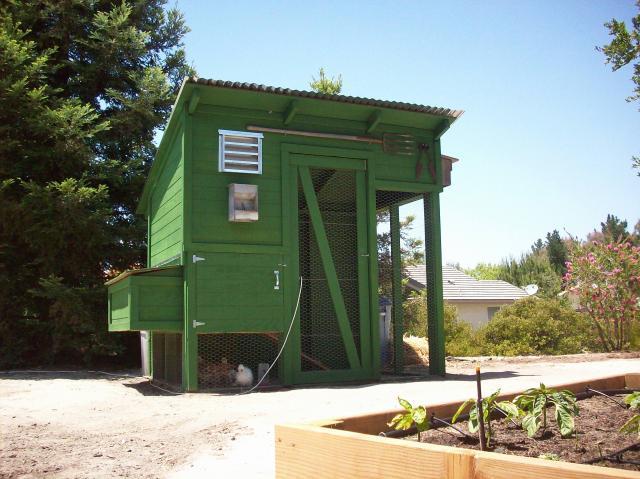
When deciding on location for the coop we went with the shadiest spot during the day...directly behind 2 large redwoods in our backyard. We highly recommend finding the shadiest spot! In the summer the sun sets on the opposite side of the redwoods. The coop is blanketed with shade throughout the hottest part of the day. We also hung siding on the back of the coop for extra protection from the sun. We are experiencing some extremely hot weather this summer and this location seems to be just perfect.
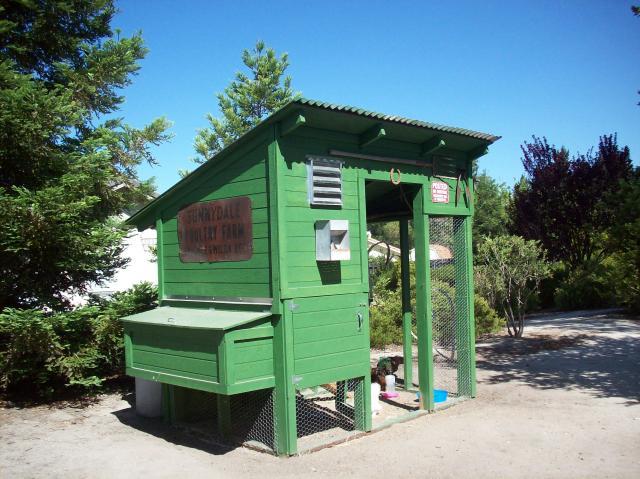
Finally some color! We went to Home Depot for most of our supplies...also hitting up our local Habitat for Humanity to try to reuse and cut costs on supplies...like nails and the siding. The paint came from Home Depot though. I always dreamed of a green coop....but the green we ended up with is not really what we had in mind...but it’s growing on us! We decided to use our paint sprayer for quick and efficient coverage. I would recommend it...it took him less than a half hour to completely cover it. I can’t wait until it starts to fade and age....it love that look!
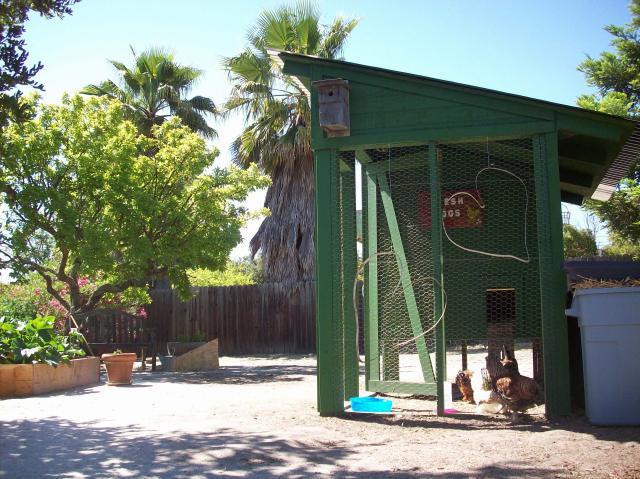
Oh...we went with a tin roof and also built a pop-out style nesting box to expand their inside coop area. I love how the nesting box turned out!
Well here it is...finally completed! We spent about 5-6 weekends from start to finish....used most of our tax return (roughly $500) and still managed to get our chicks in it before they out grew their brooder.
**We collect antique decor for the coop!!
The signs says, "Sunnydale Poultry Farm, Clarence and Wilda Beck."**
Things we would have done differently: To be honest with you....there isn’t a whole lot we would change....besides the color. We probably would have tried to find more of our supplies at Habitat...to cut costs. I wish we would have put a bigger window on the front of the coop...instead we went with a stainless steel vent. Overall...we spent more than we thought on the whole venture...but it was well worth it...the chickens love it!The signs says, "Sunnydale Poultry Farm, Clarence and Wilda Beck."**
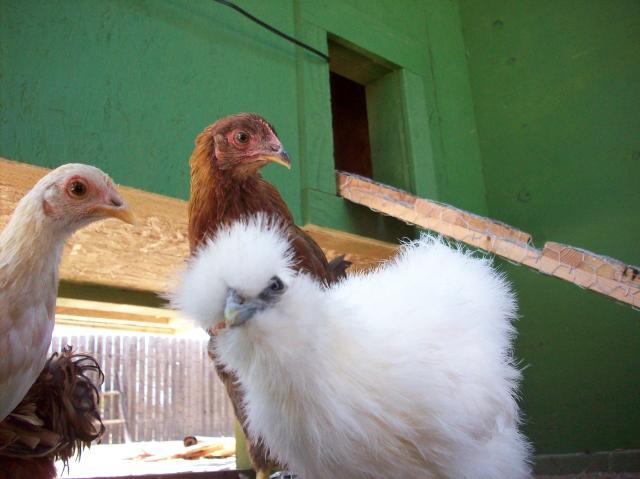
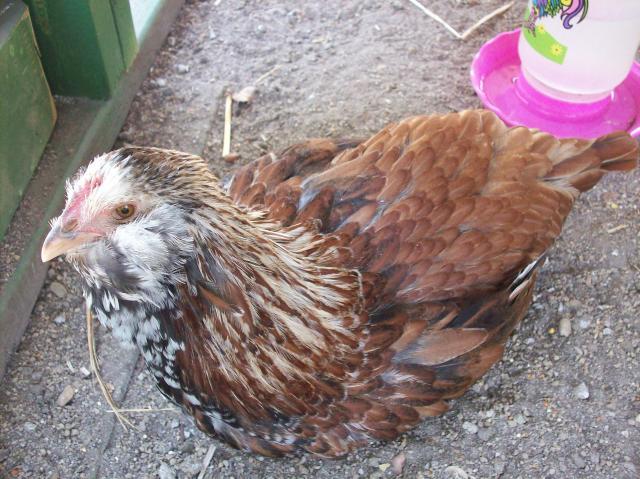
Hens: Left to Right > Sweet Pea, Fig (Welsummer), and Flo (Silkie)
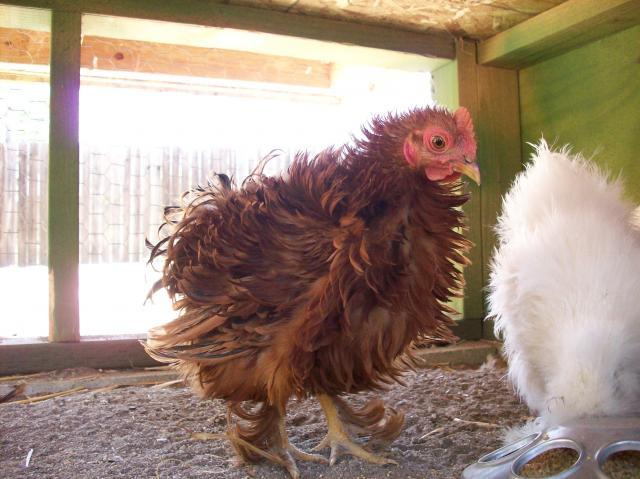
Rooster: Izzy (Red Frizzle)
Hen: Amelia(Faverolle)