Texas Chicken Ranch


Who: Up to 11 chickens, depending on the rooster outcome. Breeds are 2 silkies, 3 polish, 2 cochin, a wyandotte, d'uccle, serama and a frizzle silkie.
What: Coop
Where: North of Houston about 2 hours. HOT HOT HOT, humid summers. Winters (a week long chilly bit in january
) are not very cold at all. The spot we picked for them will get lots of shade and should only have direct sun mid mornings for a little while.
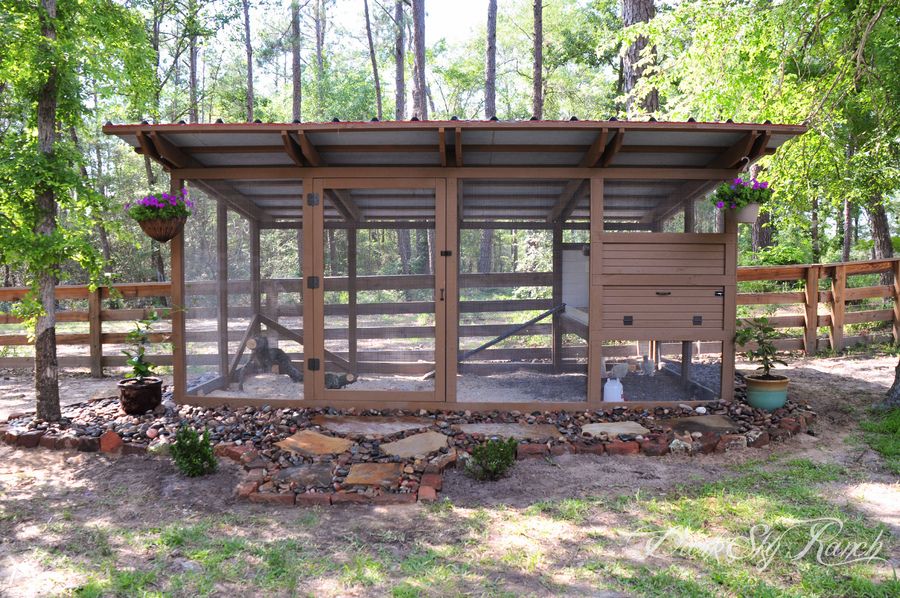
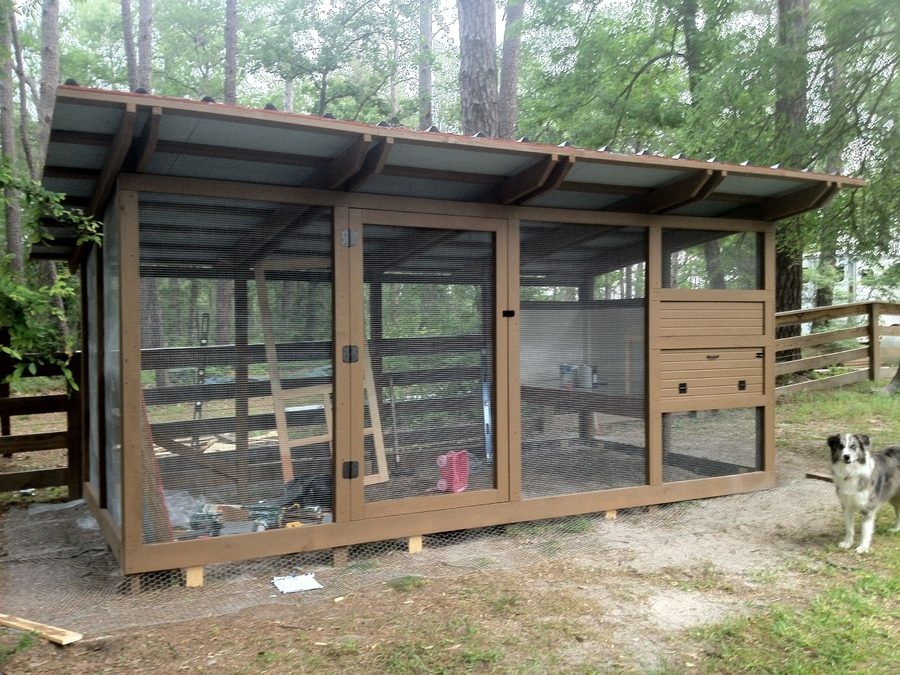
Inspiration: Several coops on this forum, plus our view. This coop is in our backyard, although we have many acres. We wanted to be able to see the chickens from the house, which played an import an factor in the design. Looking out our living room windows we will see the coop everyday.
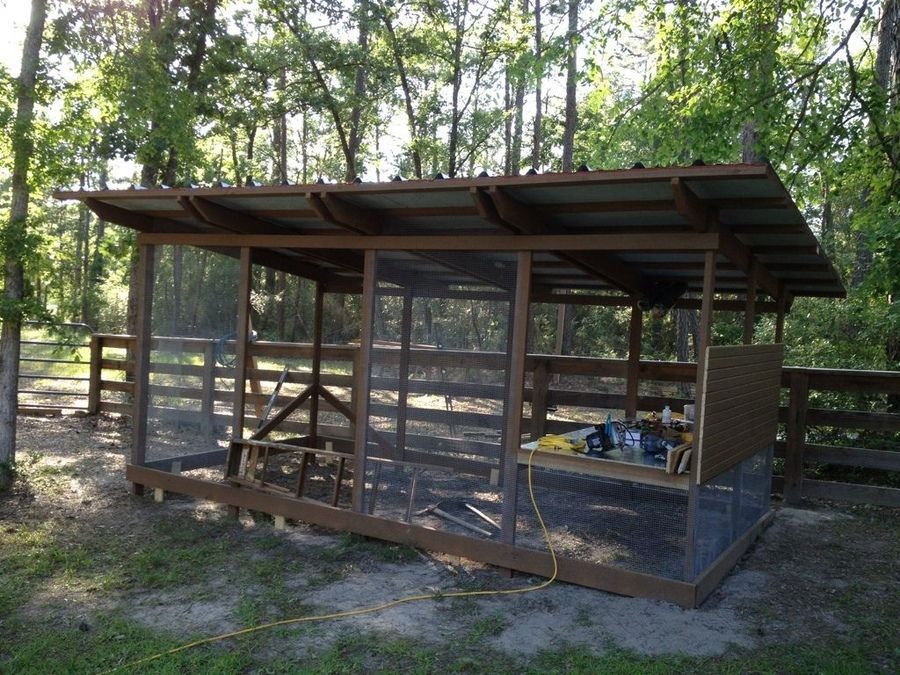
Size: 128 sq ft, 8ft x 16ft
Features: 3 nest boxes (future expansion planned), roost over poo board with possible ramp access for silkies. We've currently hung the feeder and waterer under the platform, with plans to go to a PVC feeder and nipple water system soon.
Materials: Solid stained treated pine, roof is galvalume r-panel over tech shield radiant barrier osb. Chicken stage has linoleum flooring. 1/2" x 1/2" hardware cloth covers every inch, and 2 feet of chicken wire around perimeter.
Future Plans: Trim on the metal roof, nipple watering system, PVC feeder, second roost area, removable panels to screen in above the "chicken stage," finishing landscaping, irrigation system being installed the 2nd week of May.
Things I would do differently: Due to something called "chicken math" we probably should have installed the rear egg access door, nesting box and roost instead of waiting until later.
What: Coop
Where: North of Houston about 2 hours. HOT HOT HOT, humid summers. Winters (a week long chilly bit in january

Inspiration: Several coops on this forum, plus our view. This coop is in our backyard, although we have many acres. We wanted to be able to see the chickens from the house, which played an import an factor in the design. Looking out our living room windows we will see the coop everyday.
Size: 128 sq ft, 8ft x 16ft
Features: 3 nest boxes (future expansion planned), roost over poo board with possible ramp access for silkies. We've currently hung the feeder and waterer under the platform, with plans to go to a PVC feeder and nipple water system soon.
Materials: Solid stained treated pine, roof is galvalume r-panel over tech shield radiant barrier osb. Chicken stage has linoleum flooring. 1/2" x 1/2" hardware cloth covers every inch, and 2 feet of chicken wire around perimeter.
Future Plans: Trim on the metal roof, nipple watering system, PVC feeder, second roost area, removable panels to screen in above the "chicken stage," finishing landscaping, irrigation system being installed the 2nd week of May.
Things I would do differently: Due to something called "chicken math" we probably should have installed the rear egg access door, nesting box and roost instead of waiting until later.
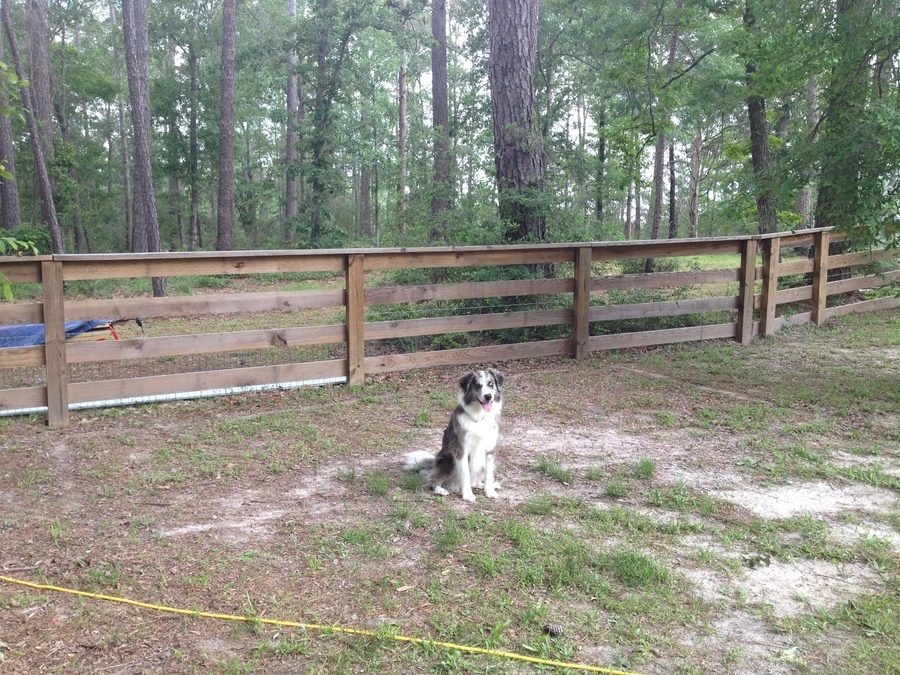
Our dog Apoc, getting ready for the future home of the chicken ranch.
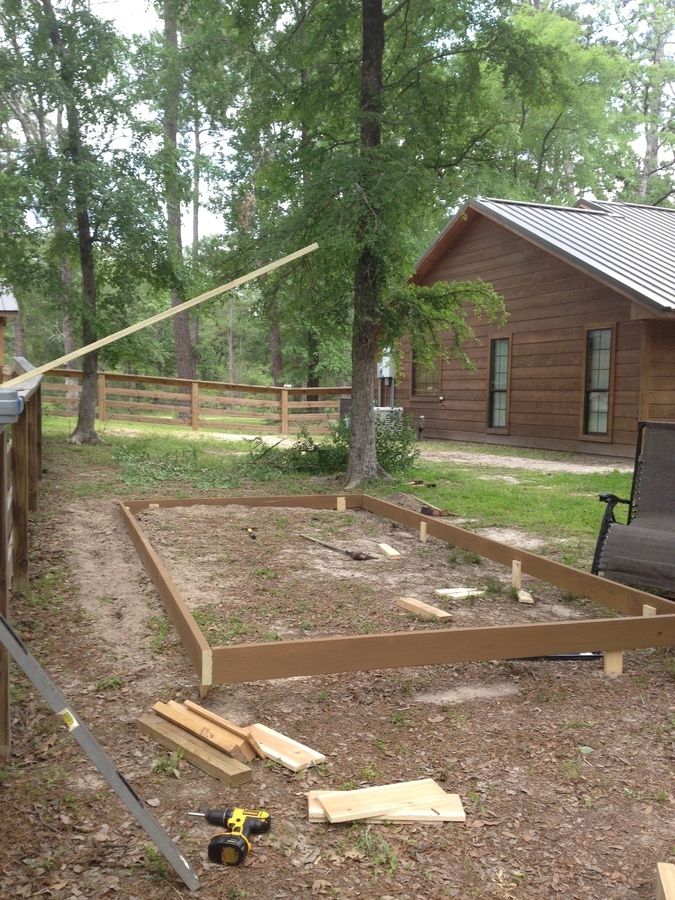
Laid out the base trying to get it level and square, and get an idea of how much dirt we would need to fill. You can see the distance to the house here.
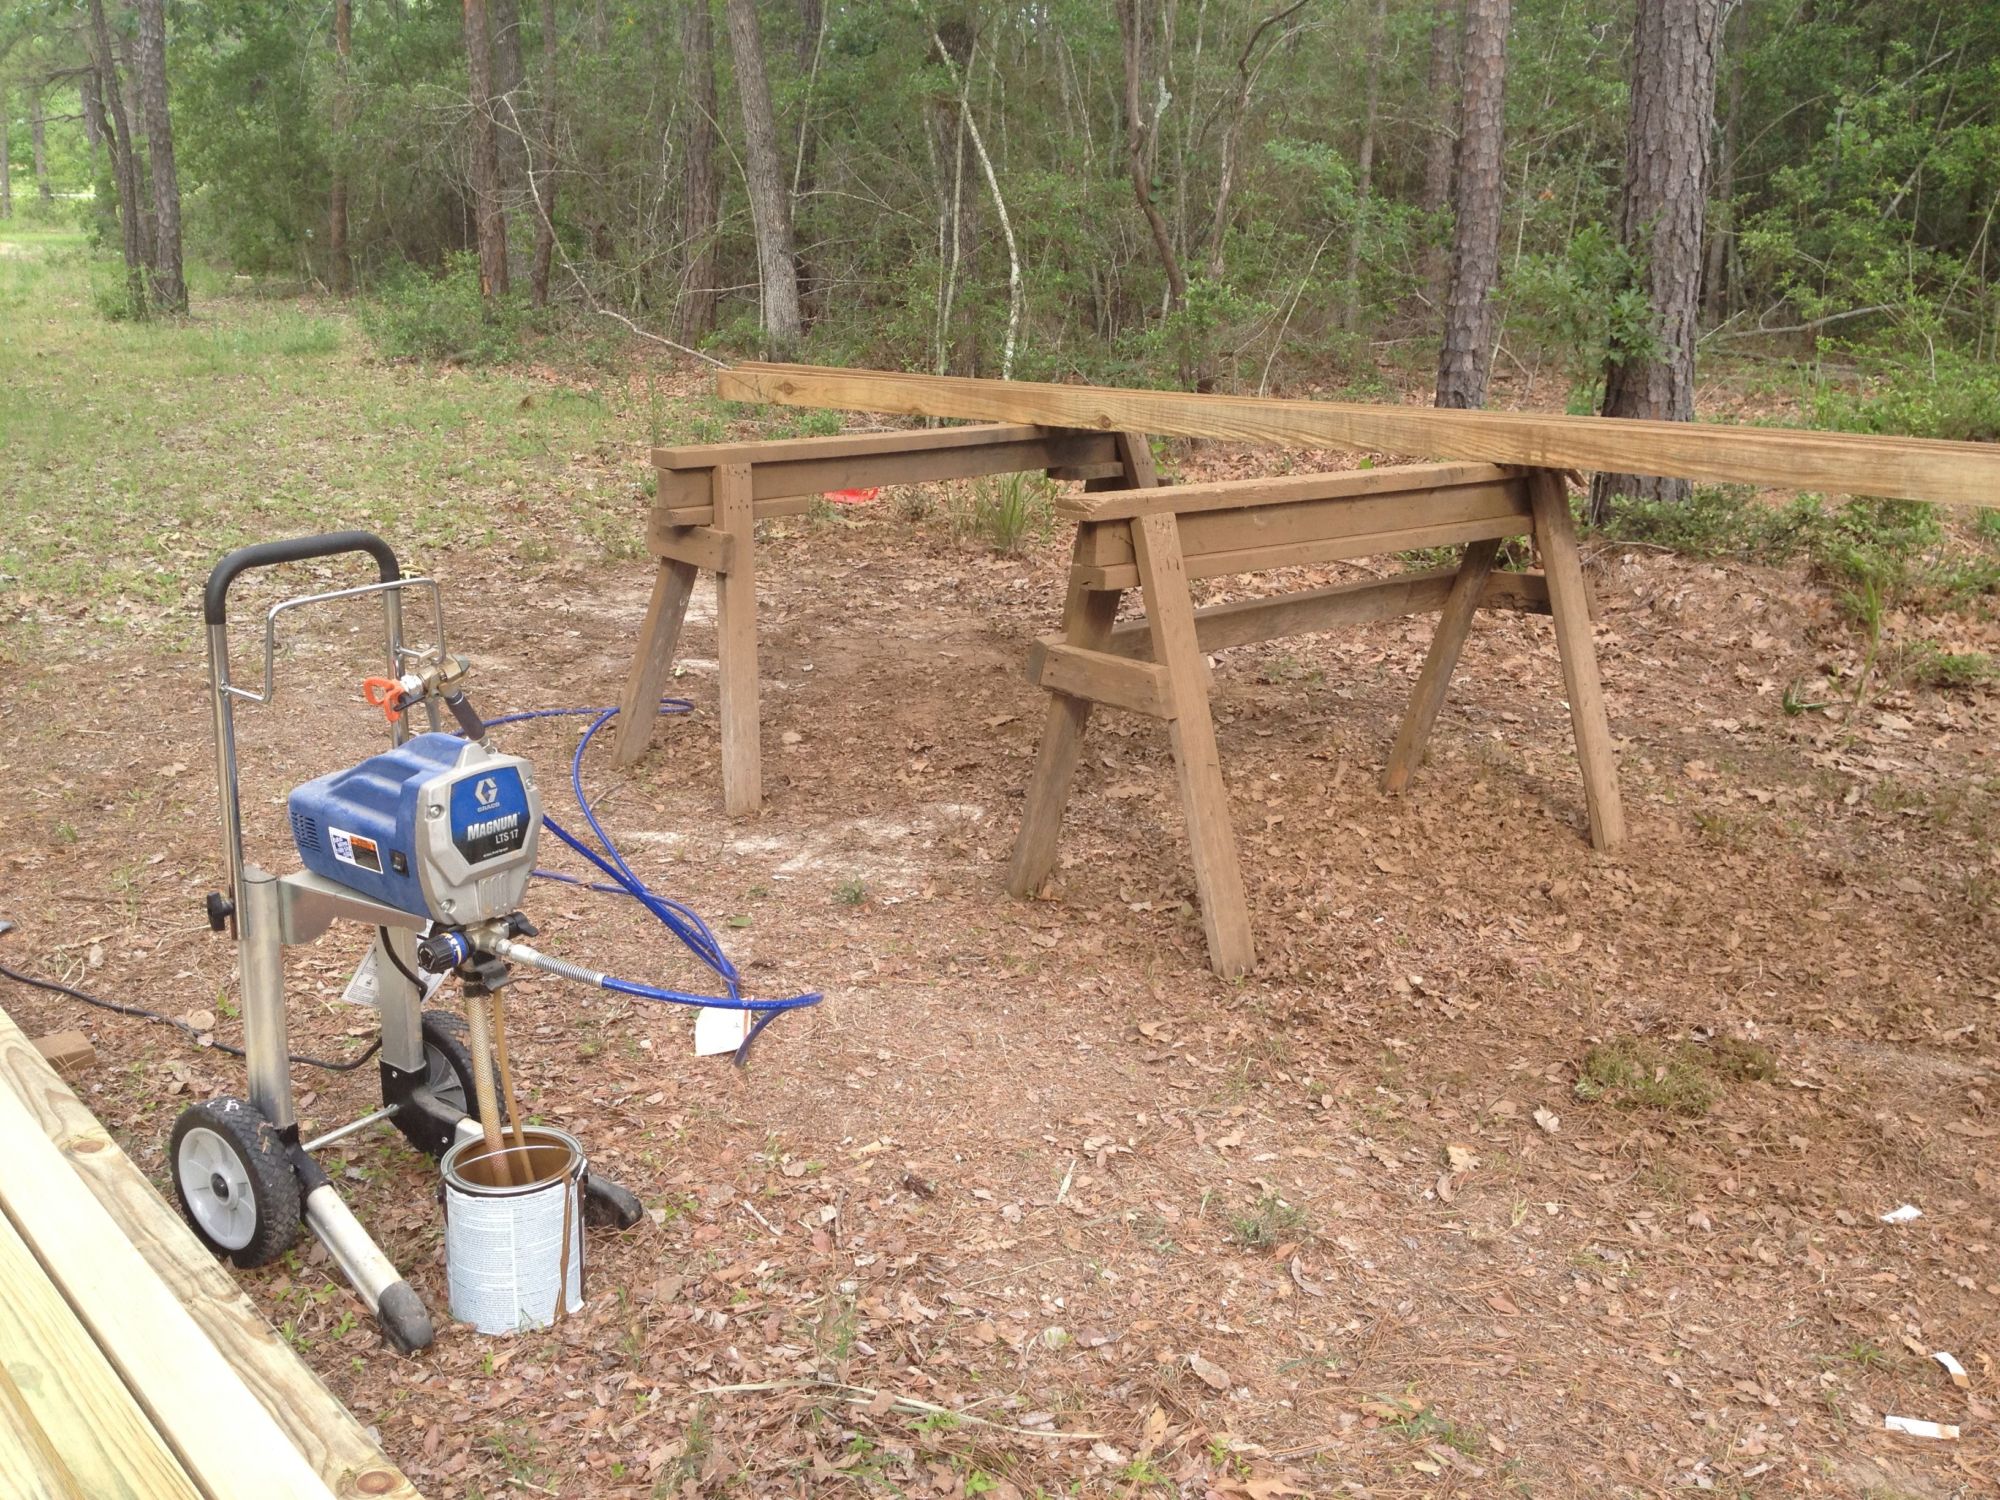
Besides supervising, I painted everything. All wood was painted with a solid stain from the local hardware store using an airless sprayer. Much quicker than hand painting or using a pot sprayer. (it's not fun to clean between colors thou!)
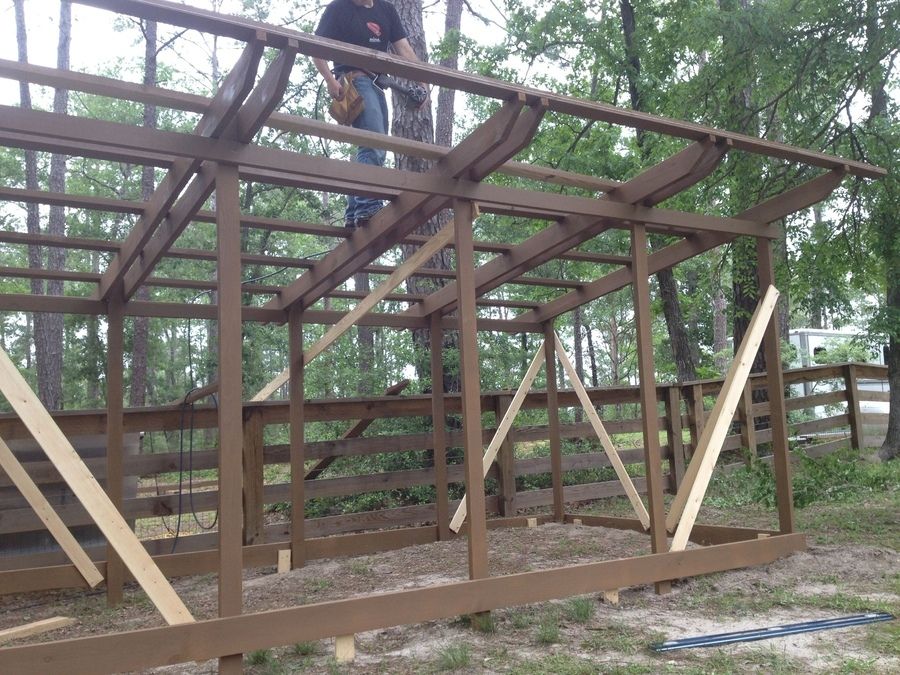
Here you can see the first 2x4s holding up the roof. An additional 2x4 will be sandwiching the hardware cloth soon. The non-painted boards are just braces.
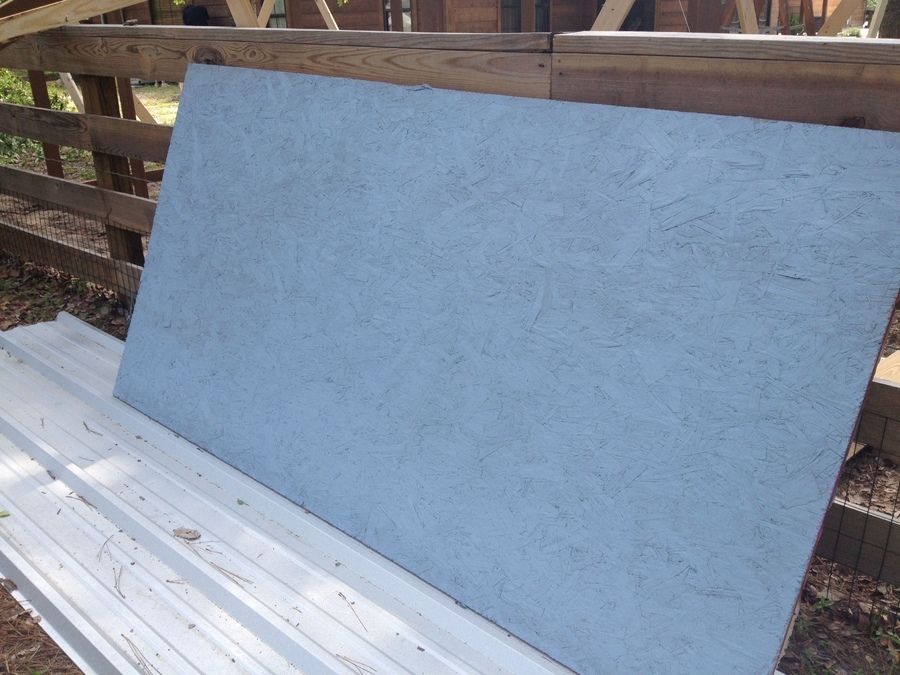
Decided to paint one side of the ceiling, that way the chickens wouldn't feel like they are in a dungeon. Plus someone said mud dobber wasps wouldn't build homes on it, if its blue (1st time to test this rumor).
Metal galvalum r-panel roof screwed into the tech shield.
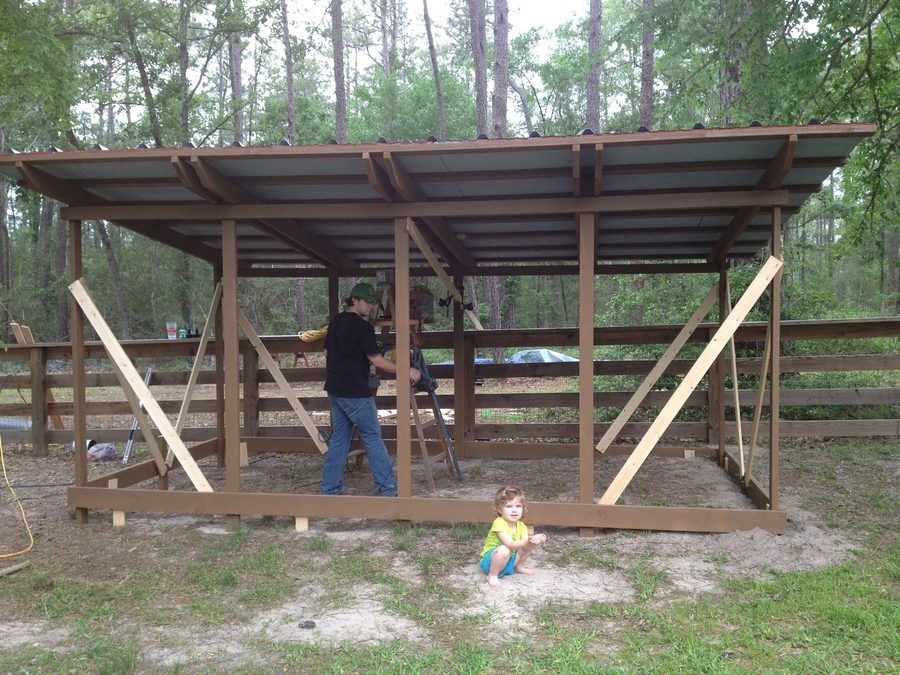
Getting hardware cloth up everywhere that we can. The hardware cloth is between the roof and walls and everywhere larger than 1/2 inch.
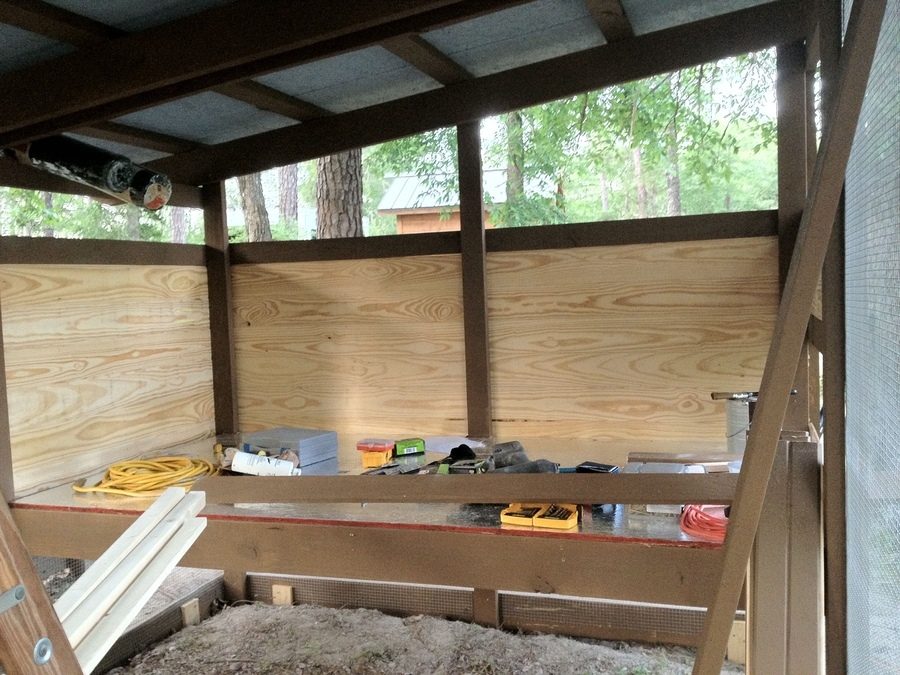
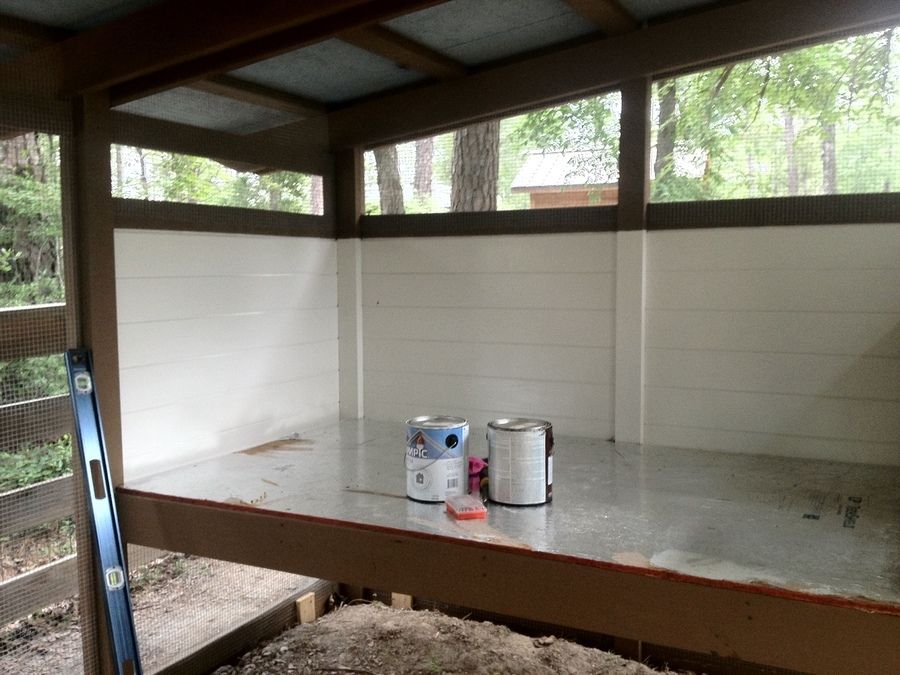
Getting the "chicken stage" in place. Here you can see the solid north wall.
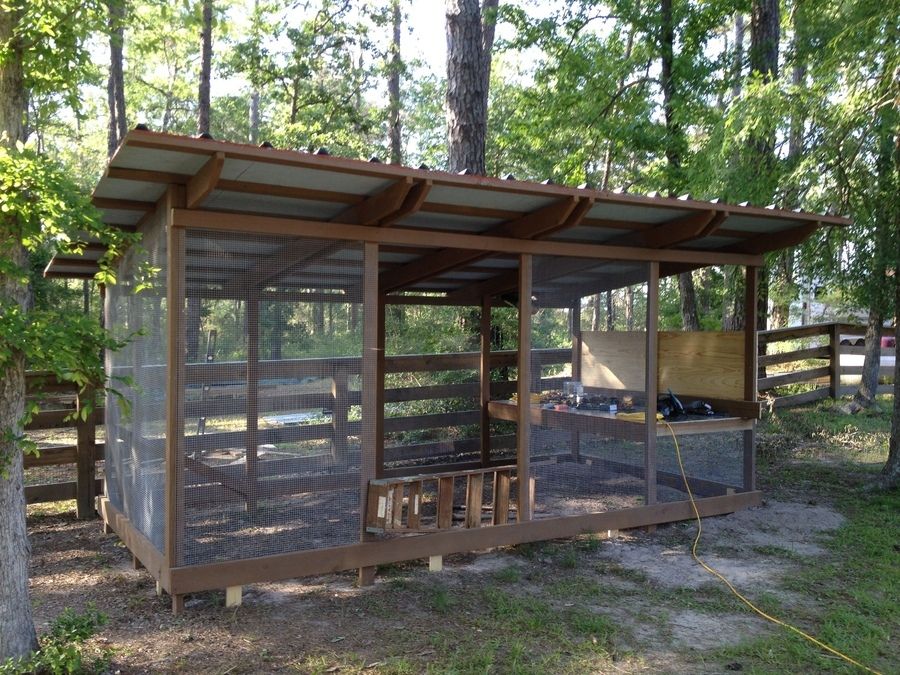
The chicken stage with lots of ventilation and views for the chickens.
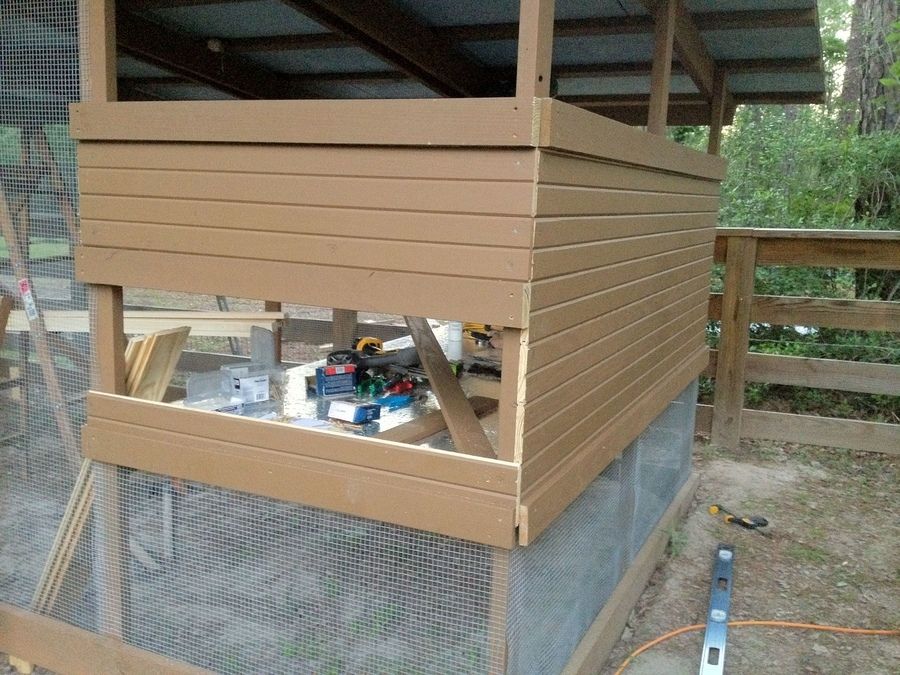
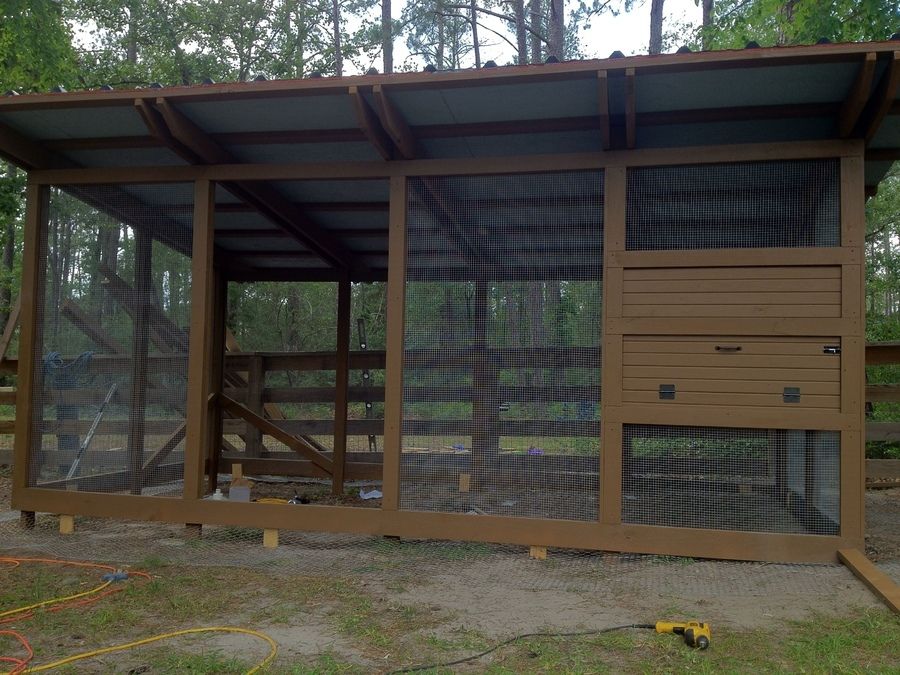
The beginnings of the egg access door. The siding is bought from a local building supply, it is a type of grooved wood that was near the beaded board section.
Painting the interior.
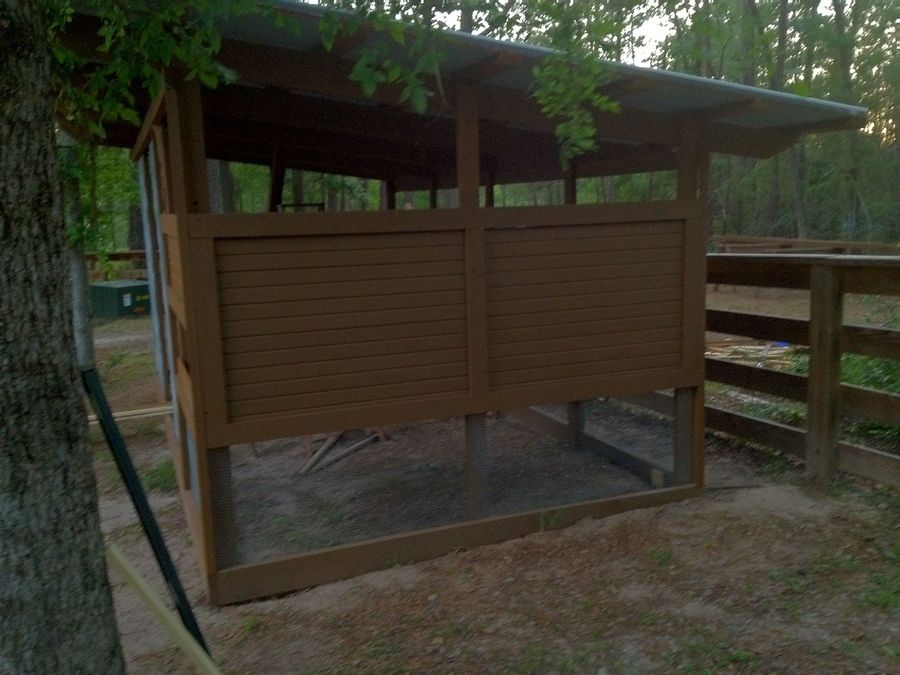
The exterior of the north wall.
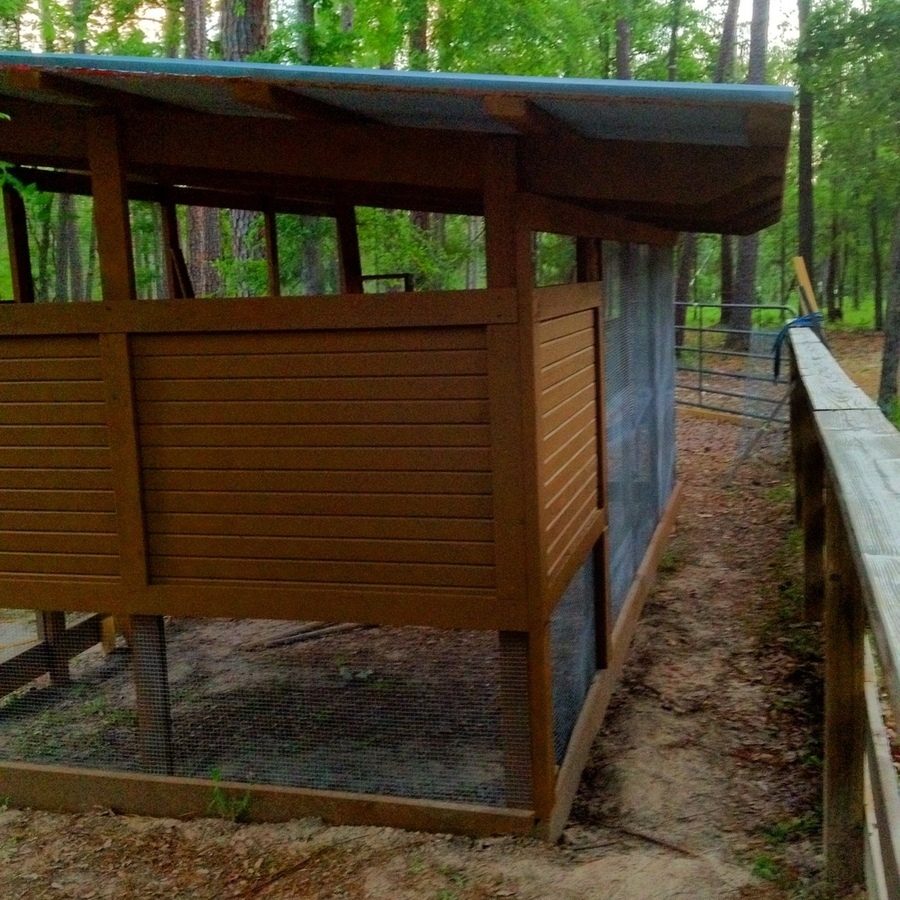
Finishing up the exterior, still have some 2x4s to sandwich the hardware cloth.
The egg access door complete, installed a lock so that toddlers can't let the chickens out!
Door installed
Before the landscaping, we were waiting on our irrigation system for the yard.
Einstein trying it out for the first time
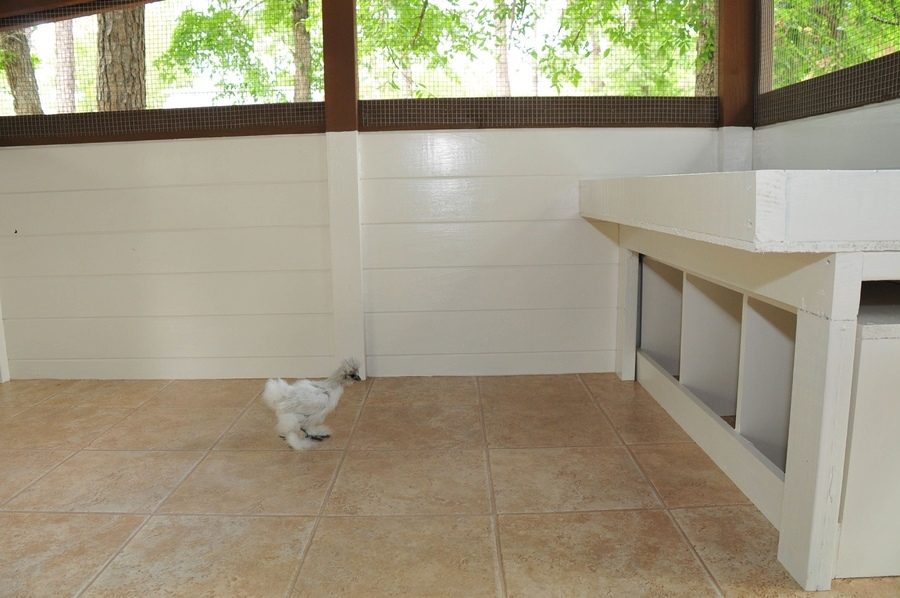
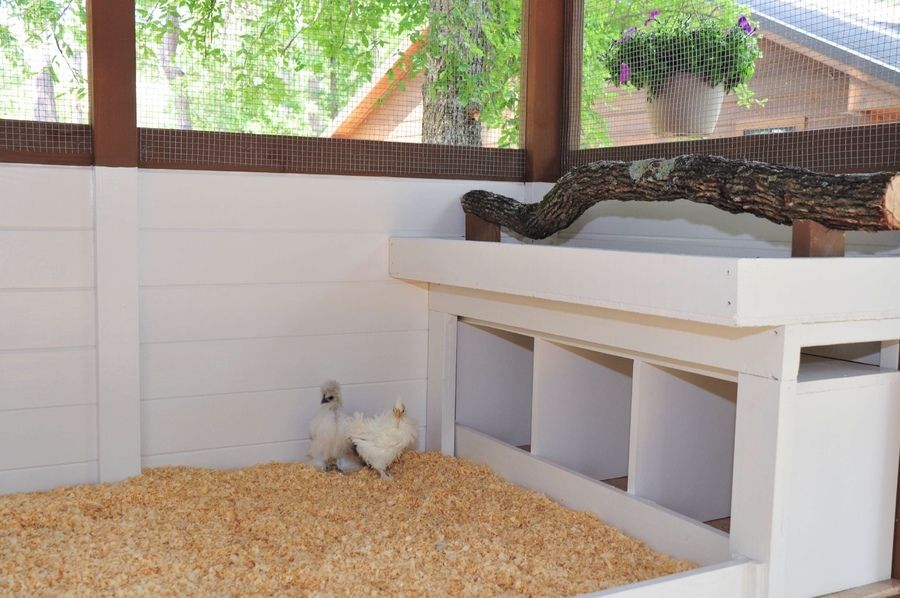
The 3 removable nesting boxes. They slide out to the right for easy cleanup.
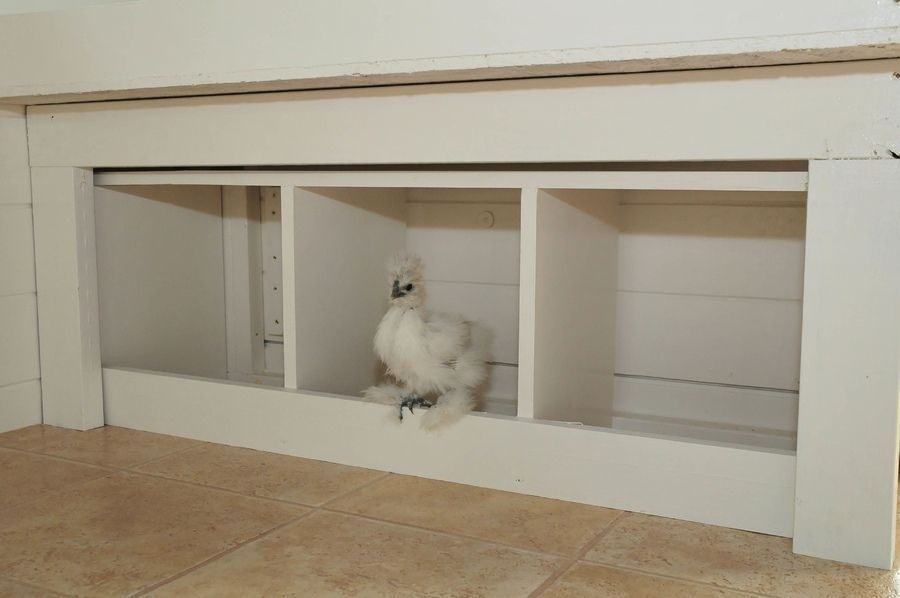
Here you can see where the nesting boxes side out if needed. The poop board is on top, filled with sweet PDZ. The entire poop board comes down for easy cleanup if needed. The roost is from an oak tree fatality. We placed the roost so that the chickens can see outside from it and can still get a good summer breeze.
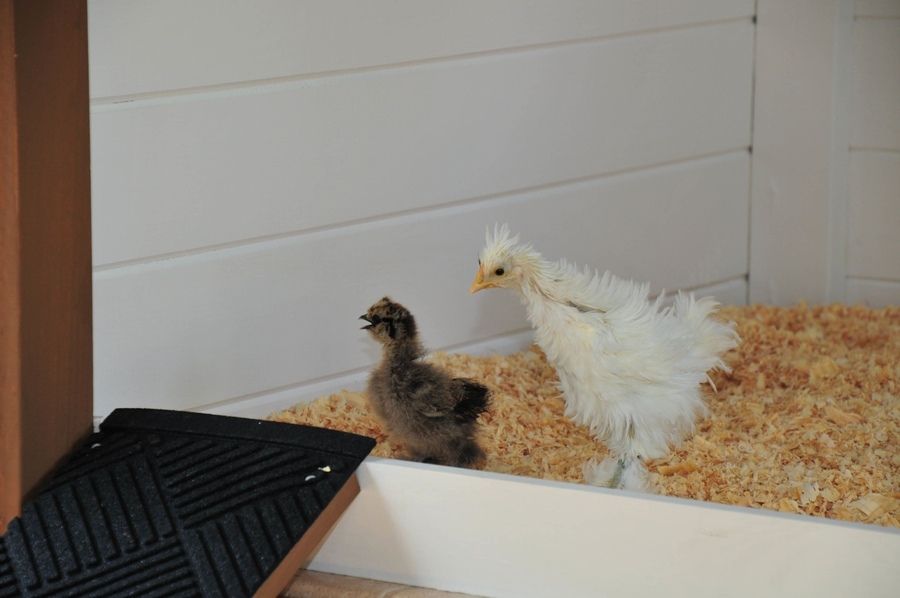
Who said Silkies don't like ramps? Ours is a pro. We decided to try the recycled rubber mats. They have excellent grip and it should be easy to clean or replace.

This is the cheering section for Einstein, the little silkie needed motivation to continue up the ramp.
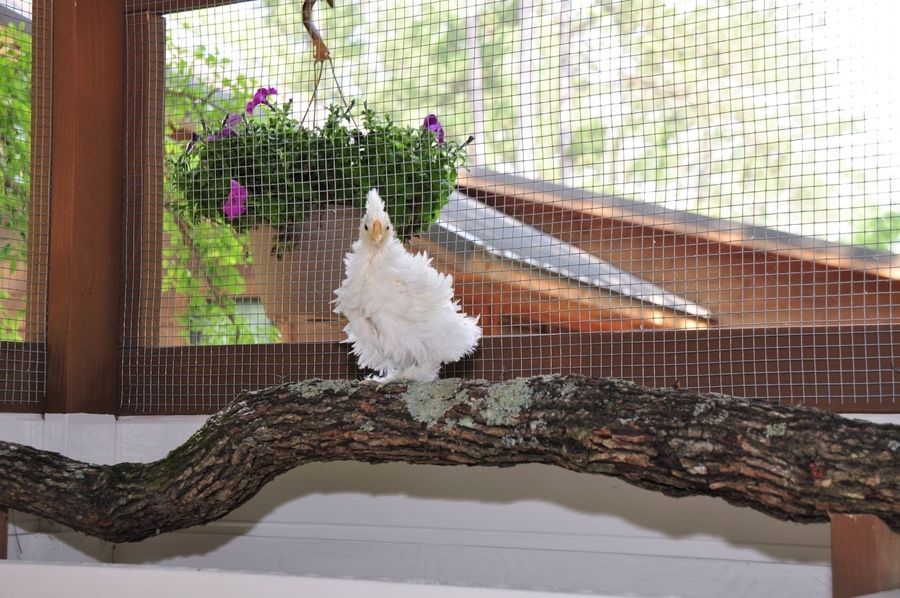
Loving the roost
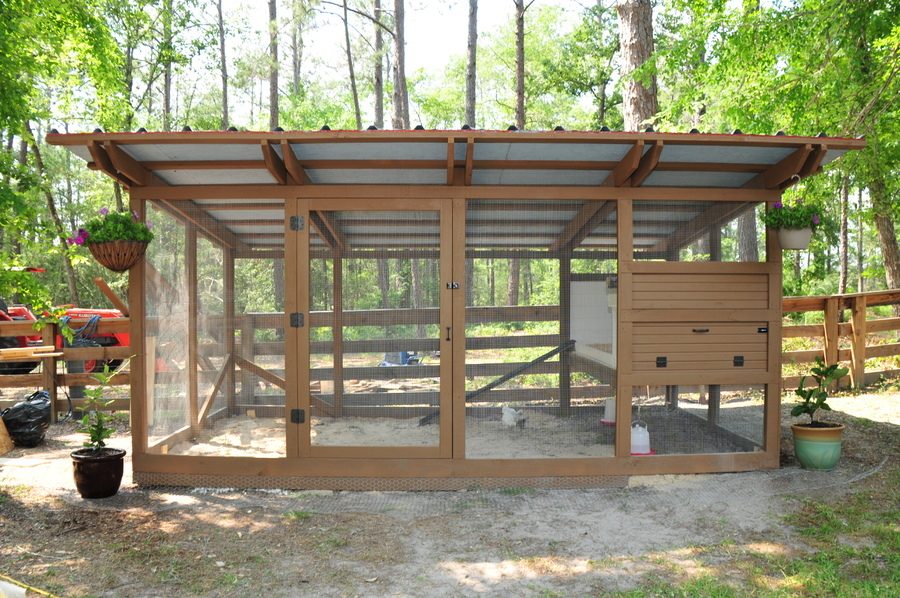
After our yard irrigation system was installed, we were able to finish the landscaping. We are hoping that the irrigation system will help any drought conditions (like last year). Hopefully no critters can break our barrier. 2 ft of chicken wire buried under dirt, and big river rocks.
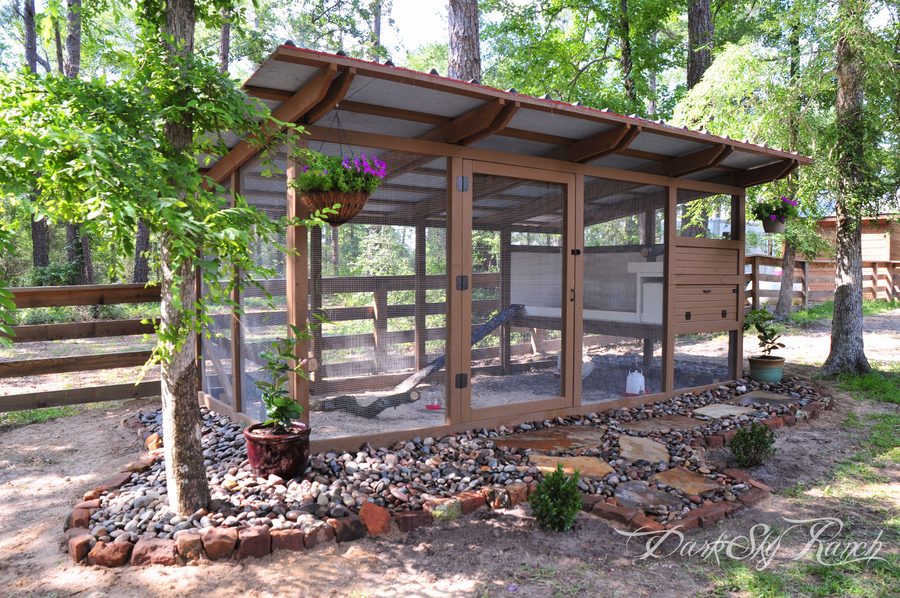
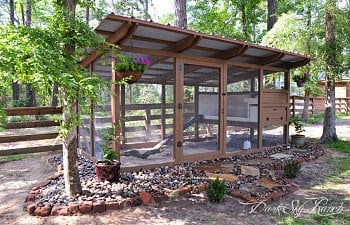
Yeah! Its all done. Now that we have the irrigation system installed we can grow some grass around it too! Next, the automatic waterer

Hard to see, but all 11 chicks are in there! They have been playing for the last 2 days, but we bring them back in at night!