Here's the new garage coop! I've had my hens for about a year now, and when I bought this house we had two weeks to get the girls out of the rental coop and into a new home. My brother is a carpenter with a custom construction firm in town, and he graciously offered to build me a house warming coop. It turned out great!

Here's what we started with. The galvanized roofing and the cedar posts are for the run. The rest of the lumber and the OSB board is for the indoor coop. The idea was to build the coop into the garage to save room in the side yard for a large covered run. OSB isn't the most attractive choice, but since that's what the inside of the garage is made of, we figured it wouldn't hurt to continue the look.
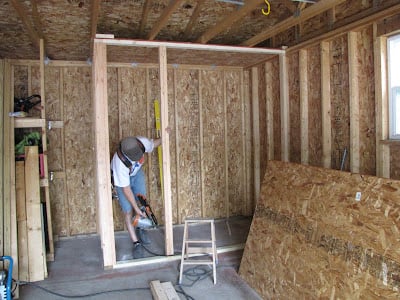
The framing. The structure is 4x8 and leaves just enough room to park a car in the garage. The consensus is that chickens need at least 4 square feet per bird in the coop and 8 square feet in the run. At 32 square feet, this coop is a little smaller than the coop they're used to, but it should be plenty of space.
We decided it would be best to give the structure its own roof so that chicken dust doesn't permeate the rest of the garage. We left the floor concrete, easy enough to clean. If it gets too cold in the winter I'll add some sort of insulating layer under their bedding. For now it works fine.
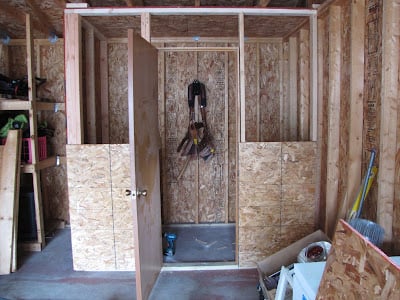
Ben bought the door used at our local Restore. Again, we weren't going for looks in the inside part of the coop.....
At this point, he ran electricity to the structure and installed an overhead light on a switch.
At this point, he ran electricity to the structure and installed an overhead light on a switch.
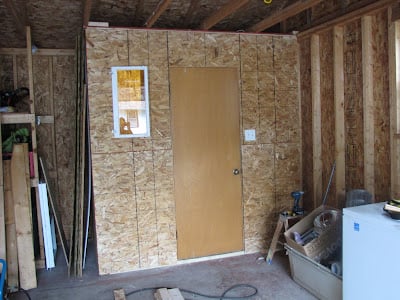
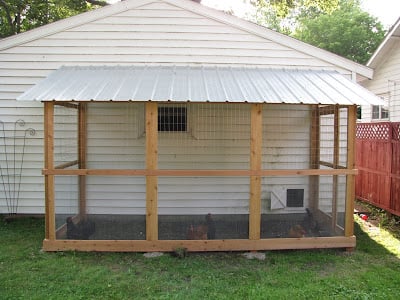
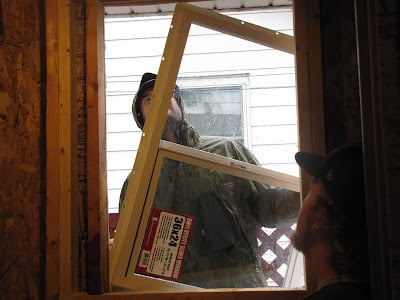
Here's the finished structure.... chicken observation window installed, overhead light connected and working.....
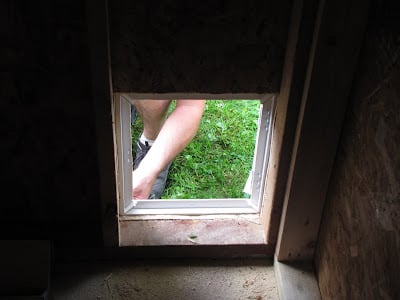
The next day he added the pop door, an outside window, and the roost, nest box, and feeders. Here's the hole for the chicken door.
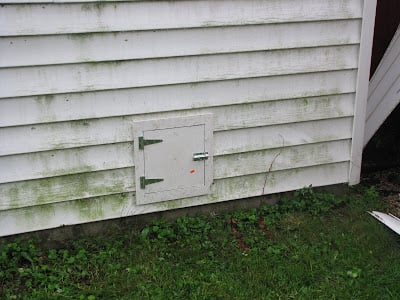
He cut the door itself from an old ugly light cover from Restore. I took the price tag off right after I took the picture.... $3.99.
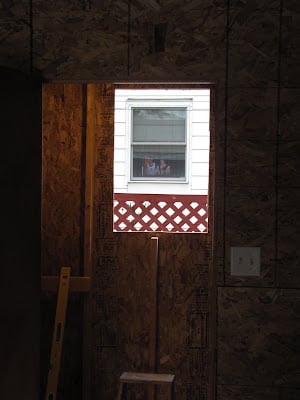
The hole cut for the outside window. The chickens have an excellent view of the neighbor's TV. Maybe they'll start following her soaps!


Just to the left of the door - the roost, poop board, and nesting boxes. The boxes I bought online for $25 - basically just a bunch of plywood that screws together. The girls haven't used them once - they prefer to lay on the floor. I'll probably build something else that is accessible from the inside the garage. The roost is 3'6" high, with the poop board six inches under. It works great! I'll probably get some linoleum to put on the board to easier scraping, but the OSB board works fine for now.
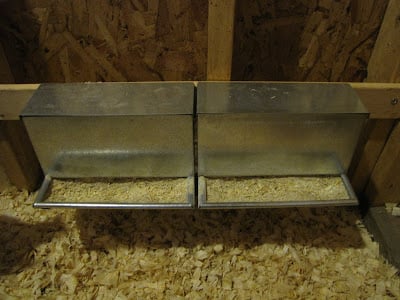
I got these wall mounted feeders at eNasco, a local web/mail order company. At $5 each they were a steal, and they work great! They fit a few days worth of feed and so far the girls haven't managed to waste much at all.
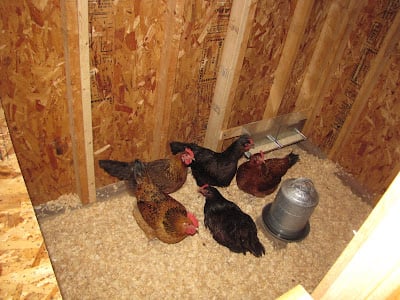
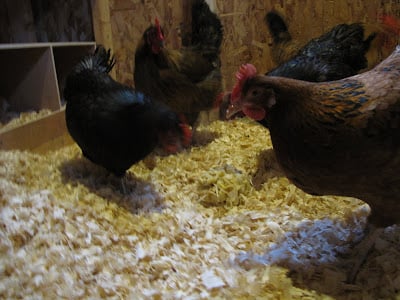
The first night in the coop. The girls were a bit bewildered - they all piled up in the corner trying to sleep next to and under the feeders. I picked them up and put them on the roost, which they seemed to appreciate. After a few days they had the routine down and they've been very good about roosting in the right spot.

My brother didn't have time to build the run until the following weekend, so we let the hens out to graze in the yard in the meantime.
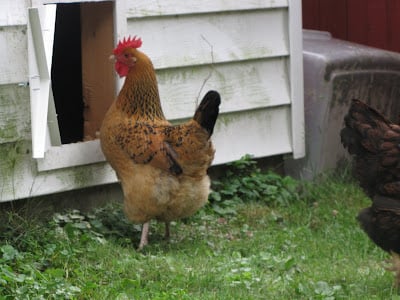
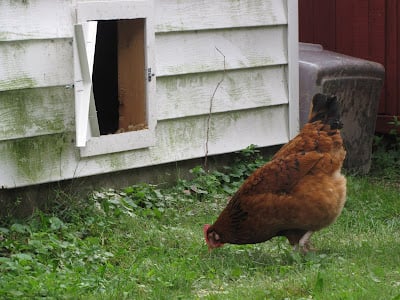
It was fun to watch them get used to their new door. Here's Blondie the Buff Sussex thinking "I got out of this thing, I wonder if I can get back in?"
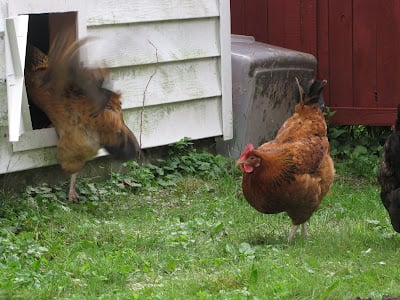
"Might as well give it a try...." Red Hen the Red Sussex is a bit taken aback by all the flailing.
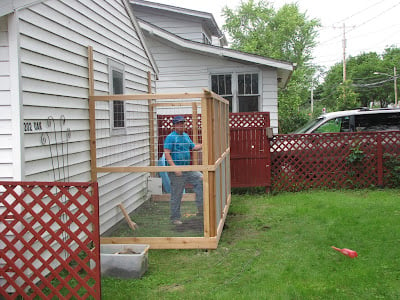
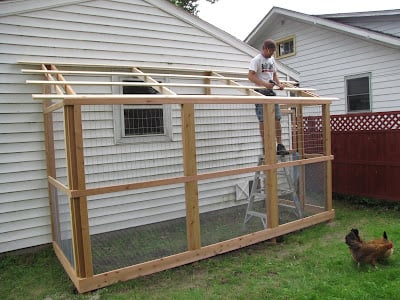
The weekend that my brother built the run, we left on a three day camping trip. We came back Sunday to this much of it built. He had worked on in Saturday with my other brother (it pays to have brothers!) It's 5'x13'. The wood is all cedar, with two sizes of hardware cloth. The posts are held in with gravel for added drainage. Stanley my boyfriend and I dug a 6" trench around the inside of the walls and buried chicken wire to deter any burrowing predators.
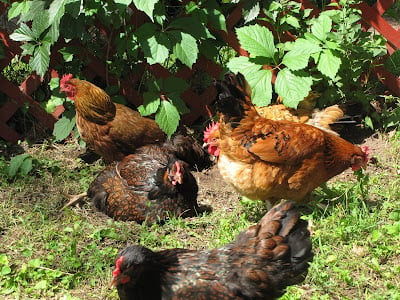
We let the girls out for one last romp in the yard. Is there anything as entertaining as a dust bathing chicken?
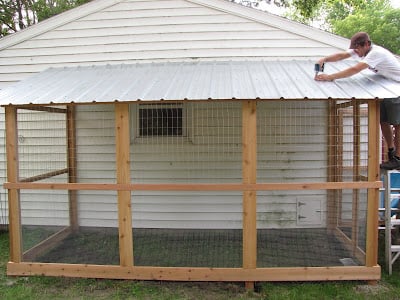
The last of the screws going on the galvanized roof. So pretty!
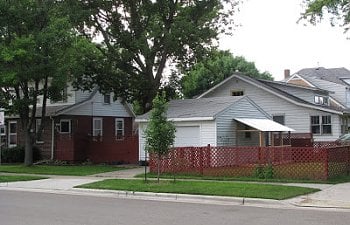
Here's the side toward the street.
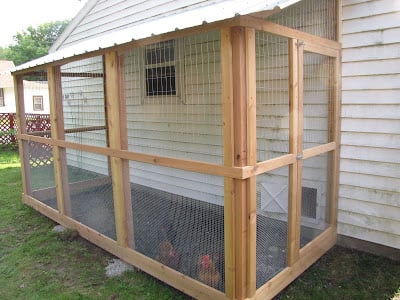
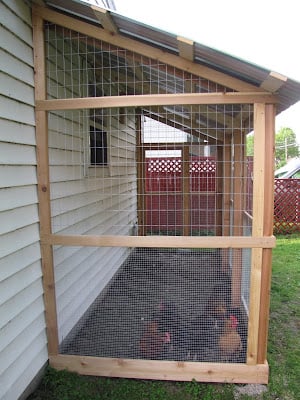
And the side with the screen door. I plan to get a padlock just in case anybody passing by is tempted to mess with them.