Coop 2009
Imagine that, people who have chickens and have more than one coop…
I think it is an airborne phenomenon spread by chicken feathers…
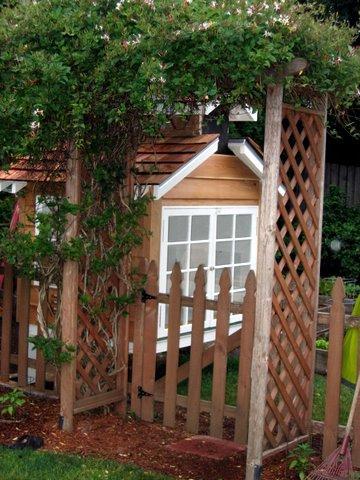
I absolutely love this coop. It looks so pretty in my garden area. We will do a little bit of new landscaping around it spring of 2010. It was too late in the season when we got it done and we would have had to rip out my tomatoes. There will be a path around the front to the nest box and run. Right now, we have to kind of skirt around the garden bed that is in the way, but not for long.
I hope you enjoy the pictures.
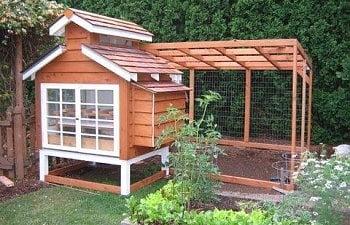
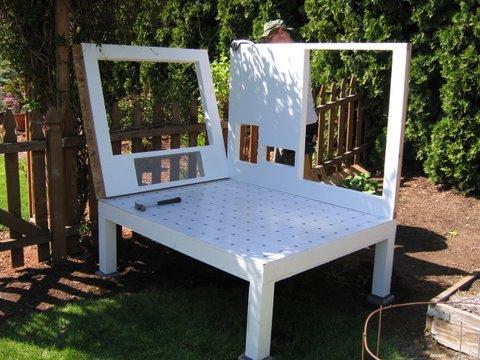
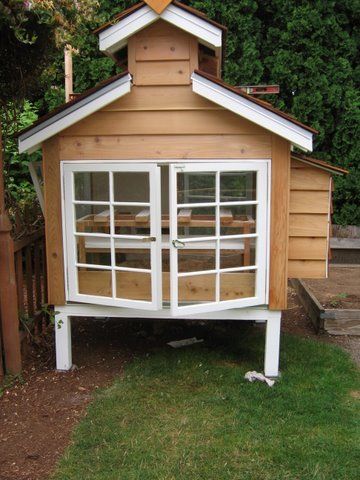
This is an almost finished pic, just need to finish run.
it has the clear palruf corrugated roofing.
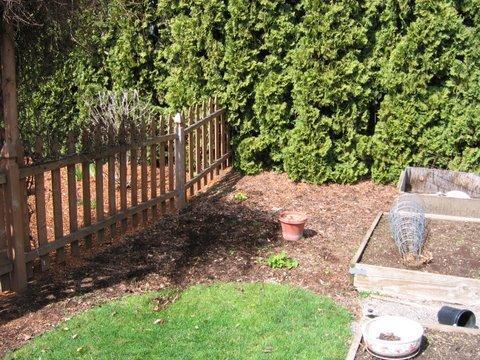
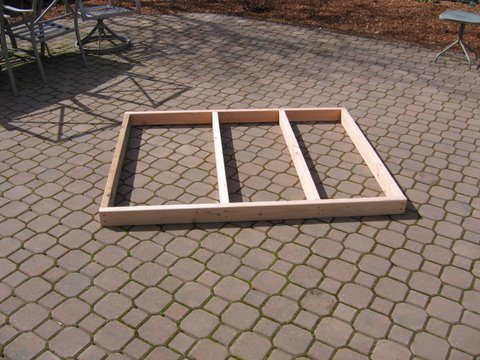
Future chicken palace location.
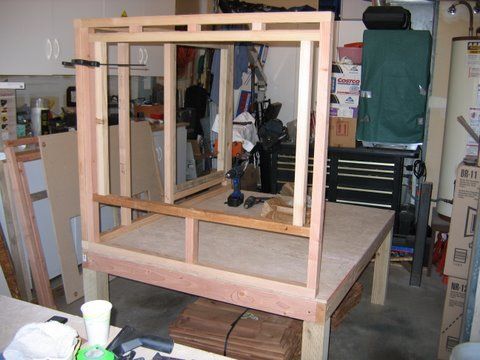
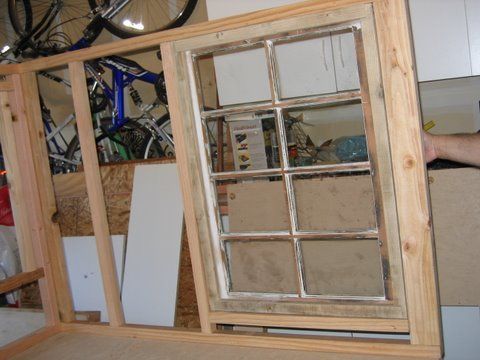
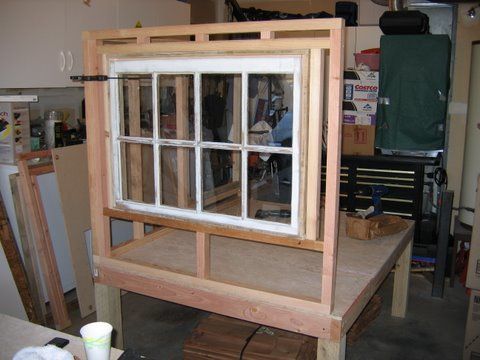
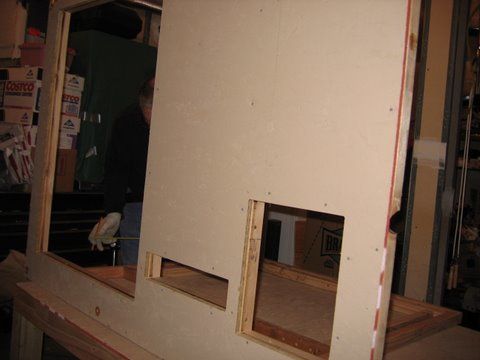
Wow were those windows a lot of work!!
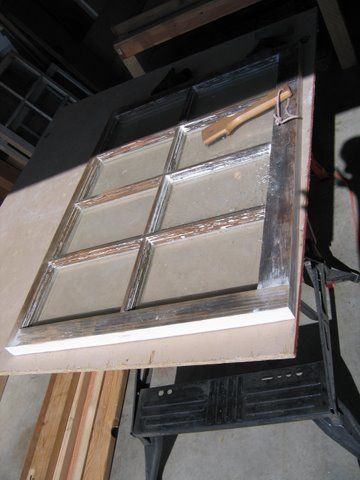
Walls are simple, window frames, not so much.
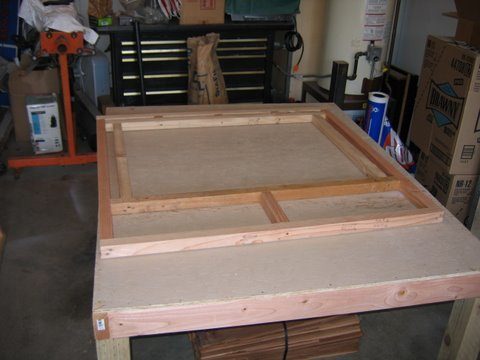
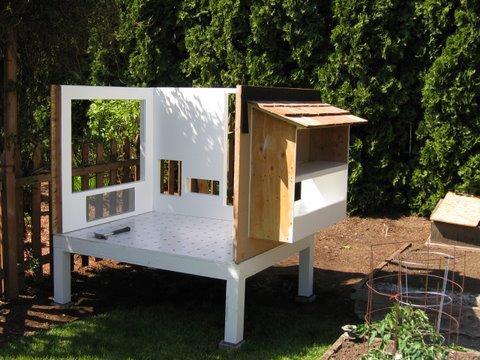
Here are the cut outs for the feeder and the pop hole
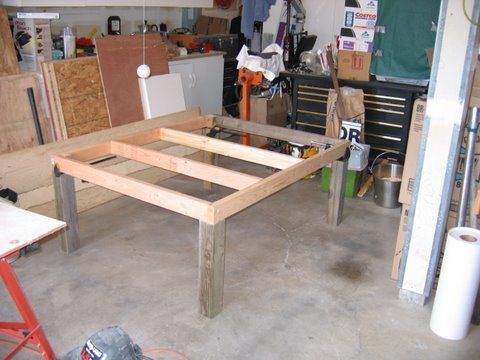
Roof joist one of several.

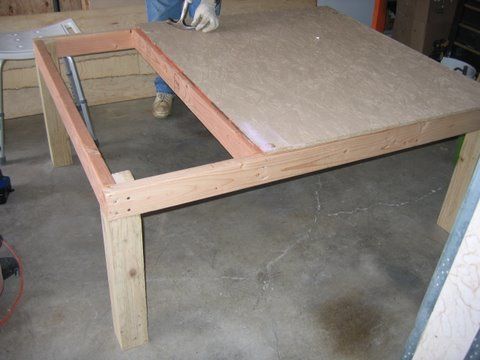
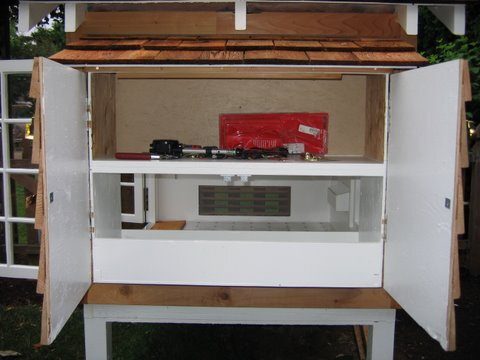
Future nest box/storage area. New feeder on the floor.
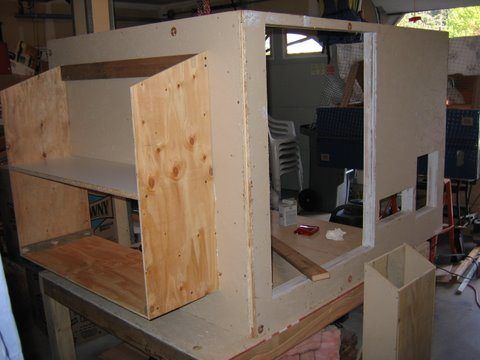
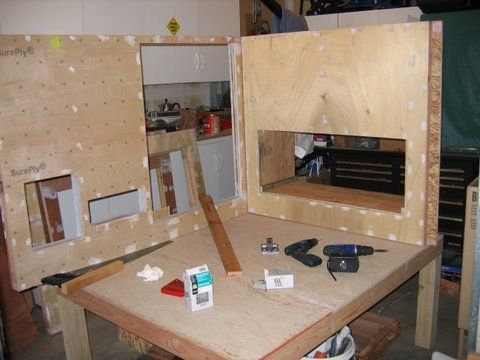
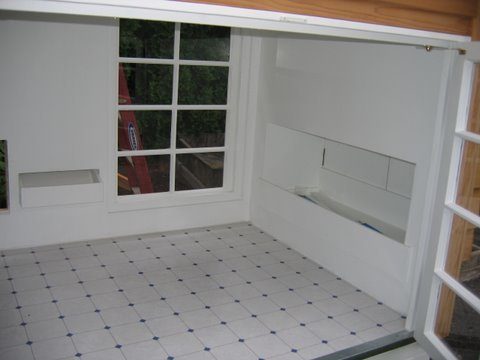
We used salvage door skins from home depot to cover the interior walls. Real thin. They are fully caulked, insulated and flashed with sheet metal. along with several coats of primer and several coats of exterior paint from the restore place in town. All pieces were finished in the garage and then assembled in the yard with the exception of the siding.
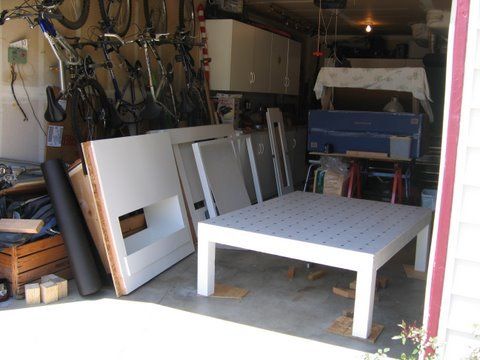
All painted and the floor covered in a vinyl scrap. ready to assemble
in the back yard. I get my garage back!!
large screened vent under this window. will have a wooden louver vent cover.
Large communal nest box. it has pine shavings and is now blocked off with just a small opening at one end. they constantly tossed out the shavings into the sand in the coop. messy. I have had no complaints using this method and I had a gold laced Cochin in there being broody for 2.5 months!! it was so cute she would cuddle any one who was laying an egg, then steal their egg...
The cedar siding was slow going. but it looks so nice!! this shows the outside feeder, the lid lifts up to fill from the outside. notice vents at the top, they are on both sides and can be closed.
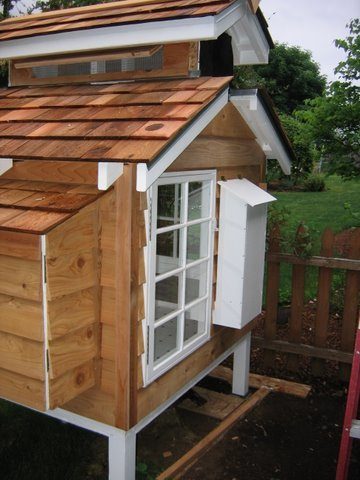
Nest box/storage. The best part is inside the box, the future pop hole opener. the plans to make the automatic pop hole opener is on one of my other pages, check it out!
No stain on yet. The windows lock in 3 places. One on the top right pane,in the middle of both, and a bolt on the bottom of the left pane into the floor. there is a fiberglass door stop kind of thing between them both so the right door hits on the left door and there is no crack between.
We put a ladder like roost in this one just like the last. Our silkie found a way up and roosts with everyone else.
our chickens spend very little if any time in coop. their door goes up right after dawn and closes just after dusk.
We used sand in the run and in the coop. I can't imagine it any other way.
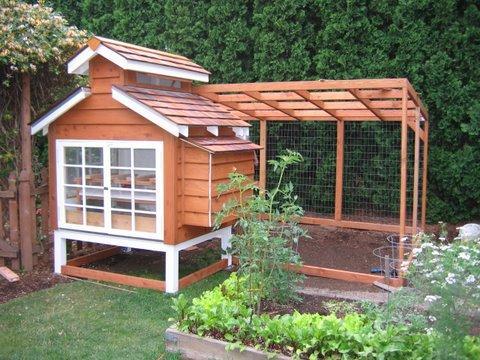
I love it!!!