After a great deal of coop-review on this website, we set out with hammer and saw to build our girls a home. We wanted it to match the outbuilding it sits in front of, because we see them both from the main house. We wanted the coop to be easy to clean, eggs easy to collect, and feeding and watering to be simple. We didn't want to do a lot of custom cutting. We wanted the kids (aged 8, 11 and 13) to help--after all, they asked for the chickens! We achieved most of what we wanted. We used standard 2x4's, plywood, and inexpensive siding for the outside. We live in a mild climate, so protecting the hens from cold is not an issue. This project required innumerable trips to the home supply store.
The coop starts with a platform, the longest side the same as a sheet of plywood.

Plywood sides were attached to the platform. Sorry, but I can't figure out how to crop the photos with backyardchicken!
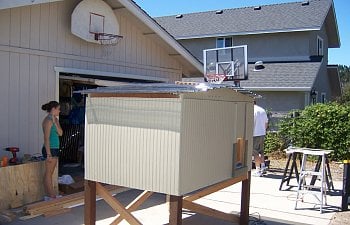
After adding the side, we cut a 2x8 for the long sides. The peak approximates the peak on the workshop. We drilled holes in these solid pieces, because we wanted to provide ventilation without access to predators. We painted it with Kilz so that the final paint would adhere well.
To get them off the ground, we used 4x4s as posts. This nifty bracket was a big help. We affixed the bracket to the leg, then slid the leg up between the walls and platform, then screwed through the side to hold the leg in place. Works great!
Our house design includes a "pop door" so that we can close the hens in--if you look carefully you will see the wooden runners that guide the door (door now shown). We did this because we thought we would need to protect them at night from predators. This has not been a problem, so we leave the door open almost all the time. It is handy to be able to close the hens out when cleaning the coop. We used tinted plastic corrugated for the roof so that sunlight could get in to warm the chickens and hopefully extend the laying season. The "peak" piece holds the roof about 2" above the walls on the short side, which helps with airflow inside the coop.
For the nesting boxes, we built three compartments that "hang" off the back of the coop. There is a lid/roof that lifts up and we can take the eggs out. We wound up reinforcing the inside with strips of 1x1 because the plywood needed stabilizing. After building the nexting box suite we marked the coop and cut an opening between the coop and nesting boxes.
The coop starts with a platform, the longest side the same as a sheet of plywood.

Plywood sides were attached to the platform. Sorry, but I can't figure out how to crop the photos with backyardchicken!

After adding the side, we cut a 2x8 for the long sides. The peak approximates the peak on the workshop. We drilled holes in these solid pieces, because we wanted to provide ventilation without access to predators. We painted it with Kilz so that the final paint would adhere well.

To get them off the ground, we used 4x4s as posts. This nifty bracket was a big help. We affixed the bracket to the leg, then slid the leg up between the walls and platform, then screwed through the side to hold the leg in place. Works great!

Our house design includes a "pop door" so that we can close the hens in--if you look carefully you will see the wooden runners that guide the door (door now shown). We did this because we thought we would need to protect them at night from predators. This has not been a problem, so we leave the door open almost all the time. It is handy to be able to close the hens out when cleaning the coop. We used tinted plastic corrugated for the roof so that sunlight could get in to warm the chickens and hopefully extend the laying season. The "peak" piece holds the roof about 2" above the walls on the short side, which helps with airflow inside the coop.
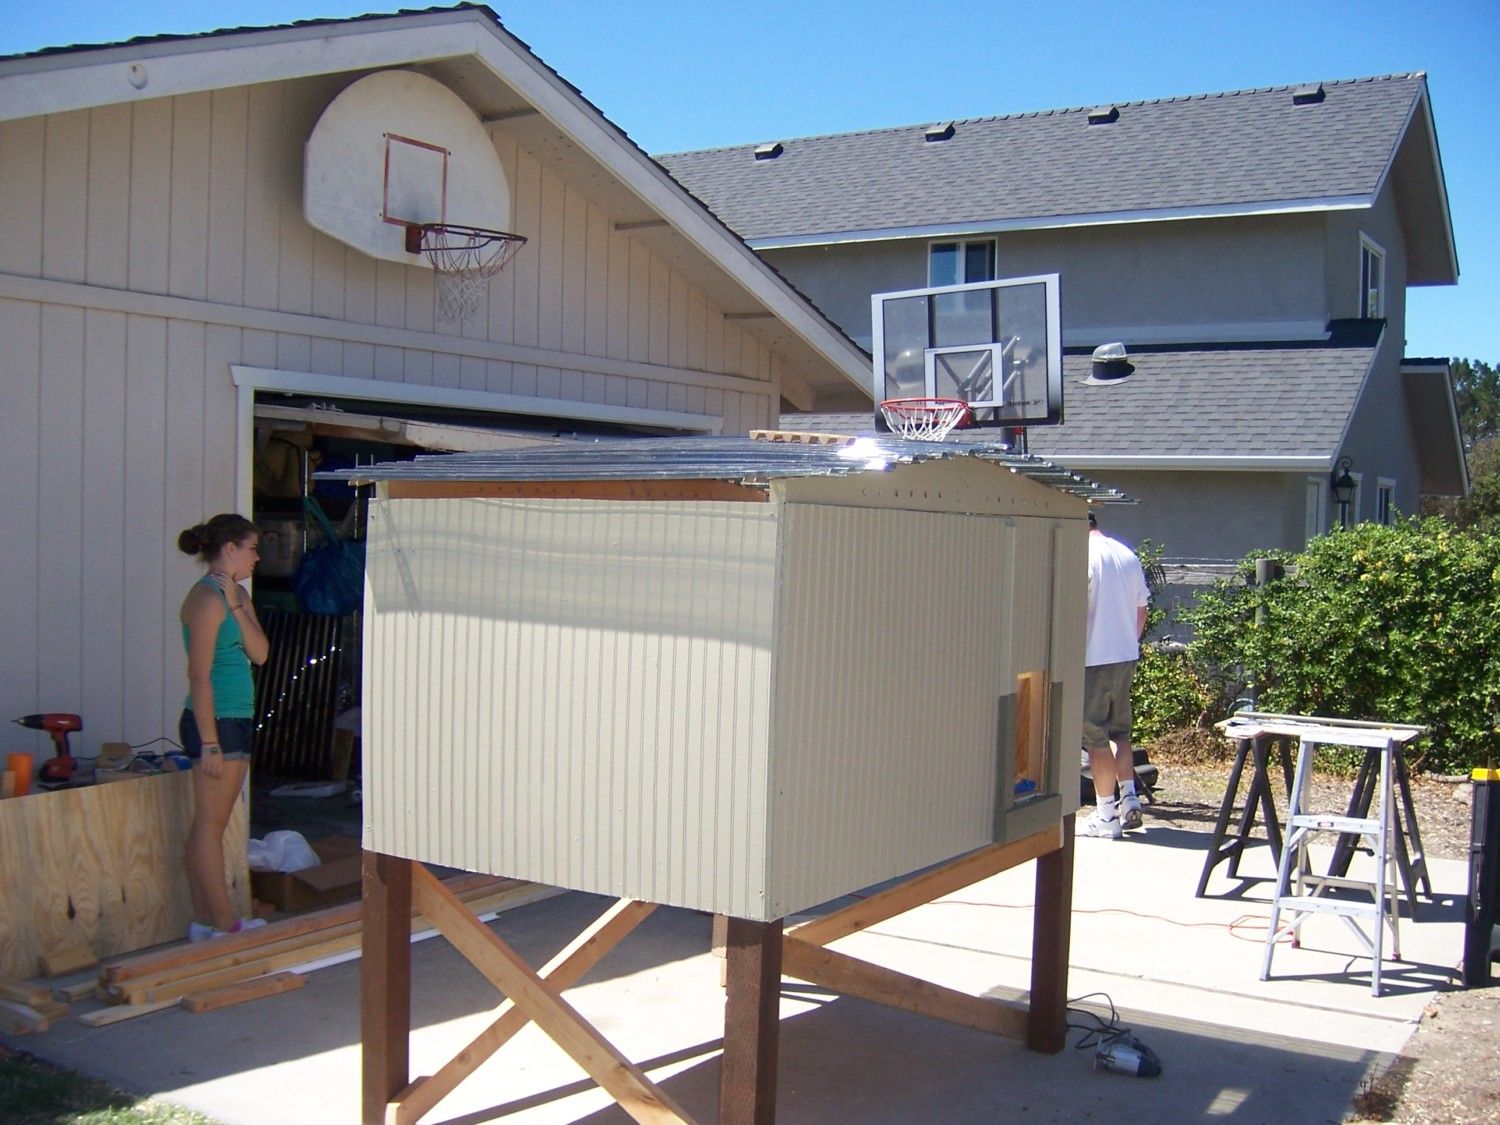
For the nesting boxes, we built three compartments that "hang" off the back of the coop. There is a lid/roof that lifts up and we can take the eggs out. We wound up reinforcing the inside with strips of 1x1 because the plywood needed stabilizing. After building the nexting box suite we marked the coop and cut an opening between the coop and nesting boxes.