~~ Darling Coop ~~
My husband (like many I am sure) was surprised when I asked for chickens for my birthday.
Ever endeavoring to please (Not knowing what he was getting into!) he agreed and we began to plan our first coop.
We looked at many coops online here at the backyard chickens site and finally decided to design our own. My husband is a builder so we hoped that we could handle building a coop!
We decided it needed to be 6 x 9 ft with an enclosed coop area for roosting and nesting.
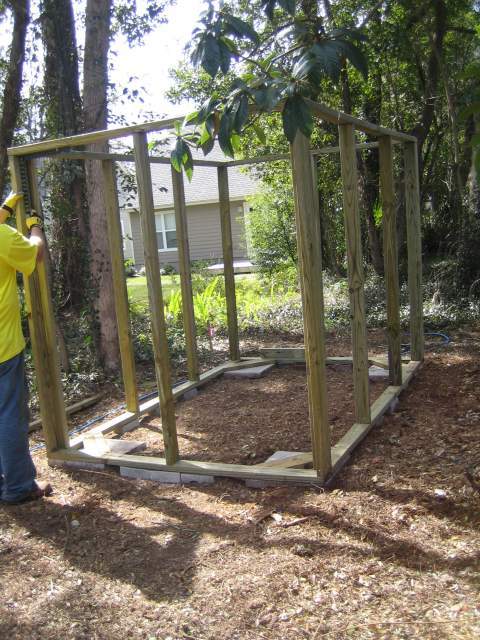
After planning and several drawings we first started by picking the site. We wanted it to be as far from our neighbors as possible. We live in the historic district of our city and are allowed chickens but still wanted to be as thoughtful as possible.
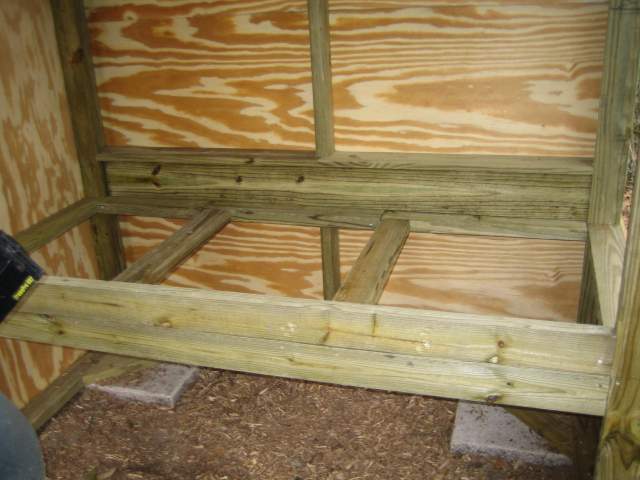
The first step began by leveling the site and building the open floor and wall frames. We used pressure treated 2x4's. We considered using 4x4 posts for the corners but decided that that would be unnecessary. Looking back we should have done a better job closing up the floor. We should have buried a wire bottom or poured a concrete trench under the frame. I would highly suggest doing something like that even if you prefer an open floor like we did. The open floor has been great very little mess and the girls can scratch for fresh bugs and critters.
My husband (like many I am sure) was surprised when I asked for chickens for my birthday.
Ever endeavoring to please (Not knowing what he was getting into!) he agreed and we began to plan our first coop.
We looked at many coops online here at the backyard chickens site and finally decided to design our own. My husband is a builder so we hoped that we could handle building a coop!
We decided it needed to be 6 x 9 ft with an enclosed coop area for roosting and nesting.
After planning and several drawings we first started by picking the site. We wanted it to be as far from our neighbors as possible. We live in the historic district of our city and are allowed chickens but still wanted to be as thoughtful as possible.
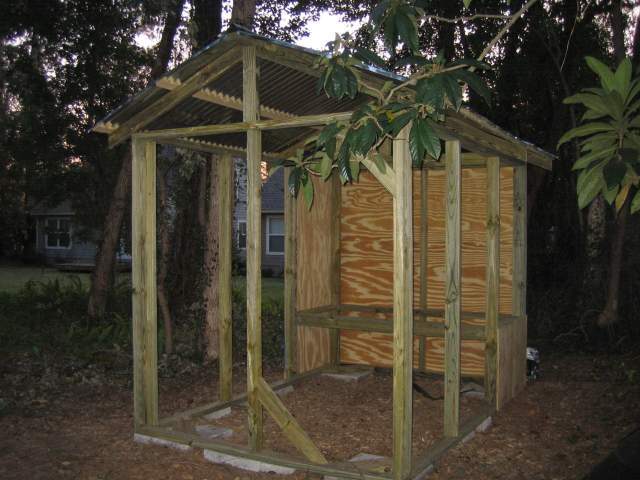
The first step began by leveling the site and building the open floor and wall frames. We used pressure treated 2x4's. We considered using 4x4 posts for the corners but decided that that would be unnecessary. Looking back we should have done a better job closing up the floor. We should have buried a wire bottom or poured a concrete trench under the frame. I would highly suggest doing something like that even if you prefer an open floor like we did. The open floor has been great very little mess and the girls can scratch for fresh bugs and critters.
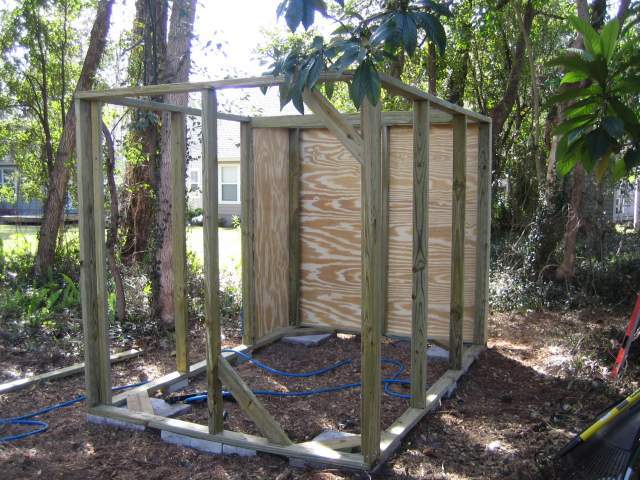
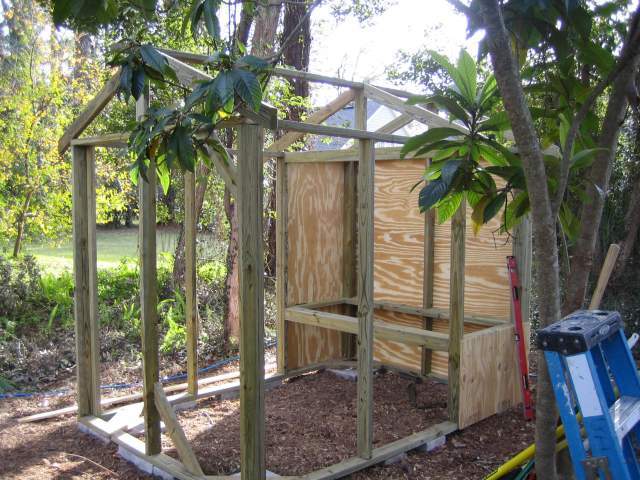
Then we (by ‘we’, I always mean mostly HE!) put plywood on the back to begin to close in the back coop area. We wanted a solid back as compared to wire for several reasons... to keep the structure square and also as added protection from extreme weather. We live in Florida so we don’t have to worry about the cold but do have some driving rains from time to time. I think the girls also like having a place to hide away. Unfortunately, the girls every once and a while decide they would rather lay their eggs in the back most corners. Little Buggars!
The frame for the slanted inner coop floor was assembled and attached. We wanted an inner coop that could be closed fully for warmth and to keep away predators. The floor is slanted (Can not tell in this picture) so that the lovely compost material can be hosed out from under nest box door to a hole on the other side (not cut in yet in photo). We planned to put a rubber runner along the floor to ease this process. The idea is that when you open the doors to the nest boxes... that there will be an open space underneath to hose all 'debris' from the night out through a 3 inch high x 3 ft wide slot on the other side.
[FONT=book antiqua,palatino]After that we assembled the roof trusses and attached them to the walls. I am only 5’2” so I didn’t do a thing!
What a guy!
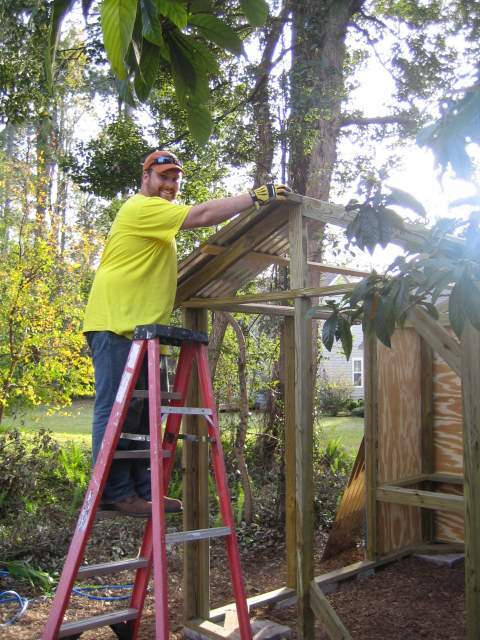
We used galvanized panels for the roof.
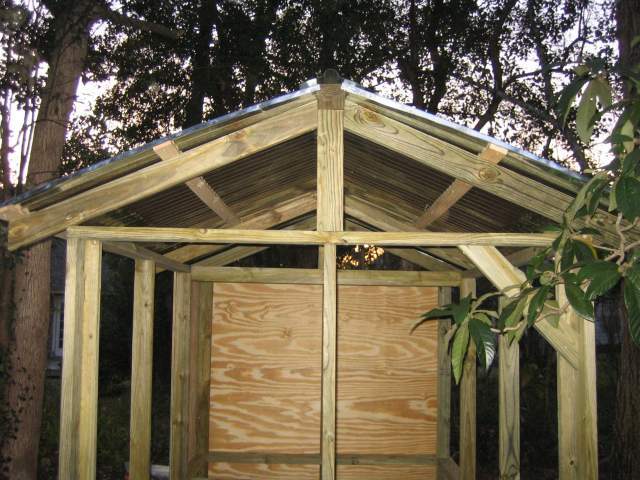
By the end of day one they had been attached with galvanized fasteners. Whew what a day!
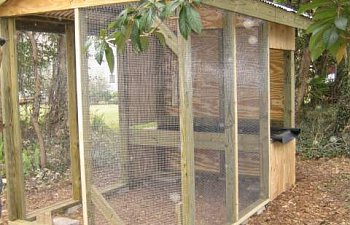
Day two began with attatching the screen material to the frame and covering the edges with small strips of woof to cover any sharp edges.
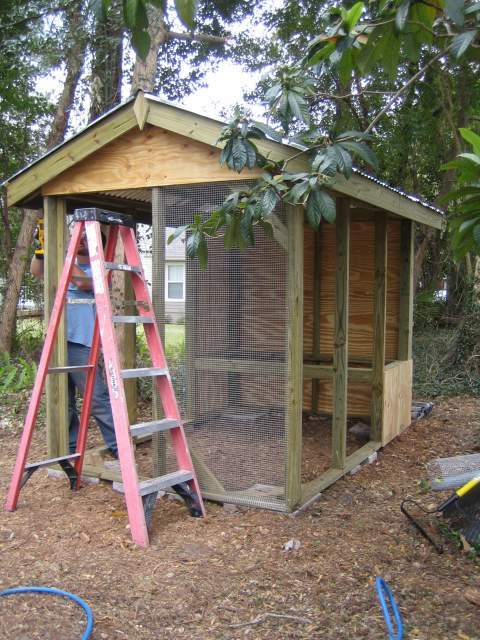
After that we finished the floor to the inner coop. The rubber mat was attached with spray adhesive to the plywood bottom. I wish now that I had sealed the edges with silicone caulk… very important! We also cut the hole in the back side for easy spray out.

Notice how the screen disappears after I rolled it with black paint.

Still left to do is the framing for the window in the inner coop, nest boxes, nest box doors, siding, interior/exterior, installing branches for roost and painting.
Fast Forward…
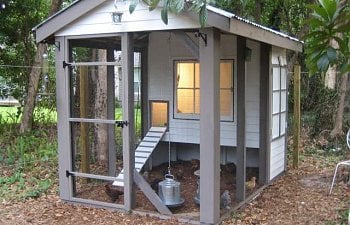
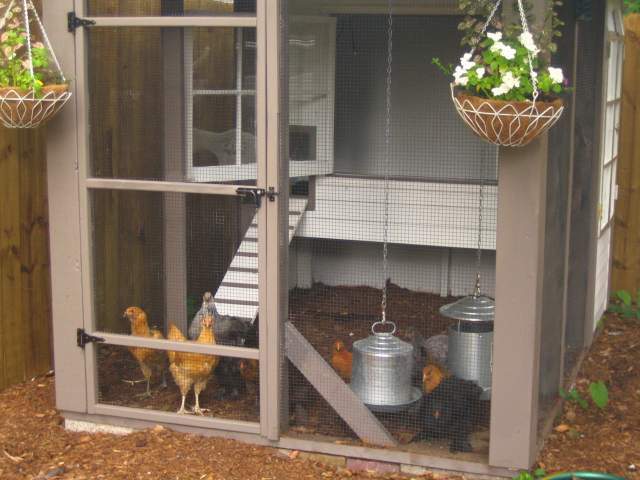
Lots of work and silly details later… here is the almost finished coop…
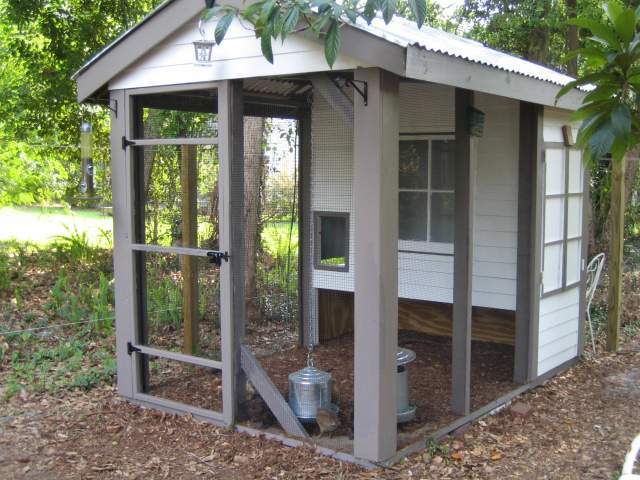
Here are our little darlings enjoying the coop… notice the ramp (this was the last time it was ever seen clean and poop free) and the small painted details around the window. The window opens and is open most of the time. The side doors open to reveal four nest boxes that the girls can access from the inside.
My husband has put in posts and is preparing to put in a privacy fence so that the chickens can roam. This is where the chickens started taking over our lives…

My husband has put in posts and is preparing to put in a privacy fence so that the chickens can roam. This is where the chickens started taking over our lives…
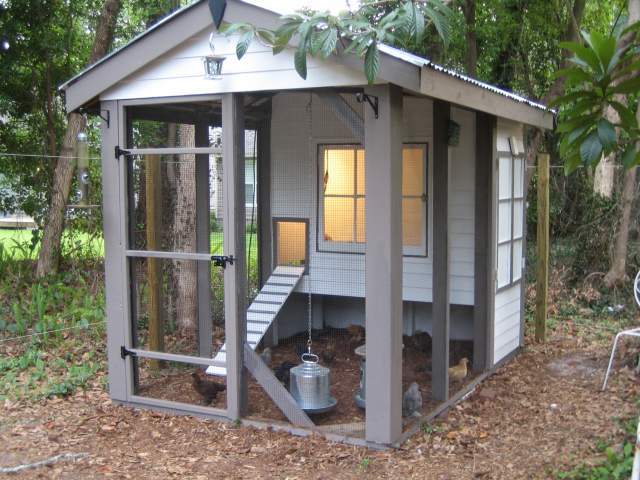
They are growing… the chickens and the flowers.
We So Enjoyed Building Our Coop Together!
Thanks For Looking... Hope You Enoyed It Too!