The "CackleBerry Castle" Project.
My plan is to organize this site. But some info any way. A 50 Lb bag of layer pellets fits nicely into a 10 gal. galvanizes trash can (about $22). I looked for something cheaper but for me nothing worked as well as the galvanized can. I am thinking I need two more. One for a 25lb bag of sunflower seeds. Should fit about right. I also need something for a bag of scratch. That I have been buying in 25lb bags and would only fill the can about one half. May be I will just get 50 lbs at a time. I have the feed in the garage now. I am thinking of making the coop a bit larger. Maybe push out the back 3 or 4 feet. That would allow me to utilize the space under that part for storage. That's one thing I should have done from the start is design in some storage space.
First Egg Saturday Sept 17th 2011
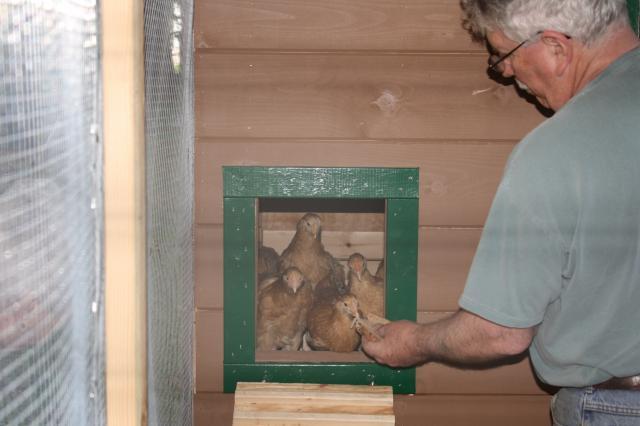
OK This is as cool as it gets. The girls were making a racket so my wife and I went out to check.
One of the hens was in the house part of the coop. My coop design is such that when you open the
door the floor is at waste height. A hen was "nesting" in the front corner so I petted her and she did not
move. My wife told me to lift up her tail. When I did we could see the egg "crowning" and we actually
saw her lay the first egg! What timing.

The girls were 23 weeks old.
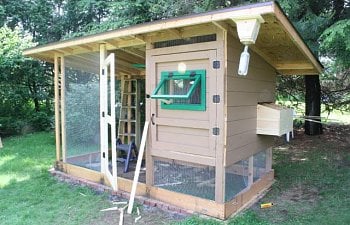
Storm Irene Prep Aug 2011
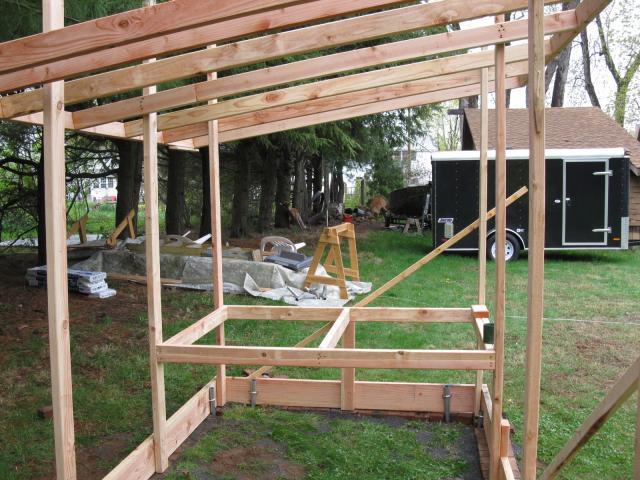
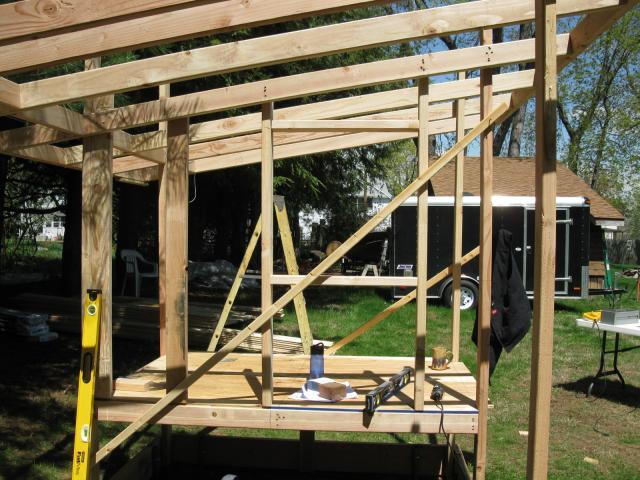
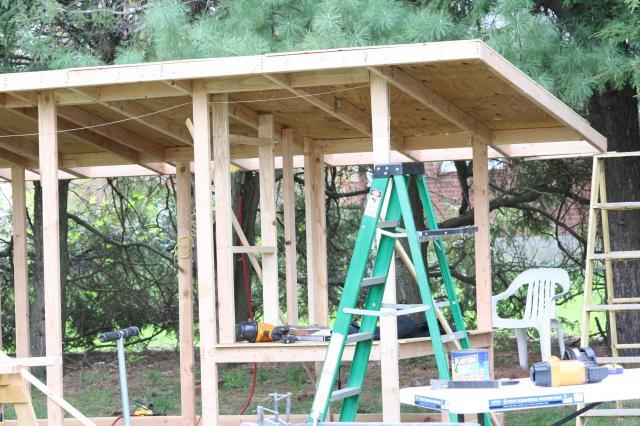
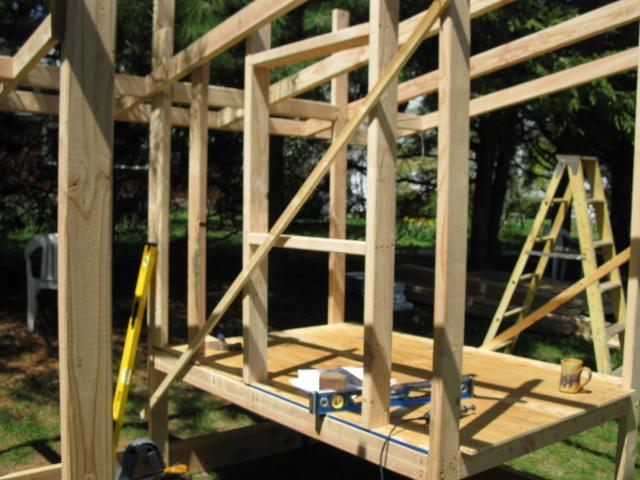
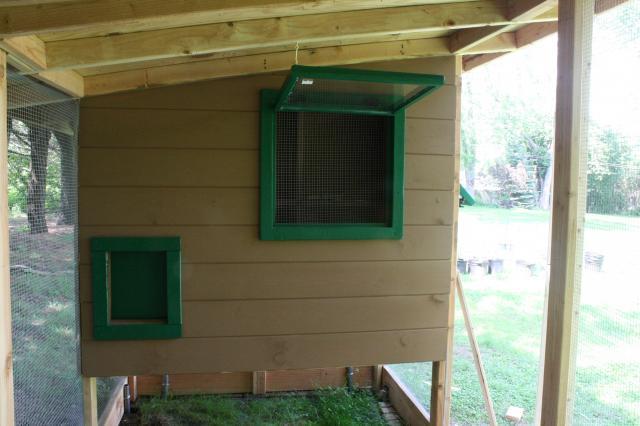
Starting to take shape. I copied Wichita "Cabin Coop" https://www.backyardchickens.com/articles/wichita-cabin-coop.47747/
with my own modifications. Thanks to baldessariclan for his help with my questions and his blessing on copying his design.
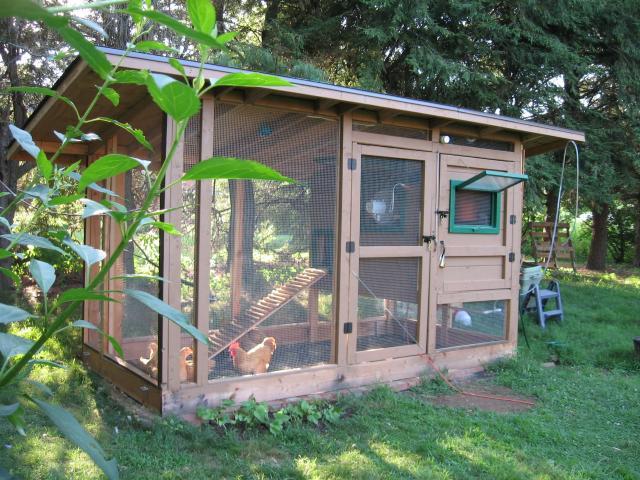
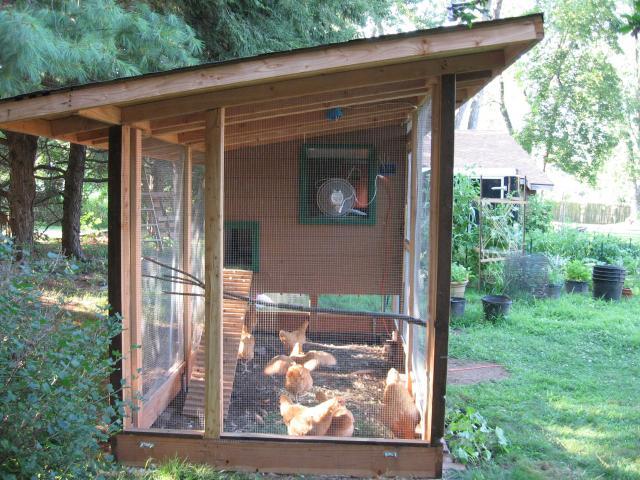
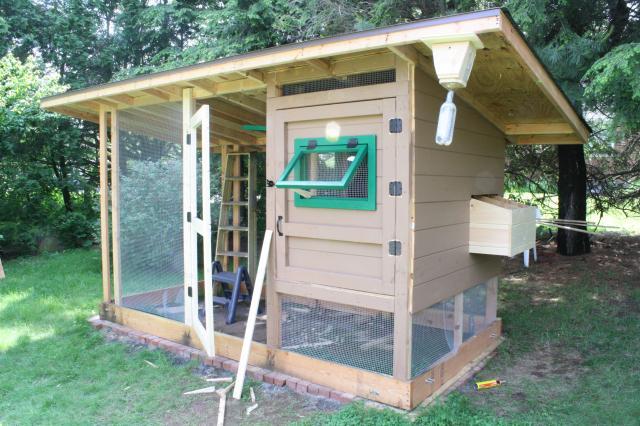
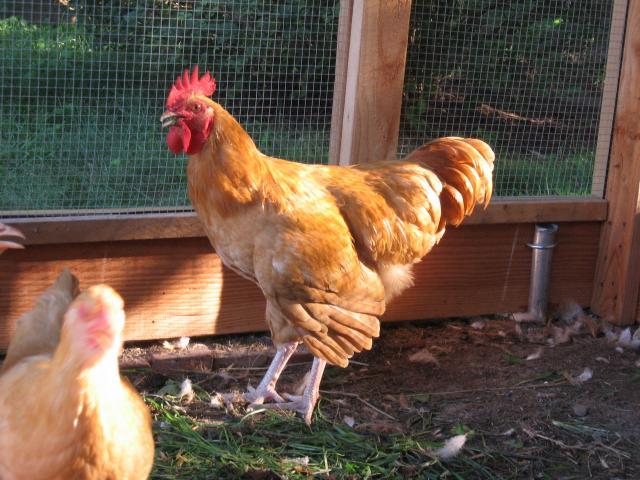
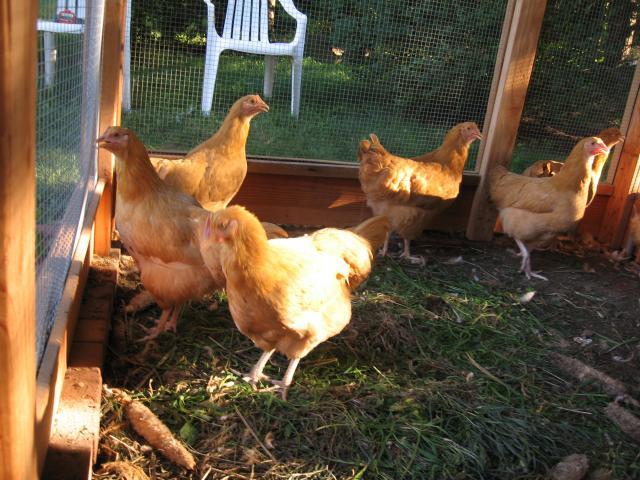
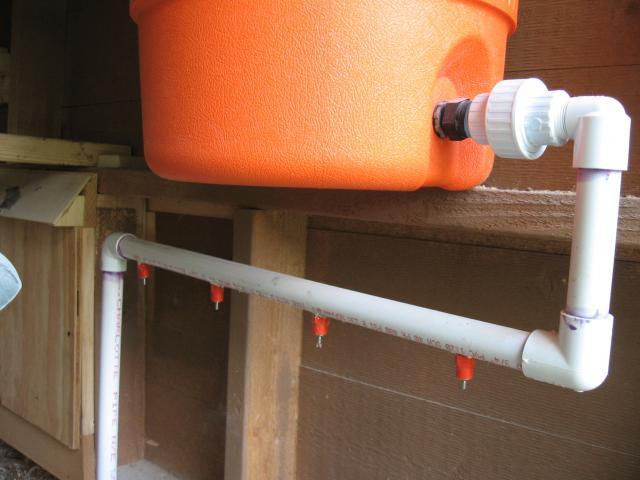
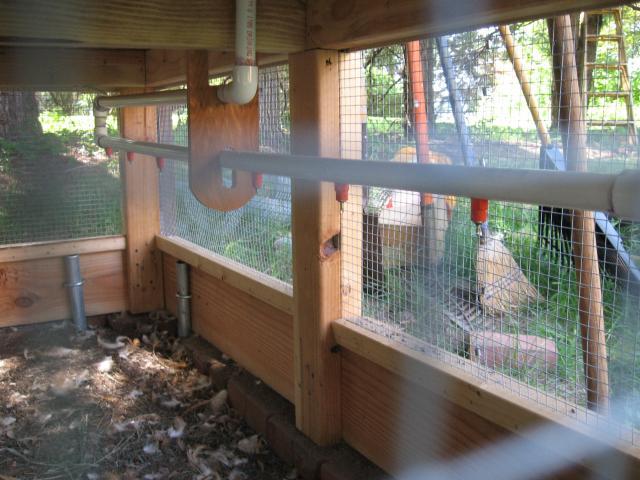
The details are killing me! I want it all finished. I have more pictures coming. The girls (and one boy) are all settled in their new castle. They have all learned how to get up on the roosts regularly. I have installed plumbing for the chicken nipples. Works great. I am installing the electrical stuff now. The plans include a run light, a timer for the coop light, power for the birdbath heater (for the 5 gal. cooler) and the circulating pump, power for the low voltage ground lighting, possibly an electric fence around the base, and last but not least power for the automatic "pop" door! Ya my wife thinks I am nuts too!
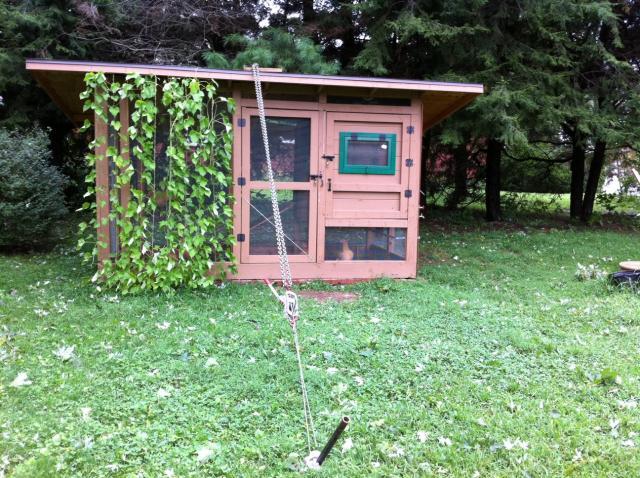
The thing hanging on the top right is a carpenter bee trap. It did not work but the spray works fine.
Stay tuned. More pictures and details to follow. I want to document my whole project so others can take my information and make their coop building experience better.
The water flows from the cooler through the "coop" down to the run and
back up to the cooler with a small pond pump. The plan for the winter
is to put a bird bath heater in the cooler and the warm water flowing should
keep all from freezing. I hope.
My plan is to organize this site. But some info any way. A 50 Lb bag of layer pellets fits nicely into a 10 gal. galvanizes trash can (about $22). I looked for something cheaper but for me nothing worked as well as the galvanized can. I am thinking I need two more. One for a 25lb bag of sunflower seeds. Should fit about right. I also need something for a bag of scratch. That I have been buying in 25lb bags and would only fill the can about one half. May be I will just get 50 lbs at a time. I have the feed in the garage now. I am thinking of making the coop a bit larger. Maybe push out the back 3 or 4 feet. That would allow me to utilize the space under that part for storage. That's one thing I should have done from the start is design in some storage space.
First Egg Saturday Sept 17th 2011
OK This is as cool as it gets. The girls were making a racket so my wife and I went out to check.
One of the hens was in the house part of the coop. My coop design is such that when you open the
door the floor is at waste height. A hen was "nesting" in the front corner so I petted her and she did not
move. My wife told me to lift up her tail. When I did we could see the egg "crowning" and we actually
saw her lay the first egg! What timing.

The girls were 23 weeks old.
Storm Irene Prep Aug 2011
Starting to take shape. I copied Wichita "Cabin Coop" https://www.backyardchickens.com/articles/wichita-cabin-coop.47747/
with my own modifications. Thanks to baldessariclan for his help with my questions and his blessing on copying his design.


The details are killing me! I want it all finished. I have more pictures coming. The girls (and one boy) are all settled in their new castle. They have all learned how to get up on the roosts regularly. I have installed plumbing for the chicken nipples. Works great. I am installing the electrical stuff now. The plans include a run light, a timer for the coop light, power for the birdbath heater (for the 5 gal. cooler) and the circulating pump, power for the low voltage ground lighting, possibly an electric fence around the base, and last but not least power for the automatic "pop" door! Ya my wife thinks I am nuts too!
The thing hanging on the top right is a carpenter bee trap. It did not work but the spray works fine.
Stay tuned. More pictures and details to follow. I want to document my whole project so others can take my information and make their coop building experience better.
The water flows from the cooler through the "coop" down to the run and
back up to the cooler with a small pond pump. The plan for the winter
is to put a bird bath heater in the cooler and the warm water flowing should
keep all from freezing. I hope.