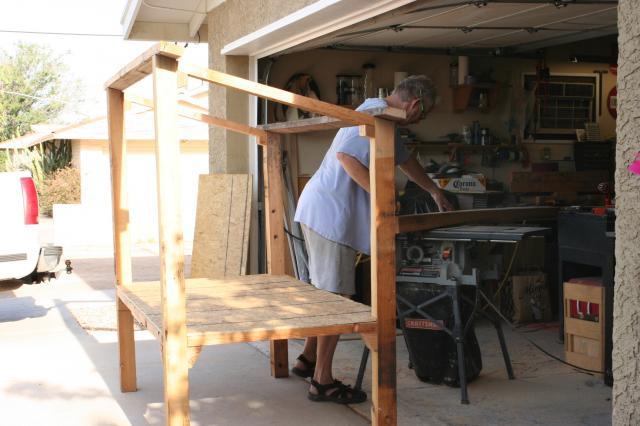
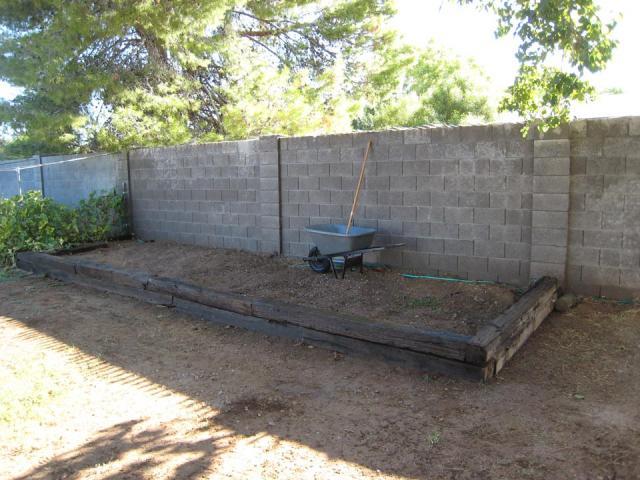
Here is the start of the coop:

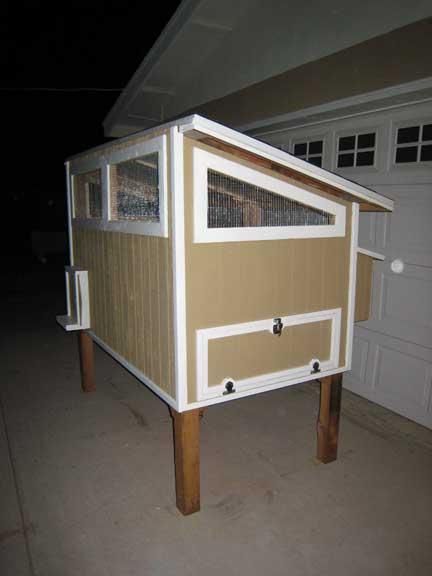
Brad made his own plans up and based our design on having 6-8 chickens, even though we only have 4 at the moment. This seems like an addicting hobby
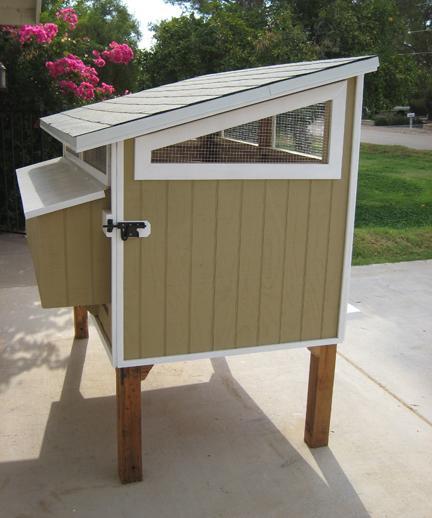
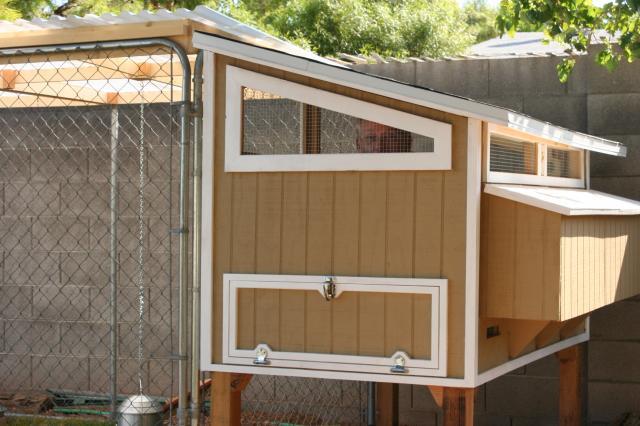
. The dimensions are 4'wide by 6'long. The roof is slanted for rain and to allow more height for the roosting chickens.
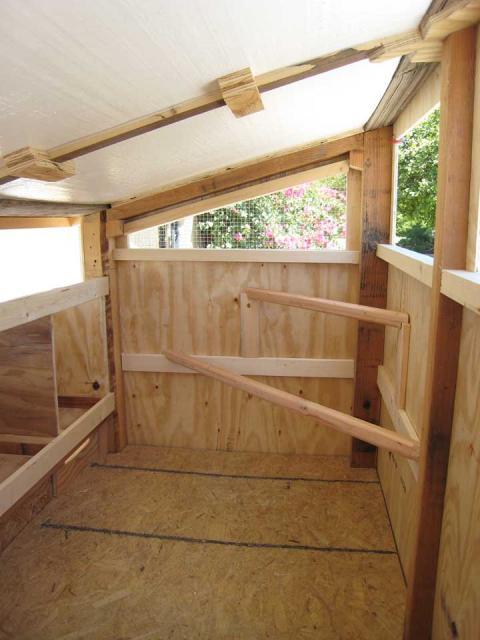
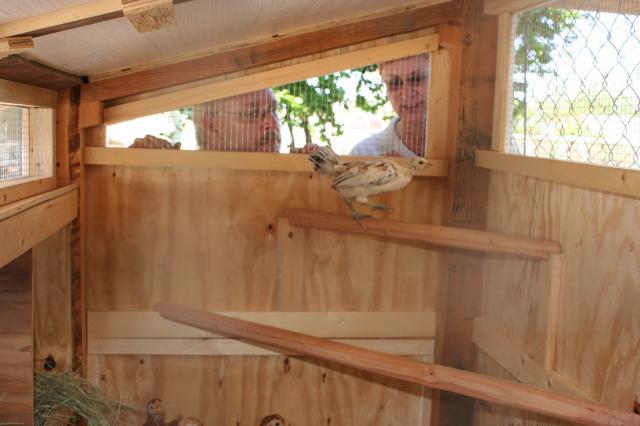
This is a good view of the interior - the top is insulated, as is the door that swings out for cleaning. There are four good-sized nest boxes and hardware cloth "windows" on all sides to promote venilation. He is putting a sheet of linolium down to make clean-up easy and I will be able to sweep shavings/sand straight out into a garbage can for composting. You can just see the venilation holes underneath the nest boxes, also covered with hardware cloth.
Nest boxes will be outside the yard for easy gathering.
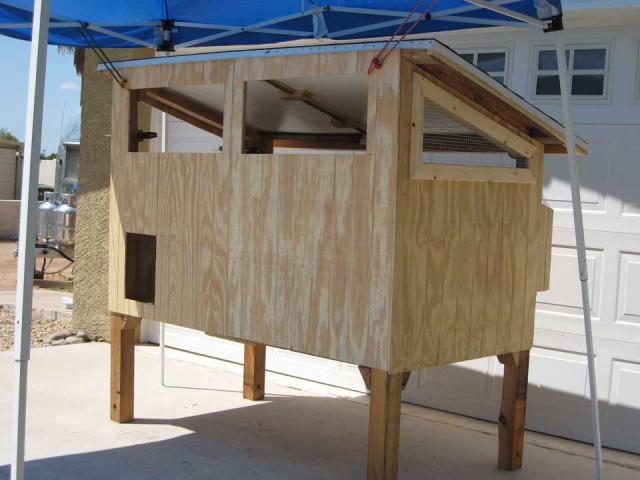
Here is the door that swings out for easy cleaning, and the board for the ramp is set up to check the height.
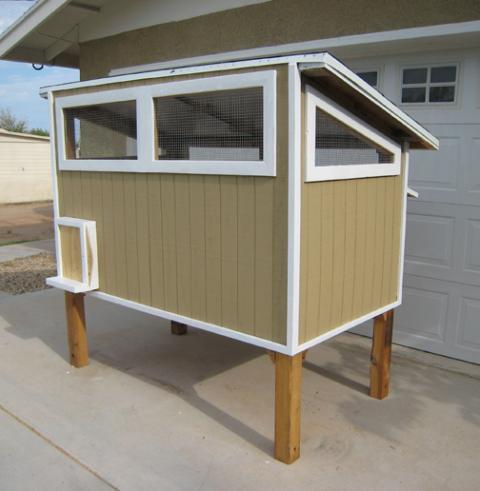
Another view of the coop before nestboxes or finishing touches.
Close up of the opening into the coop for the chickens - he designed the door with a clever locking pin to keep them safe at night. We believe the coop is pretty impenetrable but we also have dogs to keep away the coyotes so that will help...
The latch is easy to operate but sturdy and has a place for a padlock if needed. This is so heavy we estimate it will take 4 strappin' guys to move it - I cannot even lift one corner without a lot of effort!
Brad painted the coop to match our house and it will be situated under a large tree with another tree to the West for maximum shade. The yard should have both shade and sun, and we want to plant some vines on the back side of the run to insulate it from the block wall about 2 feet away. We hope that will deflect the heat.
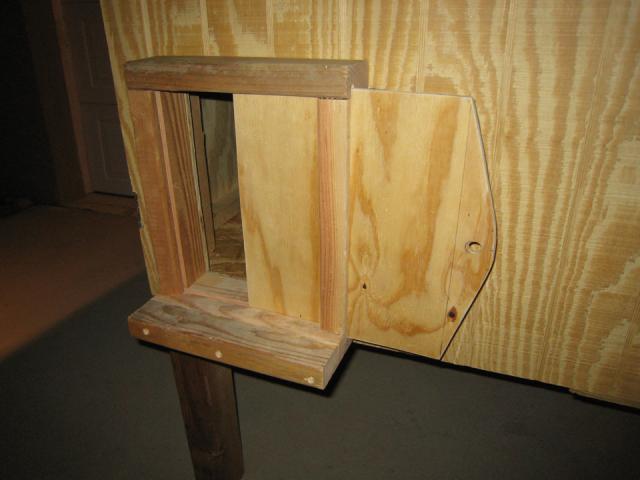
Well, a little snag - in making our final prep for the coop and yard we discovered that the big door where I would clean out the chicken droppings is going to be too close to the block wall to open all the way for cleaning...dang it!
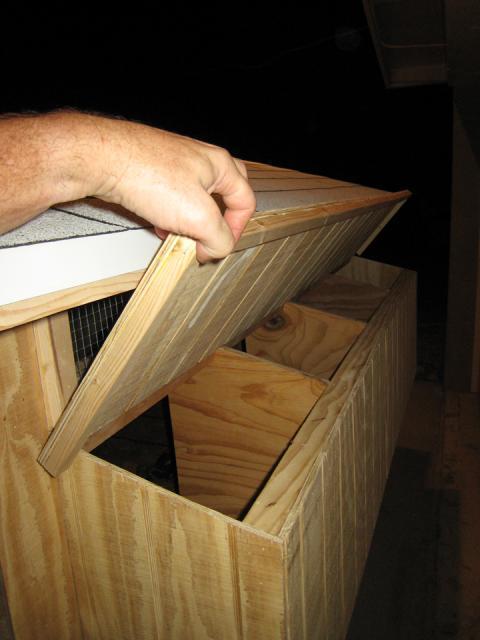
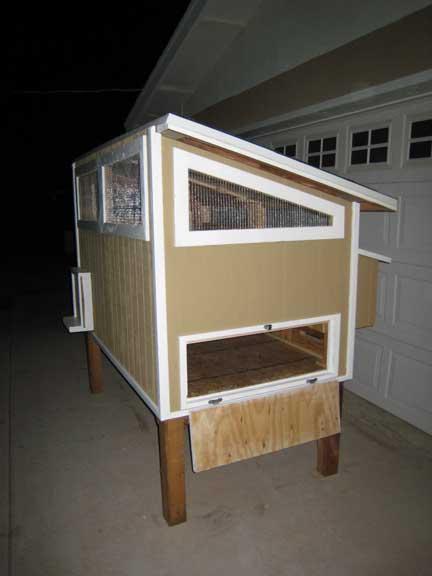
Brad looked at the problem and cleverly came up with this solution: he put a flip down door on the opposite side without compromising the strength of the coop (and he did it in about 3 hours!).
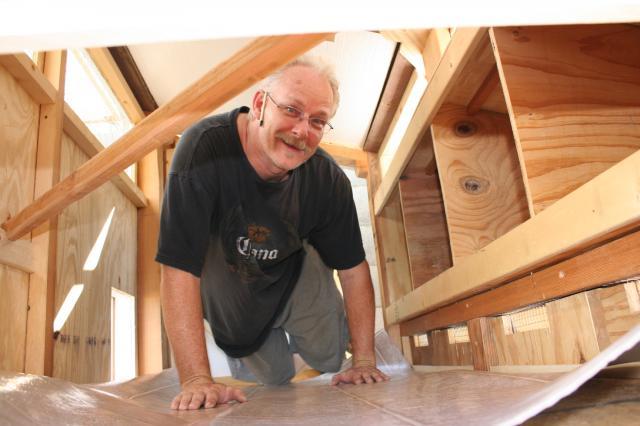
Pretty slick - I can slide a broom right in there and sweep it out in no time! Here is Brad putting down the flooring - we did not glue it so there are no fumes and it will be easy to pull up if needed for cleaning. I hope to be able to just sweep out the hay and hose down the floor.
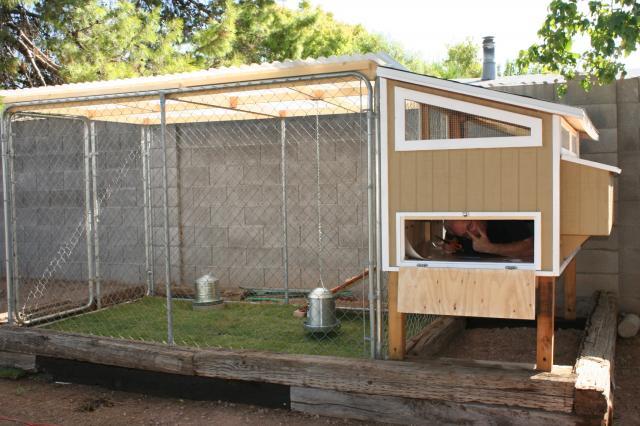
Here is the finished coop and yard - Brad is almost done with the flooring and then it will be Chicken Procession Time! Good thing that was the 1st finger he was using to adjust his glasses - for a minute there I thought he was tired of me taking his picture in 100 degree heat
Brad's new dog house
The first day and they already love their perches.
Check out our 1st Chicken Adventures and Norgaard Family Coop pages for more pictures....
Brad made his own plans up and based our design on having 6-8 chickens, even though we only have 4 at the moment. This seems like an addicting hobby

This is a good view of the interior - the top is insulated, as is the door that swings out for cleaning. There are four good-sized nest boxes and hardware cloth "windows" on all sides to promote venilation. He is putting a sheet of linolium down to make clean-up easy and I will be able to sweep shavings/sand straight out into a garbage can for composting. You can just see the venilation holes underneath the nest boxes, also covered with hardware cloth.
Nest boxes will be outside the yard for easy gathering.

Here is the door that swings out for easy cleaning, and the board for the ramp is set up to check the height.
Another view of the coop before nestboxes or finishing touches.
Close up of the opening into the coop for the chickens - he designed the door with a clever locking pin to keep them safe at night. We believe the coop is pretty impenetrable but we also have dogs to keep away the coyotes so that will help...
The latch is easy to operate but sturdy and has a place for a padlock if needed. This is so heavy we estimate it will take 4 strappin' guys to move it - I cannot even lift one corner without a lot of effort!
Brad painted the coop to match our house and it will be situated under a large tree with another tree to the West for maximum shade. The yard should have both shade and sun, and we want to plant some vines on the back side of the run to insulate it from the block wall about 2 feet away. We hope that will deflect the heat.
Well, a little snag - in making our final prep for the coop and yard we discovered that the big door where I would clean out the chicken droppings is going to be too close to the block wall to open all the way for cleaning...dang it!
Brad looked at the problem and cleverly came up with this solution: he put a flip down door on the opposite side without compromising the strength of the coop (and he did it in about 3 hours!).
Pretty slick - I can slide a broom right in there and sweep it out in no time! Here is Brad putting down the flooring - we did not glue it so there are no fumes and it will be easy to pull up if needed for cleaning. I hope to be able to just sweep out the hay and hose down the floor.
Here is the finished coop and yard - Brad is almost done with the flooring and then it will be Chicken Procession Time! Good thing that was the 1st finger he was using to adjust his glasses - for a minute there I thought he was tired of me taking his picture in 100 degree heat

Brad's new dog house
The first day and they already love their perches.
Check out our 1st Chicken Adventures and Norgaard Family Coop pages for more pictures....

