So about 9 months ago I decided I would stop supporting "the egg industry" and start raising my own chickens...one problem...I lived in a small apartment! hahahaha...so I finally have a house; we closed on it mid April/2011. We had to do many things in the house before "coop time", so finally I got to start in the back yard...and the coop. It will be an open coop and run "combo" 5' wide x 10 ' long x 5'5" tall (give and take...with room to grow) (coop will be 5'wx4Lx4t).
I have 0, none, nada, zip wood working skills...so If I can do it...anyone can!!!")
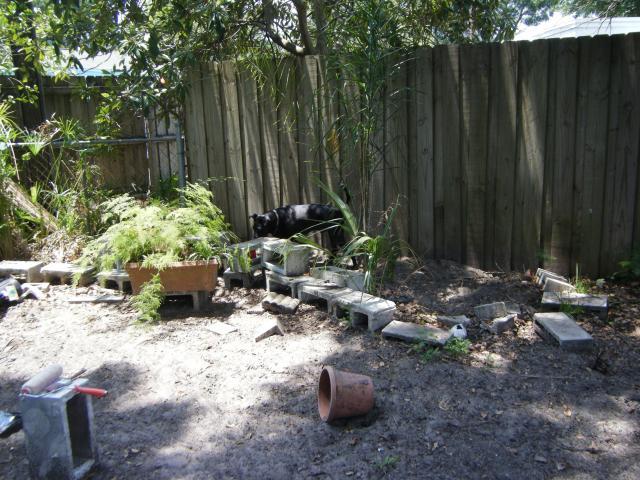
Here are some pics of the backyard and the coop location before...we selected this area due to the shade and the wooden fence that would protect the N side of the coop.

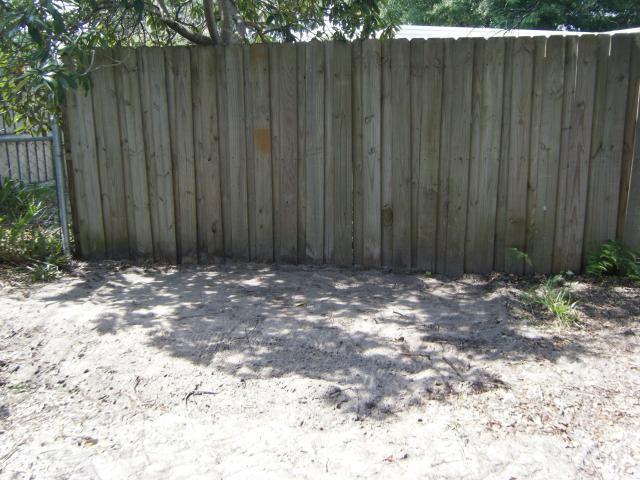
...and after (bad thing about shady spots....lots of roots!!!!
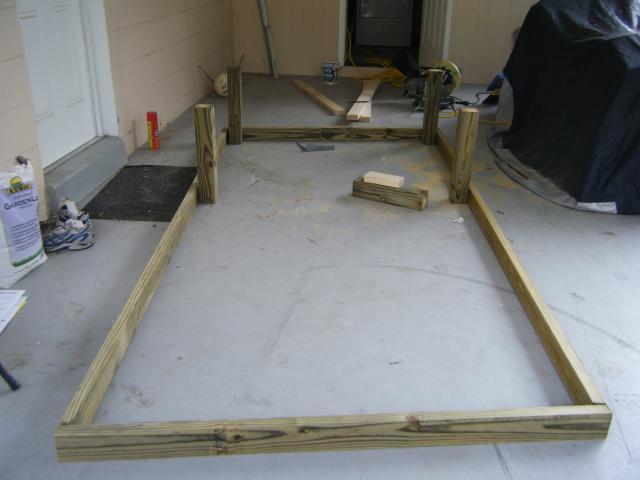
Made my 1st cuts of the legs of the coop and the run base.
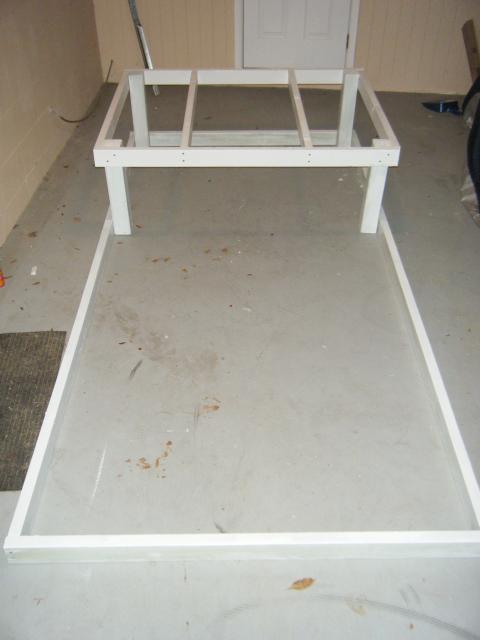
Floor framed
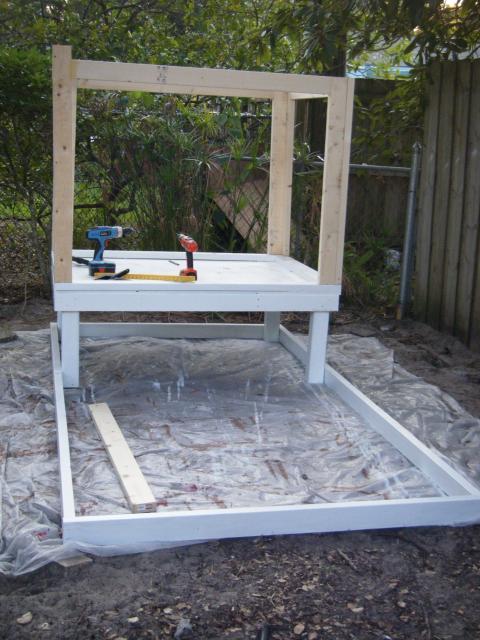
Moved the coop outside as it was going to get to heavy soon for me and my 13yo son to move. (Learned my 1st lesson ...Lesson 1- not only level the coop's area, also level the area that you will be working on the coop if not the same place!!!)Floor on and starting the Wall's frame. I used 3/4" plywood for the floor since I may decide to use sand inside the coop itself also.
Simple Wall framing....2x4's L shaped on the corners with a 6" high deference (no snow to worry about in FLA)
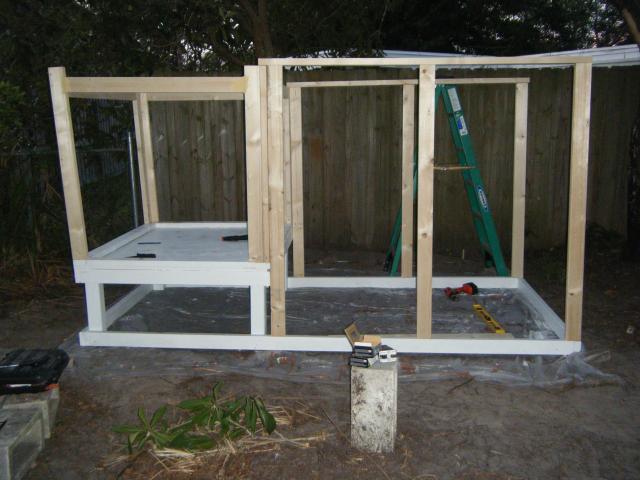
..and Run Framing
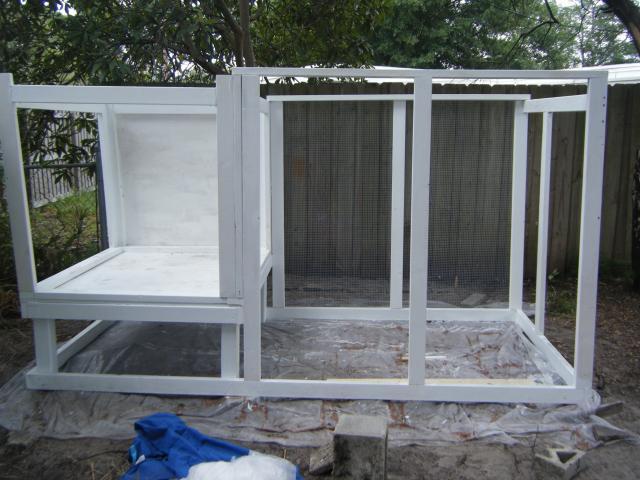
Wall on, hardwire on.... and coop getting ready to move into place.
Coop back into place. As you can see I have bricks buried on the N side of the coop since I wont be able to bury hard wire on that side due to the fence. For the rest of the coop I rested all corners on blocks an I made a 7" trench around the coop.
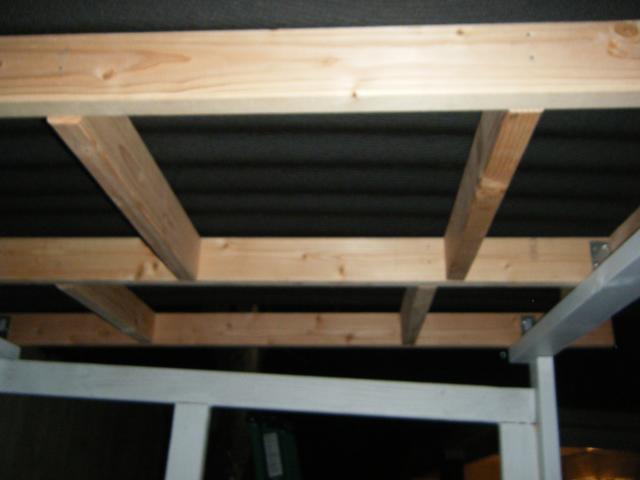
The roof is on. I used 3 Ondura Red corrugate roof panels. Here is the frame before the roof was secured and the wire was added between the 2x4s and the panels
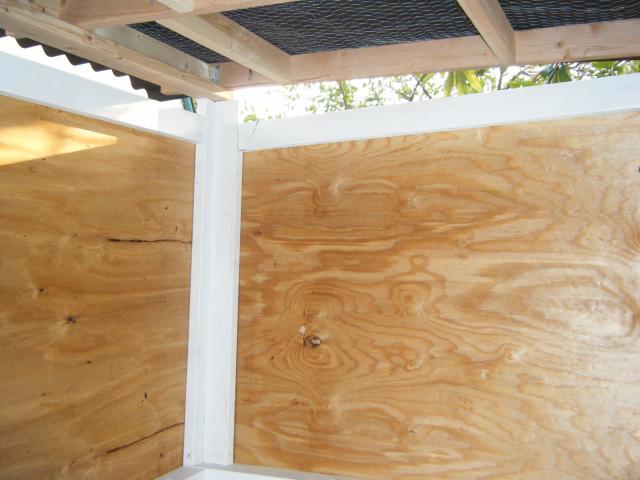
The inside top ventilation before the window was added
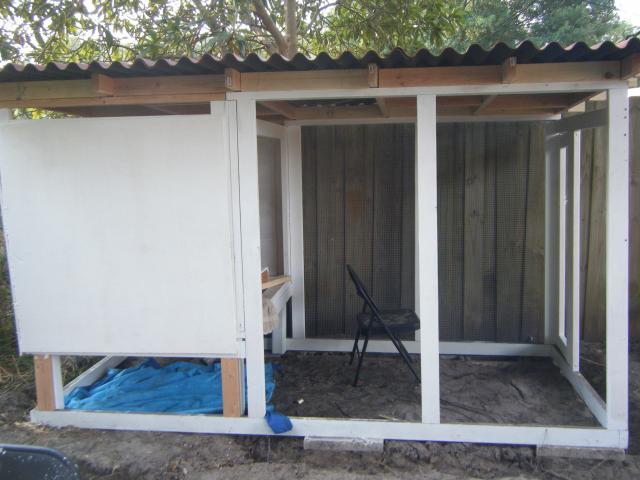
The south Side before the window and nest boxes
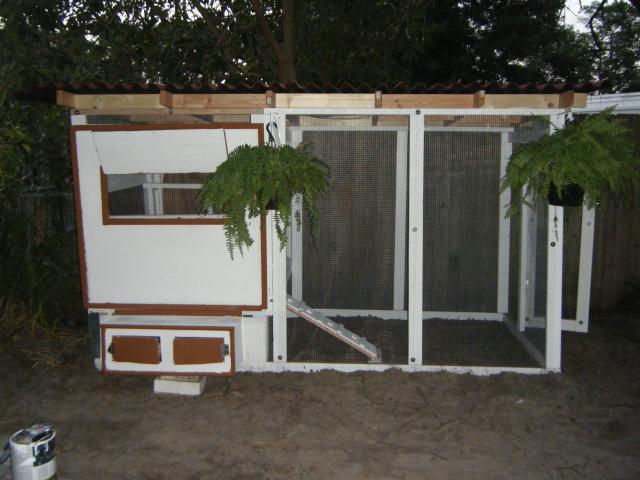
Nest boxes added and some trim work started...they boxes are 12.5" w x 13 tall x 12.5 deep and they now have door to get the eggs from the outside and linoleum floors
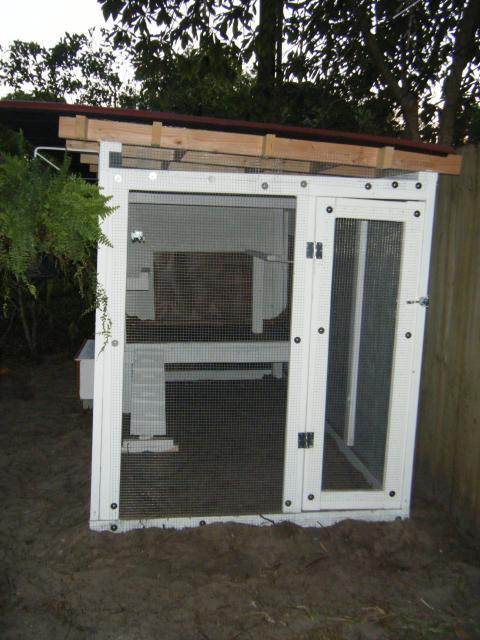
Here is the coop almost completed. Needs the locks for the nest boxes and to trim the run area
Since this picture the linoleum of the far wall was removed and the rest has been leveled to the floor and walls
The east side
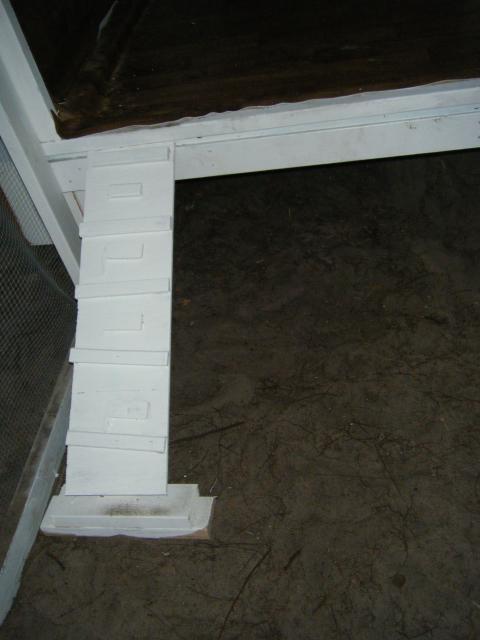
The Ramp
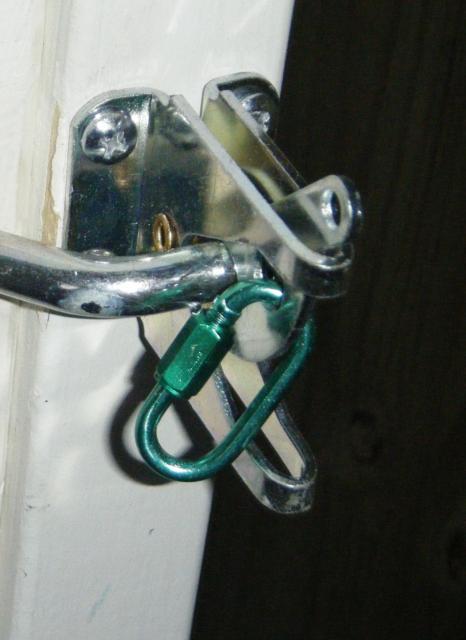
The locks that will secure the run door and both nest boxes doors/
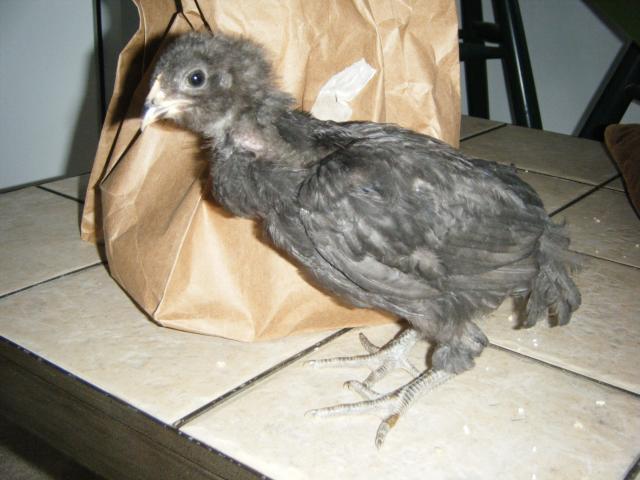
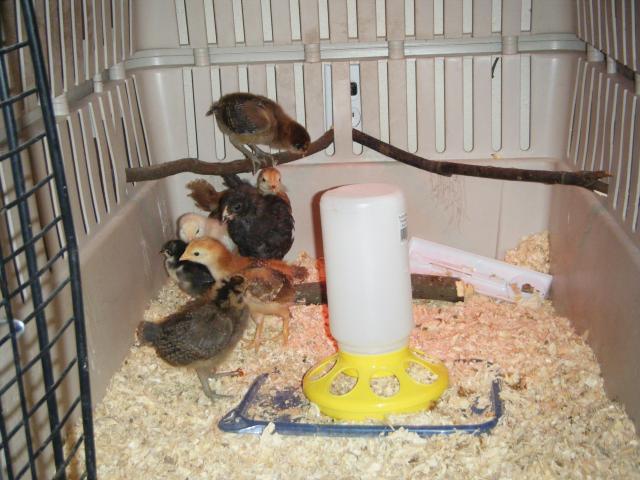
I have a feeder that will hang in the run and I will be making a 2gal water w nipple system. The chicks are currently using a rabbit bottle in the brooder so they should be ok.
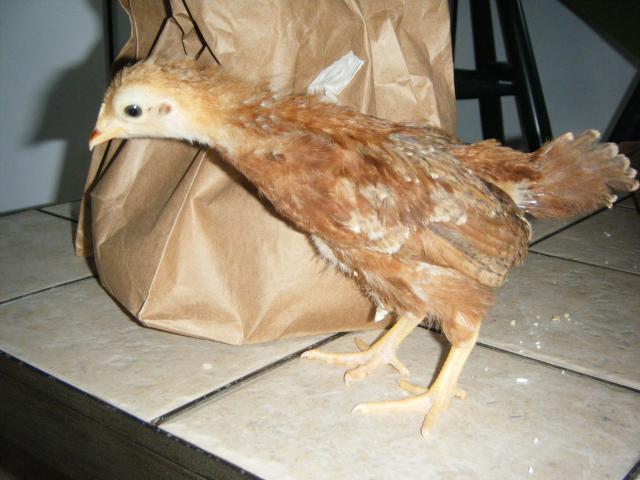
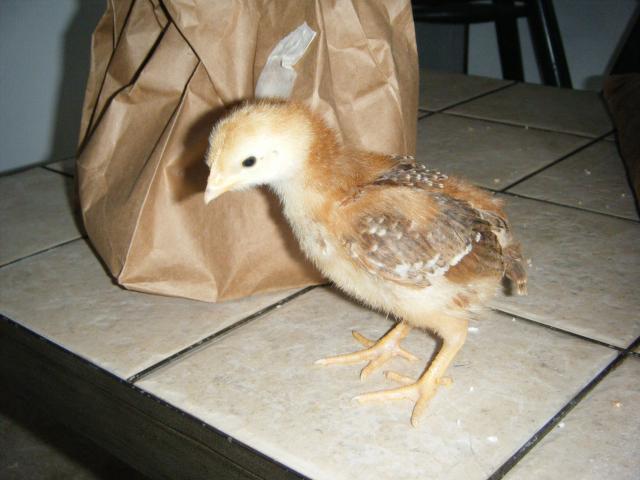
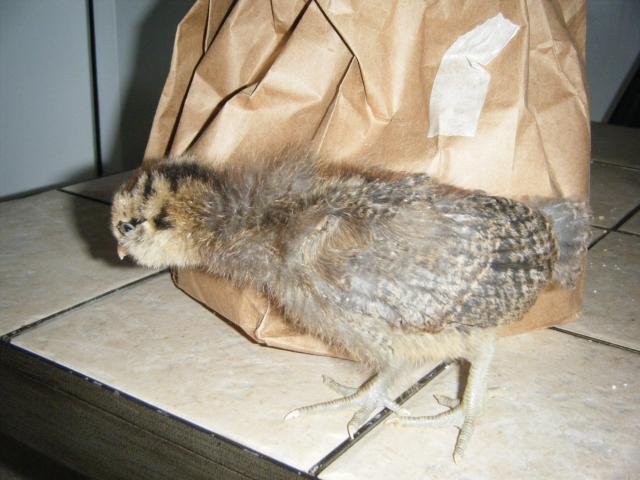
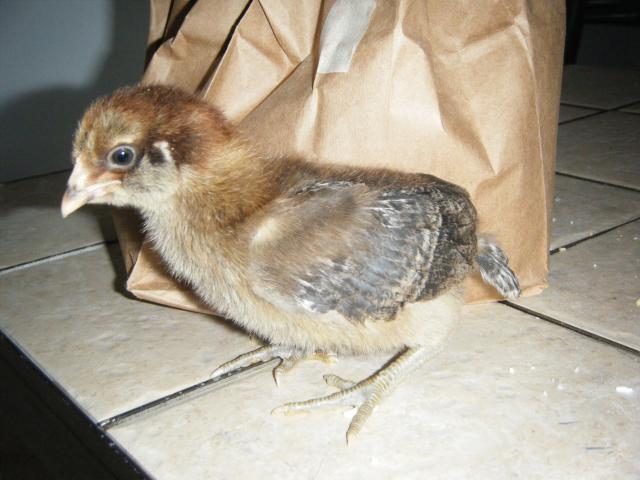
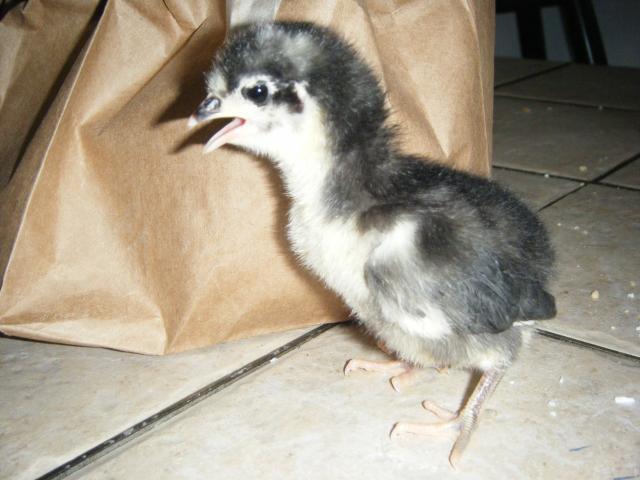
The future residents:
...and their current home!
More to come!!!
I have 0, none, nada, zip wood working skills...so If I can do it...anyone can!!!
Here are some pics of the backyard and the coop location before...we selected this area due to the shade and the wooden fence that would protect the N side of the coop.
...and after (bad thing about shady spots....lots of roots!!!!
Made my 1st cuts of the legs of the coop and the run base.
Floor framed
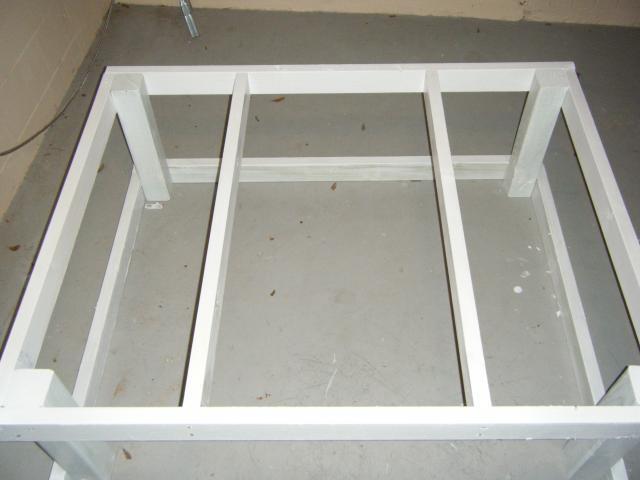
Moved the coop outside as it was going to get to heavy soon for me and my 13yo son to move. (Learned my 1st lesson ...Lesson 1- not only level the coop's area, also level the area that you will be working on the coop if not the same place!!!)Floor on and starting the Wall's frame. I used 3/4" plywood for the floor since I may decide to use sand inside the coop itself also.

Simple Wall framing....2x4's L shaped on the corners with a 6" high deference (no snow to worry about in FLA)
..and Run Framing
Wall on, hardwire on.... and coop getting ready to move into place.
Coop back into place. As you can see I have bricks buried on the N side of the coop since I wont be able to bury hard wire on that side due to the fence. For the rest of the coop I rested all corners on blocks an I made a 7" trench around the coop.

The roof is on. I used 3 Ondura Red corrugate roof panels. Here is the frame before the roof was secured and the wire was added between the 2x4s and the panels
The inside top ventilation before the window was added
The south Side before the window and nest boxes
Nest boxes added and some trim work started...they boxes are 12.5" w x 13 tall x 12.5 deep and they now have door to get the eggs from the outside and linoleum floors


Here is the coop almost completed. Needs the locks for the nest boxes and to trim the run area
Since this picture the linoleum of the far wall was removed and the rest has been leveled to the floor and walls

The east side
The Ramp
The locks that will secure the run door and both nest boxes doors/
I have a feeder that will hang in the run and I will be making a 2gal water w nipple system. The chicks are currently using a rabbit bottle in the brooder so they should be ok.
The future residents:

...and their current home!
More to come!!!
